
How To Build Your First CircleCI CI/CD Pipeline
A guide to continuously integrating and deploying your Dockerised Node app to AWS ElasticBeanstalk with CircleCI
Introduction
This piece has two goals:
- To be a standalone guide to building a CI/CD pipeline with CircleCI
- To form part of a larger series of articles which compare various CI/CD services.
The repository hosting the project tested and deployed with CircleCI can be found here. It’s a small Node/Express application that’s Dockerised and has a single test. I recommend that you clone this application and push it up to your own Github account, so you can build a pipeline while reading this guide.
Read my other CI/CD guides with this same application below:
The article comparing these services:
Pipeline Overview
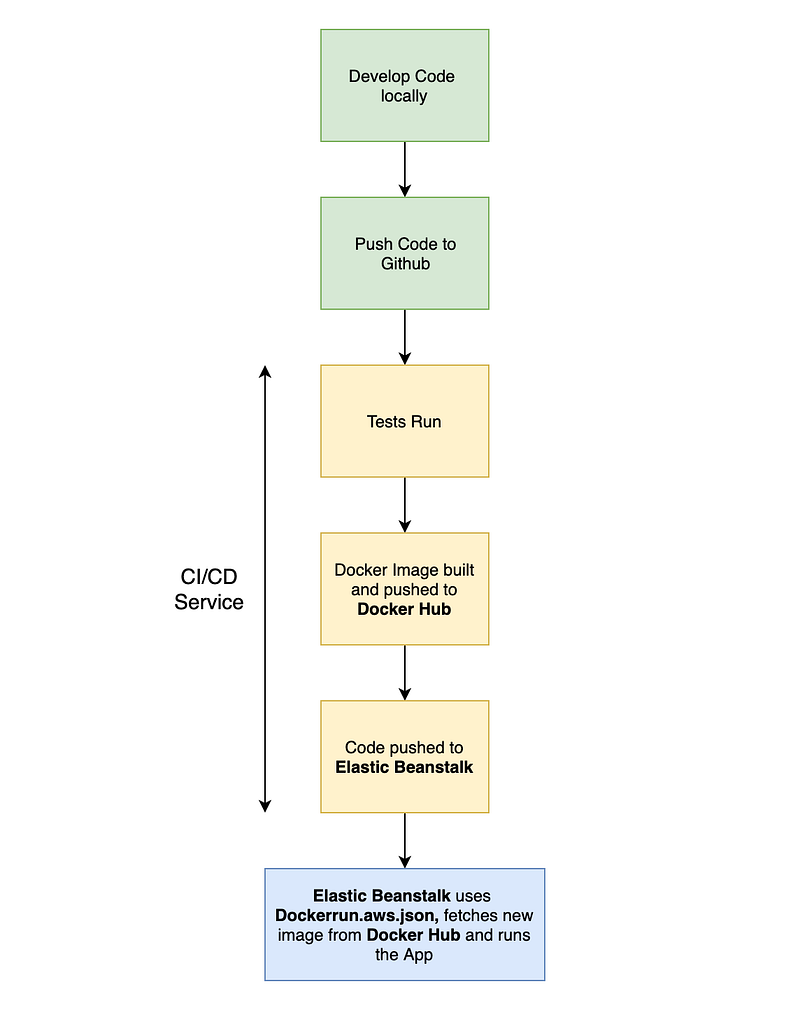
A diagram showing the steps followed in our CI/CD pipeline can be seen below. Notice how we use Docker Hub to store our Docker images and Elastic Beanstalk to pull and run those images:
Preliminary Steps
For this piece, we need to create an AWS User so that the CircleCI can programatically access Elastic Beanstalk. See my guide on how to do this: (You will be provided with AWS_ACCESS_KEY_ID and AWS_SECRET_ACCESS_KEY variables)
Next, we need to create an application on Elastic Beanstalk which CircleCI can deploy to. See my guide here on how to do this:
The final step is the creation of a Docker Hub repository. Again, see my guide here on how to do this:
Setting Up a CircleCI Pipeline
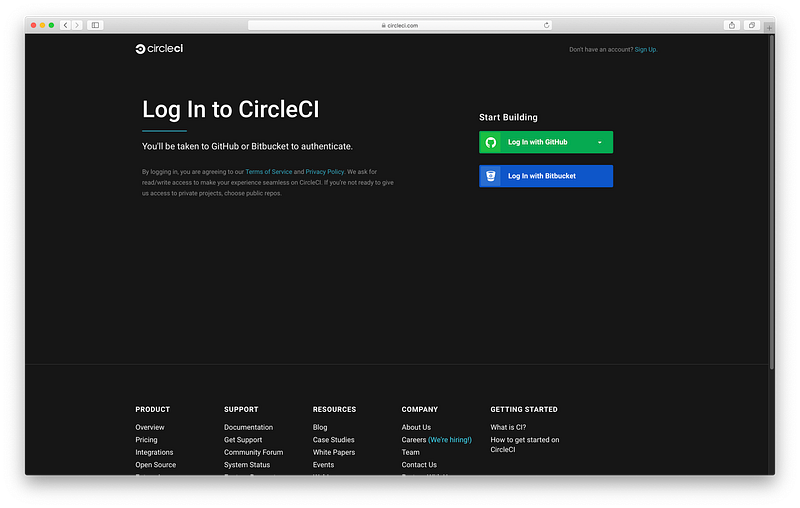
To setup a CircleCI pipeline, head over to https://circleci.com/ and click Log in with Github (You will need to Authorise CircleCI through Github).
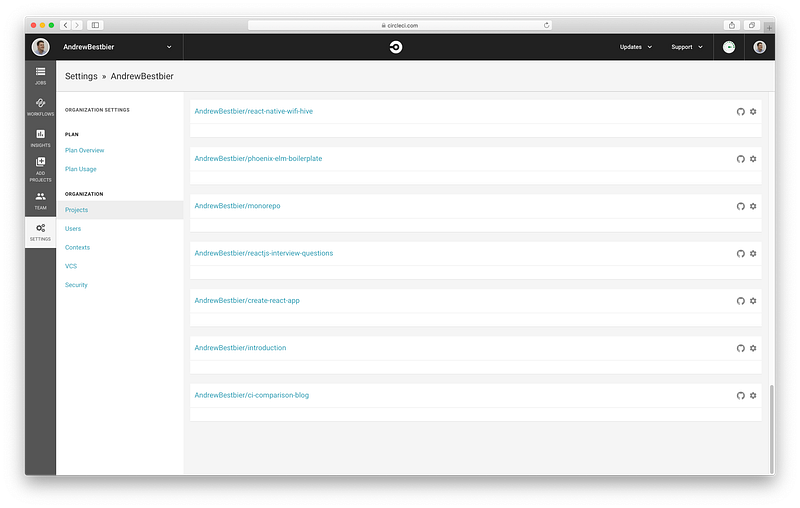
Next click Settings and Projects and find your Github repository (mine is called ci-comparison-blog) before clicking the settings cog on the right:
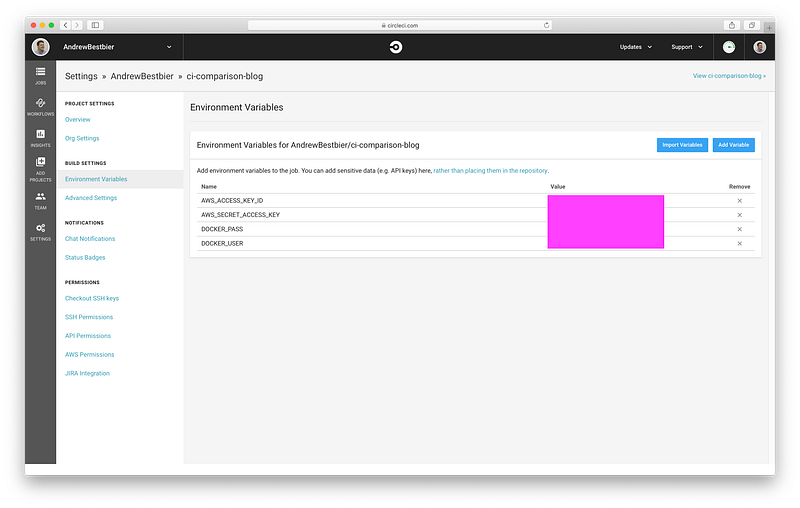
Now that we have found your project, click Environment variables and add your AWS programmatic User credentials created from my earlier guide (AWS_ACCESS_KEY_ID, AWS_SECRET_ACCESS_KEY). The other variables, DOCKER_USER and DOCKER_PASS, are your Docker Hub credentials. These will be used later, when we configure your pipeline:
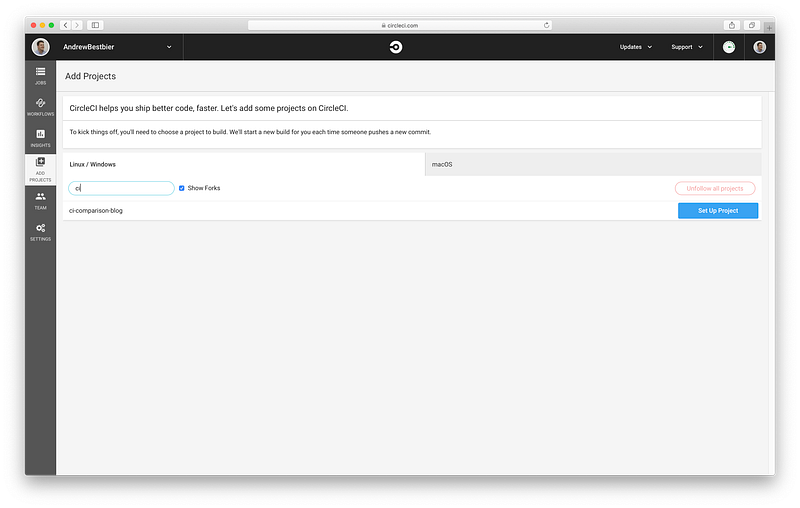
Next click Add Projects on the sidebar, search for your Github repository and click Set Up Project:
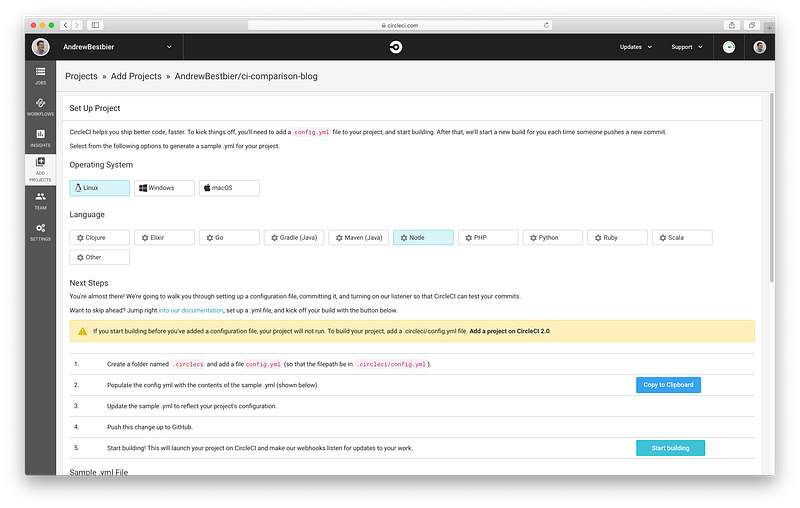
You will then see a screen with instructions on how to set up your project. The most important instruction is “Create a folder named .circleci and add a file named config.yml ”.
If you look at our Github repository, you can see that I’ve already created this file:
version: 2
jobs:
  test:
    working_directory: ~/app
    docker:
      - image: circleci/node:latest # (1)
    steps:
      - checkout
      - run:
          name: Update npm
          command: 'sudo npm install -g npm@latest'
      - restore_cache: # (2)
          key: dependency-cache-{{ checksum "package-lock.json" }}
      - run:
          name: Install npm dependencies
          command: npm install
      - save_cache:
          key: dependency-cache-{{ checksum "package-lock.json" }}
          paths:
            - ./node_modules
      - run:
          name: Run tests # (3)
          command: 'npm run test'
  docker-deploy-image:
    working_directory: ~/app
    machine:
      docker_layer_caching: true # (4)
    steps:
      - checkout
      - run: | # (5)
          docker build -t andrewbestbier/ci-comparison-blog .
          docker login -u $DOCKER_USER -p $DOCKER_PASS
          docker push andrewbestbier/ci-comparison-blog
  deploy-aws:
    working_directory: ~/app
    docker:
      - image: circleci/python:latest
    steps:
      - checkout
      - run: # (6)
          name: Installing deployment dependencies
          working_directory: /
          command: 'sudo pip install awsebcli --upgrade'
      - run: # (7)
          name: Deploying application to Elastic Beanstalk
          command: eb deploy
workflows:
  version: 2
  build-test-and-deploy:
    jobs:
      - test
      - docker-deploy-image:
          requires:
            - test
      - deploy-aws:
          requires:
            - docker-deploy-image
Let’s break down what’s happening during this build’s execution:
- The first job,
testis run with a Node Docker container. - If they exist in the cache, the node_modules are restored, otherwise, they’re installed.
- The tests are run.
- Docker layer caching is enabled to speed up image building performance (See here).
- Next, the Docker image is built and pushed to Docker Hub with the
DOCKER_USERandDOCKER_PASSenvironment variables. Remember to change the repository to the one you created on Docker Hub in my earlier guide. - Install the Elastic Beanstalk CLI tool.
- Using the CLI, deploy the app to Elastic Beanstalk with
eb deploy. This command works as we have already been authenticated invisibly by CircleCI with theAWS_ACCESS_KEY_ID,AWS_SECRET_ACCESS_KEYenvironment variables.
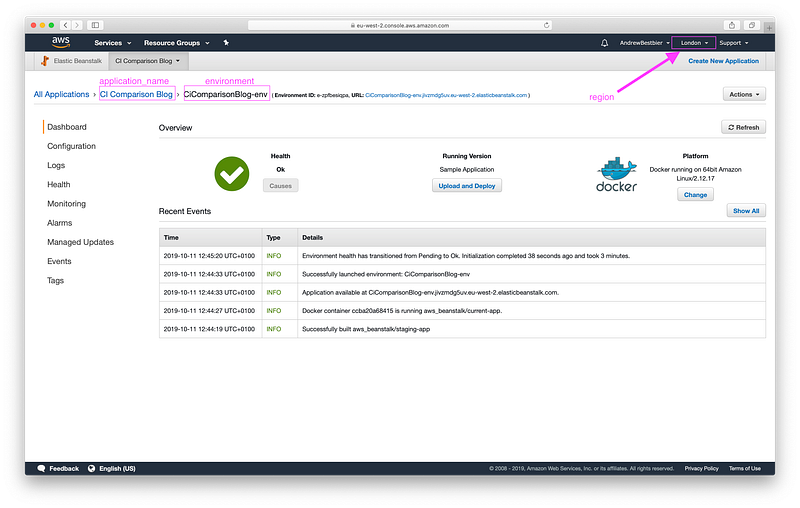
You may be wondering, how does eb deploy know where to deploy? To specify a location, you need to create and modify the .elasticbeanstalk/config.yml file in your Github repository to align with the sample Elastic Beanstalk application you created:
branch-defaults:
  master:
    environment: CiComparisonBlog-env
environment-defaults:
  CiComparisonBlog-env:
    branch: null
    repository: null
global:
  application_name: CI Comparison Blog
  default_ec2_keyname: null
  default_platform: arn:aws:elasticbeanstalk:eu-west-2::platform/Docker running on
    64bit Amazon Linux/2.12.17
  default_region: eu-west-2
  include_git_submodules: true
  instance_profile: null
  platform_name: null
  platform_version: null
  profile: null
  sc: git
  workspace_type: Application
To find your equivalent values, see the following screenshot and the AWS documentation here.
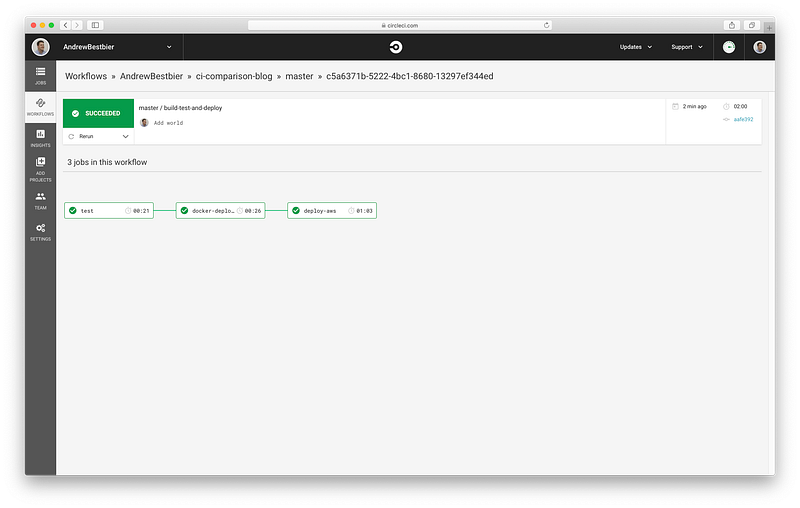
We’re finally ready to go so click Start Building on the CircleCI dashboard. With a little luck, your project should test, build and deploy successfully:
Conclusion
I hope you enjoyed this guide! Please let me know if you have any feedback on how I can improve the pipeline. Also, check out my other posts later this week to see how different CI/CD services can be used to deploy the same application.

👋 Join us today !!
️Follow us on LinkedIn, Twitter, Facebook, and Instagram

If this post was helpful, please click the clap 👏 button below a few times to show your support! ⬇