
How to: Build “App Clip” for iOS 14 beta 5 or above
The very first guideline of creating and upload App Clip to TestFlight and App Store…
On August 19, Apple updated the App Store Connect Interface and TestFlight, which allow developers to upload their app with app clips by using the Xcode 12 beta 5. In this article, you will learn how to integrate and distribute iOS app with App Clip.
Background
Difficulty Level: Intermediate Goal: Create and Upload App Clip Platform: iOS 14 beta 5 and Xcode 12 beta 5 SDK
Create App Clip(s)
Firstly, open your Xcode Project (just create a new one if you don’t have it).
Secondly, click “New” > “Target” (iOS). Search “App”, and you will see “App Clip”. And click “Next” button.
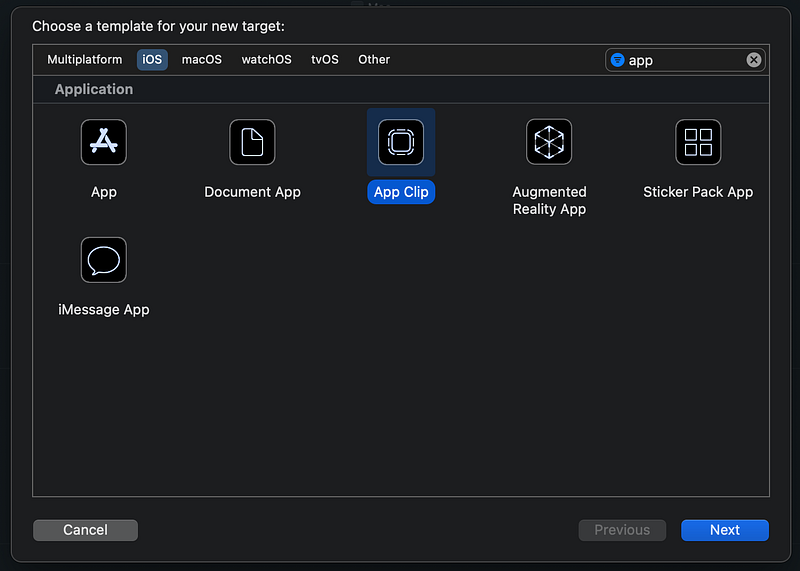
After setup the App Clip, you will see a new folder called, ‘AppClip”. It contains AppSwift and ContentView (similar to your shared folder). You may copy some functions from your app to App Clip and see whether it is working or not. Or by default, it shows “Hello, World!”.
Debug App Clip(s)
Upload App Clip(s)
If you want to upload it/them to app store or TestFlight, follow the steps below to avoid error.
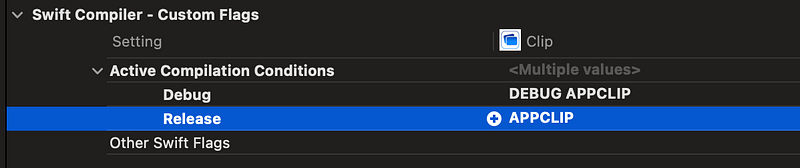
- Check the “Requires full screen” in info.plist of App Clip. (This can avoid the iPad’s Multi-windows conflict)

2a). Add Target from shared assets folder to AppClip to make icon works.

Or 2b). You can use the assets inside AppClip folder.
3. Don’t forget to add Associated Domains for your app clip.
You can use this pattern: appclips:<fully qualified domain>.
For example, appclips:example.com.

If you wish to use Advanced App Clip Experiences, add applinks:<fully qualified domain>.
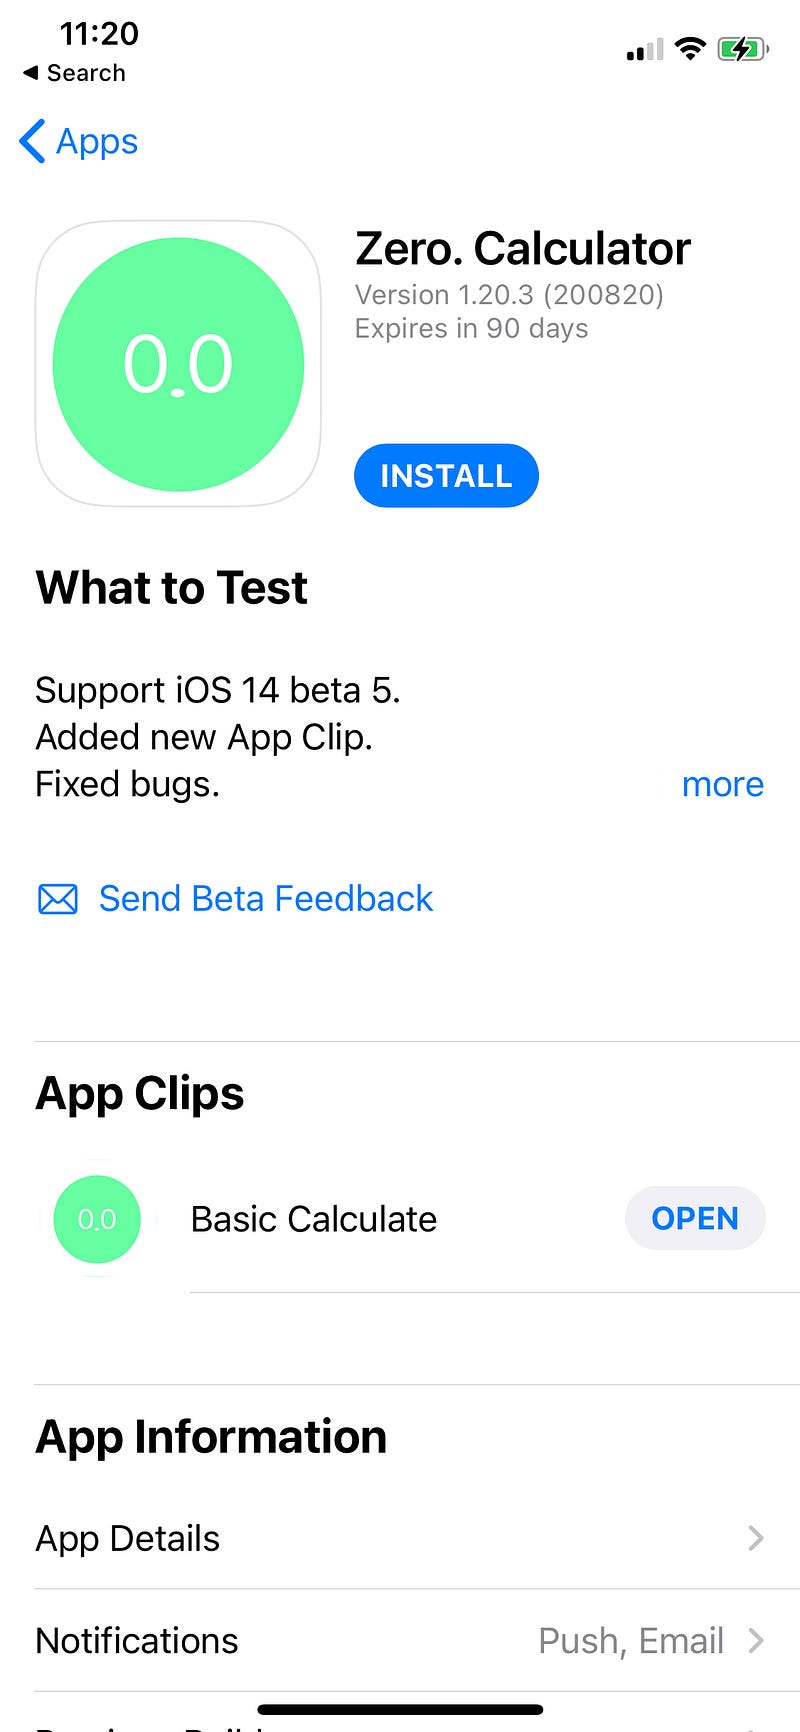
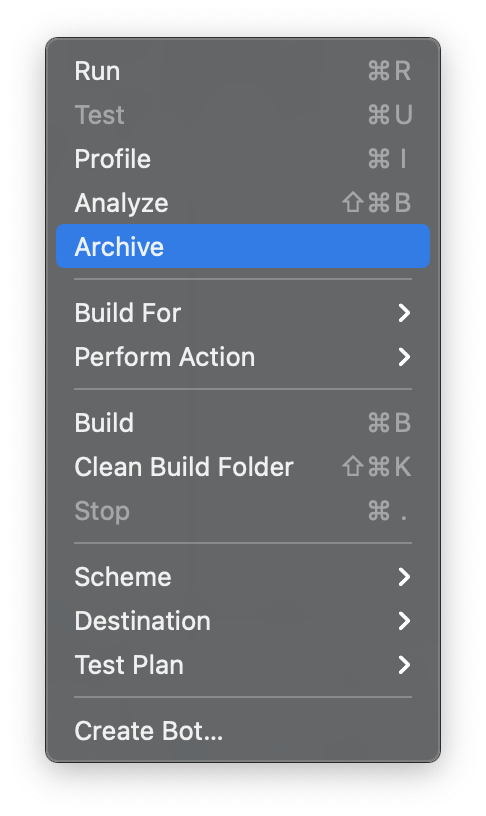
4. Archive the project and upload it via app store connect. 5. And now, you can test App Clips via TestFlight.
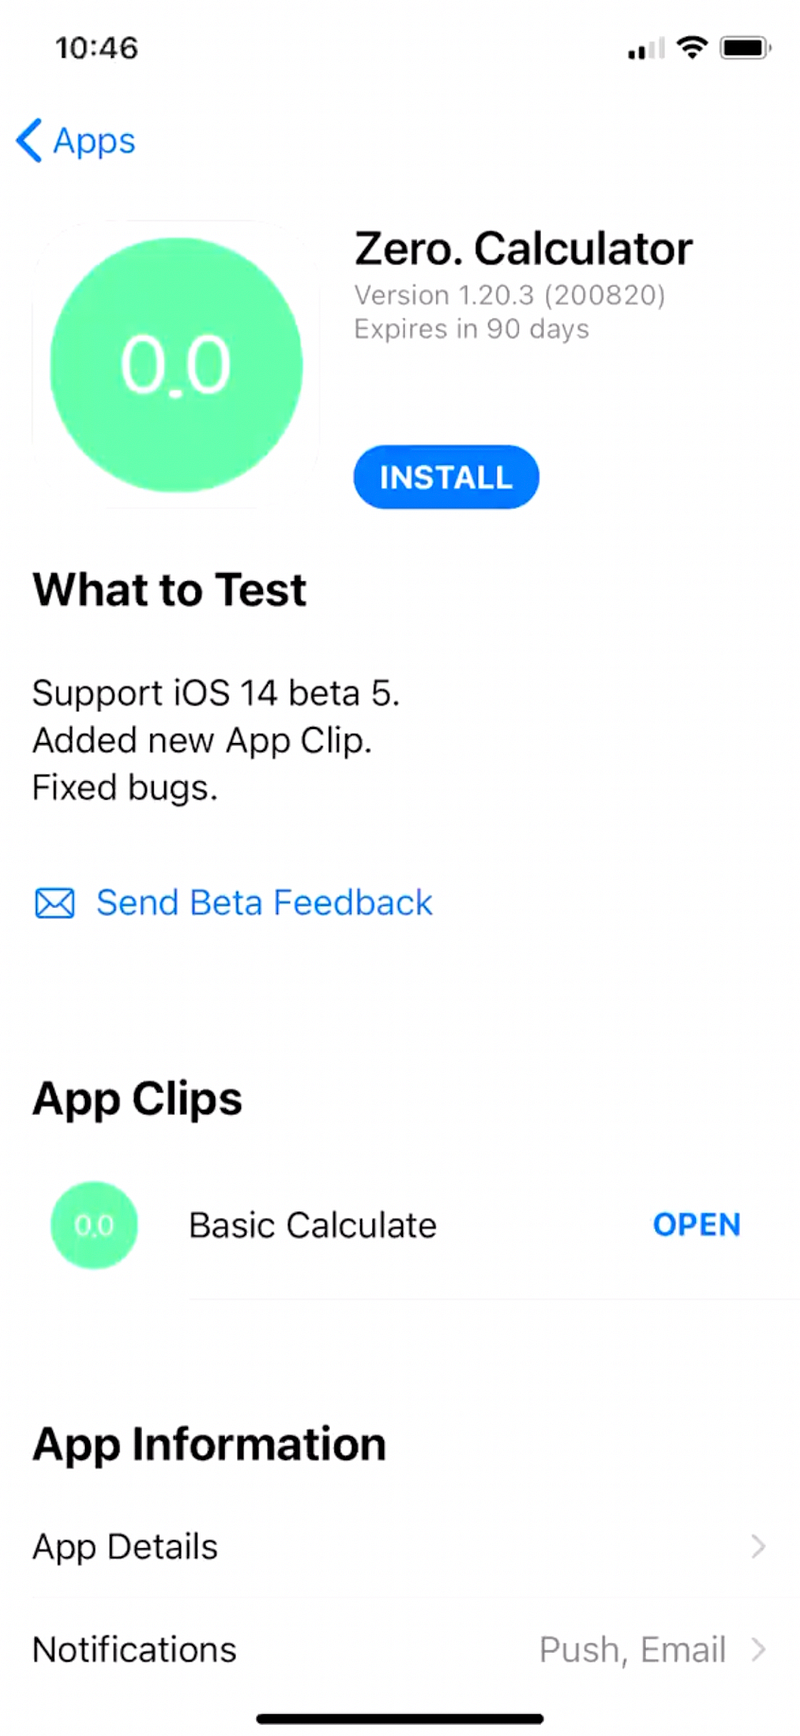
Test App Clip Card
Here’s the video preview, enjoy 👏👏👏👏👏
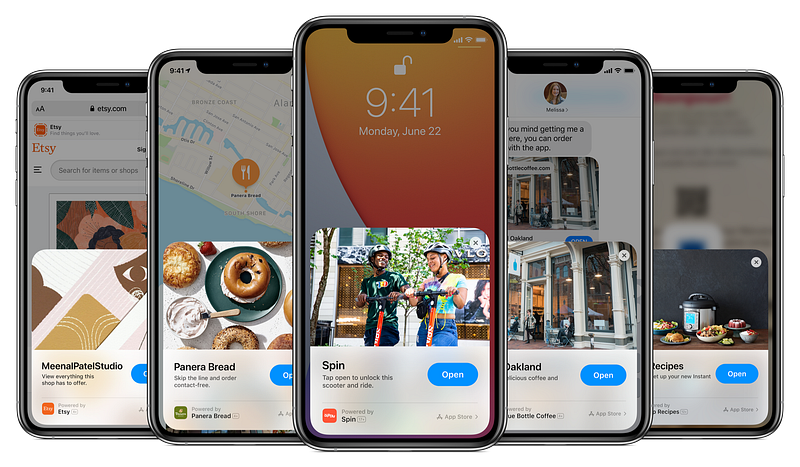
6. Install App Clip(s) via Website Smart Banner
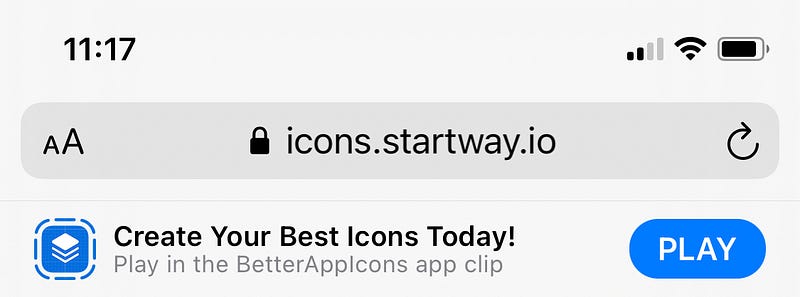
BetterAppIcons App Store: https://icons.startway.io
Speechable App Store: https://speechable.startway.io
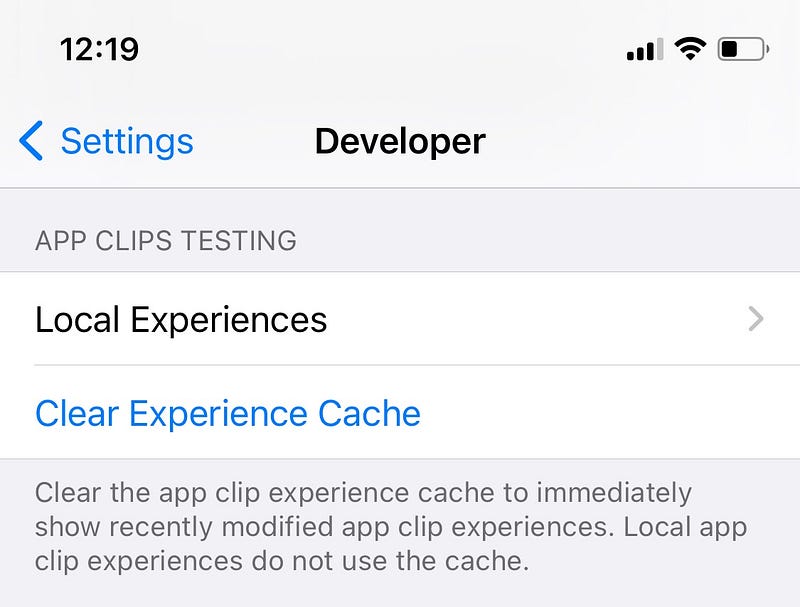
Register Local Experience is for Apple Developer only (iPhone customers jump to “QR Code” section)
Register Local Experience
Go to Settings > Developer > Local Experiences > Register Local Experience Notice: To enable Developer option, connect your iPhone to Mac and open Xcode 12.
Example:
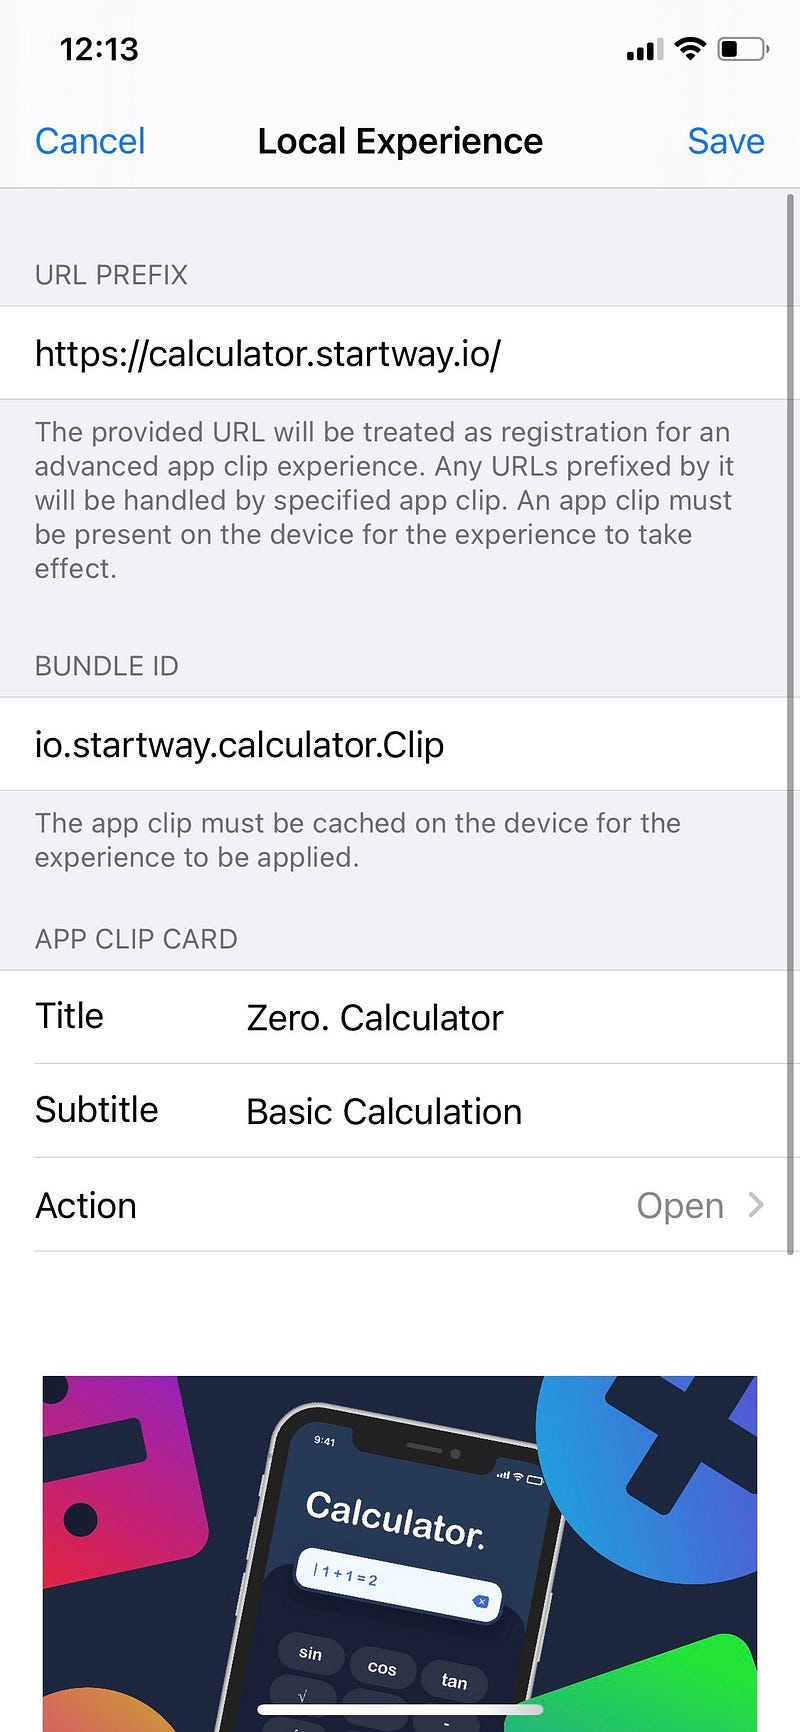
The Smart banner only works after your app is published or enabled Pre-order on App Store. Developer can edit the details inside App Store Connect > Advanced App Clip Experiences.
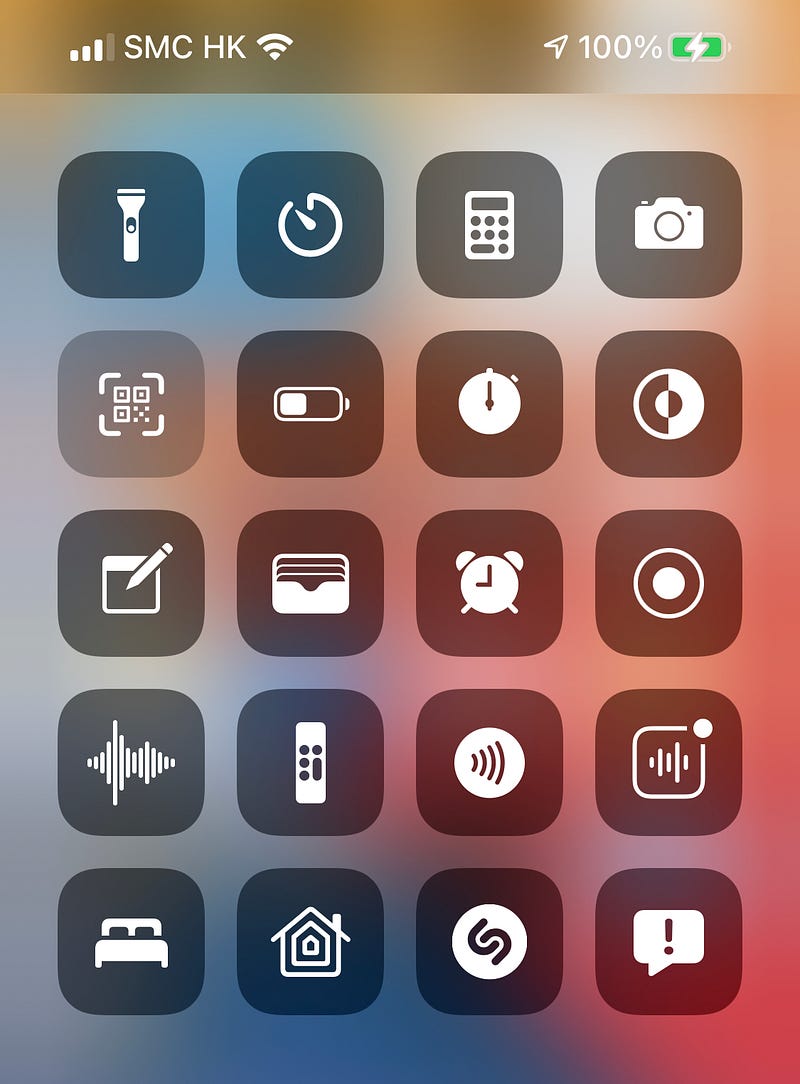
QR Code
Environment: iOS14 GM 1 8a. After installed app clip and setup the above Local Experiences: i. Open QR Code scanner via Control Centre:
ii. Scan this QR Code:

Looks good :)
If you don’t have a Mac/iPhone, I also prepare a video for your quick peek.
Video Preview:
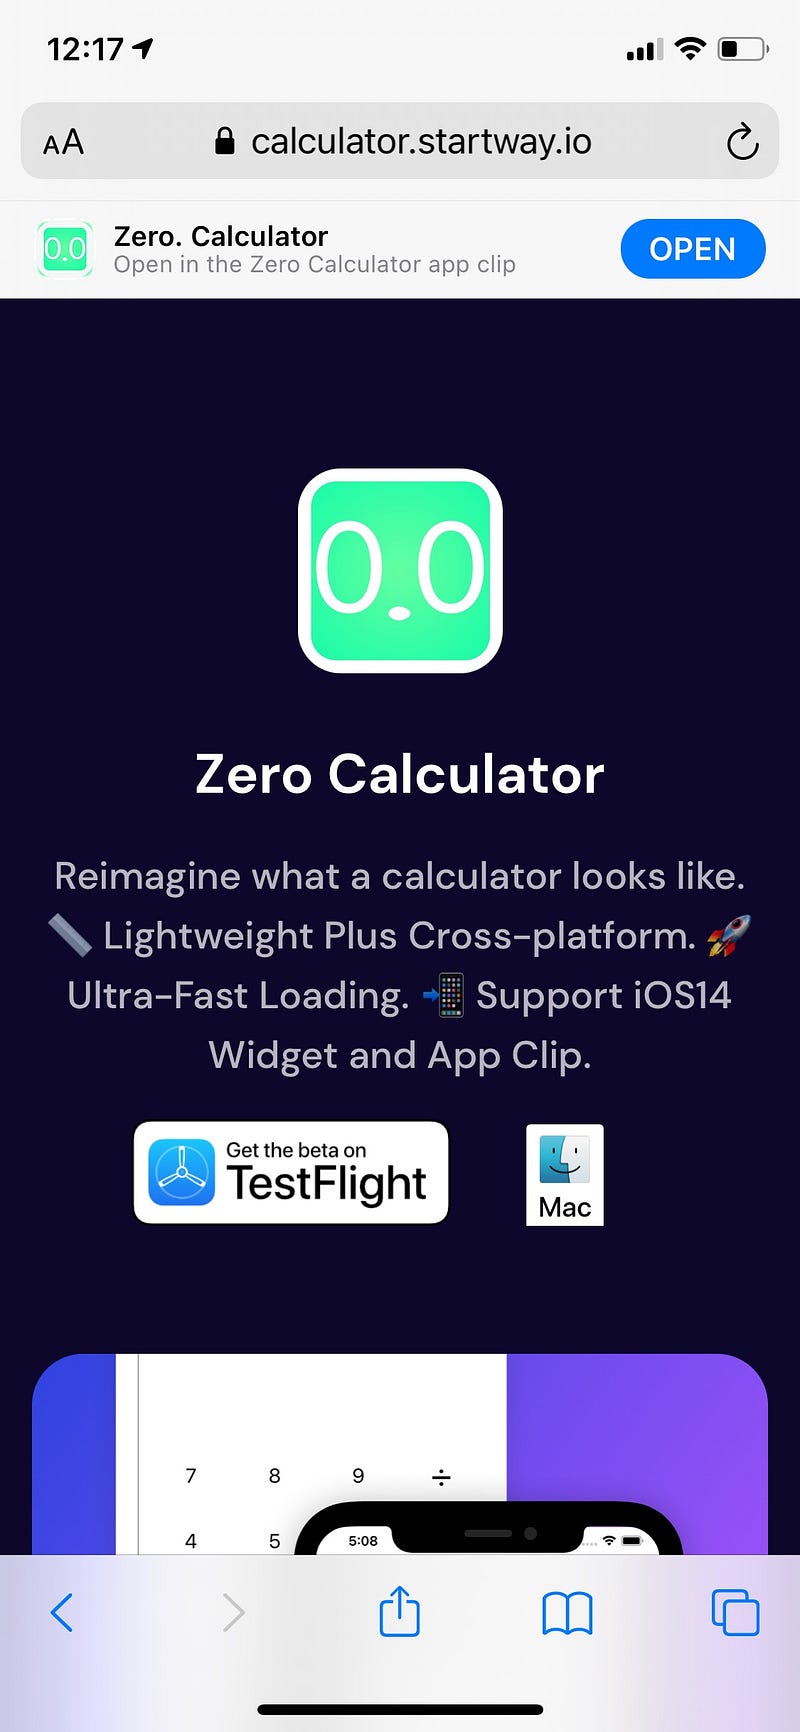
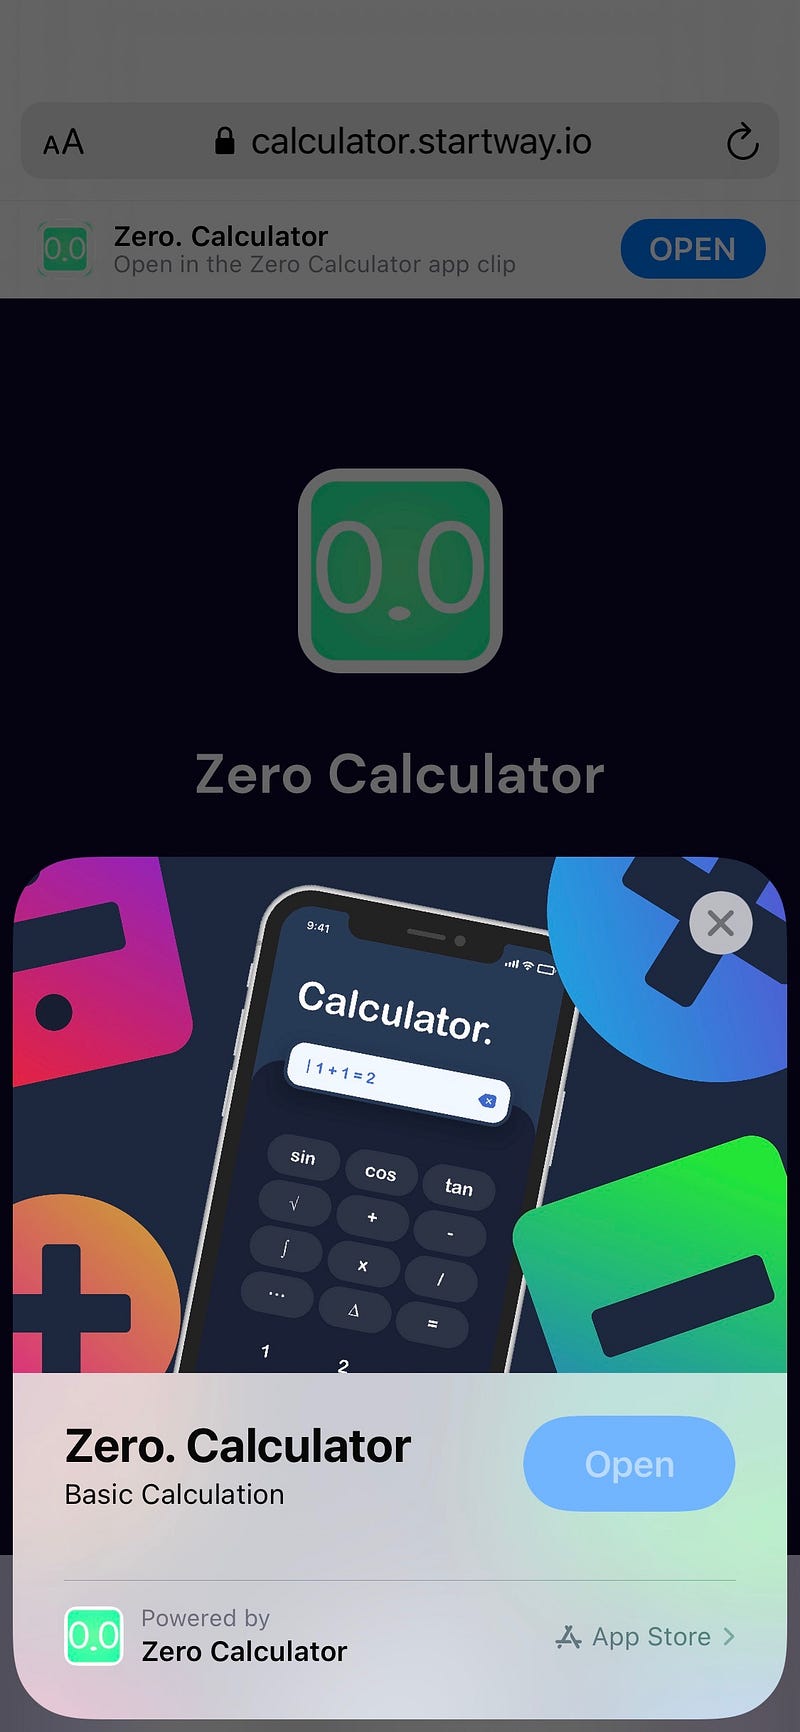
Smart Banner in Local Environment
8b. Open Safari You will see a smart banner on the top. If you click “Open”, it will redirect to your app clip automatically. To use app clip card, you need to uninstall the app clip first. (Back to settings, you can find “App Clip” under “Developer”.)
Cool! 👏👏👏👏👏👏👏👏👏👏👏👏👏👏👏👏
Recommending an App Clip’s Corresponding App
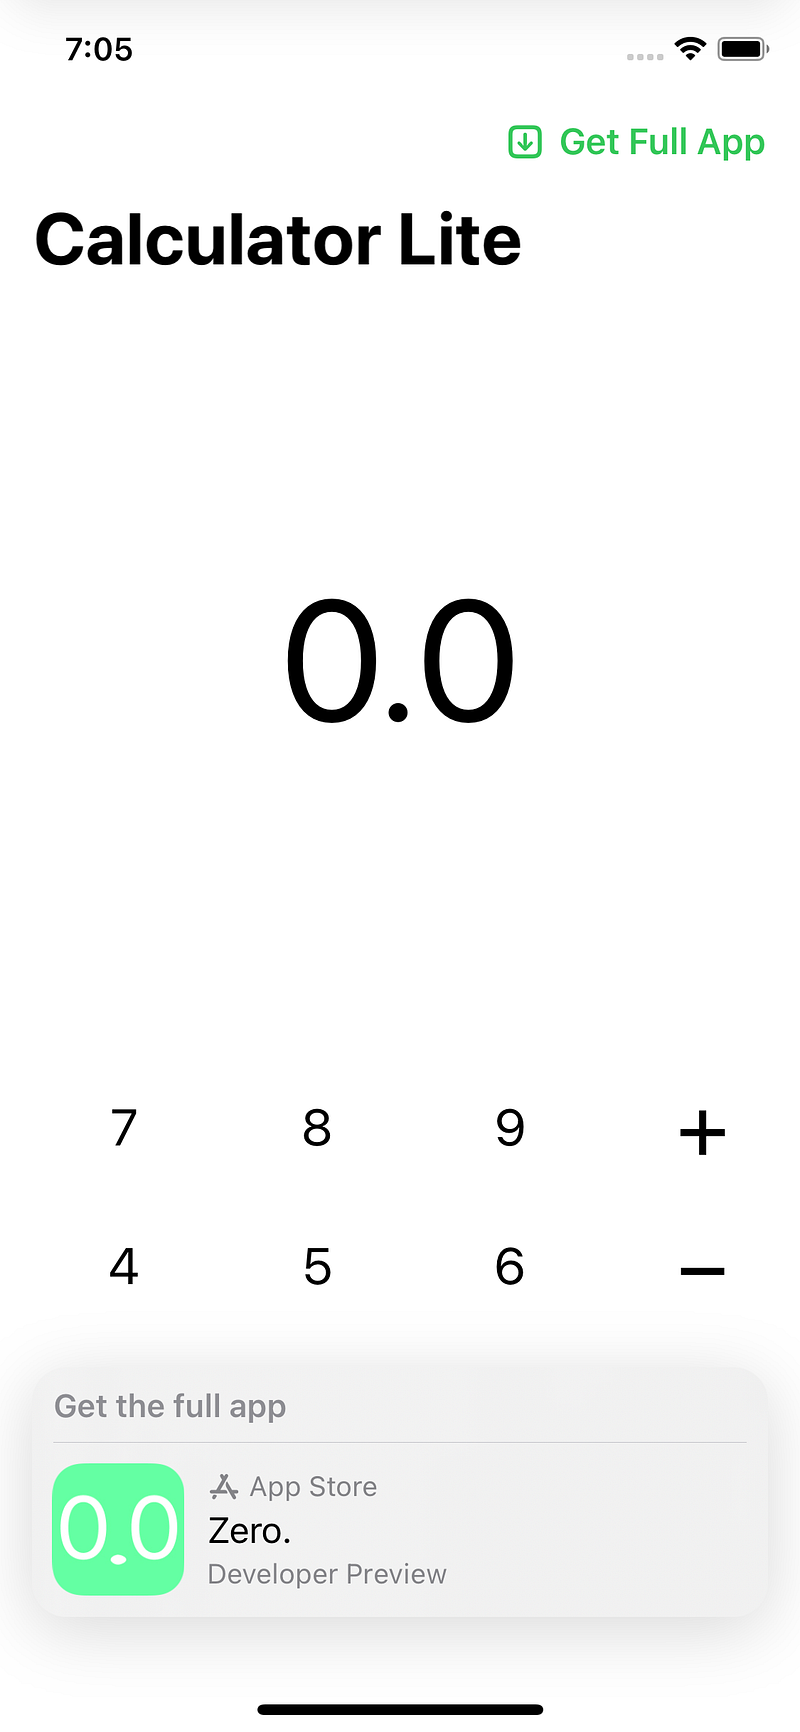
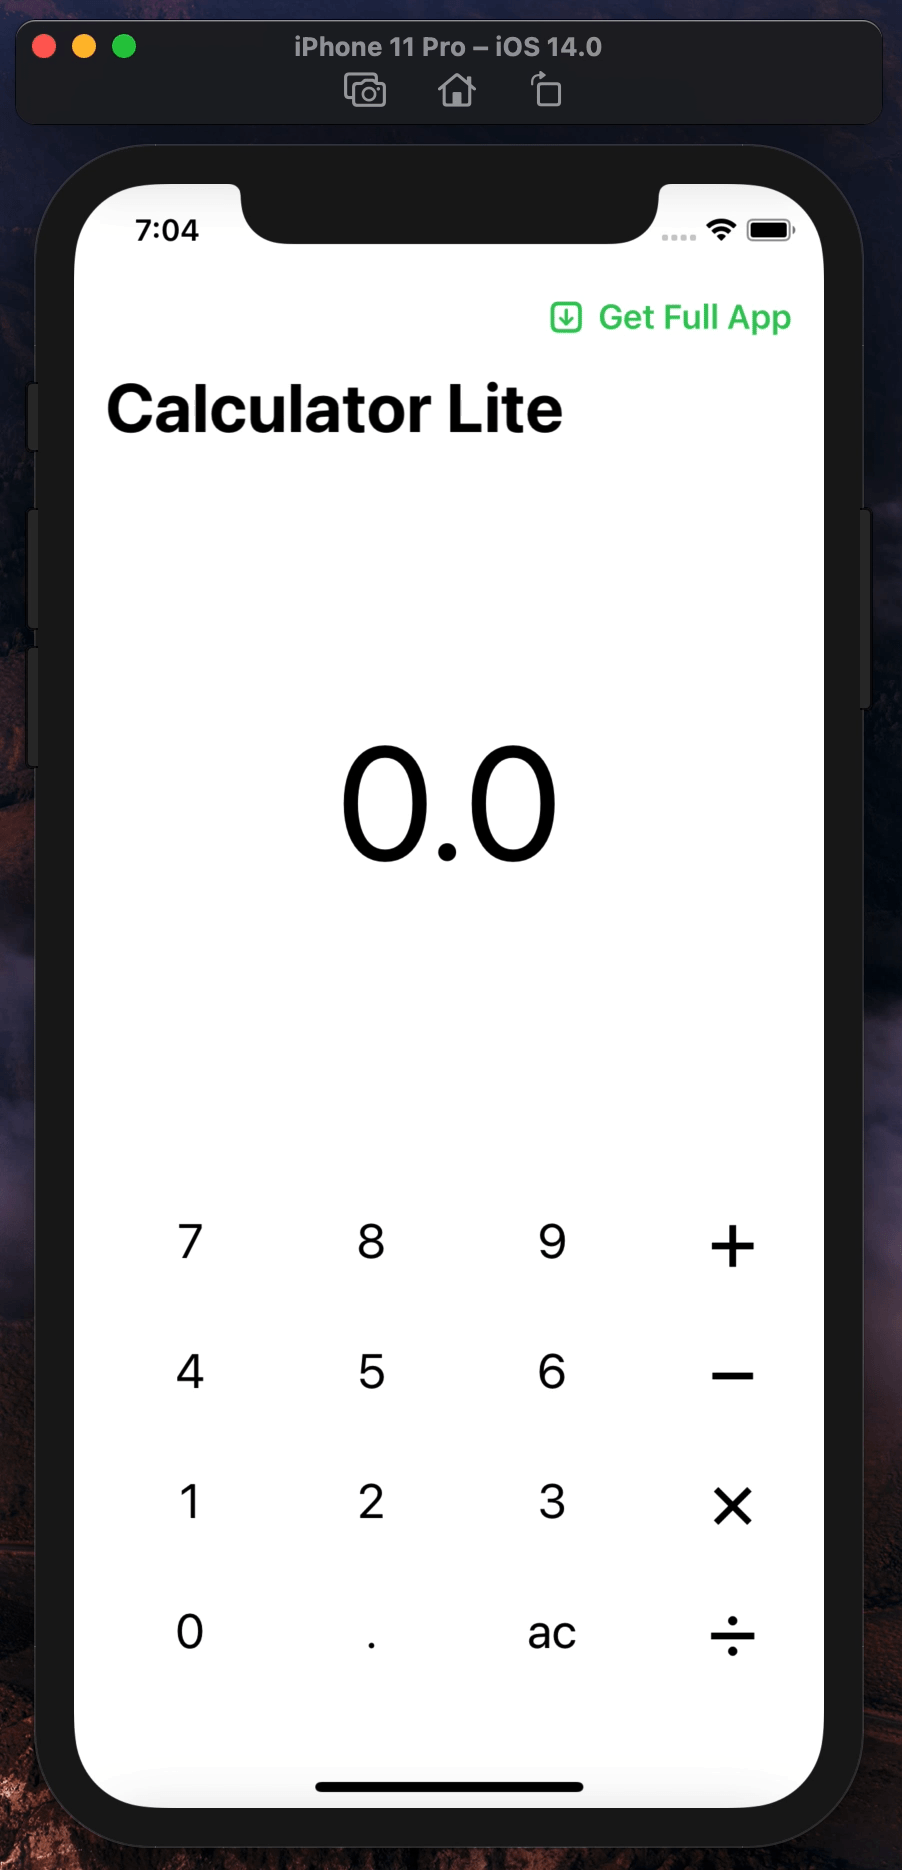
App Store Overlay: “Get the full app” Banner (Outdated)
Update(2020.9.18): Deprecated after Xcode 12.2 beta.
On iOS 14 beta 5 or later, try SKOverlay to call the promote banner.
Preview:
To make this work, add Storekit first.
import StoreKitThen, add appStoreOverlay (inside some View).
.appStoreOverlay(isPresented: $showAppStoreOverlay) {
SKOverlay.AppClipConfiguration(position: .bottom)
}
Don’t forget to define $showAppStoreOverlay (between View and some View).
@State private var showAppStoreOverlay = falseLooks Good! 👏👏👏
App Store Connect
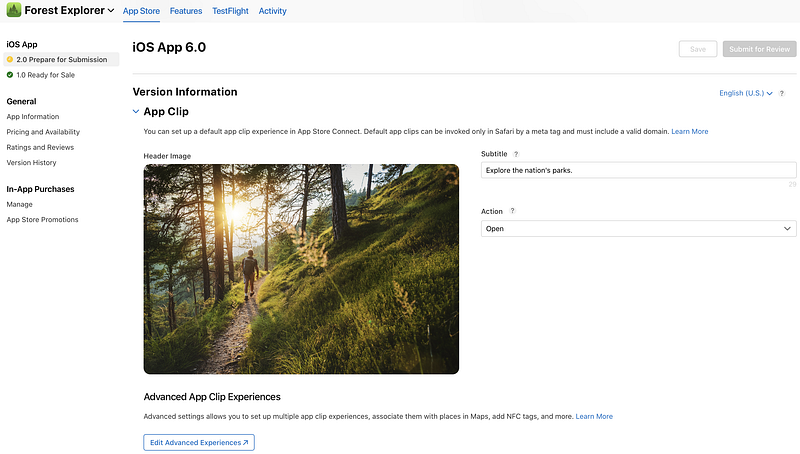
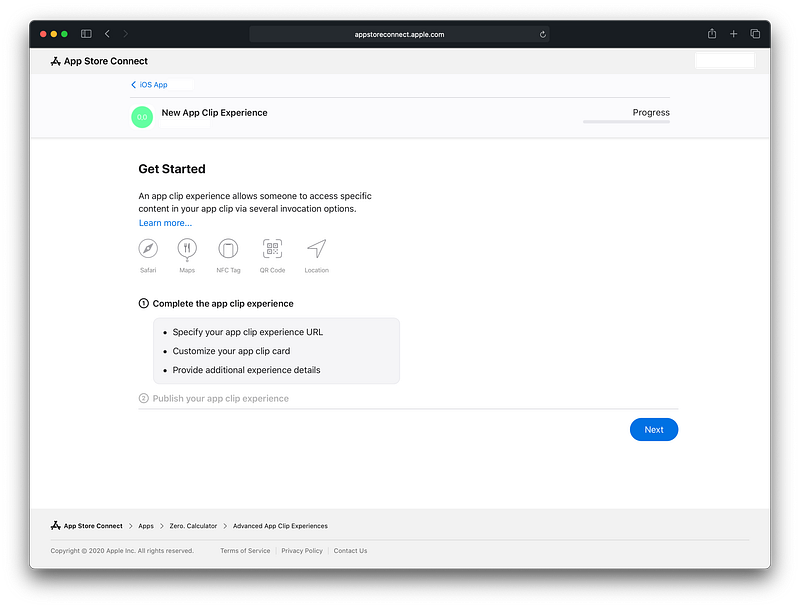
Advanced App Clip Experiences (New App Clip Experience)
Configure an advanced app clip experience if: You want your app clip to support all possible invocations, including invocations from NFC tags and visual codes. You need to associate your app clip with a physical location. You’re creating an app clip for multiple businesses to use. — Apple
You will see a new interface called “New App Clip Experience”, just follow the steps and provide Apple required information. You must provide a working domain/url (associate) to make it work.
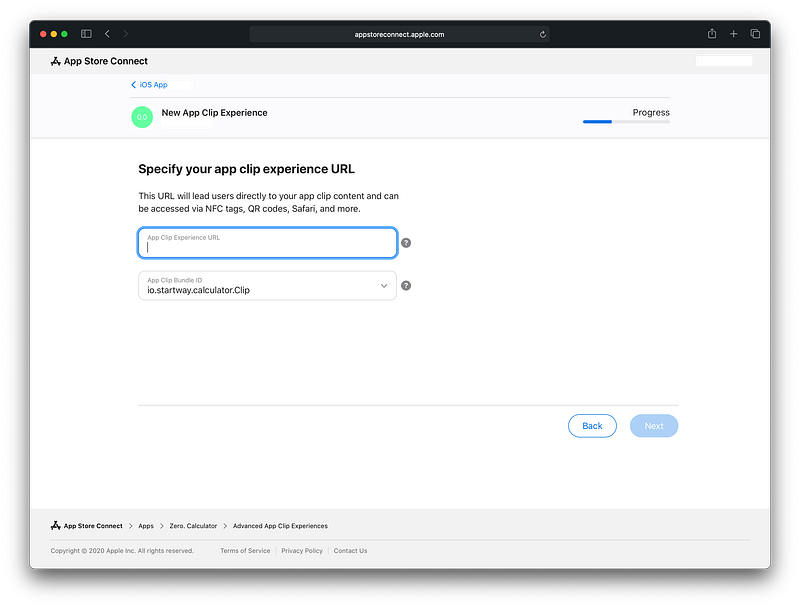
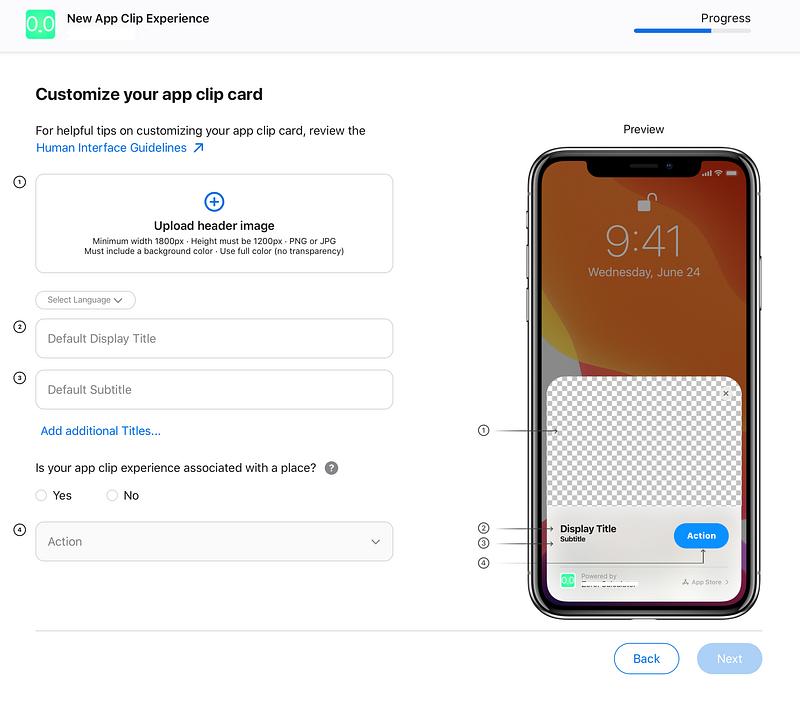
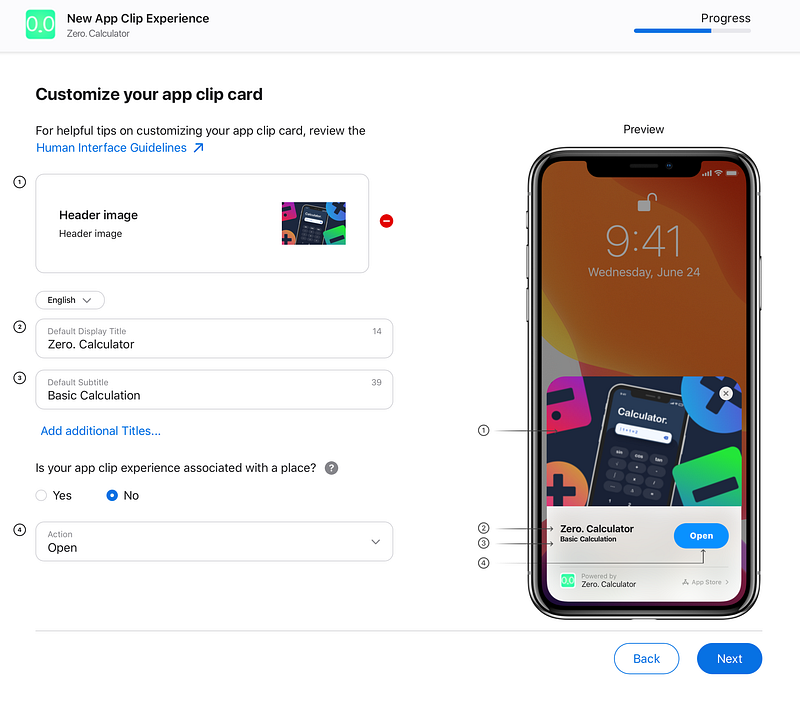
Notes:
- You cannot use dot(.) in Title Textfield.
- Image Size must be 1800x1200
- Apple will check your domain. Make sure you associate the app, app clip and configure your web server correctly.
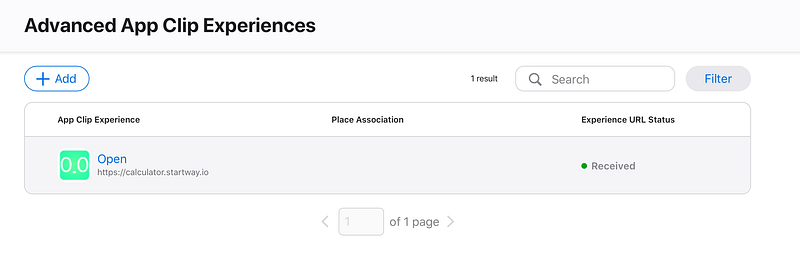
All done!
Update 2020.12.15: New App Clip Codes Generator is available now!
👏👏👏 That’s all! Thanks for reading 😄
If you have any questions, feel free to ask me via Twitter or simply comment below.


