Summary
This article provides a concise guide on creating a native widget for iOS 14 using SwiftUI in Xcode.
Abstract
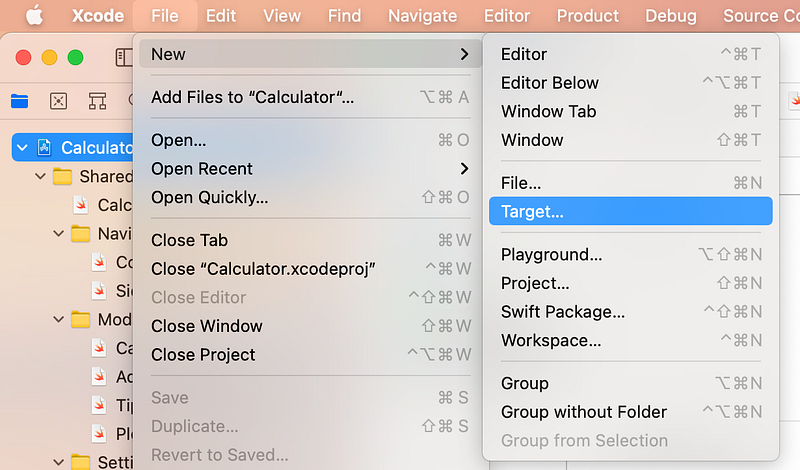
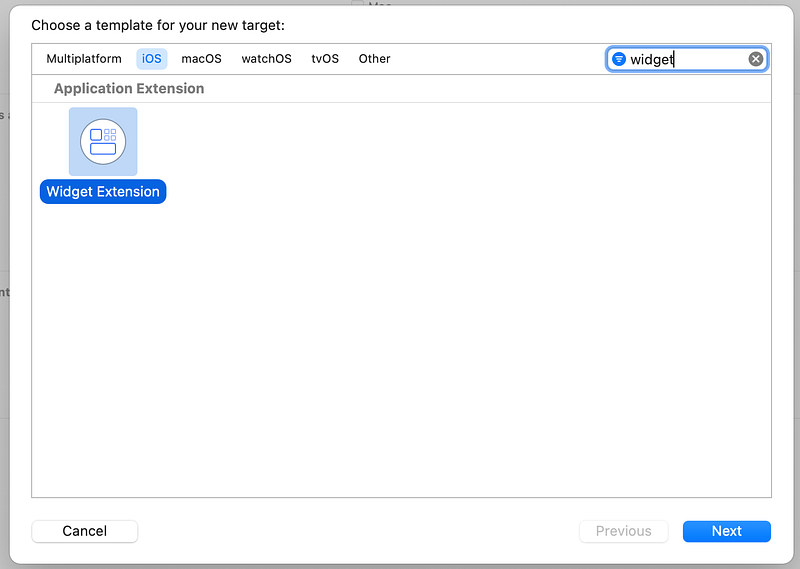
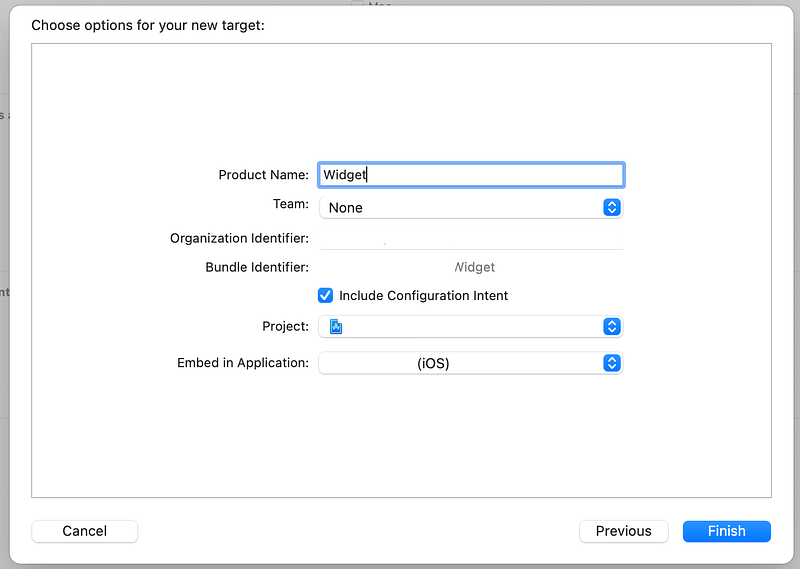
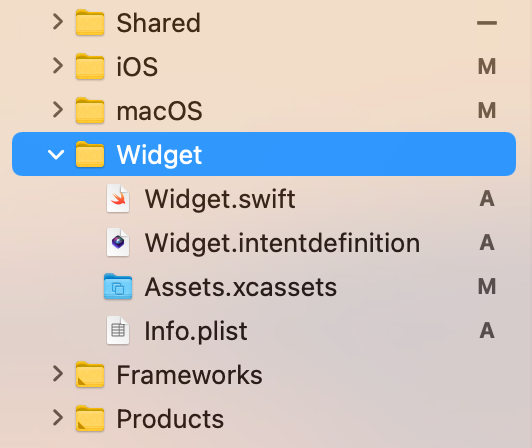
The article titled "How to: Build A Native Widget for iOS 14 with SwiftUI" offers a straightforward set of instructions for developers interested in crafting an Apple Native Widget for iOS 14. It begins by instructing to open Xcode and create a new target, specifically searching for a widget extension. The guide then walks through naming the widget product, configuring settings, and finalizing the creation process. It emphasizes the importance of renaming the widget to avoid conflicts and errors. The article concludes by directing attention to the newly created Widget.swift file, which contains the codebase for the widget, and expresses gratitude to the reader for their attention.
Opinions
- The article positions the process of creating a widget as simple and straightforward, implying that developers of varying skill levels can follow along.
- It suggests that using the term "Widget" for the product name could lead to conflicts or errors, advocating for a unique name to ensure smooth development.
- The inclusion of screenshots at each step indicates a preference for visual aids to complement written instructions, enhancing understanding and usability.
- The guide is concise, focusing on the essential steps without delving into more complex configurations or advanced customization, which may imply that it's intended for beginners or as a quick reference.
- The use of bold text for emphasizing key terms like "Widget" and "Left Sidebar" indicates a didactic approach, aiming to draw the reader's attention to important elements within the Xcode environment.