
How to better direct Midjourney ‘shoots.’
How to use Image prompts and the — seed parameter.
This is a short write-up on how I use Midjourney and ‘direct’ the scenes. Or rather, try to because it doesn’t matter how tight you set all your parameters; there is always a small amount of randomness that can throw the scene off entirely (and thus also create happy accidents)
All features and parameters are described here, too: https://docs.midjourney.com/docs/quick-start
TLDR: Use a image prompt and the — seed parameter. You can use a real image for the prompt or have Midjourney create one for you. Using multi-image prompts helps tighten the scene some more and don’t forget to use prompt weights (thing::2)
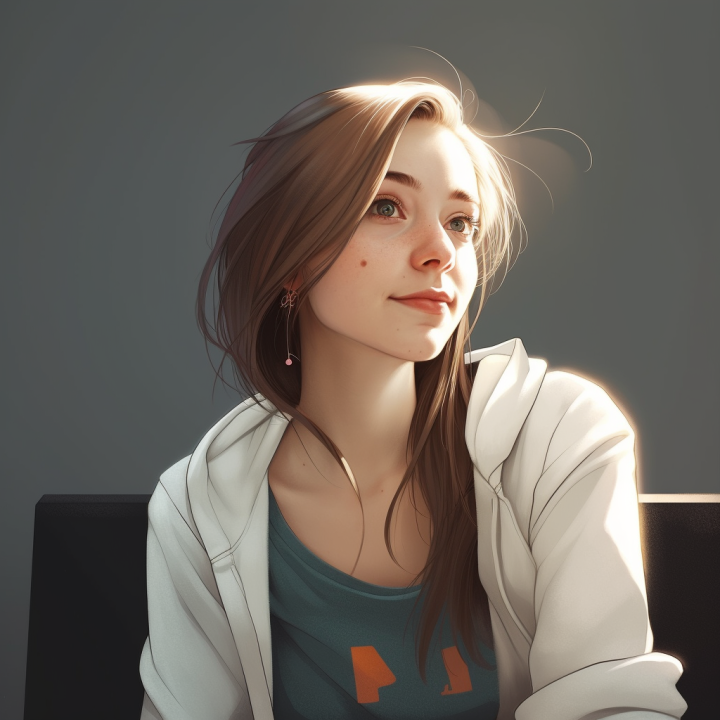
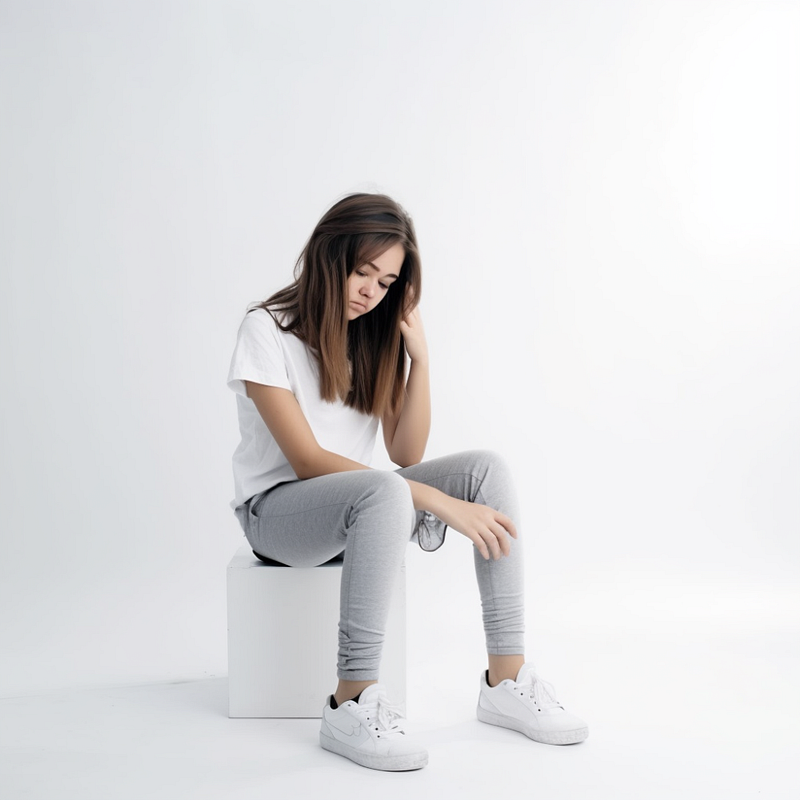
So let’s start with a base image; this will be used as the main character.
Now you must understand that Midjourney does not use a filter like TikTok or snapshot does, so the base image is just that, a base for other things to happen on. Other prompts to run against. And in many conditions, the resulting image might not look like the base image at all because Midjourney (and other image generation techniques) use a visual description to first describe the image you used as a base image. Most of the time, it’s reasonably accurate, but the more things that are happening in the base picture- the further off ‘base’ it can get.
Closed eyes
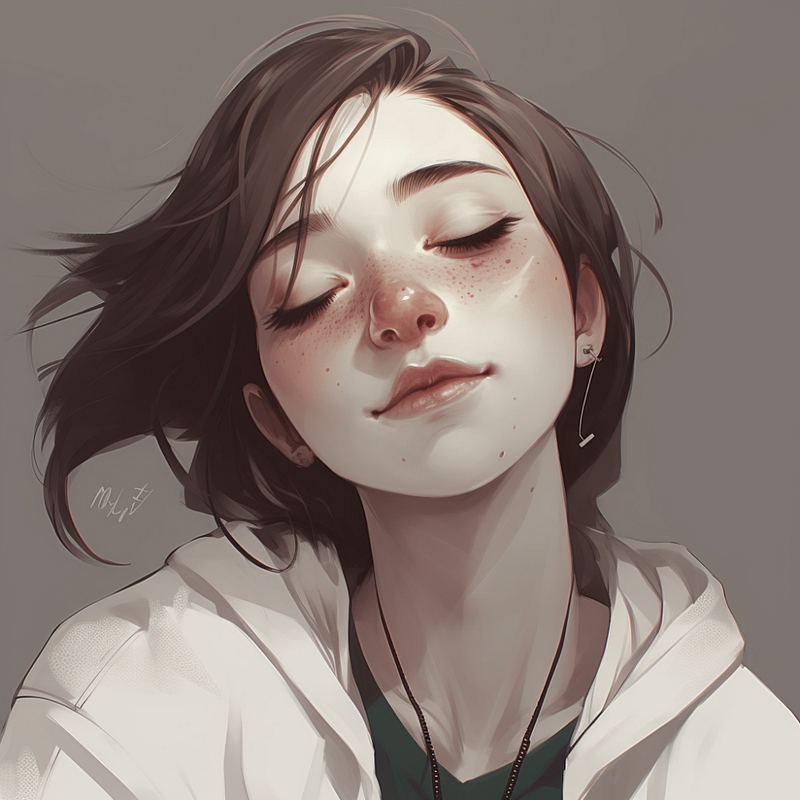
This was relatively easy. Just add eyes-closed with a weight of 2. The weight here ensures that all emphasis goes to that part of the prompt. (2 is arbitrary here because there are no other weights)
Touch Face

Touching the face was a bit more difficult because the base image didn’t have hands or that gesture in it, and it tended to drift somewhat from the uploaded image. I used another trick, and that is — iw 2 (Image Weight 2), Which means that it should cohere to the image prompt as best as it can (or wants)
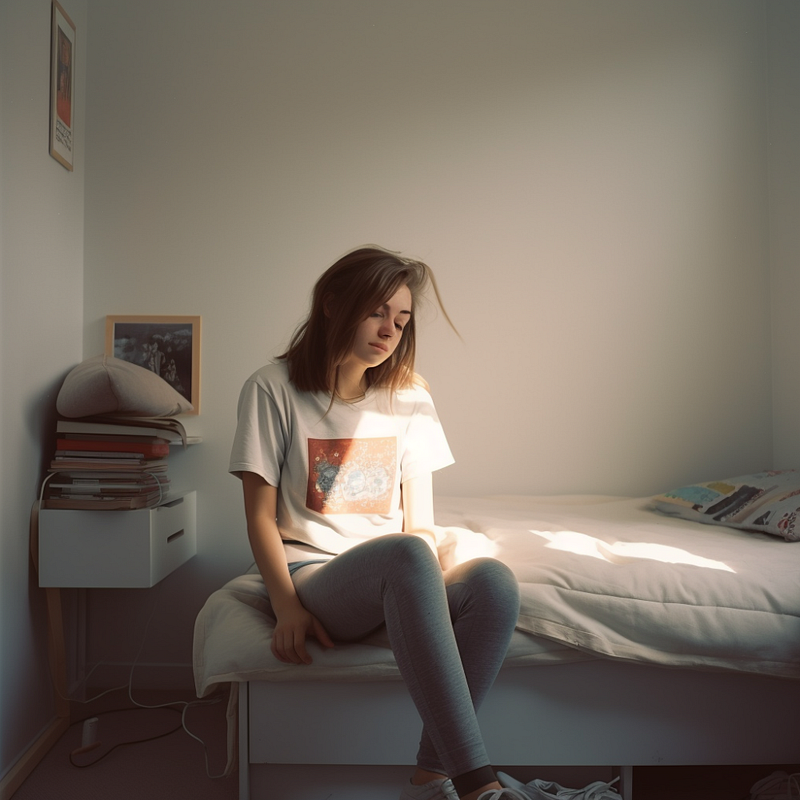
Combining images
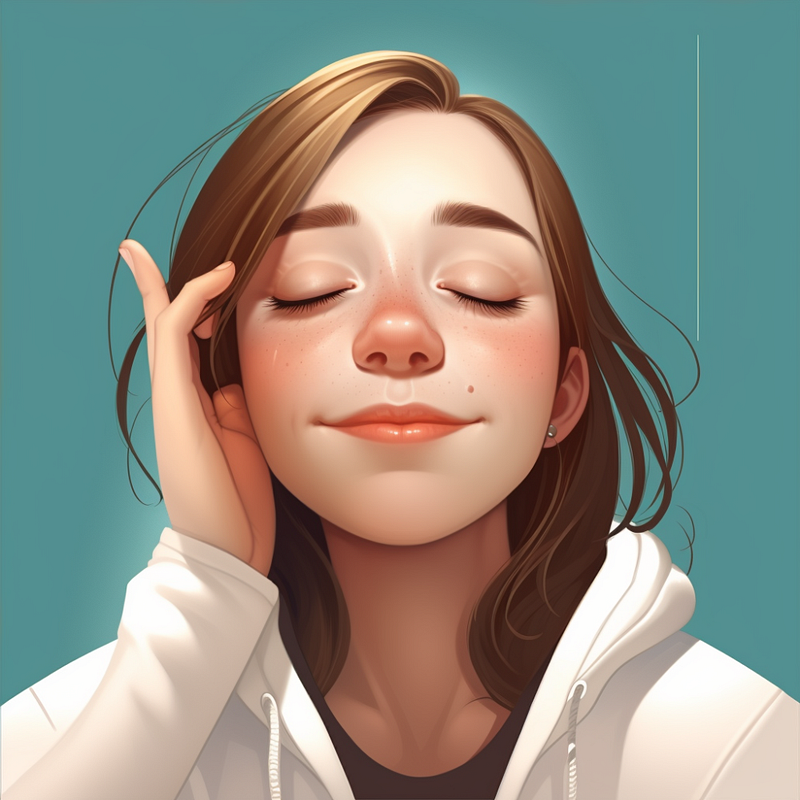
By combining two images, it became a bit easier to have the girl close her eyes and touch her face. You can see it drifts off a bit style-wise. I could probably mitigate that by spending more time picking the right base images for this.
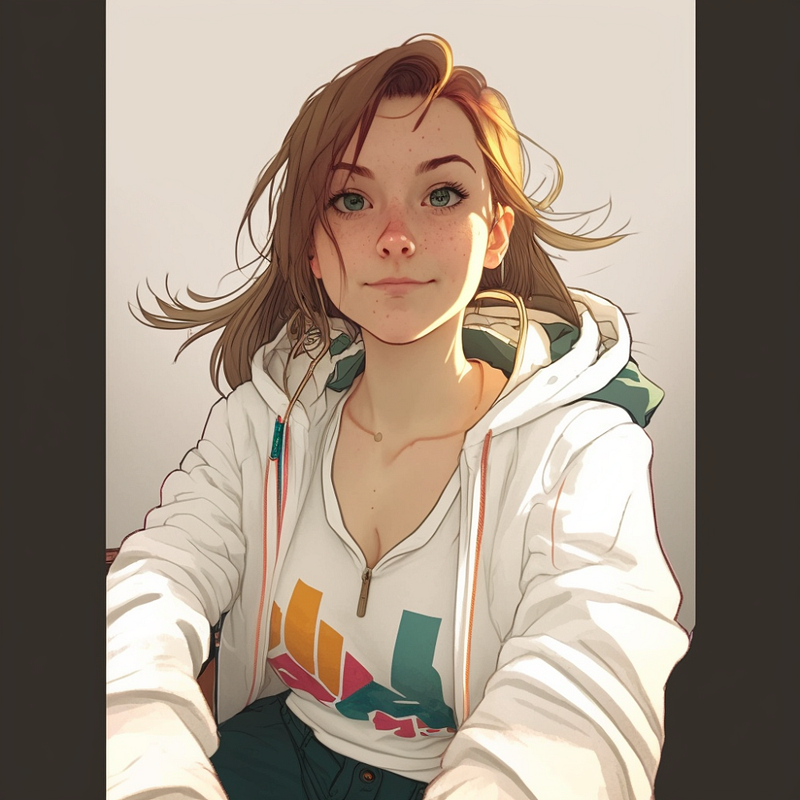
Sitting on top of bed wide angle shot
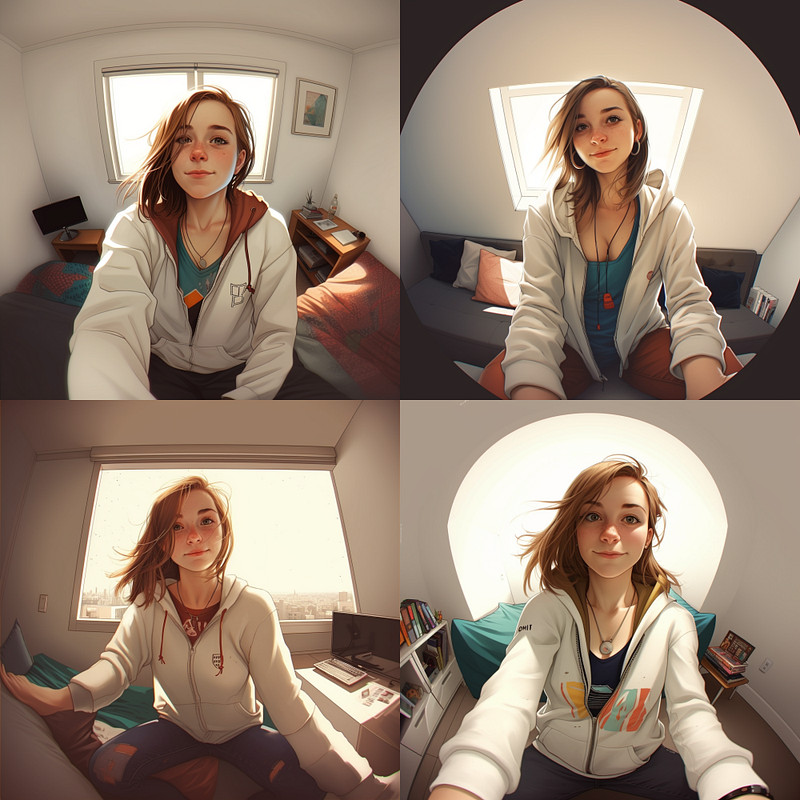
Here I am starting to use seeds. A seed number is used in a randomize function to start the image generation. A similar seed number will produce similar images.
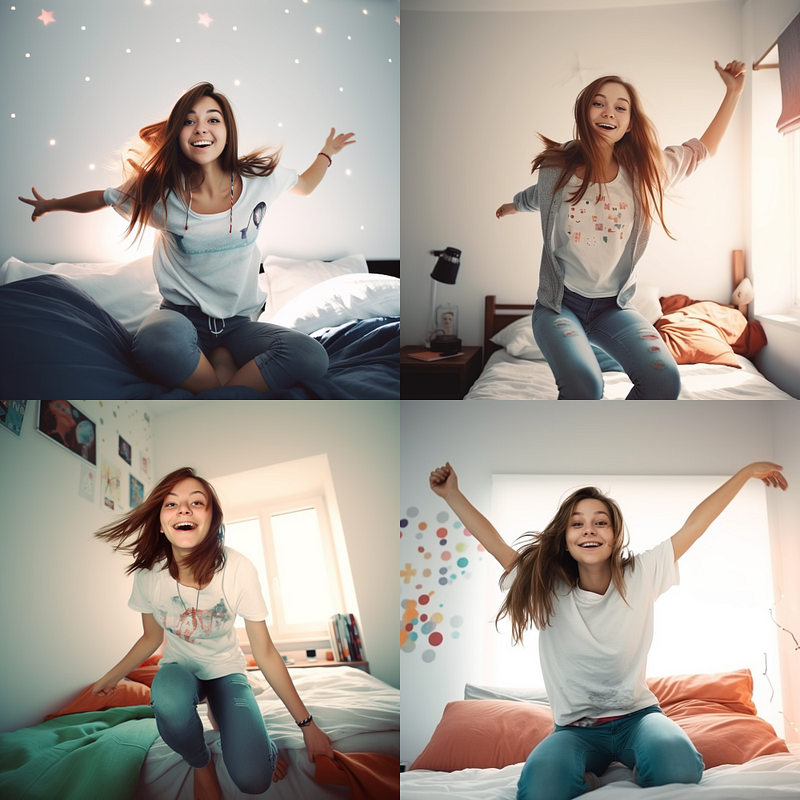
Arms up high
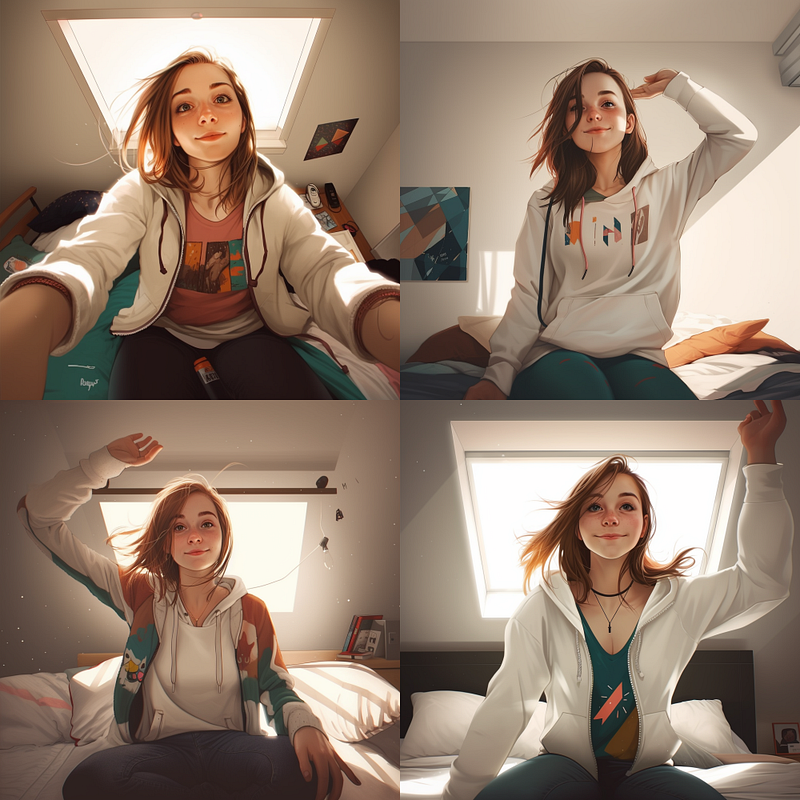
Because we used the same seed, it tends to stick to the scene where we added that seed the first time (you pick your seed number). I just added the ‘arms up high’ prompt description.
I use these two tricks to make the character and scenes as similar as possible between ‘shoots’ and to direct my subject. I am not a photographer, so I probably used all the wrong terms here; apologies for that.
Everything I talked about here you can find in the Midjourney manual. I have not gone through everything by far. I have not discussed negative prompts (using — no ) and the — chaos parameter, for instance, which are very powerful parameters. Maybe another time.
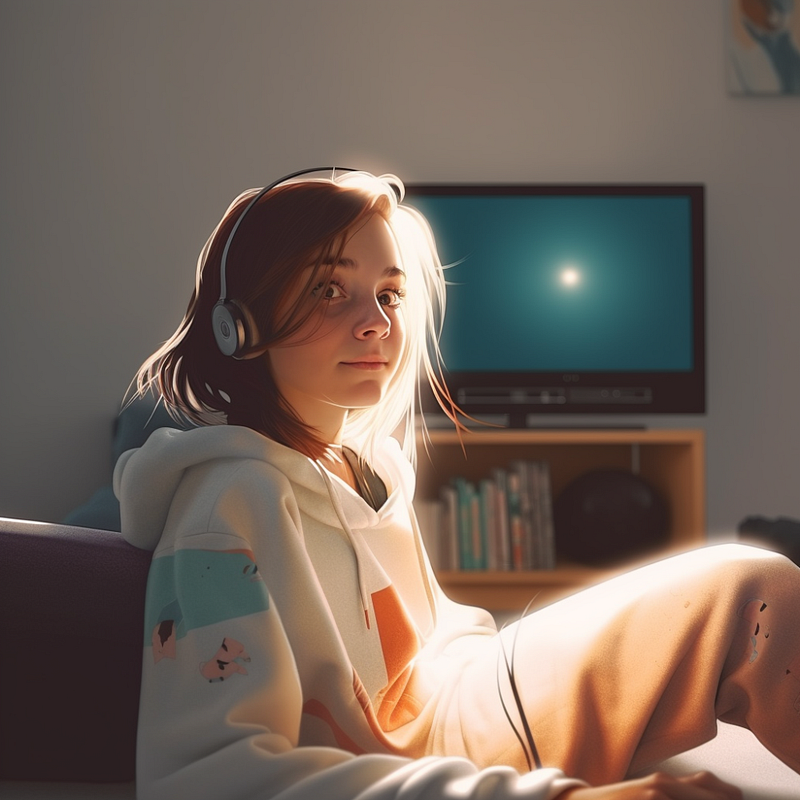
Here are some of the other experiments I did for this article. Mind you; I did many more. It’s not a one-shot-and-you-are-done type of deal.
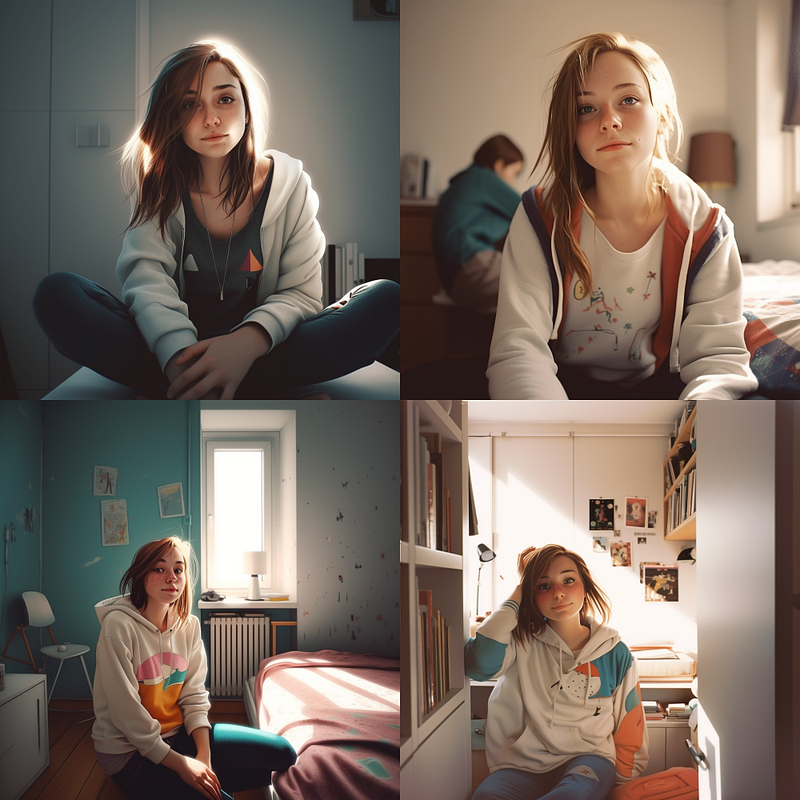
Sometimes using one image is not enough. Here I added another image (Midjourney generated) first.
(So much for ‘sitting on the floor’)
By combining this one with the original one, I get this.
If you enjoyed this article, please consider following me here on Medium for more stories about GPTx and Productivity. ChatGPT, Midjourney, and Generative Tech. I’d really appreciate it! Have a great one!


