How to Add Realism, Personality, and Life to Midjourney AI Portraits
My Step-by-Step exploration into the creation of life-like AI imagery
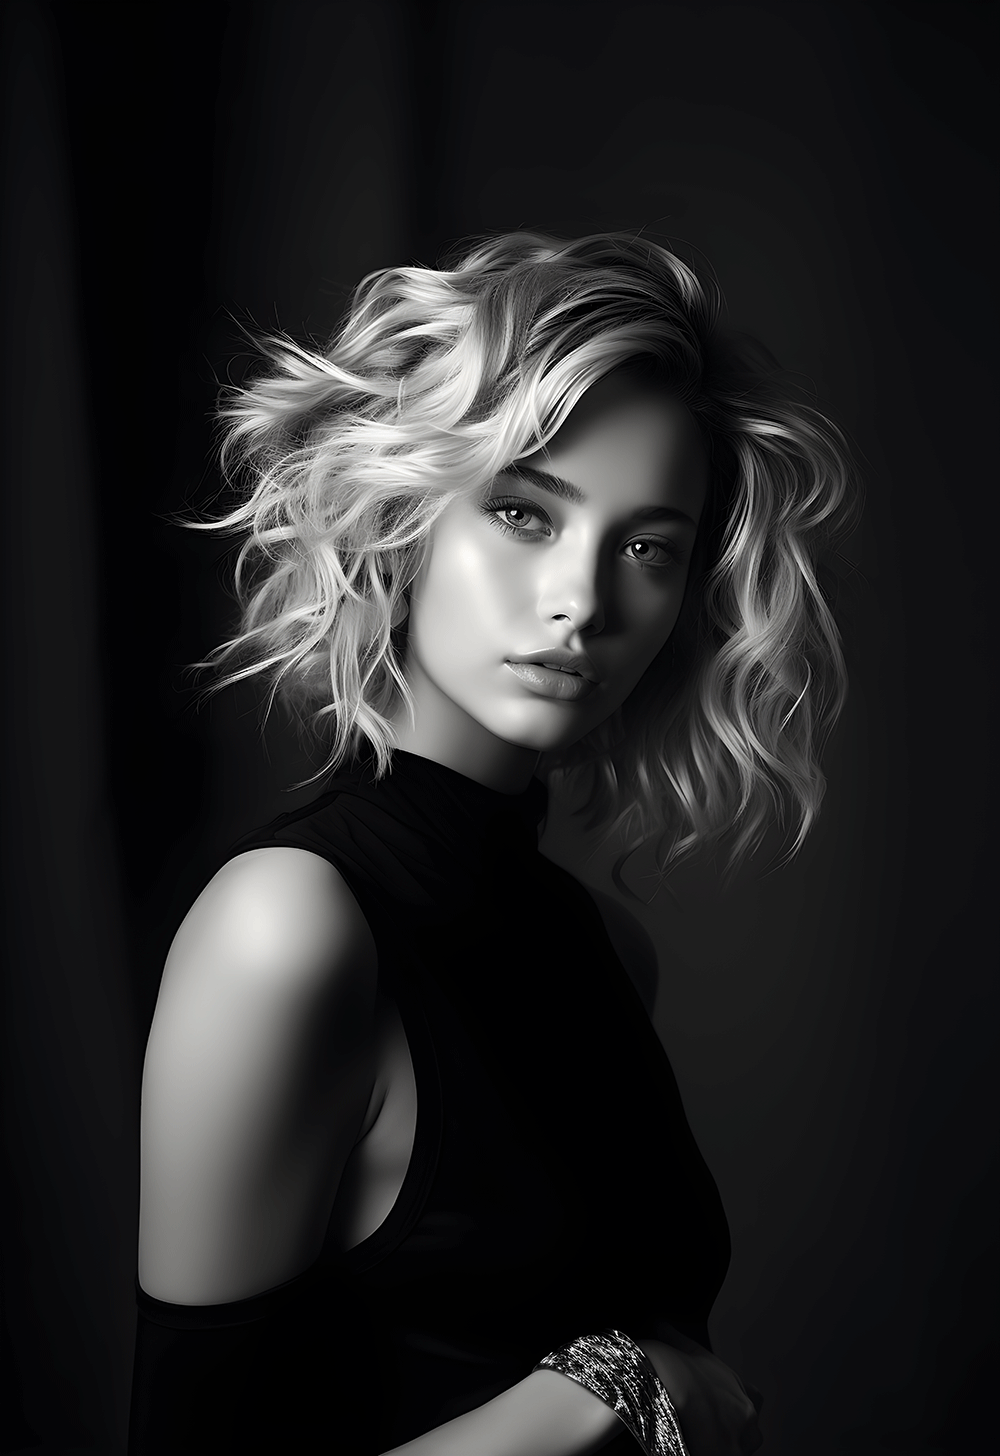
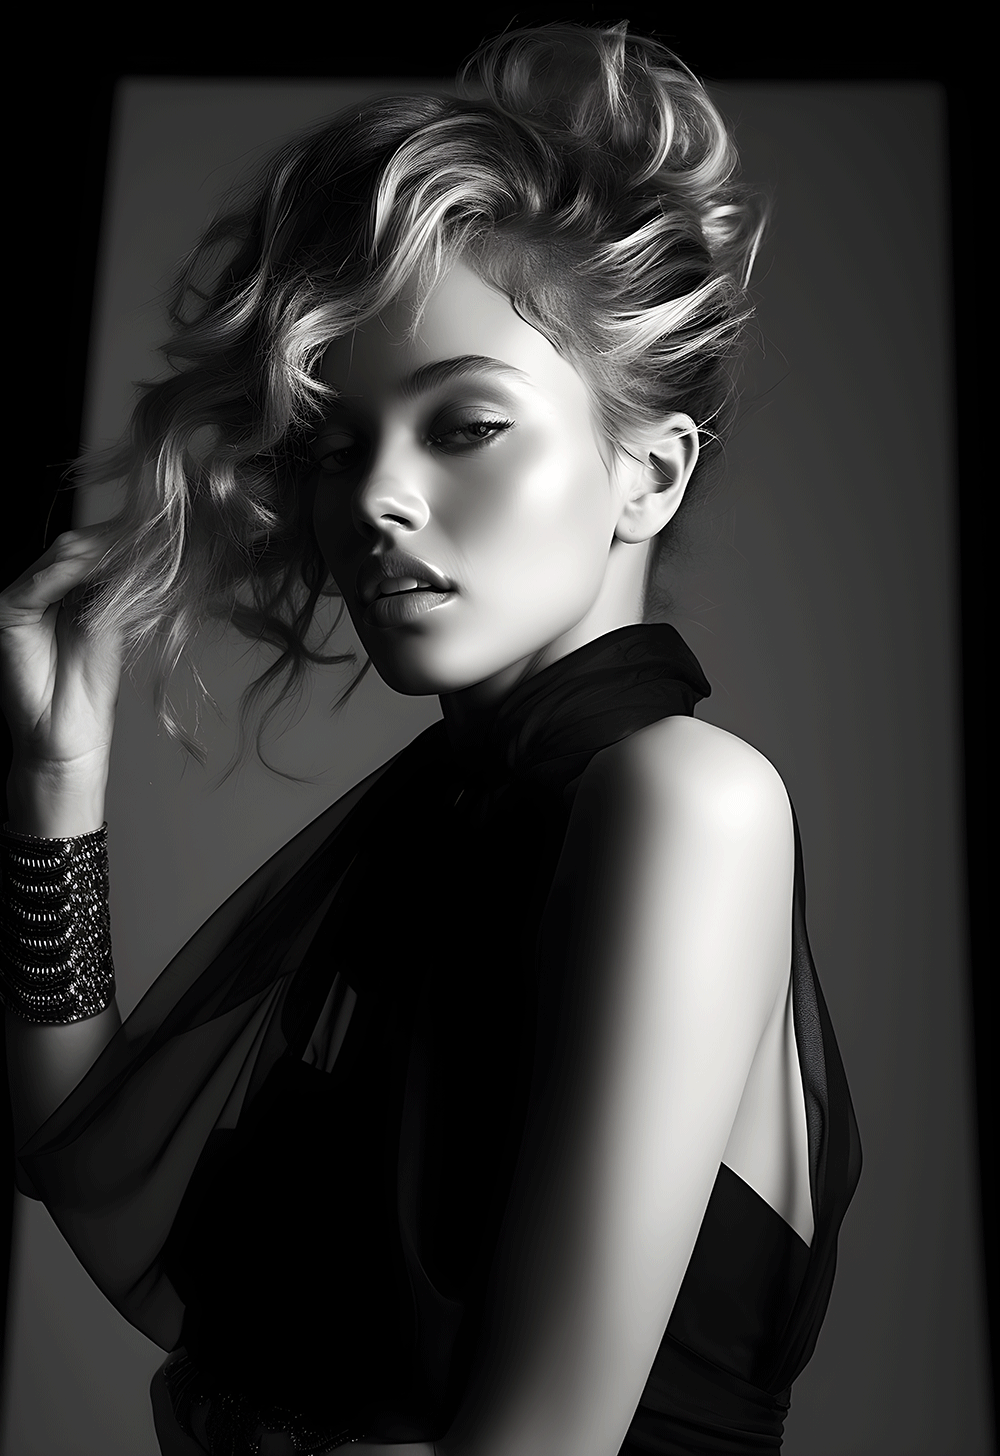
Recently, I wrote an article detailing ‘hacking the code’ of life-like facial generation in Midjourney. But I always strive to push myself further. The images created were certainly more lifelike, but in their naturalness, the faces had slight distortions. In the days to follow, I questioned, “could I keep the ‘look’ of the original image and just add more personality to the original faces.” The answer again? Yes I could and with even more control over the output. Take a look at the difference in this animated GIF.
Here’s another one…
First, If you want to read the techniques I employed in the last article you can read it here…
But this new technique gives me far tighter control over the output, and keeps the face nearly identical to the original as you can see above. The step-by-step in this story is even easier than the steps in the last one. Ready? Let’s begin.
Step-by-step guide to more AI personality
First, like my original story, I start by adding the following suffix to my prompt: “shot with Canon R5, 70–200mm, cinematic studio lighting, strong shadows, photographed by Bert Stern, 8k UHD -s 800”
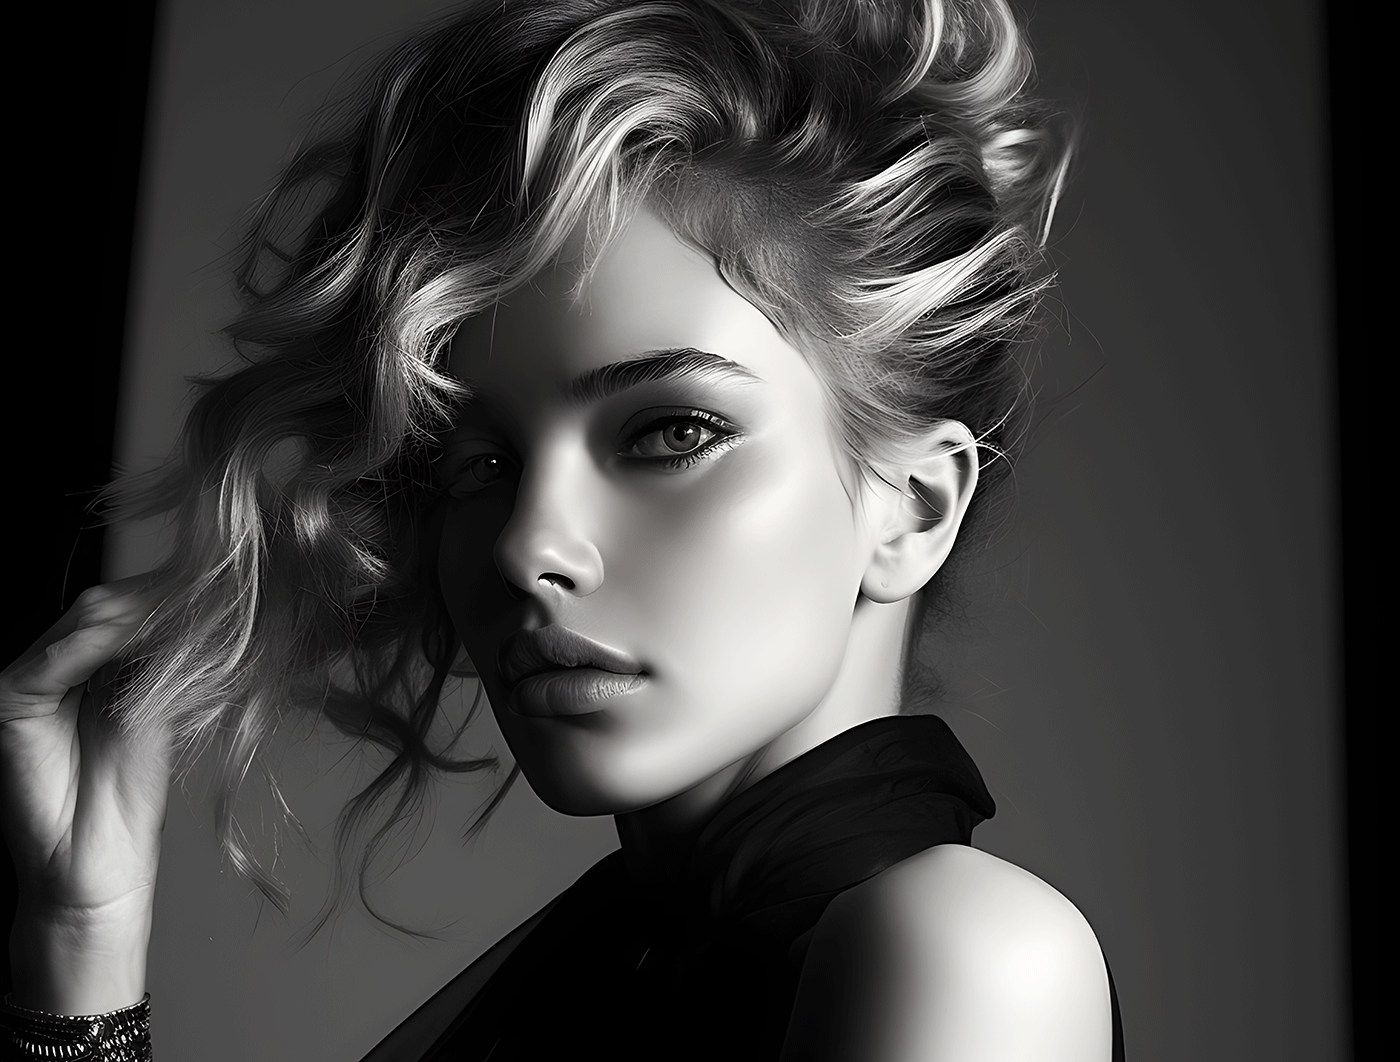
That produced the following image
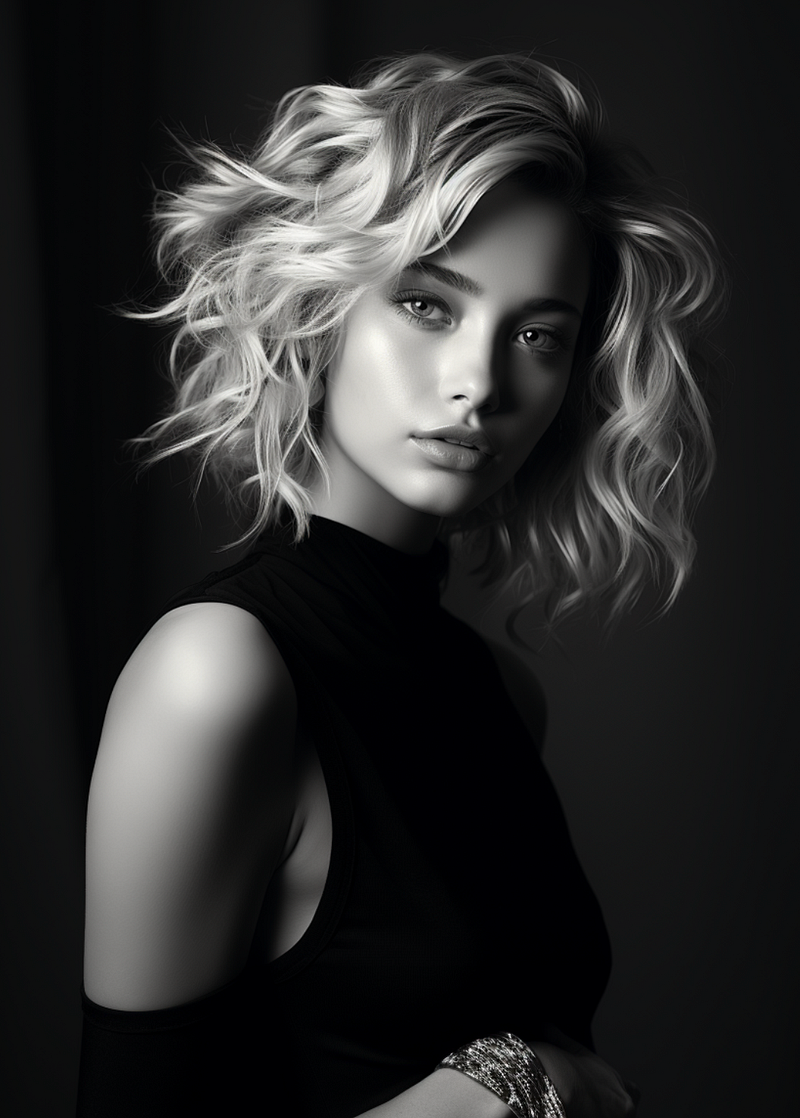
As stated in my other story, Midjourney is able to create some pretty life-like images, but there is just that slight hint of flatnesss in the image above. I used the VARY (REGION) section and AND, HERE IS THE TRICK, traced precisely around the eyes, nose, and lips in a tight semicircle (AND NOT AROUND THE FULL FACE).
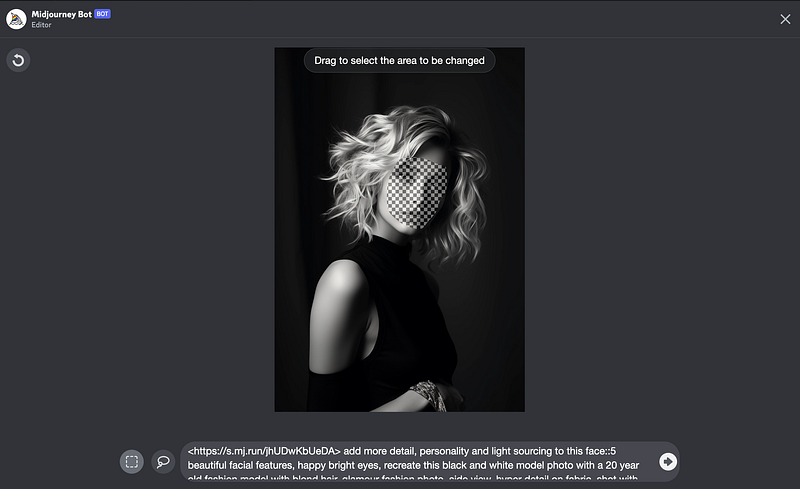
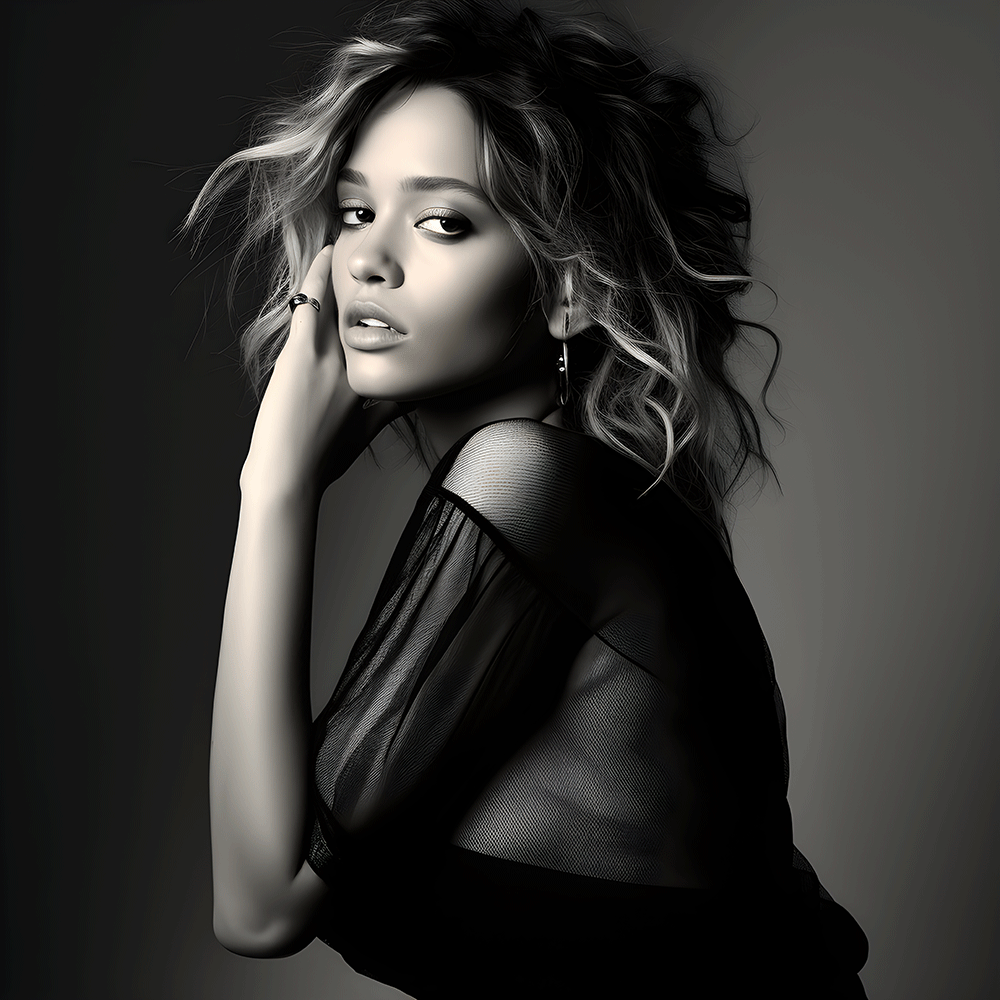
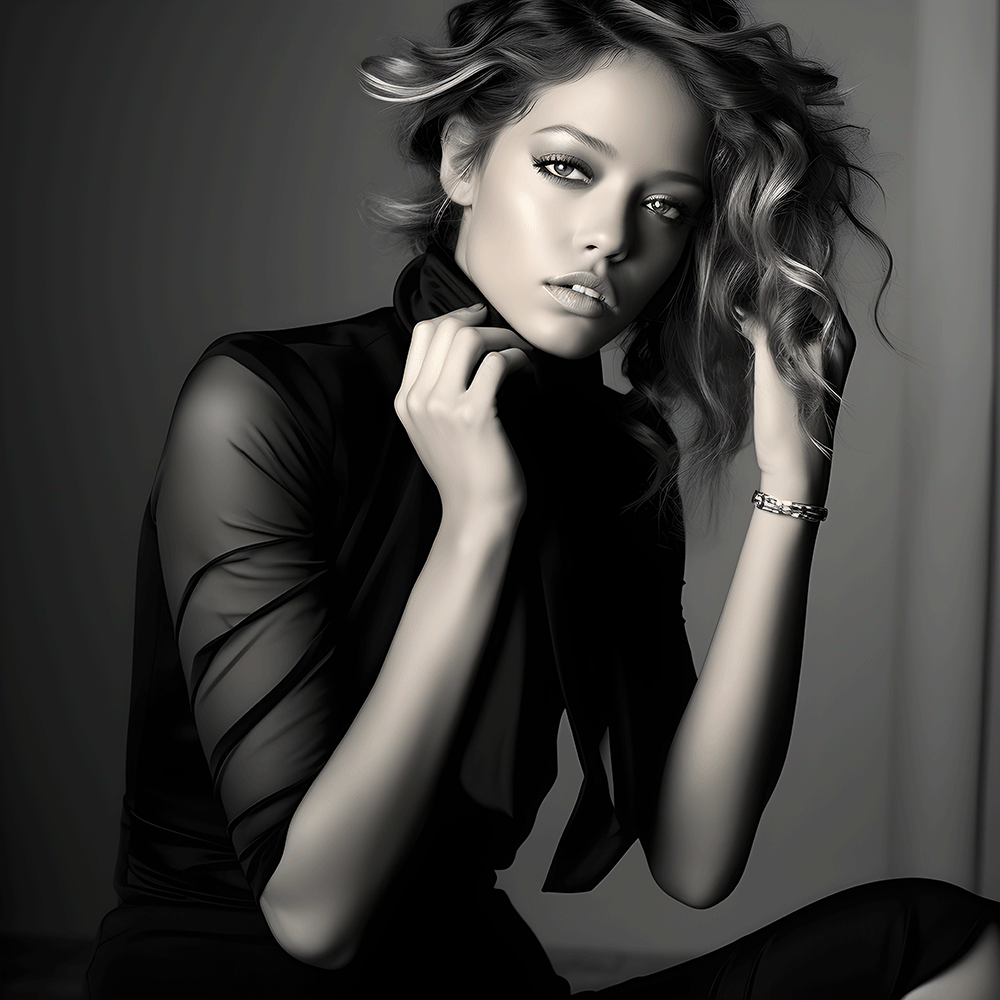
Then, I added the following text at the FRONT of the prompt: “add more realistic detail, personality and light sourcing to this face::5 beautiful facial features, happy bright eyes.” That produced the following four generations.
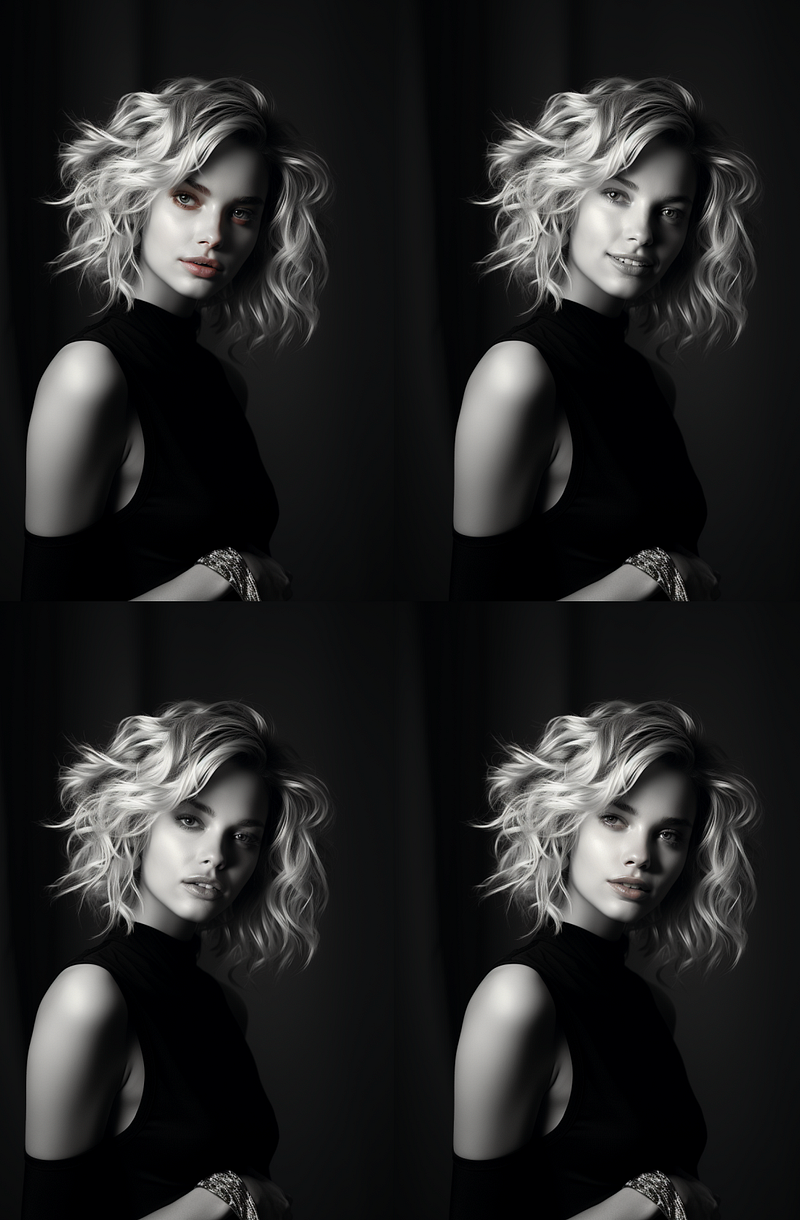
If you read my last article you’ll see how dramatically more controlled these generated images are, compared to the techniques I employed previously. All of these could have worked, but the top right seemed to really capture the full personality.
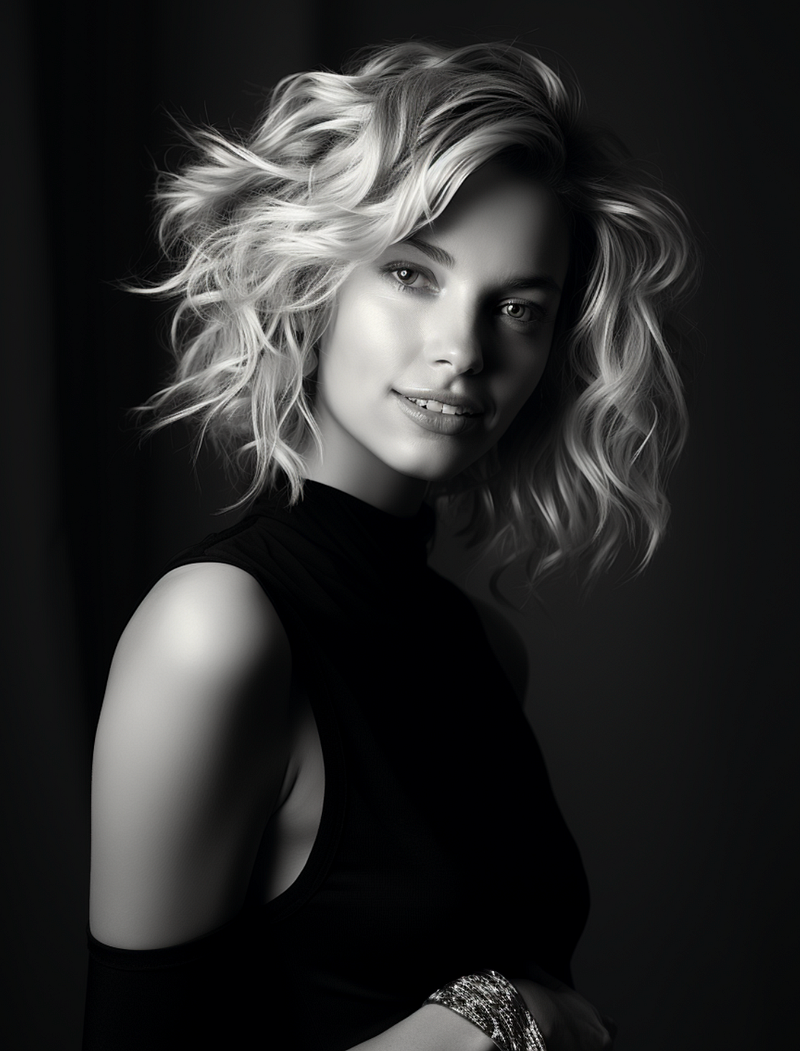
And just like that, in minutes, I was done. Here’s an animation to see the difference.
Can it be that simple? I have done this repeatedly and have achieved nearly identical results. Therefore I believe the answer is a resounding “yes!” I hope that this technique inspires you to create even more realistic imagery.
I will continue to push the boundaries as I look on Midjourney.com to see if I can spot any work that may have employed this technique. Please reach out to me with your own discoveries.
Live inspired.

This story is published on Generative AI. Connect with us on LinkedIn to get the latest AI stories and insights right in your feed. Let’s shape the future of AI together!