
How This Product Manager Created a $6000 Side-Hustle Sticker Inventory in Under 3 Weeks
Over the course of the past 3weeks I’ve spent an hour or two each evening after work and several hours on the weekends generating, editing, printing, and cutting vinyl stickers. In that time, I’ve generated over 350 designs and cut over 1500 stickers, all sellable as a side hustle.
It’s certainly enough inventory to open a small shop on Etsy, Shopify, or elsewhere.
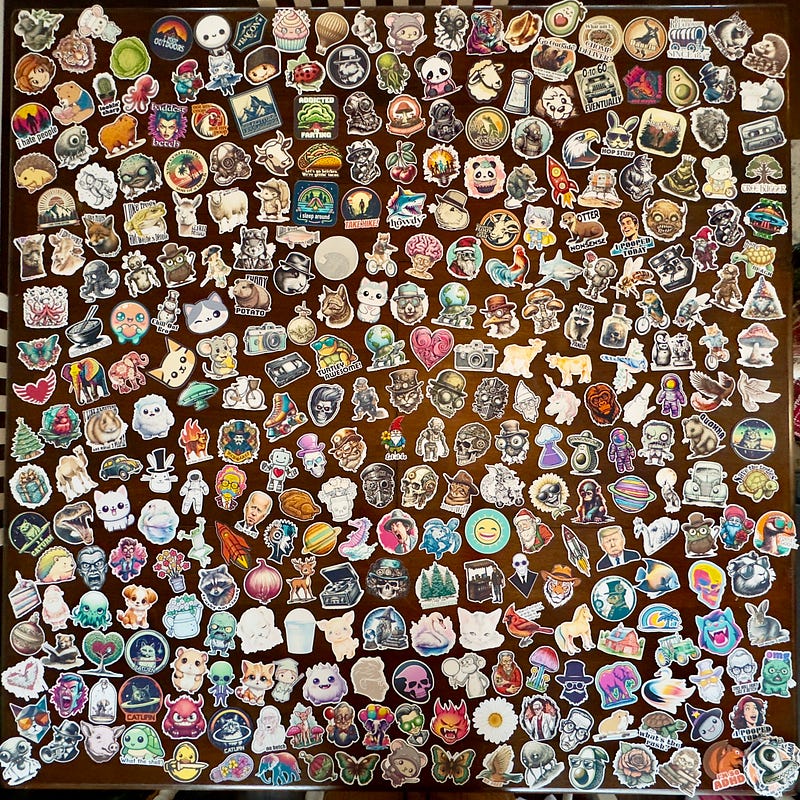
I figure at a price point of between $3-$5 each (the going rate for many custom vinyl stickers on the internets), my little inventory is worth between $4500-$6000, and there’s nothing to keep me from continuing to print more. Obviously printing on demand makes a lot more sense, but I figured I’d start with a small inventory of 4–5 stickers of each design for quick shipping.
I work (more than) full time as a Senior Manager of Product Management for a major US-based company, so it’s safe to say that I’m busy. Like, really busy with my career. If I can find the time to put together this side-hustle, pretty much anyone can (ok, fine, you specialized neurosurgeons on call 24/7 probably can’t do this, but would you want or need to?).
So far, this has been a really fun diversion for my ADHD mind to endulge in. Each design is a little hit of adrenaline that pushes me on to make another…and another…and another. If you’re like me, the process will actually fuel your energy with the excitement of making something out of nothing.
I’m going to be generous and lay out my entire set of tools and my process, step by step, so you can do this too. I’ll be honest, the sticker market is extremely saturated, but there is a lot of demand, and custom designs are hot.
Step 1. Generate some designs.
I use primarily Midjourney to generate my sticker designs. Probably 90% of the designs I’ve printed have come from Midjourney. The other 10% come from Dall-e 3. Why so many from Midjourney, you ask? Well, while Dall-e 3 is probably more capable of accurately rendering a design based on a text prompt, I feel that Midjourney is far more creative and can output an almost infinitely-wide range of styles. It can be frustrating when MJ can’t seem to get exactly what you’re prompting for, but many times the output is a surprise that is magical in a different sort of way.
My secret sauce for MJ prompts is
/imagine prompt: [medium][subject], plain white background — style random
That’s it.
And if I’m feeling like I’m stumped and just can’t quite think of even one more thing to prompt, I’ll use a prompt like this:
/imagine prompt: unique die cut sticker design on a white background — style random-random
This prompt creates far more variable designs, and quite frankly, only some of them are useable or discernable, but it’s an easy way to overcome a creative block. I just recommend generating using Relax mode because you’ll find yourself generating dozens and dozens of times just to get a small handful of good designs.
Step 2. Remove background and upscale.
I’ve written about ClipDrop before, and have no shame in promoting it again. It is my favorite tool on the internet, and I use it on every single sticker design. Specifically, I use the “Remove Background” and “Image Upscale” tools. Sometimes I’ll use the “Text Remover” tool, but much less frequently.
Once I have a design, I copy and paste it into the “Remove Background” tool, wait a second or two for the job to complete, and then move to upscaling. ClipDrop makes this super seamless by allowing you to transition from removing the background to upscaling simply by pressing “Edit” and then “Upscale” after removing the background.
I recommend upscaling 4x. The benefit of using ClipDrop is that the “Image Upscale” tool does more than just make an image larger — it sharpens it as well. And it does a really great job. With 4x resolution and an AI-sharpened image, you’ll have an awesome design with crisp, clean lines and edges.
Step 3. Edit and add text.
I use Affinity Designer 2 for this step, but you could use other similar tools, like Photoshop or GIMP. The purpose of this step is to remove any unwanted artifacts, whether they be residual shadows or pixels from the background that survived the ClipDrop cleanup or funky borders created in the generation process. You’ll know what I’m referring to when you encounter them yourself.
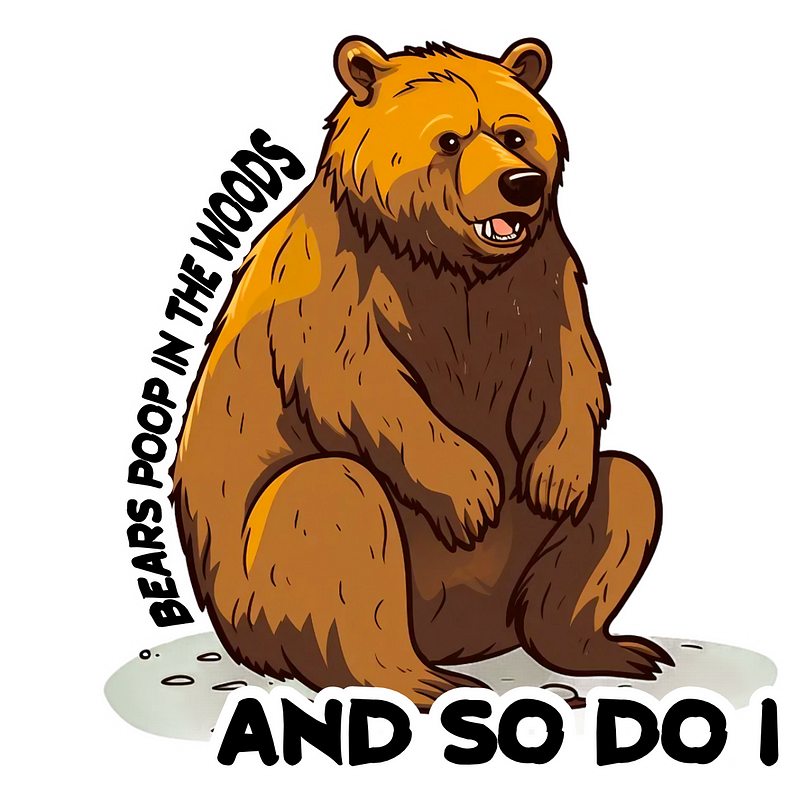
For text, I like to add a little caption or phrase where appropriate that complements the image. For example, I had seen the phrase “Snort Pines, Not Lines” online somewhere, so I generated an image of a hiker in a pine forest and added this caption to create a holistically-desirable sticker design.
Using the Mesh Warp tool in Affinity, I warp the text and place it exactly how and where I want it against the image for maximum cohesiveness and flow. It’s all about being visually appealing!
Step 4. Print.
For this step, I use a Canon Pixma inkjet printer. It’s not a dedicated photo printer, but it does a really good job of printing stickers. Since we aren’t printing someone’s family or wedding pictures, it’s good enough.
I also print on water resistant vinyl sticker paper. There’s a number of options on Amazon or elsewhere, so you can take your pick. For my inventory, I used about $60 worth of paper.
Step 5. Cut.
For this step I use a Cricut Explore. It’s nothing fancy, an old model. It’s not particularly fast — the newer models can cut up to many times faster, but it does the job. Like I said, I’ve cut over 1500 stickers in the past 3 weeks.
Steps 4 and 5 can easily be outsourced. Services like Printify will print and ship on demand, so you can get into the business without any inventory or tools. Obviously you’ll make more profit printing and cutting yourself, but this is only viable until a certain point, at which case your volume will demand that you find a scalable alternative.
All in all, this is a fun and rewarding side hustle. I’ve yet to make any money doing it, but I haven’t tried anything beyond building an inventory of designs and printed stickers.
If you’ve tried something similar, post a comment and let me know how it went/is going! I’d love to hear your experiences.


