
TIPS
How I Put Together My First Photography Exhibition
A Guide for Photographers
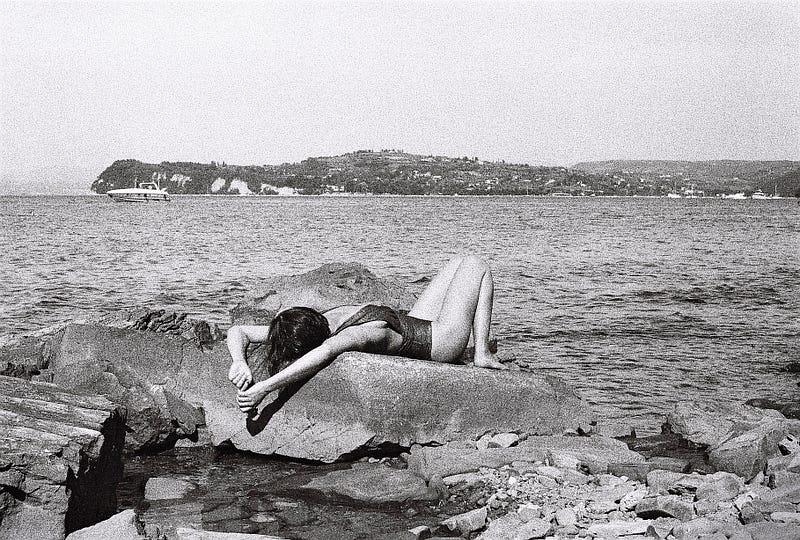
“I hoped that people would see me in my pictures more than was there, see them as more complete than they were, as I sought the ambiguity of shape in the echo of image, so that up close what had looked most definite to the observer turned into grains of soaking light, as it might appear to someone drowning in the sea on a beautiful day.”
- Paul Theroux, ‘Picture Palace’
This past month, I’ve been hard at work preparing for my first photography exhibition in my hometown, and I would love it if some of the lessons I have learned could help anyone here as they go through a similar experience.
Following is what I believe to be the top eleven most important pieces of the puzzle:
Booking a Date/Venue
The hardest part can be forging an “in” with a venue/gallery/exhibition space. In my case, I reached out to a couple of artists and photographers in my hometown, and asked where they suggested I focus my search for my first exhibition venue. The photographer I asked was extremely helpful in suggesting a list, and offered to send me the contact info for venues I wished to solicit. I emailed the curator of the first venue she suggested, a local art/martini bar downtown, and sent them a link to my portfolio. I was accepted first thing, and was given my choice of which month I wanted to select for my show.
Second point — It’s critical to have a professional-looking website for inquiries like this, and to know how to design a quality portfolio — you should NEVER send a link to Instagram or Flikr, etc.

Coming up with a Theme
Hopefully, you’ve given yourself some time to prepare. In my case, I booked the venue for December, as I knew I would be home for my travels, and I did this back in January, so I had essentially all year to meditate on my theme and title.
I had a couple of themes in mind, based on how my travels had unfolded over the past couple of years. Some concepts that I was working into my photography came to mind, but ultimately, it was from watching one of my favorite bands perform live in Vienna, Austria in October, where a song lyric triggered what I thought would be the perfect title for my show.
Once you have the theme, it can help you in the next step, the selection process.
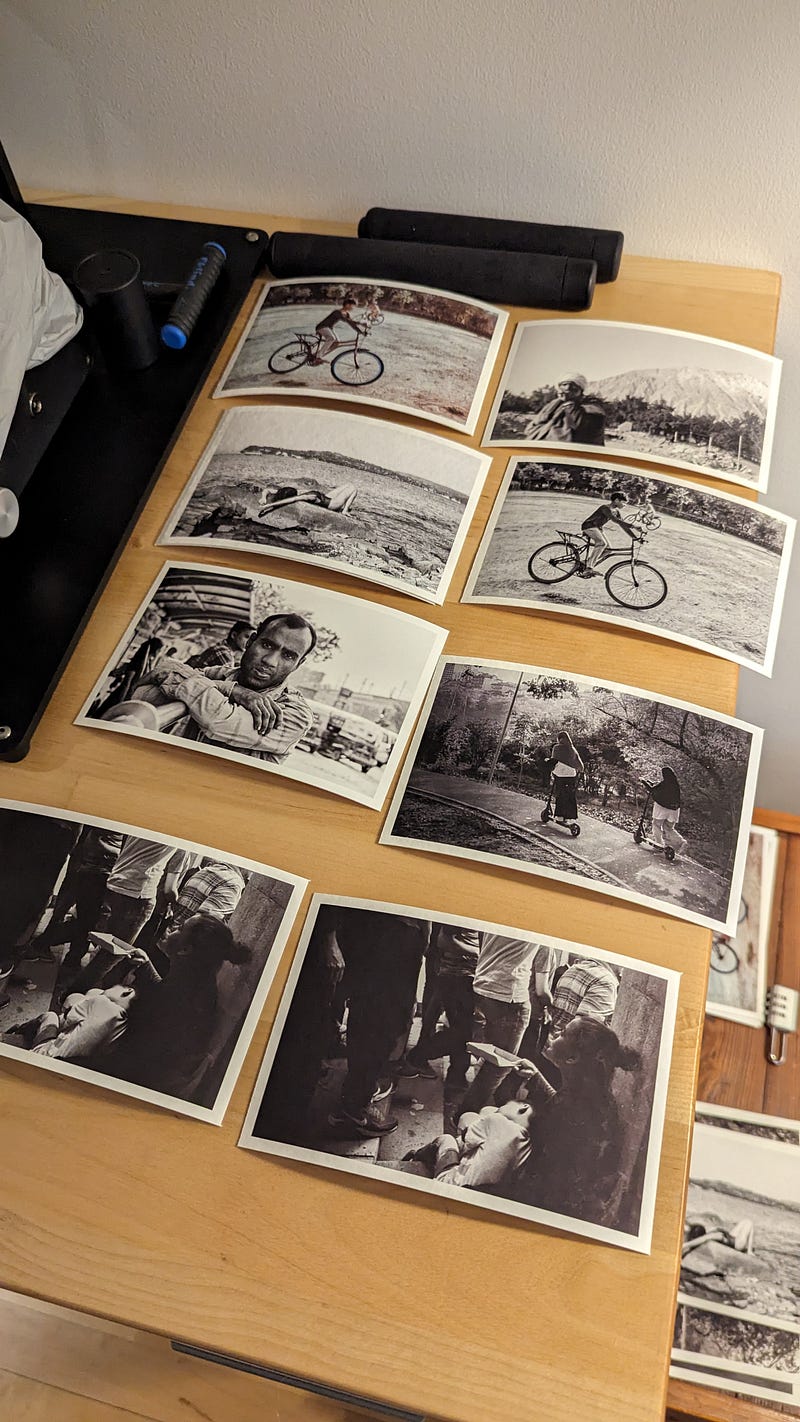
Making Selections
For this stage, it really depends on your venue, and 1) how much room you have for showcasing work, and then from there, you can decide if you want to really fill up the space, or go more minimalist.
I created a document of 50 of my possible selections, along with a write-up about my theme, and sent this PDF out to a number of friends for feedback.
You may want to think about designating a curator to make the selections for you, otherwise your emotional attachment to certain photos can get in the way of selecting the pieces that best represent your vision.
My plan was to print and frame 20 of my favorite selections, and then from there, decide to hang the best 15 or so in the space, depending on what works at the venue itself. This way, I have some backups in case I find some holes I need to fill. But also, sometimes the most powerful tool in your repertoire as a photographer is the ability to remove pieces from the work that may detract from your strongest images. So I am totally prepared to show 15, or even 10 if I decide to at the last minute.
Know your audience/scout out the space
It helps to be familiar with the how venue is laid out, and go to see other shows there for points of reference (but also to network with fellow artists). In my case, the venue I am exhibiting at is more of a casual gallery, as it is first and foremost a martini bar, and the crowd is pretty alternative/indie. It’s also a rather dimly lit venue, so what this tells me is that it isn’t going to be the absolute ideal location for displaying photographs and that the clientele is likely not the type to go for overly expensive pieces.
I’m completely embracing these circumstances, however, as this takes all of the pressure off for having a “perfect” fine art photography show. This first one allows me to learn a lot, and have fun with it, and see what happens. This also means that I don’t want to invest a ton of money on frames and glass and presentation, so I can go a little more minimalist in my presentation, which I am fine with for this particular venue, as I intend to use this show as a stepping stone to another, more professional one in the near future.
Deciding on Presentation/Sizing
Based upon the above analysis, I went to a frame/craft shop, and found a bunch of minimalist clip frames that were on sale for 50% off, and so I can spend about $5 on 11x14 frames, and $3 on 8x10 frames. I bought some precut matboard for the 8x10’s, in which I’ll place 5x7 prints, and then I’ll get a sheet of matboard to cut custom mat windows for the 8x12 prints, which will go into the 11x14 frames. I’m keeping it simple, and keeping costs down to only about $20-$25 per piece, when the print itself is taken into account.

Request samples from printers
What I found, is that most companies will mail you print samples on request if it means that you may end up becoming a client — so be sure to order their “fine art photography,” “archival quality” photo paper samples, so you can decide on a paper and style that suits your vision.
Selecting a printer
A lot of people recommend going with a local lab, as they can provide a more personal touch. But in my case, I was traveling in Europe right up until the start of my show. Being pressed for time, I decided to order prints from a regional publishing house, and have them delivered to my Dad, who would also be my curator.
Order Test prints
Once you’ve narrowed down your printer and paper choices, I would recommend choosing one of your best photos, and ordering a print of it using each of your favorite paper types to get an idea of how it suits your work. Do a test for each of the potential sizes you want to print, and have a sample frame on hand to see how these look with the material you are working with (any of these test prints can also be sold later at your show as a one-off “special edition,” if you so choose).
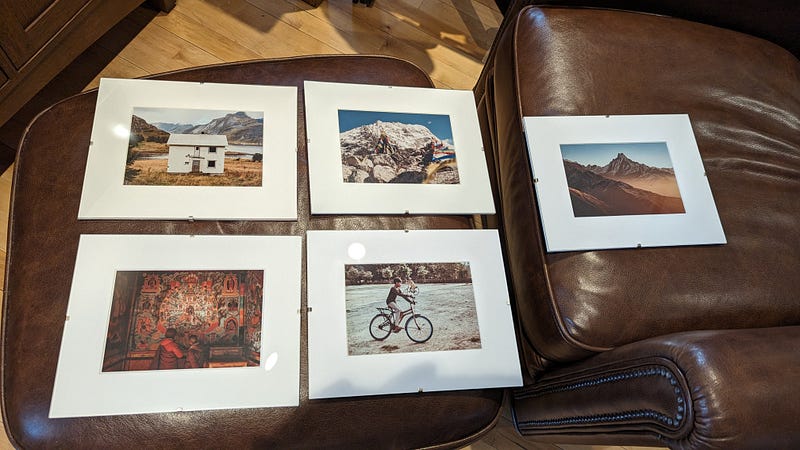
Matting/Framing
Once you have an idea of what photos you want to print, and what paper you want to print them on, you’ll want to decide on the specific sizes to print, and make the order itself. (Ideally, you still have a few weeks out before your show so you can handle issues and reorders if necessary. (I have made six separate orders to my printer throughout the course of this process, and hopefully, you can get down to half that many at most. I also plan to sell a bunch of unframed 5x7’s at the show for $10 apiece, at the recommendation of one of the artists I reached out to for advice in step 1).
A lot of framing stores can mat and frame pieces for you for a fee, although I am lucky in that my dad does a lot of this stuff on his own, and has the tools on hand that enable us to size and cut mats ourselves.
Pricing
This is one of the toughest parts, and I can’t really advise on this until after I have hung my show, and seen how it performs over the course of the month of December.
I’ve been advised by other photographers to “know what my work is worth,” which I understand, but I also don’t want to overprice everything and have nothing sell. My hope is to have the work that is being hung at least pay for all of the expenses (and venue commission, which sometimes is a thing), and then to have my small night-of prints to help bring in some extra income on the opening night.
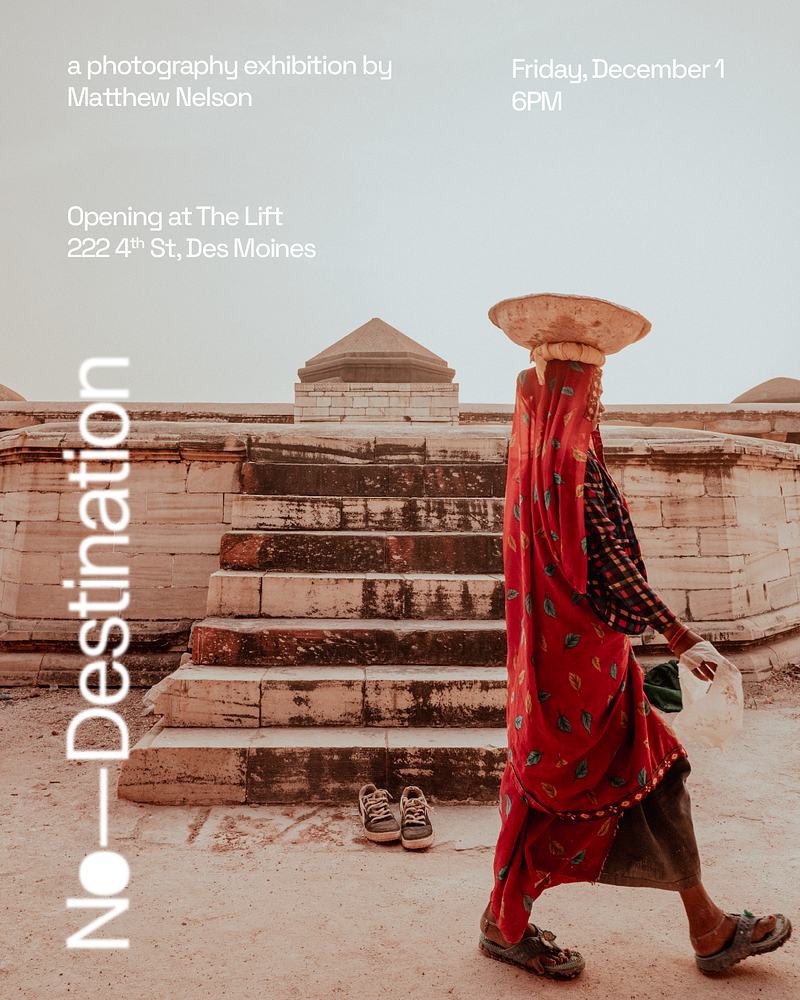
Promotion
In my case, the venue has offered to print and hang posters, and also to help me hang the work the day before the show.
One of my graphic designer friends offered to help me with poster designs, so I obliged his offer, and have been pushing them on Instagram and Facebook quite a bit.
I also engaged a local Instagram account that serves to host “digital artist residencies,” and have taken over that account for two weeks to promote my work and the event, and it has helped me to reach a lot of new potential buyers/patrons.
This has been one of the most fun and challenging projects to undertake, and is so different from the creative side of the photographic process as well. It feels great to gain some experience in a completely new arena of this art form.
Feel free to reach out at any time with questions, and feel free to follow along with the show on my Instagram @mattnelly.jpg and @artbeacondsm
Let me know what you found helpful, and what more I can elaborate on!
Best of luck with photographing your projects and finding opportunities to showcase them!
- Matthew