
How I Made a Photo Book for $21
JIGE #86: Ogden In Black
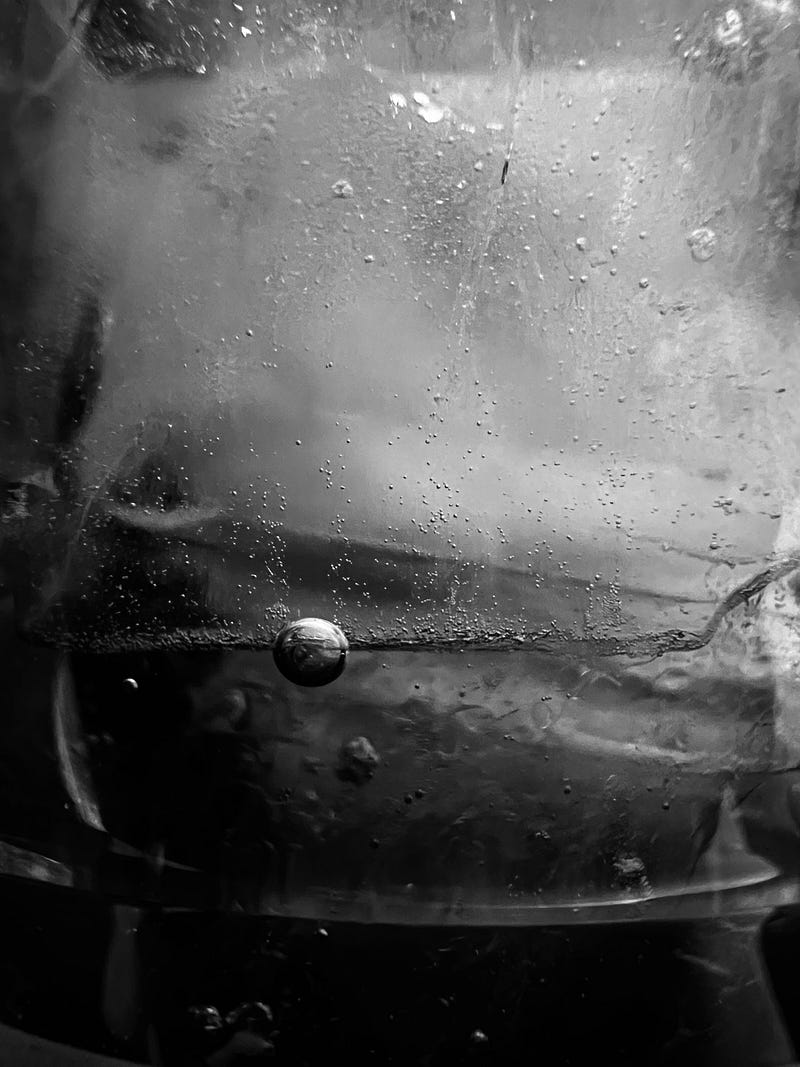
All photos were taken by the author
The Idea —
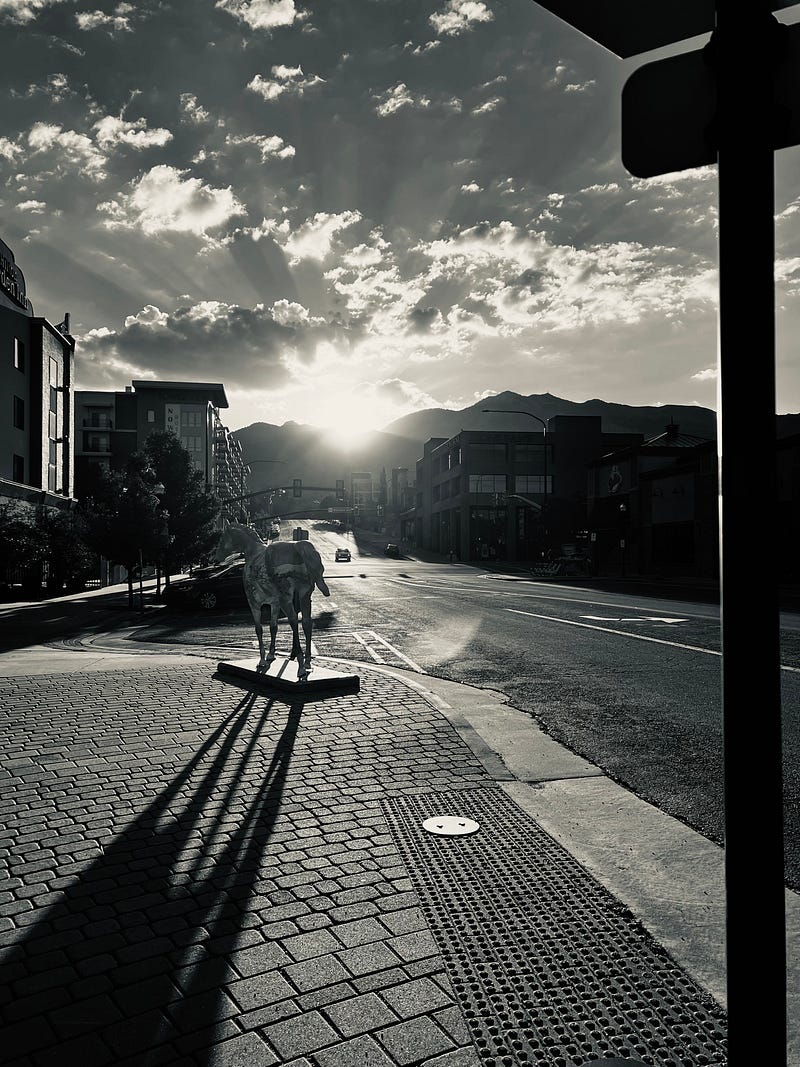
I wanted to make a photo book of the town I live in: Ogden, Utah.
Where It Came From
The photo book actually came from trying to figure out what I wanted to do with all the photos that I had taken over the course of two years.
Whenever I needed a minute to breathe I would just walk around town with my phone and take pictures of whatever struck me as interesting.
This ranged from god rays in the sky, to the color of different lights in my closet as I was mudding the walls inside.
And I was never really a specs guy. I never worried about f-stop or frame rate, anything like that (I know somewhere at least 1 in every 4 photographers just had a panic attack).
I was more interested in finding something that caught my attention and then almost letting the camera interpret it however it interprets it.
How It Happened
So the photos are pretty straightforward for how they happened. I didn’t carry my DSLR for this photo book, but what I did ultimately was be aware of what was around me and have my phone on hand.
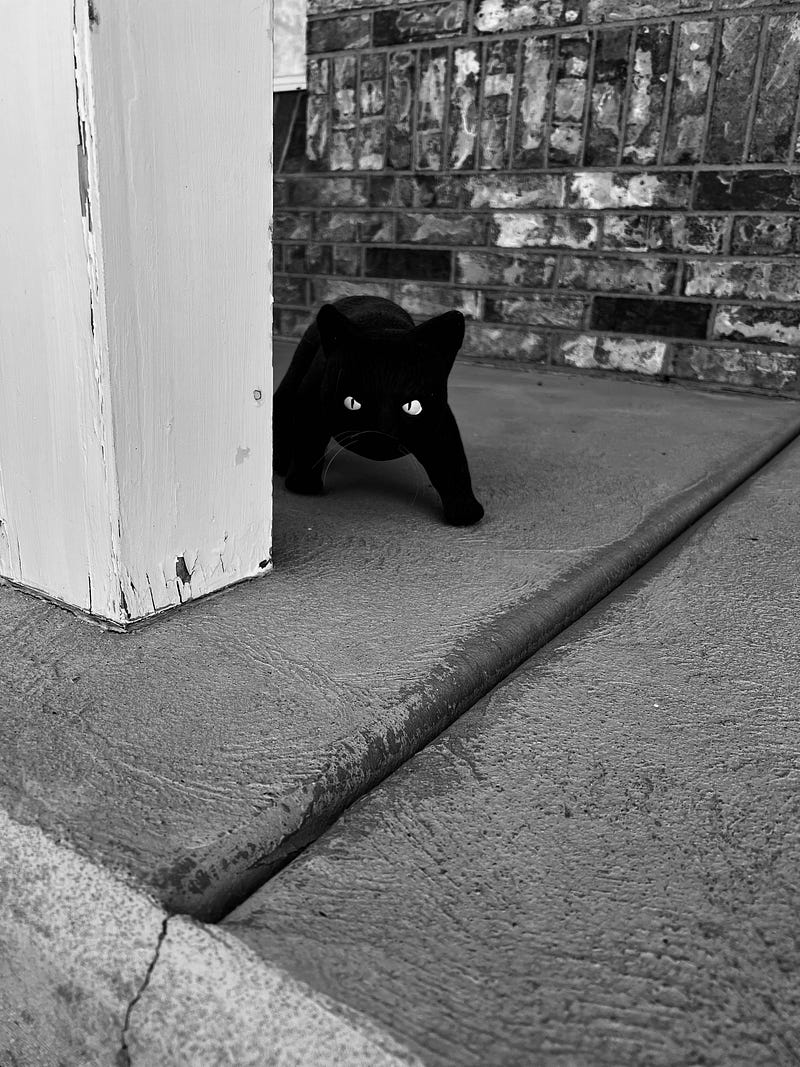
In some situations, it was actually a coping mechanism. Some of my photos came from my experience as a delivery driver and a salesman at a furniture store.
These were two of the worst jobs I’ve ever had but good opportunities to make myself find something valuable.
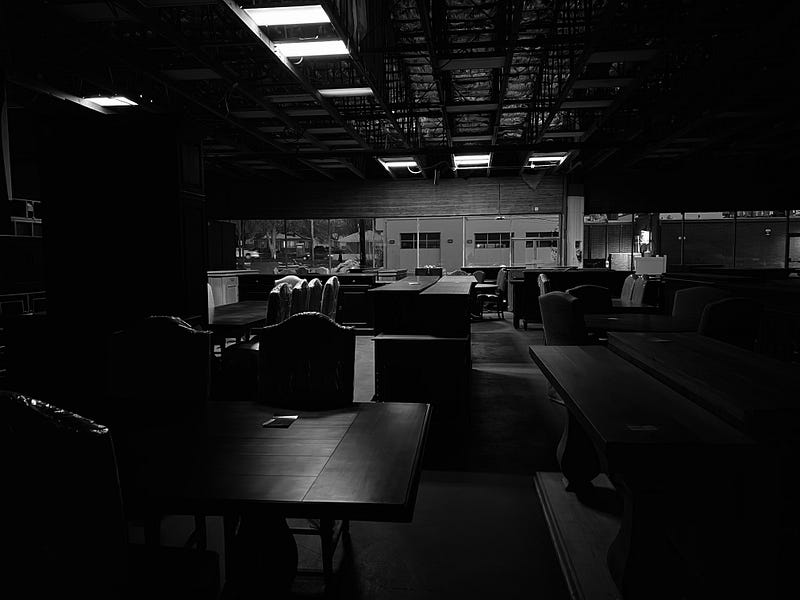
One of my favorite photos, the one of the angry cat, came from the delivery job and the the furniture store had some of my favorite lighting.
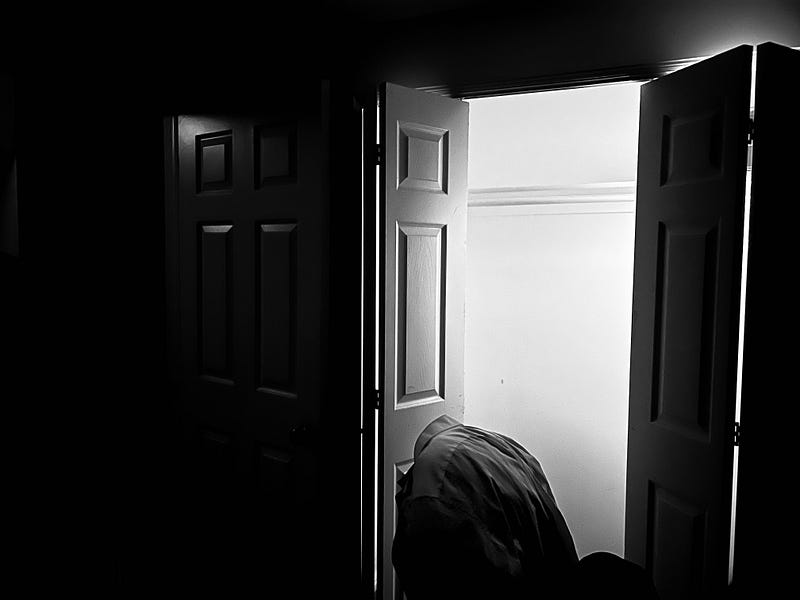
I started to make a separate album on my phone of all the photos that I liked the most where I would dabble with the phone’s options of color grading and managing the monochrome.
Again, I’m not fancy.
I just chose between Noir, Silvertone, and Mono filters. (All photos were taken on an iPhone 13 Pro).
Whatever sparked joy.
As I was nearing the end of my time at the furniture store, I discovered a class on Domestika that teaches you how to make a photo book, and that’s when I knew I had a place for these moments to go.
For those keeping track of the budget, the Domestika course was $8.99 USD.
The biggest takeaway for me when it comes to this is the thematic tone of a photo book.
According to the instructor, Roberta Donatini, photo books should have an order to them. Don’t just spit up all your favorite photos and smack ’em on their own pages.
Instead, think about what you really want the readers to feel and see if there’s a theme that you can abide by.
For me, I decided to organize the photo book by seasons. The book starts with photos from my room or around my house, then they’re organized based on a consistent season or element of nature.
Including but not limited to, snow, rain, spring, and fire.
After that, to make sure that I stay in an affordable budget, I grouped the photos together in unique collages and structure to make sure that
- It was visually appealing,
- It was a pleasant reading experience instead of somebody just flipping through pages and losing interest, and
- To save money because holy crap.
Photo books are expensive to produce.

What Was Different than What I Was Expecting
On this note, the photo book was expensive I think because of the software I was using. I used a software called BookWright instead of Adobe Illustrator which is what Roberta used in the Domestika class.
Illustrator would have been $26/month but monthly subscriptions aren’t my favorite. Especially if I was doing a one-time thing.
BookWright is a very beginner-friendly software where you can import your photos, and then click and drag them pretty seamlessly onto pages. It is free as long as you set up an account with them.
However, you can only sell the photo book either through their own store or Amazon.
Just to get as much reach as I could, I chose Amazon.
However, you always want to make sure that what you’re selling is worth buying, so I ordered the cheapest prototype I could which was $12. The next cheapest option was $54 (this is when the “expensive” part for me comes in).
I got the book, I was so excited, and then I saw the printing quality and… it had a lot to be desired.
Namely, you could very clearly see the printing streaks so if I was going to put this on market, I didn’t want people to notice the clear lines along my photos.
From what I remember, I selected a premium matte finish to my pages just so they felt like they were a little more quality then through BookWright’s website, Blurb, I selected the Amazon option and just a few clicks and three days of processing later, Ogden in Black was available on Amazon.
To be honest, it was very liberating to be able to release this out into the world. Is it the best photo book ever created?
I hope not.
But it achieved its goal of just being made. It didn’t have to be perfect. It just had to be made.
And that’s where the incomparable value is in this for me.
If you’d like a copy of the photo book, check out this link.
If you just want to see individual photos, check out the collection on my digital photography store!
10% of all profits from the photo book and digital store will go to the American Foundation for Suicide Prevention.
If you want to continue this journey of completing passion projects with me, follow The Passionate Pursuit to get the newest stories!


