
How I keep my dev MacBook clean
(not a Clean-my app ad, nor a post about removing dust; it’s more about virtualization instead!)

Since I’ve owned my first computer I’ve always struggled to keep the system files as clean as possible. Compulsive-obsessive disorder, dunno — hopefully not — but that’s the way it was, and is, for me.
With DOS — the first operating system I’ve seen — the job was easy: in the 1990s you could still master your machine.
With Windows, however (before the Windows Store, now Microsoft~, at least) things were getting ugly rather soon: registry garbage, more and more leftover files in obscure folders every day after trying new things even when “cleanly” uninstalling software, and so on, so forth. You may have attempted to continue mastering the PC, but it would’ve been really difficult, for sure.
(Oh my, strange years, those times. Reinstalling the OS every couple of months or so!)
I didn’t own a Mac back then, but I’ve read about them in printed magazines and later even on the Web, with dial up — ooh, ah! — and it was clear: keeping Mac OS uncluttered was a lot easier job: no registry, no mess, better organized file hierarchy, more convenient removal.
But Macs are not perfect either, as everyone surely knows. Removing an app from the system’s Applications folder doesn’t mean you’ve cleaned up everything related to that app; you’d need to further check Application Support in your (now hidden) Library folder, and few other places too.
So… here comes the Mac App Store to the rescue! I know, few people actually use it, but I’m one of those who really appreciate Apple’s efforts in this regard. (And on PCs, Microsoft Store helps very much, as well.)
What I love about such as system is that you, the user, can install software authored by verified developers and easily uninstall it whenever you wish without leaving much behind, and without worrying that the apps might have already been placing garbage all over the place, as those installed this way would always run in sandboxed mode and are not able to access the system in its entirety, even if they try.
Note that while preferences and user document files may (and, probably, should) be still preserved after uninstalling an app obtained from the store (so this ain’t a good solution for those “true” compulsive-obsessive “believers”), the large chunk of bytes always goes way, and you can obviously trust the computer more than if you’d installed and uninstalled classic software.
As I’ve written a few times in previous posts too, earlier this year I’ve bought my first MacBook Air — one with M1— of course. I did have a Pro before, which, by the way, I didn’t keep as clean as I could have, but 2020 models break all rules; and Air is pro!
This time I wanted to ensure I keep its file system as clean as I could. While still being able to try things from time to time.
I wasn’t sure it was even possible, especially as I am a dev, and would certainly need a lot of things installed, right? Especially as I’m going with .NET programming (besides authoring macOS and iOS apps), and do that pretty often, too.
But eventually, it has turned out there was, indeed, a way:
Excepting for a single app — the SF Symbols app from Apple themselves — all software that I have installed on this computer till now runs in the sandbox of the Mac App Store!
And I’m even able to develop WPF and ASP .NET apps too! How come?
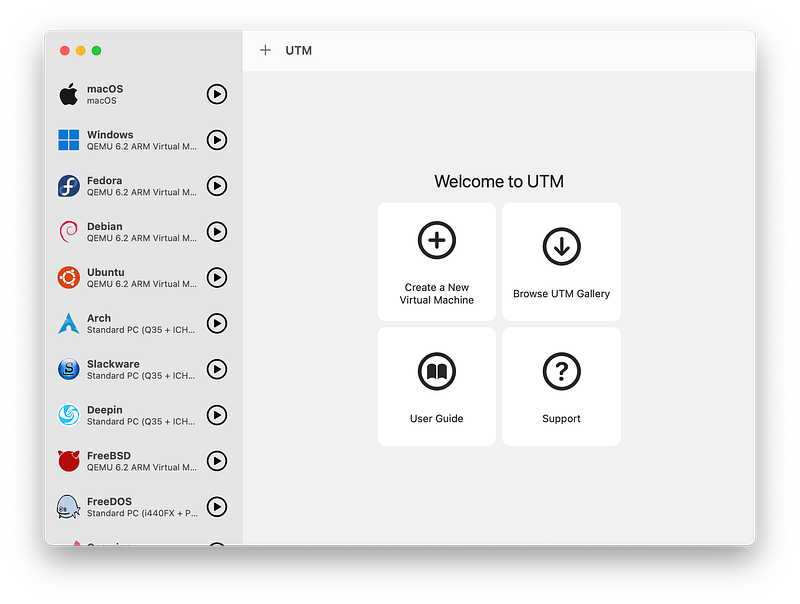
The solution I have found was using UTM Virtual Machines. Available as either a free app online, or — as I wished — (for a small fee of $10) in the Mac App Store!
While it’s very far away from being perfect (i.e. you must accept its minor quirks) this app is truly brilliant. They didn’t sponsor me to say it, believe me, it’s just the way it is:
running in a sandbox environment like all store apps, UTM — which by the way, apparently stands for “Universal Turning Machine”, if you were wondering — allows you to create as many virtual machines as you wish; or until your SSD fills up, of course (I’m glad that I’ve purchased a 1TB MacBook model); and you can easily clone and remove them to try things without leaving any dirt afterwards, with so much ease!
Myself, I’ve installed a lot of things this way, including all the list below:
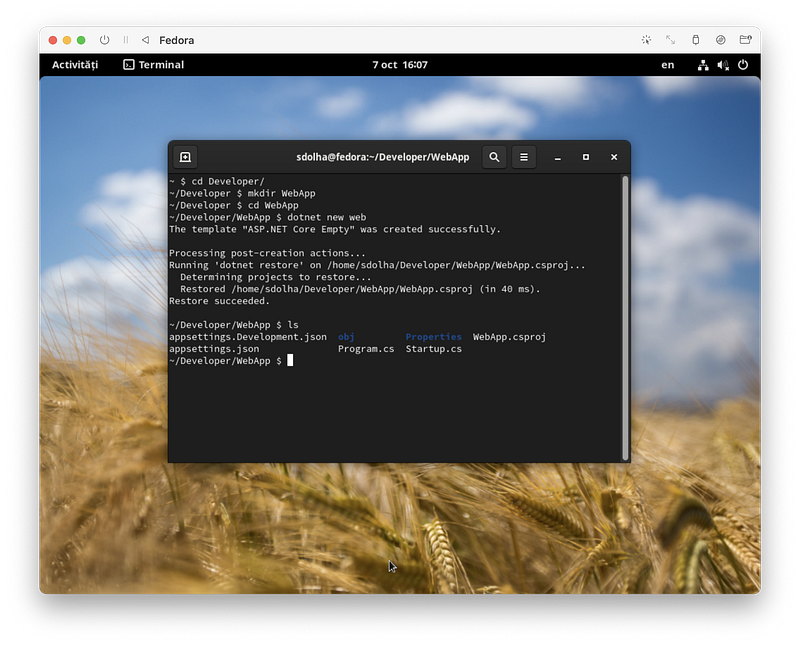
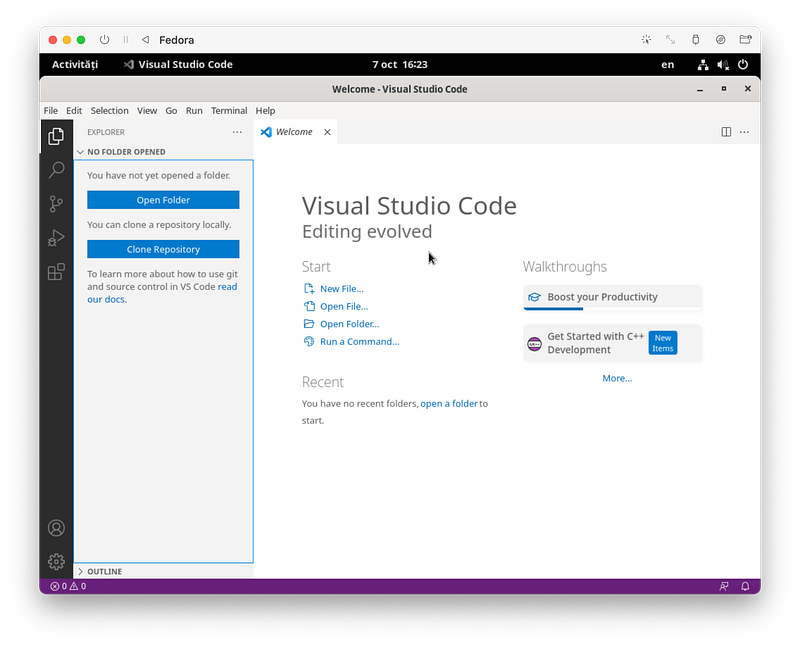
- Fedora, with Gnome, KDE, QT tools, Visual Studio Code and .NET 5 (!);
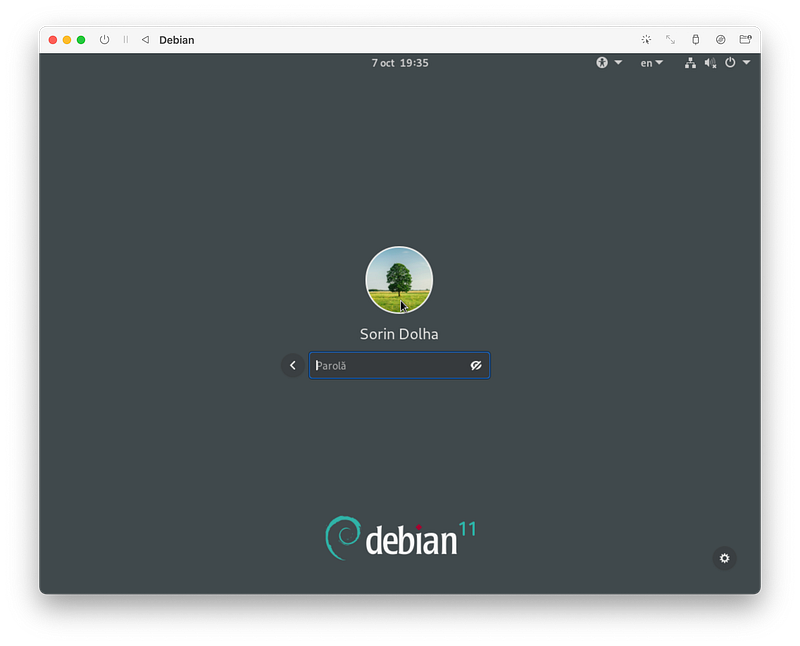
- Debian and Arch Linux (to do some tests, the latter on x86-64 to get better support);
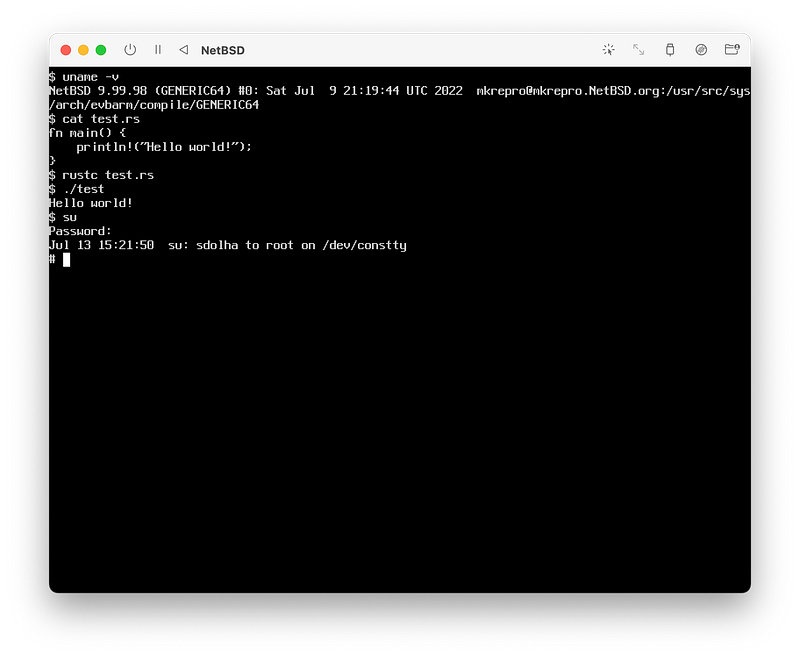
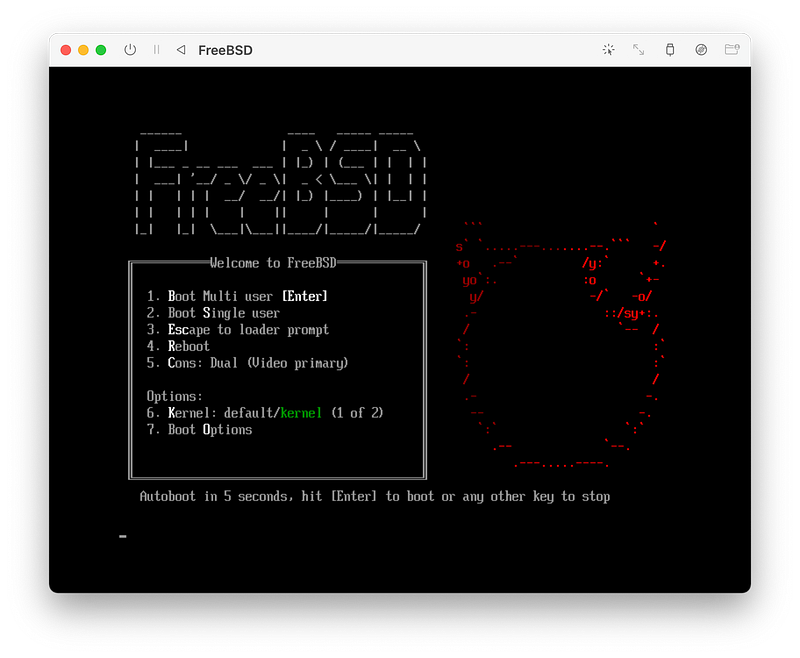
- FreeBSD (a Unix box, just to have it handy too) + update (mid 2022): NetBSD (a cousin OS for doing Rust development, although at this time I’m only able to run its “current” snapshot — work in progress — all without any GUI);
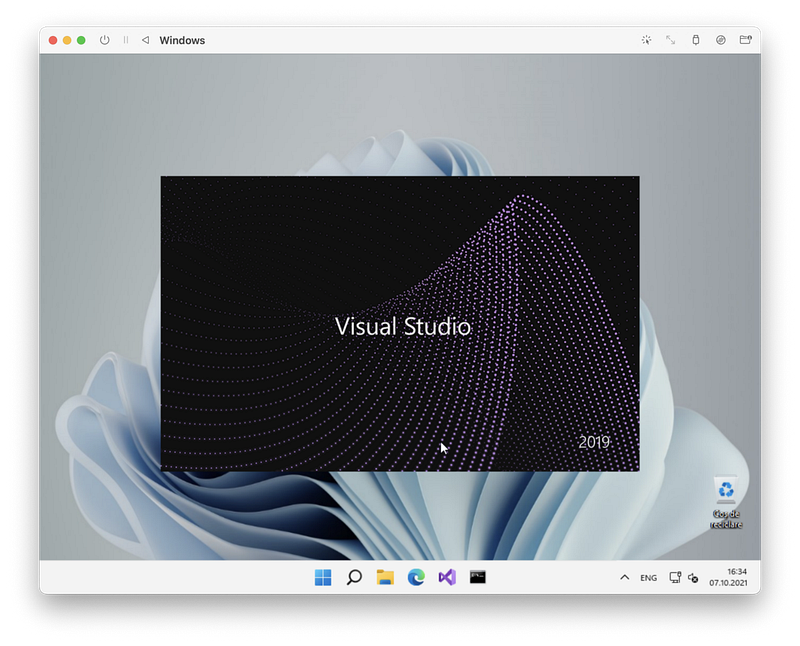
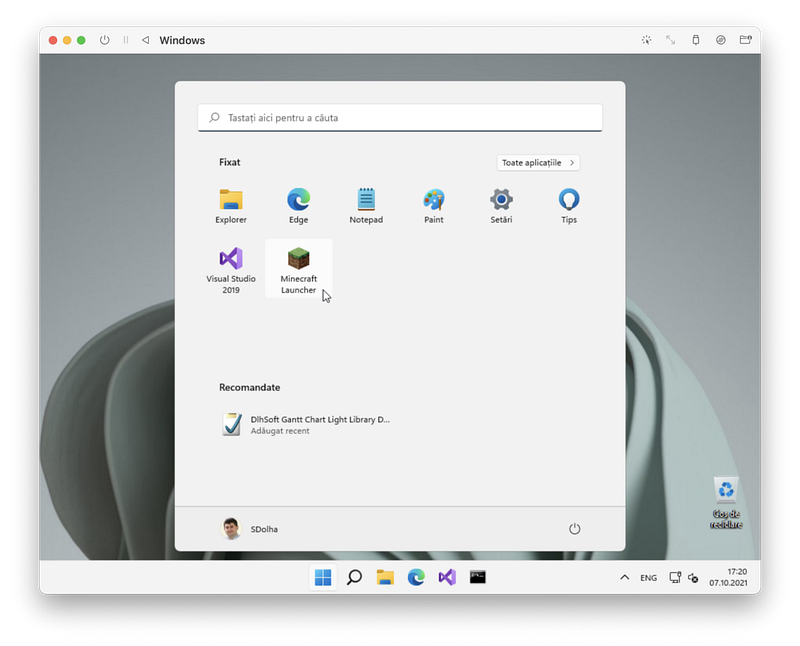
- Windows 11 to be able to develop WPF or WinForms apps using x64 emulated Visual Studio, and even to run Minecraft Java on ARM, if we’d wish; one can activate the OS with a separately purchased Product Key within Settings/Activation (I can confirm this, although for some unknown reasons, personally I had to retry the operation a few times and also attempted a wsreset in between to get it finish successfully);
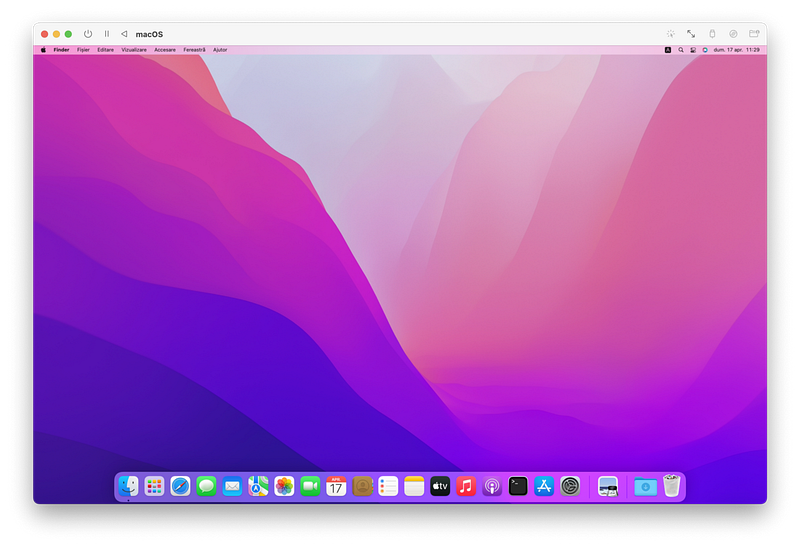
- Update (early 2022): macOS with lots more ease now too (they’ve recently improved UTM app in this regard); this way you can test and use Mac apps from the Web, i.e. from outside the Mac App Store, if you really need to, without affecting anything on your main machine and with easy revert: just clone the machine before any “hack” attempt;
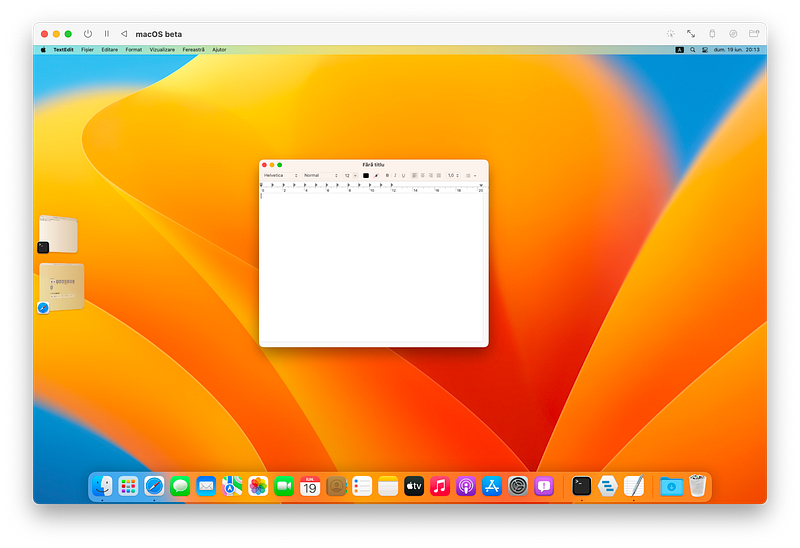
- Update (after WWDC22): macOS [next version] beta, as I don’t have any spare Macs around, so I would have otherwise skipped the summer developer goodies completely;
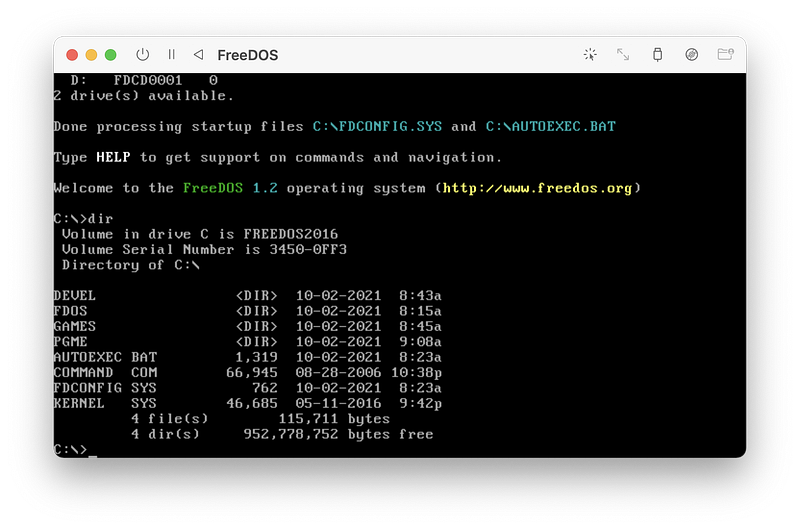
- FreeDOS and Slackware (for nostalgia 😀);
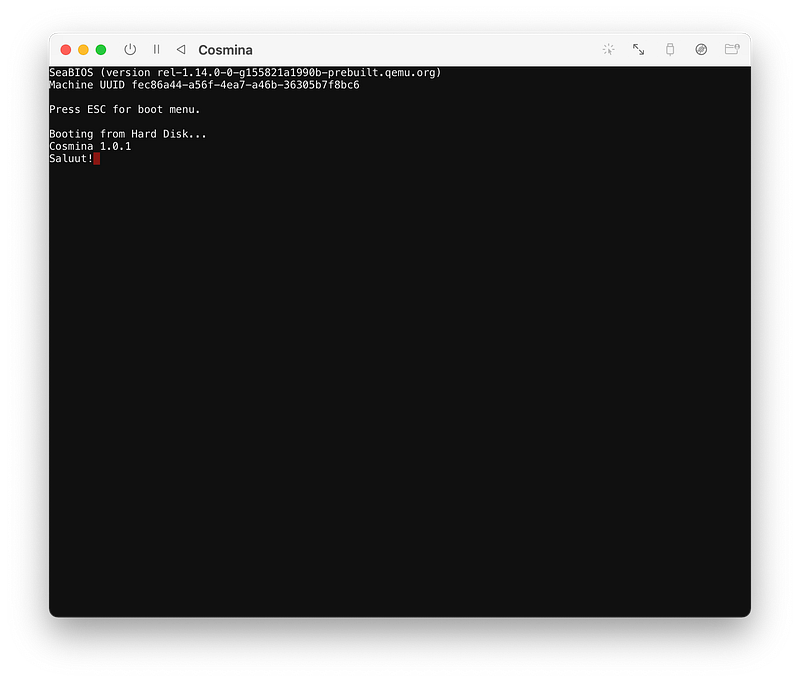
- and even my own learning purposes custom OS — can I call it OS if it simply boots and greets you, and that’s all?

You can, of course, also use Microsoft’s Remote Desktop app to connect to your Windows instance(s), and you can access macOS and other Unix and Linux based virtual machines using VNC (connecting “to server” from the Finder app!)
The are, however, some real caveats to note around running Windows on M1: besides this approach being officially not supported by Microsoft (!), the Store and UWP apps, even built-in, won’t run at all on Apple’s arm64 processor if they use arm32 internally (unless we install the x86 version of the OS, which would in turn run in emulation, so at a much lower speed).
(And Visual Studio is not yet supported when running on ARM platforms, either.)
But hey, at least for installing Store apps there is an easy workaround:
all you need is to go to the Microsoft Store on the Web, grab the ID of the application you need (from its URL), generate a direct download link and get an appropriate appx package of your choice for that app (select either arm64, x86–64, or Any processor architecture, whichever is available), set it up on your system in the virtual machine, and — poof — you’ll see it in the Start menu under the Recommended section, and it’s done, one click away to run.
Update (2022): I have just found out from the Parallels support document that UTM has also recently linked to in their guides that, in fact, Microsoft Store app does get reinstalled with x86 virtualization if you just open a link to an app from the Web based store. And yes, I’ve verified, it works fine afterwards!
(Also note: you can optionally use Microsoft’s Remote Desktop software, available in the Mac App Store as well, to connect to your Windows virtual machines by using their local IP addresses — 192.168.64.* — to get better resolution support without using special QEMU virtual displays, and avoiding all the otherwise omnipresent UTM quirks in those areas.)
Thank you for reading, and I hope with this “study” I’ve inspired you to keep your system cleaner, too!


