
Hosting Your React Application on Vercel

In this article, I will be showing you how you can deploy your React application on Vercel. React is one of the largest frontend frameworks used in Web Development today. Vercel is a cloud platform for static sites and serverless functions. It allows developers to host websites and web services that deploy instantly, and require no supervision and configuration. A few of the main advantages of Vercel are fast refresh, flexible data fetching, and easy integration with Github, Gitlab, and Gitbucket.
Luckily for us, Vercel has free plans for hosting static websites and single-page applications (SPAs). Be reminded that the free plans target only small and short-term projects (as the number of deployments is limited). For larger projects, you should upgrade your account.
Apart from Vercel, there are other platforms on which you can host your static applications.
We have:
a. Netlify
b. Heroku
c. Github Pages
d. Surge
e. Firebase
f. Render
Note that this article is not a comparison between Vercel and other hosting platforms, neither is it an advertisement for Vercel. I just found Vercel very useful and handy for deploying my static websites.
Pre-requisites
For your to properly grasp the concepts in this article, I want to believe that you have the knowledge of the following
a. React (basically creating a new react application and writing few lines of code)
b. Git commands and Github / Gitbucket / Gitlab (The same methods apply to all of them)
c. NPM installed on your machine (To install React and Vercel CLI)
Now, there are two ways of hosting your React application (Or any static application for that matter) on Vercel. They are:
a. Linking to your Github repository from your Vercel Dashboard
b. Using Vercel CLI Both methods are very fast and effective.
In this tutorial, I will be explaining both methods practically.
I. Linking to Github repository
I shall be doing this in steps. This way, it becomes very easy to understand and follow.
1. Create a new React application
You need to create a new React application. Use the command below
npx create-react-app Vercel-app
Once this is done, cd into your project root directory and run yarn start or npm start to run your application. To see your newly created app, go to your server and visit this url: localhost:3000.
Let’s modify the app.js file, located in the “src” folder as follows:
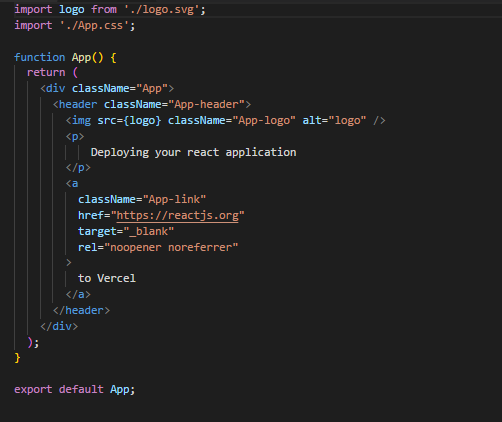
Refresh your browser (You may not need to though as the application reloads by itself) and you’ll see this:
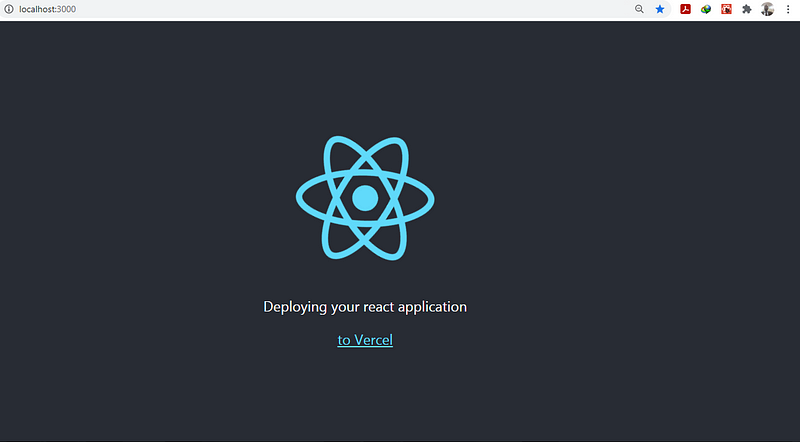
Our application is now up and running.
2. Create a new Vercel account or log in to an existing account
You can create a new Vercel account by visiting the Vercel website, follow all the steps to register a new account. If you already have a Vercel account, you can simply just log in instead.
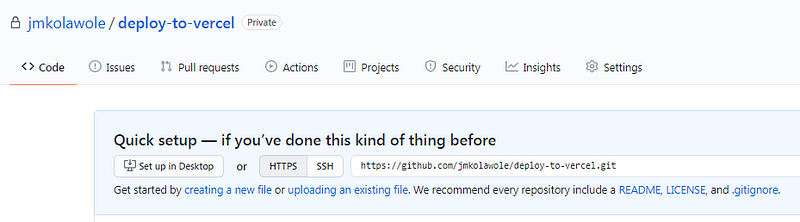
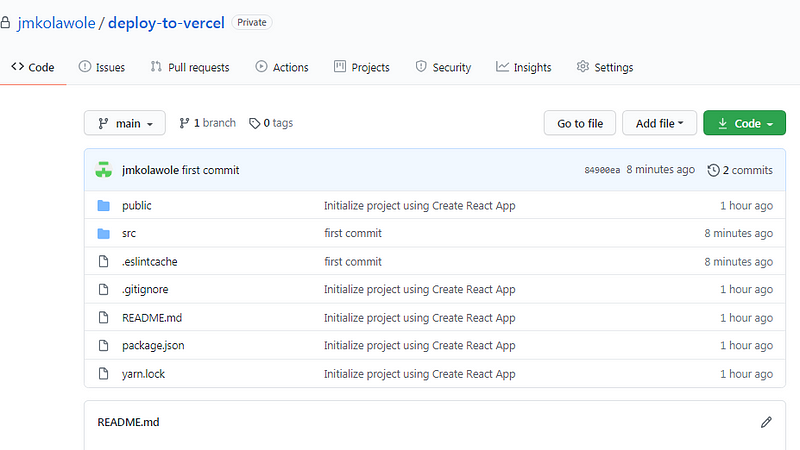
3. Create a Git Repository for the project
Log into your Github account and create a new repository for the project. The repo can be public or private. In my case, I want to make it private. Choose a name for your repository. For this tutorial, the name chosen is “deploy to Vercel”. After creating the new repo, follow Github’s guidelines to link it with your local project.
4. Stage, Commit your files and push to online repository
After editing our application, we initialize git in our project (If you created your React application with the command above, you don’t need to initialize git in your project as this comes automatically with the installation). We just have to stage and commit our changes as shown below.
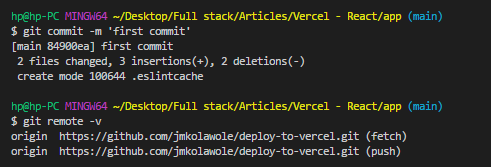
After committing the files, you can push to Github using the following command: “git push -u origin main”. If you open your project repository on github, you’ll see that all your local files and folders (save the ones explicitly stated in your .gitignore file) have been uploaded to Github.
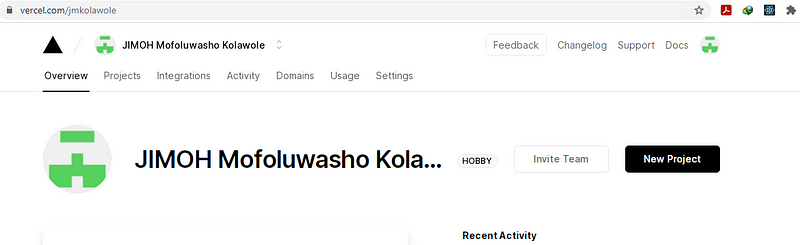
5. Link your Github account with Vercel and import project from Github
Now, hop back into your Vercel dashboard and link your Vercel account with your Github account. After that, create a new project by clicking on the “New Project” button.
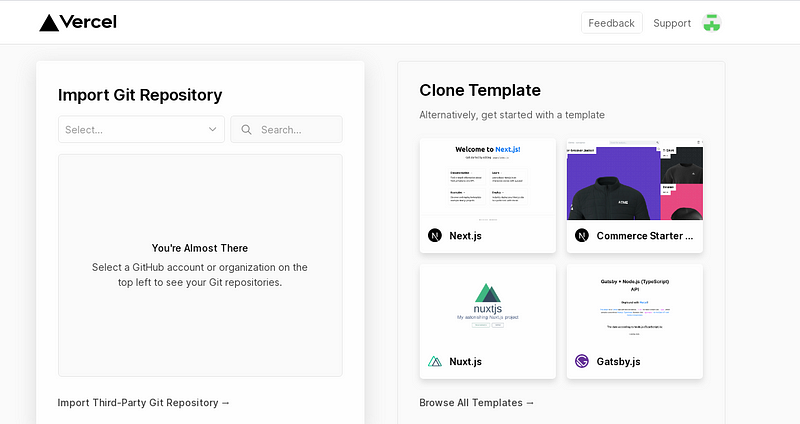
Click on the dropdown button shown below, and you will see a list of your Github repositories. Choose the one for the project (“deploy-to-vercel” in this case)
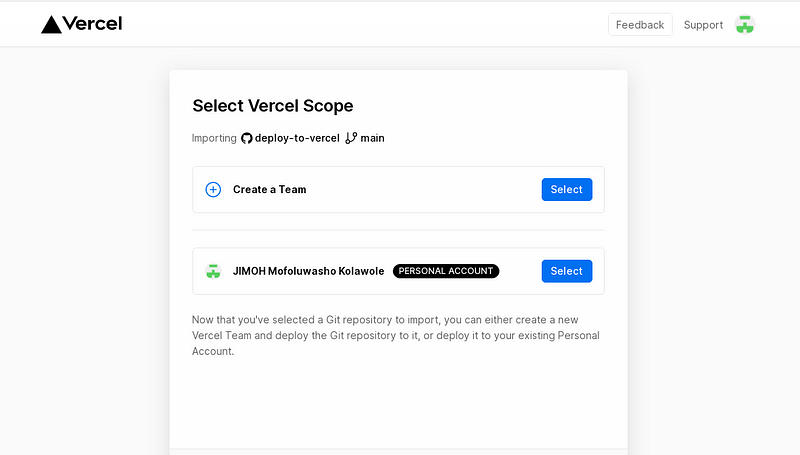
Choose the account you wish to use. You can also create a new team.
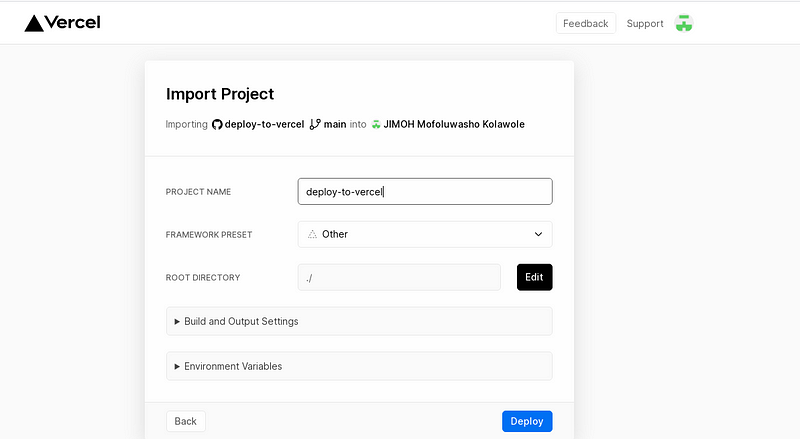
6. Deploy your application
Having done everything correctly so far, it’s safe to say this is the time to finally deploy your application. After selecting the account you wish to use, click on “deploy” to deploy your application. You can change your project name. If your application is not in your repository root directory, you can change that here as well to point to the right folder. Furthermore, if you have environment variables you want to specify, you can do that here. Also, if you are deploying an application written with another framework, you can change that from the “Build and Output Settings” dropdown.
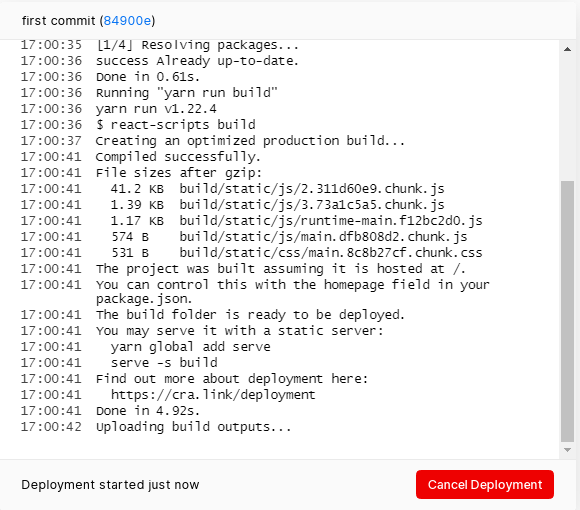
After clicking on the “deploy” button, you need to wait for about one to two minutes for Vercel to install all dependencies needed for the project and complete the deployment process.
That’s it. Our application has been successfully deployed to Vercel.
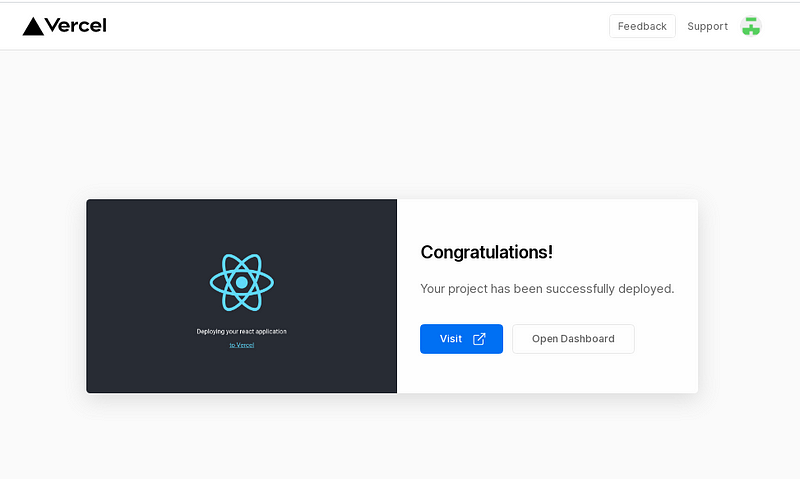
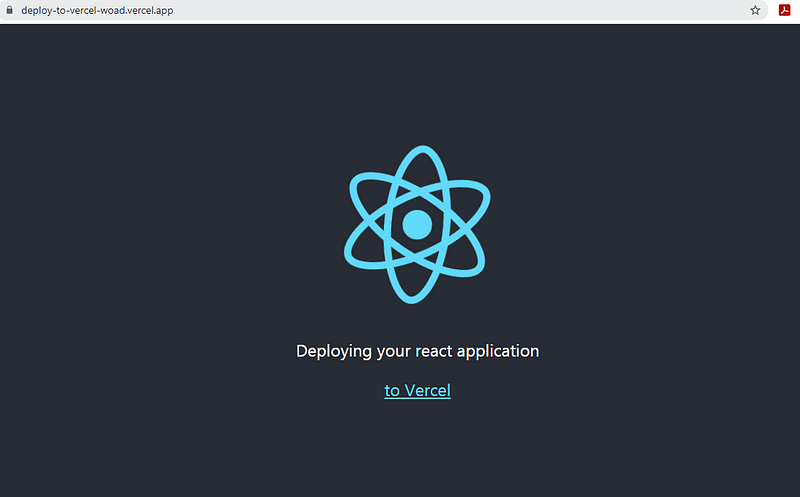
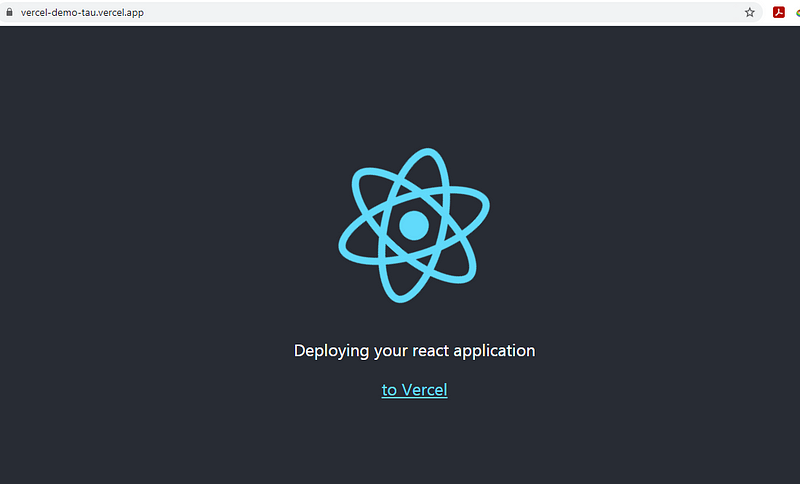
Now to see our application live, click on the visit button. You can see the online version of the same application we viewed locally.
II. Using Vercel CLI
This method is also as simple if not simpler than the first one explained above. If you do not want to link your Github account to Vercel or you do not want to just set up Github repositories for all your pet projects, then this method is for you. Just as I did with the first method, I will be giving step by step process of deploying your React application to Vercel using Vercel CLI
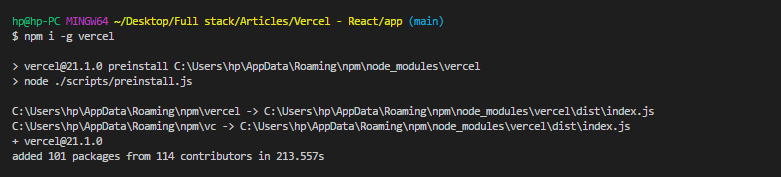
1. Install Vercel globally
To do this, go on and run npm install -g vercel or sudo install -g vercel for mac users. This will install Vercel globally on your machine.
2. Vercel Login
After installing Vercel globally on your machine, at the command line, type vercel. This will prompt you to log into your account if you are not already logged in.

3. Set up a project and deploy
Having being logged in, to set up a project, type “vercel” at the prompt again. Follow the prompt and answer the questions appropriately.
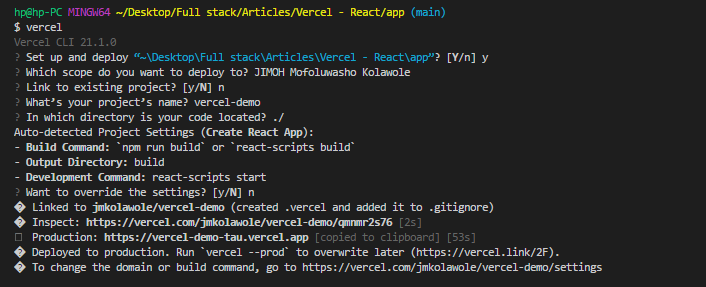
a. Set up and deploy — y (because we are setting up a new application)
b. Which scope do you want to deploy to? (I’ll just go ahead and use my account)
c. Link to existing project — n (because it’s a fresh project we are creating)
d. What’s your project name? (vercel-demo)
e. In which directory is your project created? (We leave it as it is since we are running the command from the project root folder)
f. Want to override the setting? n (because Vercel is going to look at your project and try to figure out how you created the project. In this case, it detected that I used “react-scripts” to create the project. So, I’ll just use the default that Vercel has found)
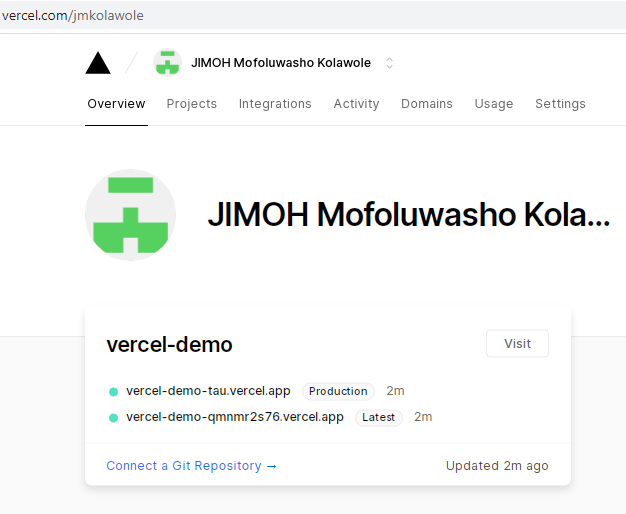
Vercel will now build the application (installing all dependencies etc.). If you open your Vercel dashboard, you will see that the application has been created.
4. Open Project
You can visit the newly created project by clicking on the “visit” button on your project page shown below.
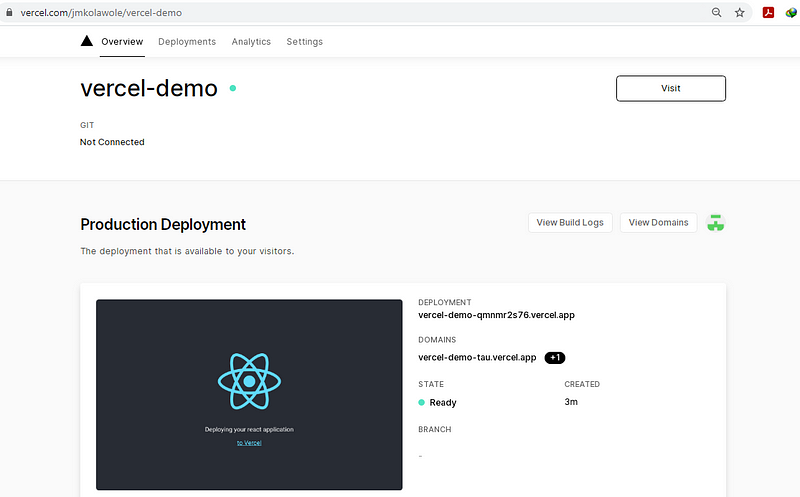
Now, see our complete application. We can now view an online version of our application hosted on Vercel.
That’s it, guys. Thanks for reading.