
Home Studio Essentials for Beginners: Everything You Need to Get Started
A Simple Setup to Start Making Music at Home | Gear, Software, & More!
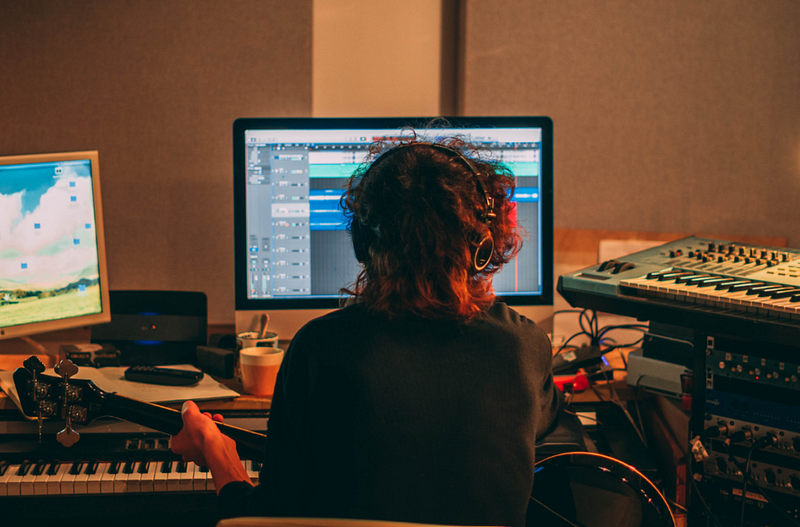
If you are a musician eager to create, setting up a home studio is an exciting step towards unleashing your creative potential.
But where do you start?
Fear not! I’ve got you covered.
In this article, I’ve put together a basic home studio setup with elements that should work for most people to be able to create most types of music.
Let’s dive in!
Home Studio Essentials:
1. Computer
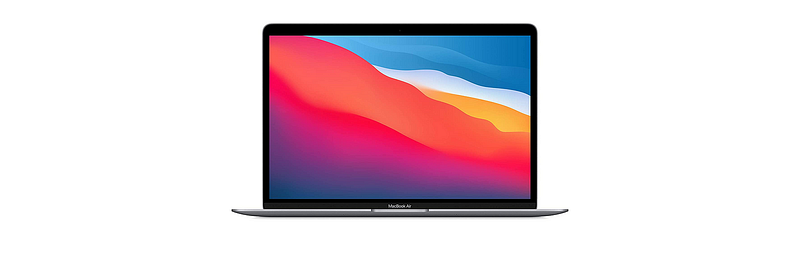
The center of your setup is going to be your computer.
Here at Bresound, we love Apple’s MacBook Pro, but there are also many great and affordable alternatives you can choose from.
I’ve listed some below.
Best MacBook Pro Alternatives:
Remember, there’s no right or wrong here.
Just make sure you choose a computer that can handle music software and the demands of recording and editing music.
2. Digital Audio Workstation (DAW)

On your computer, you are going to be running your digital audio workstation or DAW.
You definitely need a DAW because it does pretty much EVERYTHING.
You will use it to record, arrange, edit, mix, etc.
I prefer Ableton Live and Cubase, but again, there are plenty of options out there, including free ones. Below I share a few.
Best FREE DAWs for music production:
- Ableton Live Lite
- Cubase LE
- GarageBand (only works on Apple products)
To determine which digital audio workstation (DAW) suits you best, make sure to sign up for demos or free trials.
3. Headphones

Next up is headphones!
Just get over-ear headphones rather than earbuds so that you can actually get a fuller frequency spectrum.
Some people like really flat-response reference headphones, and that can be great, of course. But it all comes down to your needs and preferences.
If you are looking for superior quality at an affordable price, I recommend Audio-Technica’s ATH-M50X.
4. MIDI Keyboard
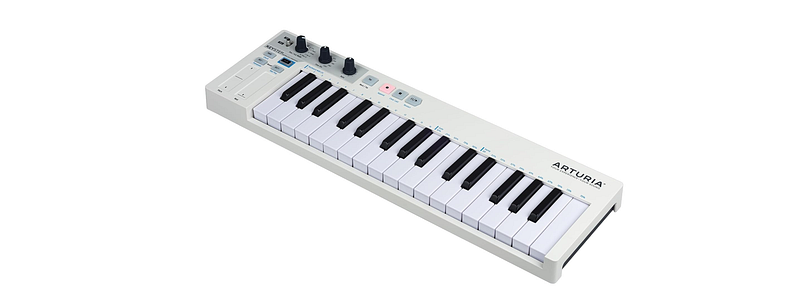
Getting a MIDI keyboard is ideal for creating music freely and efficiently.
Wondering why?
Because it’s easier and more intuitive to play notes like this on your computer than trying to click them in with your mouse.
The good news is that if you are just starting out, it doesn’t really matter which one you get.
This is one area where going cheap probably matters the least because MIDI controllers usually don’t make sounds on their own.
They just connect to your computer via USB and trigger sounds by sending MIDI messages.
I use Arturia’s KeyStep 32-Key Controller, but there are tons of options for this.
5. Microphone & Audio Interface
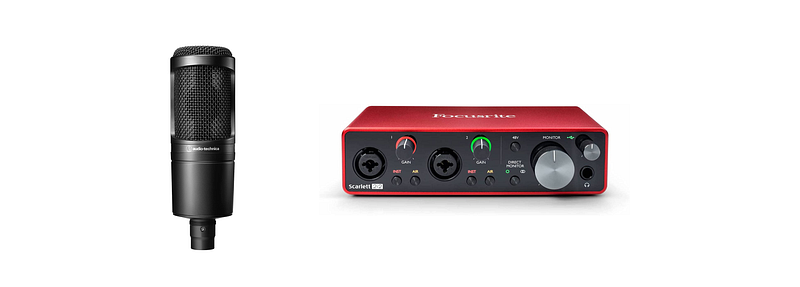
The next tools you’ll need are a microphone and an audio interface.
These two items go hand in hand, and I recommend you buy them together because you can’t have one without the other.
You need the microphone to pick up sounds, and you need the audio interface to be able to send those sounds into your digital audio workstation.
I currently have the Audio-Technica AT2020, a high-quality, budget-friendly microphone for beginners.
And my audio interface is the Focusrite Scarlett 2i2, which is also very affordable and excellent for most types of recording.
6. Monitors
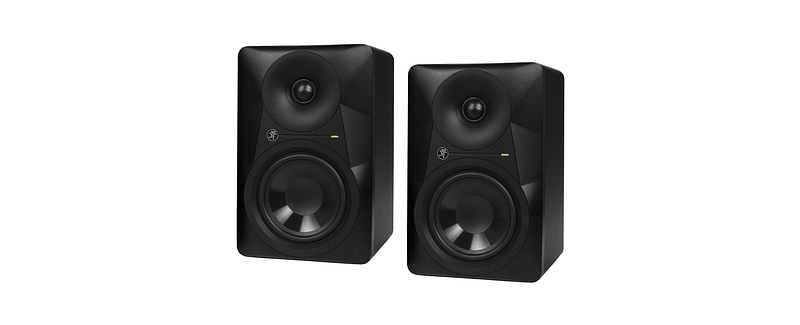
The next thing you’ll need is a pair of studio monitors.
A lot of consumer speakers tend to boost the low-end or the high-end, or they don’t accurately represent everything across the frequency spectrum.
So, you want to make sure you get a pair of professional monitors that play back whatever you are feeding them as honestly as possible.
I’ve been using Mackie studio monitors for a while now, and they are definitely one of the most accurate speakers you can possibly get.
7. Room Treatment
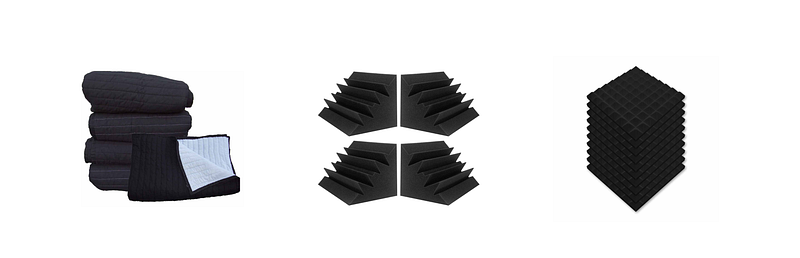
Since sound waves bounce off surfaces, every room is going to emphasize different frequencies, and that, of course, compromises the quality of your recordings.
With that said, if you want to make sure your recordings are free from unwanted external noise, you definitely need room treatment.
And yes!
Figuring out what works for your budget and room can be difficult, but you don’t have to worry about it because I’ve got you covered!
I’ve put together a list of cheap but highly effective room treatment options to help you dampen everything and record freely without having to deal with unwanted noise.
Best budget-friendly room treatment options:
Add On Essentials:
8. XLR Microphone Cable
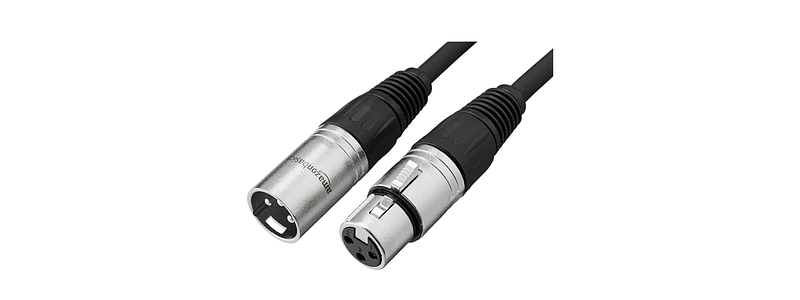
You’ll need an XLR cable (male to female) to be able to connect your microphone to your audio interface.
Some stores like Guitar Center and Best Buy usually carry it, but I really like this cheap one from Amazon.
9. Microphone Stand
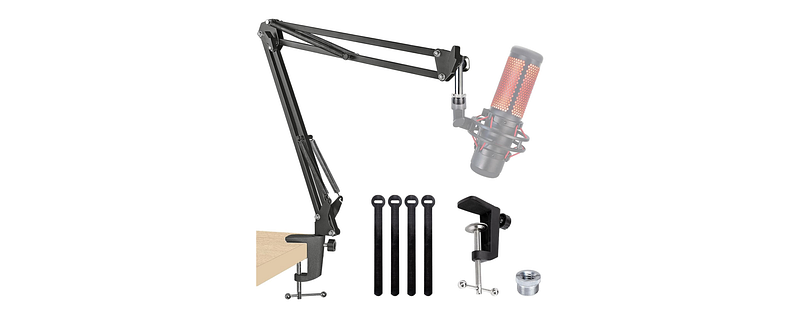
If you decide to get a microphone, you probably want a stand to put it on.
This QuadCast boom arm from Amazon is very sturdy, convenient, and attaches really easily to any desk.
10. Microphone Pop Filter

If you are recording vocals, you are definitely going to need a pop filter to prevent plosives from affecting your audio signal.
Plosives happen when we push a lot of air into the mic, which creates a really undesirable sound.
Some microphones, like the SM7B, come with a built-in filter, but it’s very common to see this circular one that you can put in front of your mic.
11. Monitor Stands

Monitor stands are crucial for producing professional and accurate audio, whether in a home studio setup or a professional recording studio.
Placing your speakers on the right spot, at an optimal height and angle, can help minimize noise and reflections that can affect the accuracy of your playback.
I really like these monitor stands from Amazon. They are secure, stable, and easy to set up.
If you love a good deal, make sure to check them out!
12. Additional Sounds +
Although most DAWs come with great sounds and instruments to get you started, there’s nothing like having a nice collection of samples and plugins to get inspired and create.
The good news is that you don’t have to break the bank because there are plenty of high-quality plugins and sample libraries you can access for free.
Below I share some of my favorites:
Take the First Steps
By assembling these home studio essentials, you’re laying the foundation for limitless creativity.
Remember that your studio is a reflection of your unique expression, so don’t be afraid to experiment and customize as you go along.
Have fun!
This post was all about home studio essentials.
If you enjoyed this piece, please make sure to follow our profile, so you don’t miss any of our upcoming articles.