ANOTHER VALUABLE RESOURCE
Here’s a Before and After CHECKLIST to Use When Publishing Your Stories!
Do you follow these practical steps to help create the best stories possible?
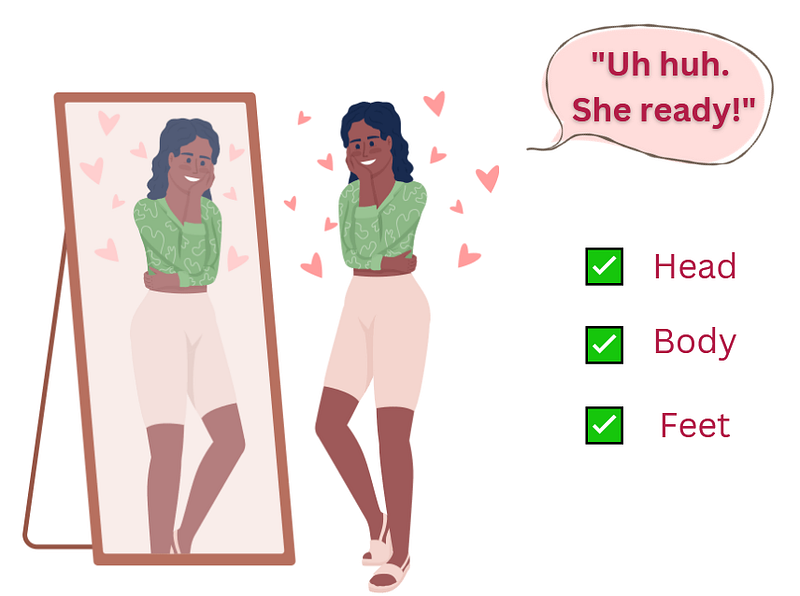
Chance are, if you’re like most people, there is usually some type of ritual you perform, when it comes to determining how you look before you leave the house.
I don’t know about anyone else, but I normally give myself a once over, and check things out, from top to bottom.
Hair, face, what I’m wearing, and shoes.
I also give attention to any accessories I’m wearing, and anything else that affects my overall appearance.
The SAME thing should be true when it comes to the stories that we write and publish on Medium.
Eventually on your Medium journey, there will be time for you to gradually start creating your own particular signature style of formatting stories.
But first, focus on using the writing and publishing advice that has already proven to be effective.
Allow it to start working for you, so you can create the kind of stories that attract you a regular audience.
Hopefully, by paying close attention to the three important things to do BEFORE publishing a story, you may not need to do one of the three steps that typically comes AFTER you publish a story.
That particular third step has to do with editing a story.
Yep! I’m talking about editing your story after you’ve already published it.
Read what I have to say on the issue, in the story:
Don’t Be Afraid to Edit Your Stories AFTER Publishing Them!
But for now, let’s talk briefly about a simple little checklist that can help when publishing stories.
What to do before publishing your story
Using the analogy that I gave, about checking yourself out before leaving the house, consider the following three items on your story checklist.
BEFORE publishing your story:
Make sure that you have written your story, and it’s properly dressed.
These are all the things that I like to address when I write and prepare to publish a story:
- Title | Subtitle | Kicker (Optional but beneficial)
- Attractive Cover Image (attributing image credit)
- Select the 5 story category tags I’ll be using
- Strategic (SEO) opening paragraph using tags
- Body of story (Short concise paragraphs)
- Sub headings (using tags)
- Promotional story links (Optional but beneficial)
- Concluding paragraph (Referring back to statements in opening paragraph).
- Create my SEO opening paragraph for Google
Once my story is dressed up and ready to go, I follow these three simple steps:
- Make sure to include a promotional footer
- Proofread your story
- Read your story OUT LOUD
Now, let’s talk about what happens after I publish…
What to do after publishing your story
Once you assign your story to a publication, and/or you hit the publish button, here’s what’s next:
- Look at the overall appearance of the page (with a READER’S eye).
- Read over your ENTIRE story again.
- Edit the story if any errors or typos are found.
Once you’re done and satisfied with everything, then, you can give yourself KUDOS!
Final Thoughts
There’s a good chance you won’t have to do the last of the three steps involved after the publishing process.
But just in case you do, remember:
Use this checklist before and after publishing stories and you’ll be creating the best stories possible, and begin to earn more.