
Home Work
Hanging In an Old House
Simple tasks are often not.
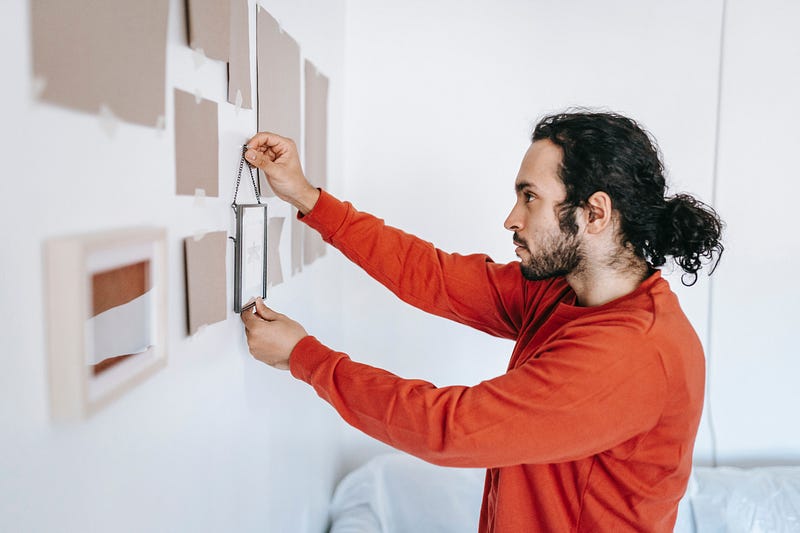
Hanging a framed mirror or artwork in an old house is a deceiving challenge. While concerned with placement there will be a cavalcade of gremlins assembling to thwart your every move.
The mirror was inherited from a neighbor’s giveaway and would go in the part of the kitchen used as a breakfast nook in 1930.
Warning, for the experienced you will either be horrified or amused.
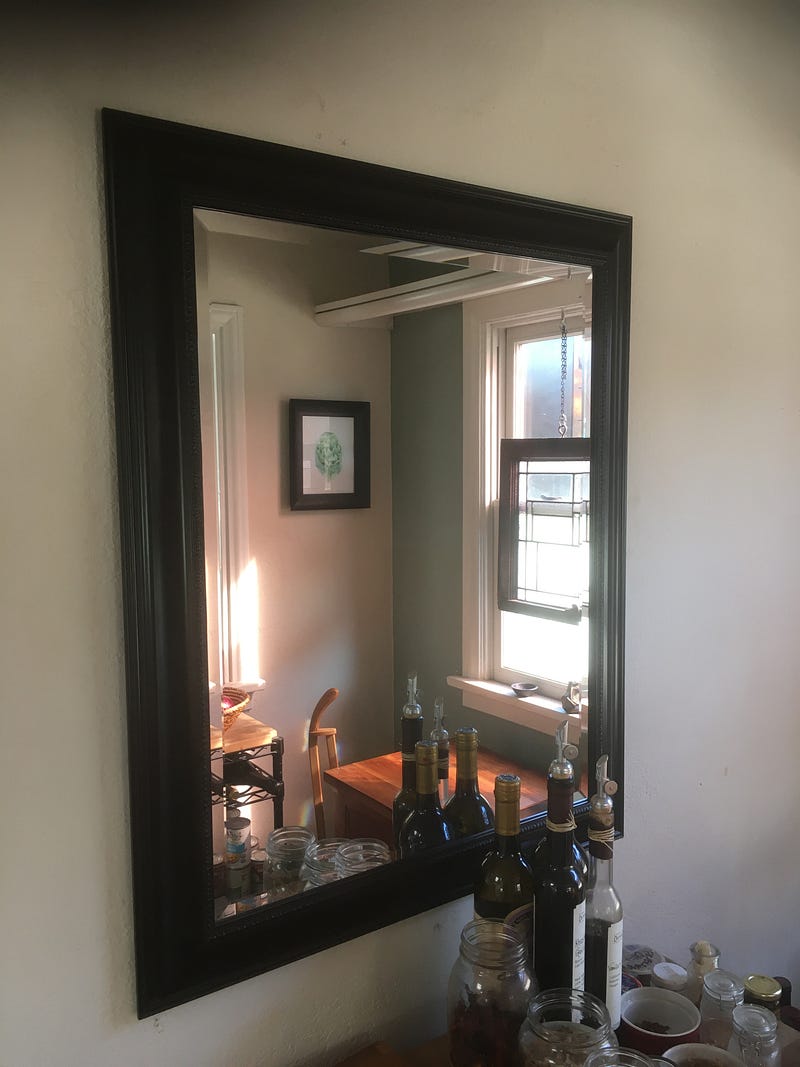
The mirror had previously been hung horizontally so my first task was to move the D-rings from the ends to the sides. The MDF (cardboard basically) the frame is made of, is easy to put screws in. After moving the first D-ring I noticed a paper tab covering the two additional D-rings for mounting vertically. Moving the rings was unnecessary. I moved the mount back noticing I had come within a hair of putting the screw through the front of the frame. Close call!
This should have been a warning of things to come but I barreled ahead and went to the garage for picture wire. After rummaging in the household bin to no avail I found some galvanized stranded wire in the garden supplies.
Now I turned my attention to the hooks. For frames where there might be a knock or two, I use two hooks about a foot apart for the wires so the frame will not easily skew if touched. I selected some hooks with double nails since this is earthquake country and a mirror falling could be quite dangerous. The nails went into the plaster wall firmly and snugly. A stroke of luck.
It is now that I read the warning label on the mirror: “DO NOT USE WIRE”.
I pull the hooks out of the wall.
Mounting the frame directly to the hooks will require the hooks to be perfectly level. Since there was a similar mount on the wall previously I simply measured off those marks, skipped going to the garage for a bubble level, and hammered the hooks in again — I know what you are thinking but nope, it was perfectly level.
Except it was too high.
Pulled down the mirror, pulled out the hooks, measured down, and marked where the hooks would go. This time the nails hit lath.
The structure of lath and plaster is a series of one-inch wooden strips (lath) nailed to the wall studs with a quarter-inch gap between the strips. When wet plaster is applied it squishes into the gaps and makes bumps on the backside called “keys” that keep the plaster attached to the lath. When plaster gets really old it looses its grip to the surface of the lath and relies on the keys to stay mechanically attached to the wall. A fragile structure indeed.
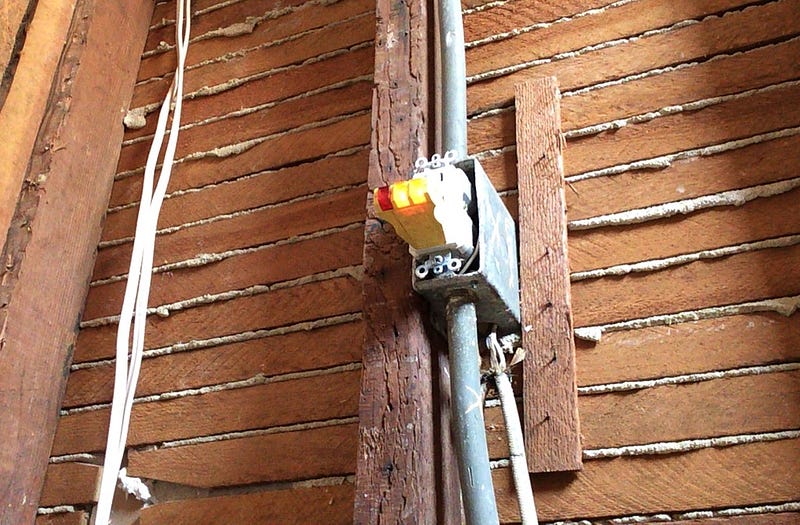
Hitting a lath with a nail makes the lath flex behind the plaster separating the plaster from the lath and possibly breaking off the keys. No amount of hammering will drive a nail through this vertical trampoline once the keys break off, the section will be held only by the surrounding plaster.
Without the us of wire, there are not a lot of choices.
- Move the hook up or down hoping to hit the gap in the lath, a 1:5 chance. I did not feel lucky.
- Drill a pilot hole in the lath for the nail. This did not work. If there was enough resistance to hold the nail, there was also the dreaded bounce.
- Use a wood screw to attach the hook to the lath. The hook had an extra hole for this purpose so after exhausting the second option I went for the screw.
By now the wall is starting to get a Swiss Cheese to look to it. The first screw picked from that “jar of screws every old guy has” was a self-tapping flange head sheet metal screw. It was not long enough and simply ground out more plaster.
The next one was a one-inch sheet metal screw that worked perfectly. You might ask why not a wood screw? Those have a shank without threads at the top and when going into lath it might leave the threads behind the wall with the shank doing all the holding. (Why am I getting finicky now?)
Tah Dah! It worked. The mirror was mounted safely, level, and at the right height. Only two or three hours out of my life.
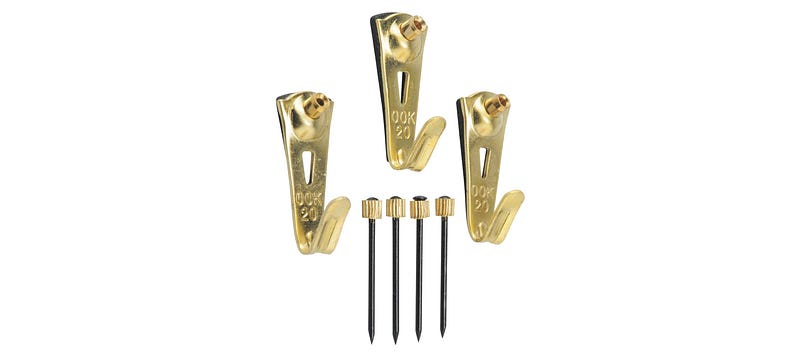
Next time, I’ll just order the Ooks. They have a sharp hardened steel pin finer than a nail and will pierce plaster and lath cleanly and without bouncing. I cannot recommend these enough.
Happy hammering!