
Guide: Install OKD 4.12 using IPI on Nutanix CE 2.0
The ability to install an OpenShift cluster on Nutanix using the installer-provisioned infrastructure (IPI) was introduced with OpenShift 4.11.
This guide will walk through installing OpenShift 4.12 using the IPI installer on a Nutanix Cluster.
The official documentation for installing OCP 4.12 using the IPI installer is located here:
Guides for installing a Nutanix CE 2.0 single-node or three-node cluster on bare metal are available here:
Guide: Nutanix CE 2.0 Three-Node Cluster on Bare Metal
Installing Nutanix Community Edition 2.0 on Bare Metal — Single Node Cluster
Prerequisites
- Nutanix AOS Versions: 5.20.4+ or 6.5.1+dd
- Prism Central Version: 2022.4+
- Valid CA Signed Certificate for Prism Central
- An account on the Nutanix cluster with admin permissions for the IPI installer to create and configure the environment.
- AHV IP Address Management (IPAM) is required for the machine network.
- OKD API VIP and Ingress VIP
- 112GB of available RAM (1 bootstrap, 3 control plane, 3 compute nodes — at 16GB each)
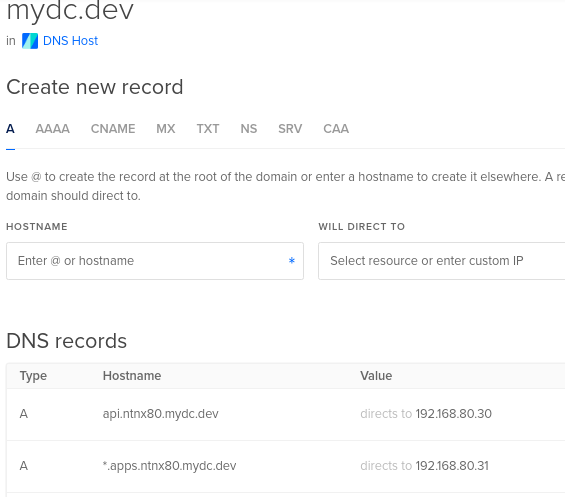
Network

Setup Bastion Host
Create a VM to be the bastion host. Refer to the single-node or three-node guides for instructions on Creating a VM.
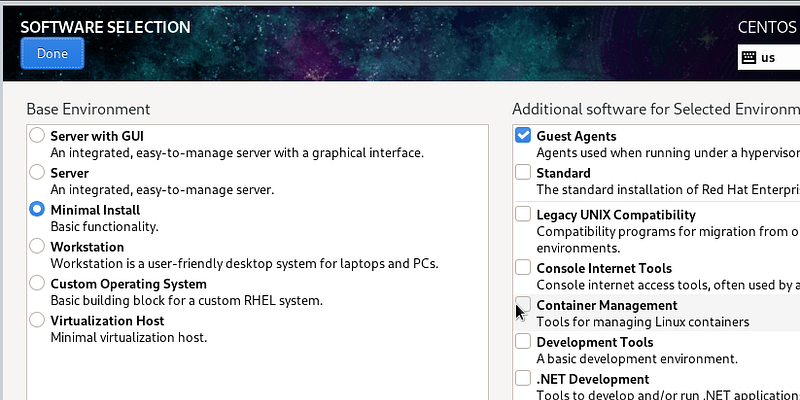
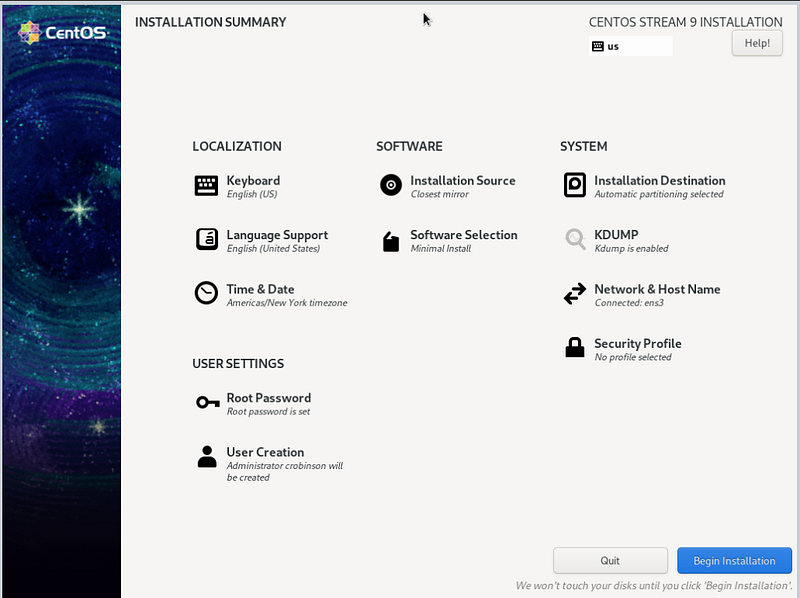
Install CentOS 8/Stream or CentOS 9 Stream and select the Minimal Install option.
Configure the Network, Partitioning, Root Password, and User Creation.
After installation, reboot the VM, and login via SSH.
Install vim and wget.
Download the latest stable 4.12 releases of the OKD openshift-client, and openshift-install binaries. Also, download the latest stable ccoctl release.
sudo dnf install vim wget -y
wget https://github.com/okd-project/okd/releases/download/4.12.0-0.okd-2023-03-05-022504/openshift-client-linux-4.12.0-0.okd-2023-03-05-022504.tar.gz
wget https://github.com/okd-project/okd/releases/download/4.12.0-0.okd-2023-03-05-022504/openshift-install-linux-4.12.0-0.okd-2023-03-05-022504.tar.gz
wget https://mirror.openshift.com/pub/openshift-v4/clients/ocp/stable-4.12/ccoctl-linux.tar.gz
Extract and move the tar.gz files to /usr/local/bin
ls *.tar.gz | xargs -i tar zxvf {}
sudo mv ccoctl oc kubectl openshift-install /usr/local/bin/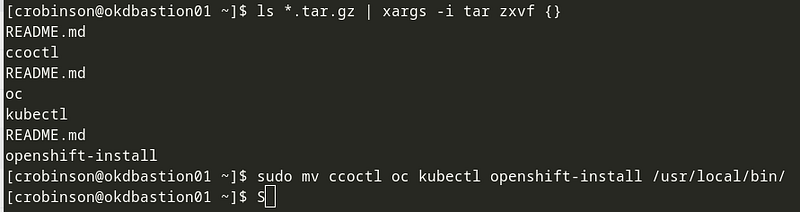
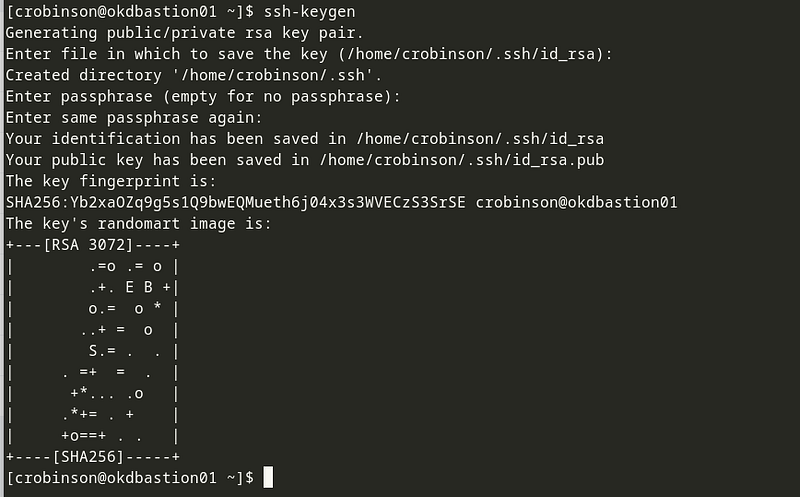
Generate an SSH key for node access
ssh-keygen
Create and install a valid CA-signed SSL Certificate
The openshift-install program requires a CA-signed certificate to connect to prism-central. The method I use to create free certs with Let’s Encrypt is documented here:
Generating Let’s Encrypt SSL certificates from DigitalOcean with the DNS-01 challenge
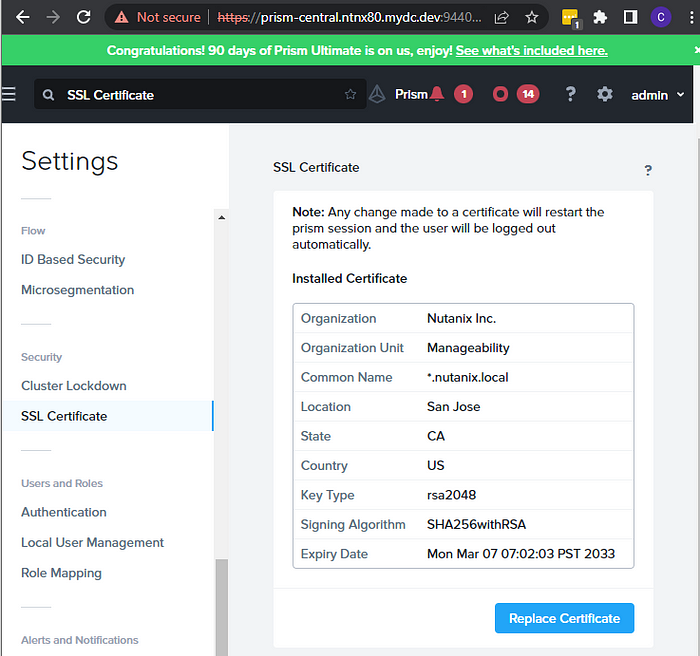
Install CA-signed Certificate in Prism Central
On Prism Central go to Prism Central Settings -> SSL Certificate and select Replace Certificate
Select Import Key and Certificate, then click Next.
Select your Private Key, Public Certifiate, and CA Certifiate/Chain, then click Import Files.

Select your Private Key, Public Certifiate, and CA Certifiate/Chain, then click Import Files.
Create a Prism Central and Prism Element account for OpenShift.
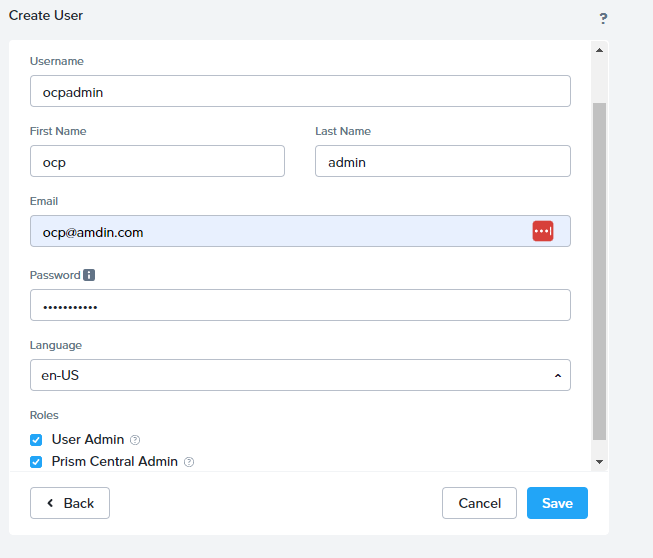
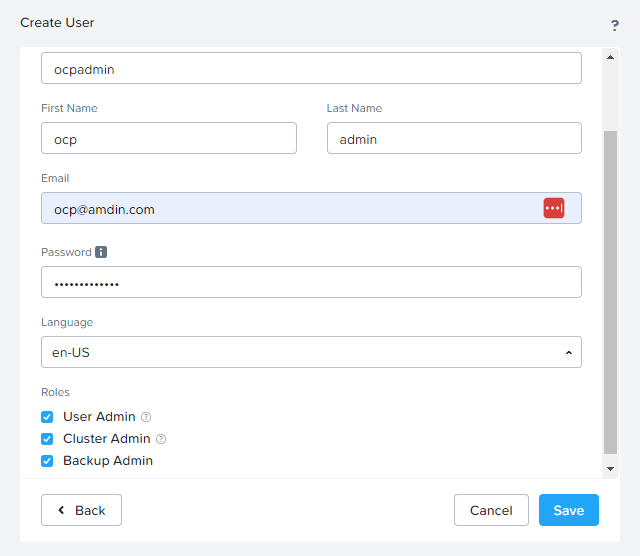
In the Prism Central Settings, select Local User Management and Click + New User.

Fill in the user account details, select the User Admin and Prism Central Admin roles, then click Save.
In Prism Element select, Settings -> Local User Management-> New User
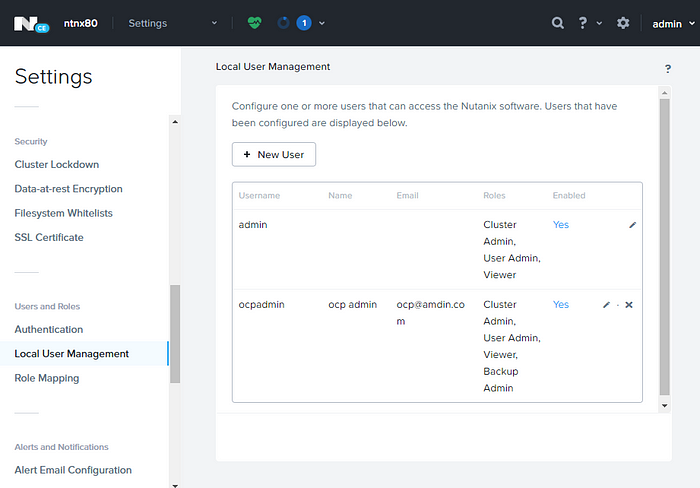
Fill in the user account details, select the User Admin, Cluster Admin, and Backup Admin roles, then click Save.
Create the install-config.yaml
Create the install directory.
mkdir okd412Run openshift-install to create the install-config.
openshift-install create install-config --dir okd412Fill in and select the options for your environment. It’s recommended for this guide to use a valid pull secret to install the Nutanix CSI Operator, however you can you can use a fake pull secret but will need to install the Nutanix CSI Driver using helm:
{“auths”:{“fake”:{“auth”: “bar”}}}
**Use 10.0.0.1 and 10.0.0.2 for the API and Ingress to bypass a bug, you will change these to the actual values in the next step**
openshift-install create install-config --dir okd412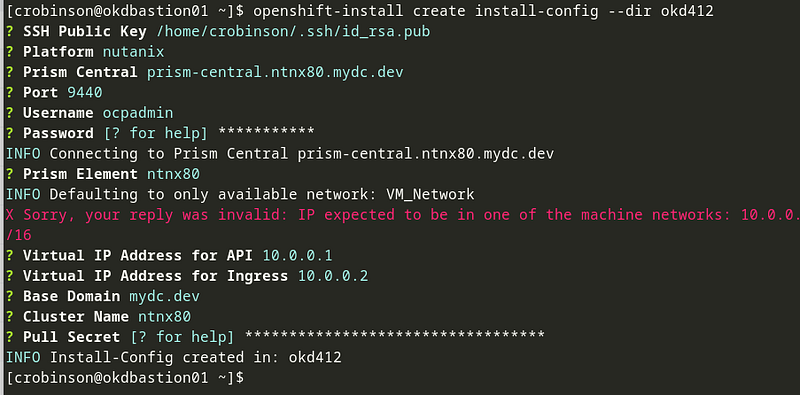
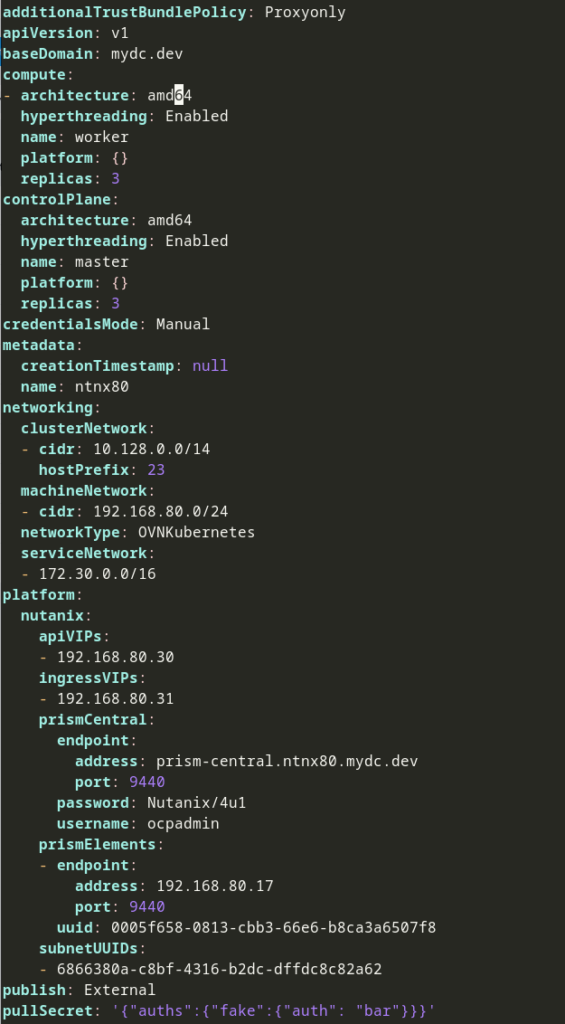
Edit the install-config.yaml and replace the apiVIPs, ingressVIPs, and machineNetwork values.
Configuring IAM for the Cloud Credential Operator
Create a creds.yaml file.
vim ~/creds.yaml
credentials:
- type: basic_auth
  data:
    prismCentral:
      username: ocpadmin
      password: Nutanix/4u1
    prismElements:
    - name: prism.ntnx80.mydc.dev
      username: ocpadmin
      password: Nutanix/4u1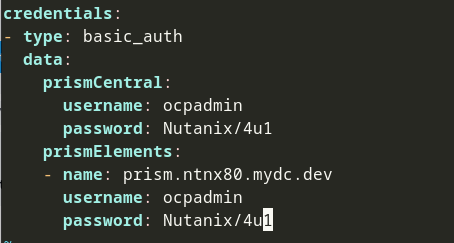
Export the release image version from the openshift-install to an Environment Variable:
RELEASE_IMAGE=$(openshift-install version | awk '/release image/ {print $3}')Extract the CredentialRequests CR’s from the release image:
oc adm release extract --credentials-requests --cloud=nutanix --to=./credrequests $RELEASE_IMAGE
Process the CredentialRequet objects in the credrequests directory:
ccoctl nutanix create-shared-secrets --credentials-requests-dir=./credrequests --output-dir=./generated_creds --credentials-source-filepath=./creds.yaml

Create the installation manifests and copy the generated credentials files to the install-dir manifests folder.
openshift-install create manifests --dir okd412/
cp generated_creds/manifests/*credentials.yaml ocp412/manifests
Deploy the cluster
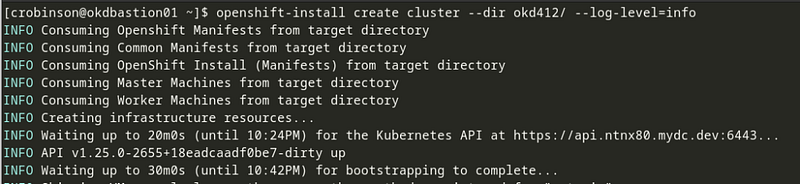
Run the openshift-install command (log-level=debug is optional)
openshift-install create cluster --dir okd412/ --log-level=info
After several minutes, images will start being created:
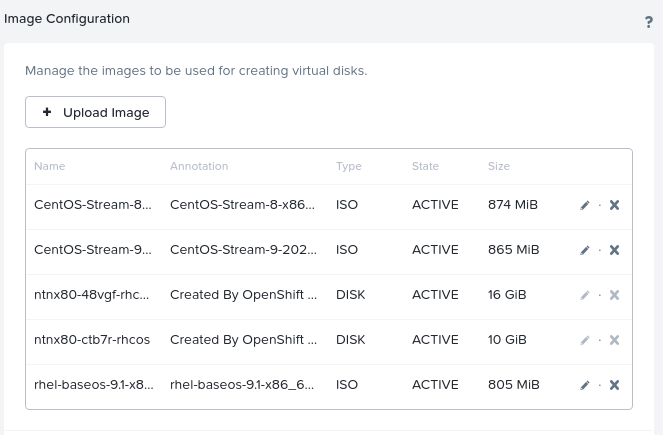
After the images, virtual machines will be created:

Once the installation is complete, you will be given a kubeadmin password.
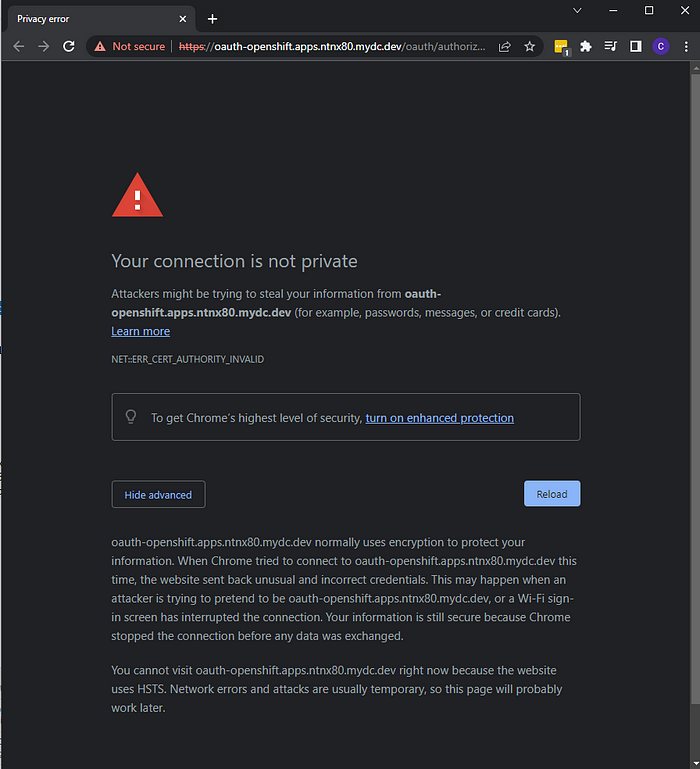
Open a web-browser and navigate to the OKD Console URL.
On the Your connection is not private page type thisisunsafe to bypass the cert warning. You will not see the words when you are typing.
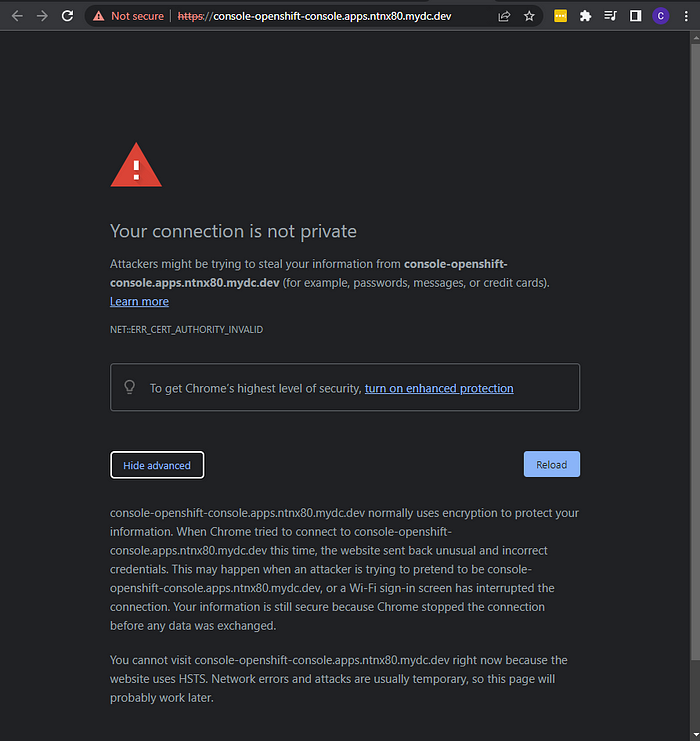
Repeat thisisunsafe for the oath page.
Login to the OKD dashboard with your kubeadmin credentials:
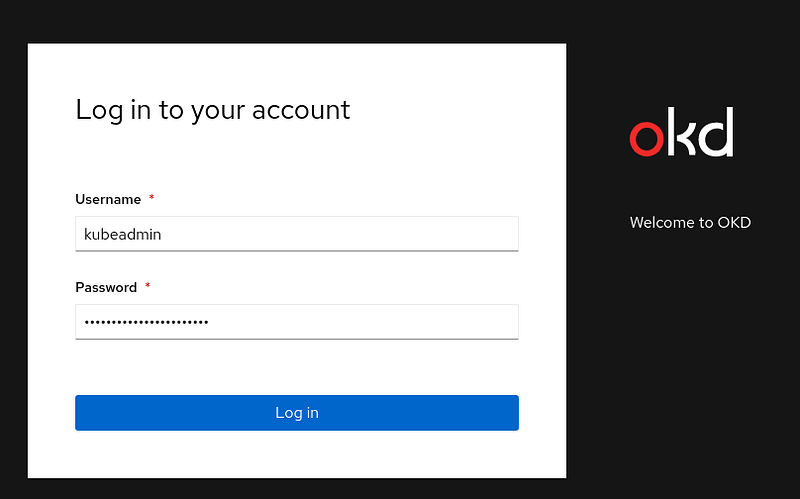
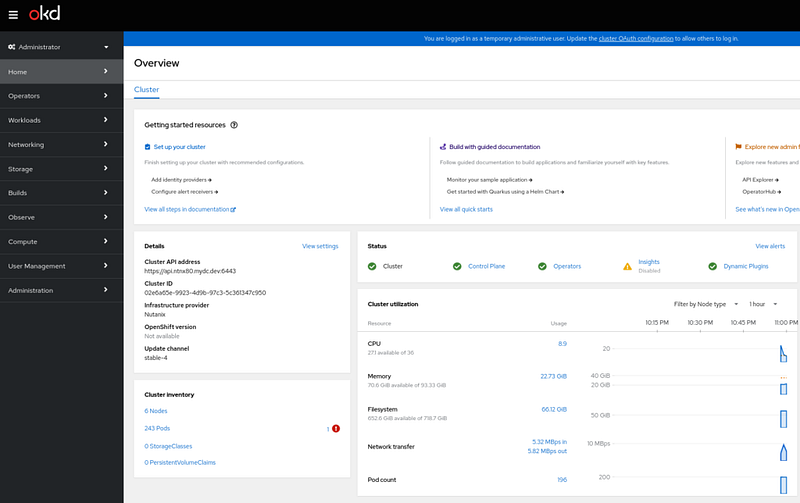
Welcome to the OKD Dashboard.
Setup Nutanix Volume storage
The Nutanix CSI Operator from OperatorHub is currently only available with a valid pull secret. You have two options:
Option 1. Update the existing pull secret with a valid one from your no-cost Red Hat Developer account.
Option 2. Install the Nutanix CSI Driver using Helm. Documentation is available in the GitHub repo nutanix/helm.
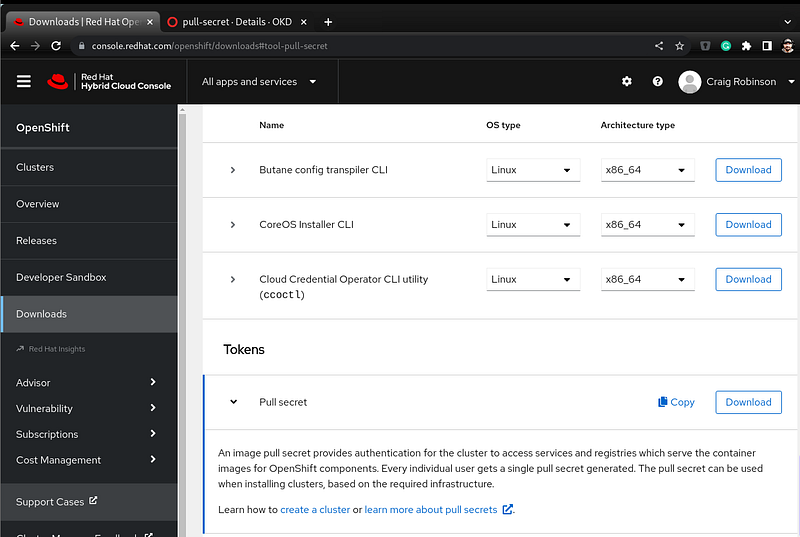
Option 1: Update the existing pull secret with a valid one from console.redhat.com.
Browse to https://console.redhat.com, choose OpenShift -> Downloads -> Tokens, and copy the pull secret to the clipboard.
On the bastion host, create a pull-secret.txt using the pull-secret you copied to your clipboard.
Next, update the cluster pull secret using the pull-secret.txt file.
export KUBECONFIG=okd412/auth/kubeconfig
vim pull-secret.txt
oc set data secret/pull-secret -n openshift-config --from-file=.dockerconfigjson=pull-secret.txt
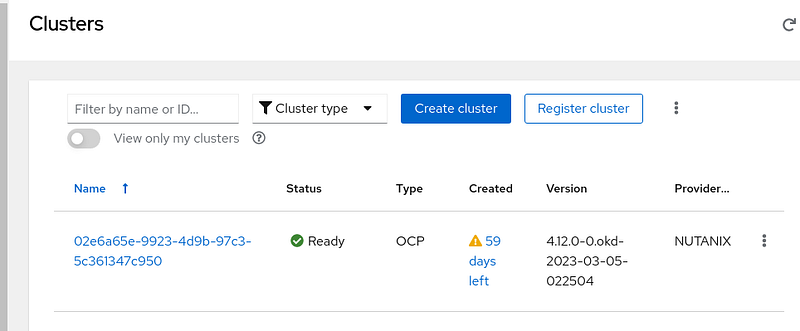
After several minutes, the cluster will be listed on console.redhat.com.
Next, edit OperatorHub CRD and change disableAllDefaultSources: true to false.
oc edit operatorhubs.config.openshift.io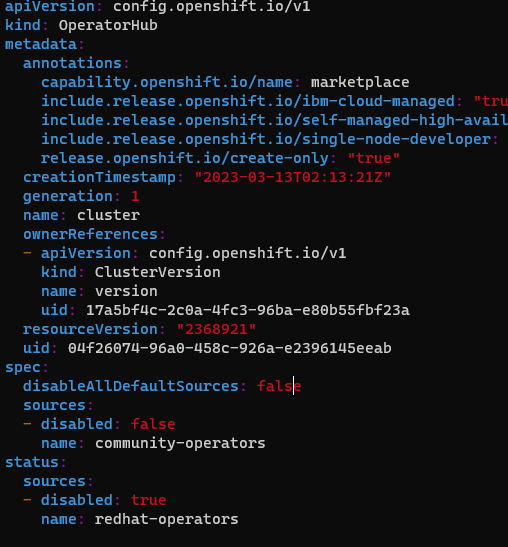
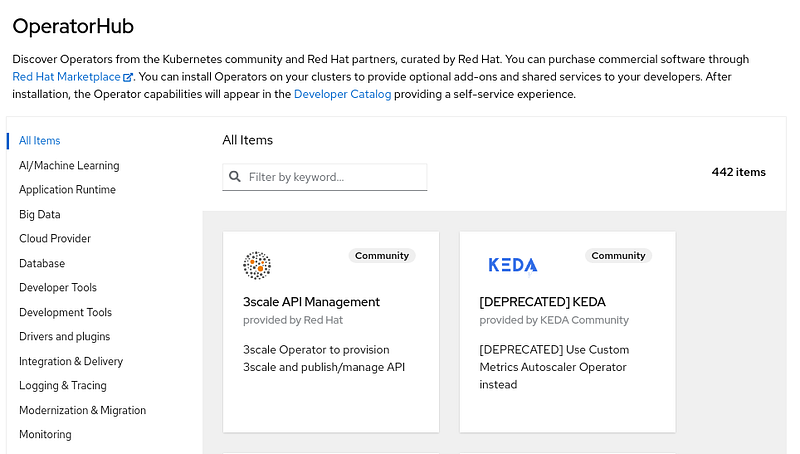
Browse to Operators -> OperatorHub, and after a few minutes, the number of items will increase from around 200 to around 440.
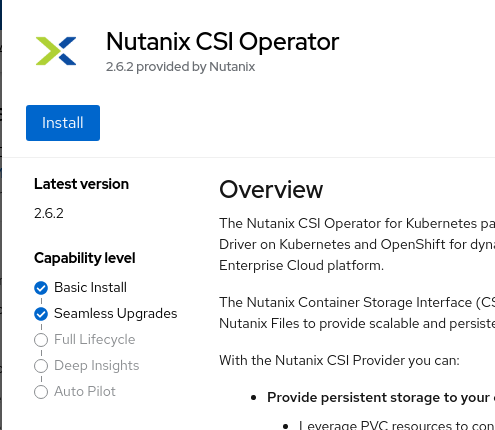
Type in Nutanix and select the Nutanix CSI Operator.
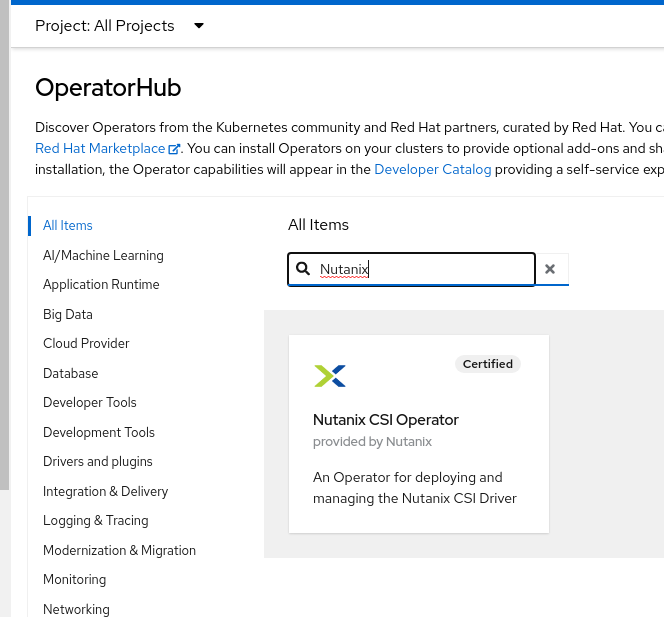
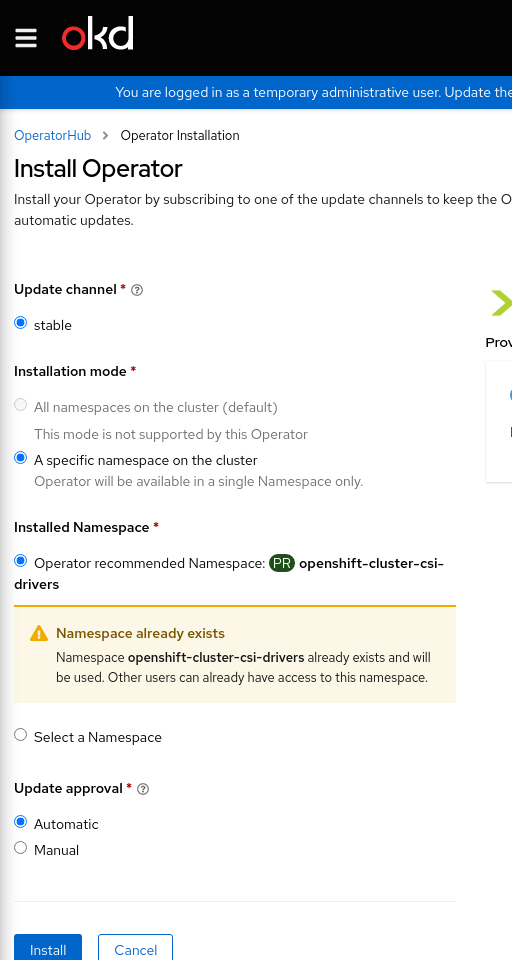
Click on Install, and using the default options, click Install again.
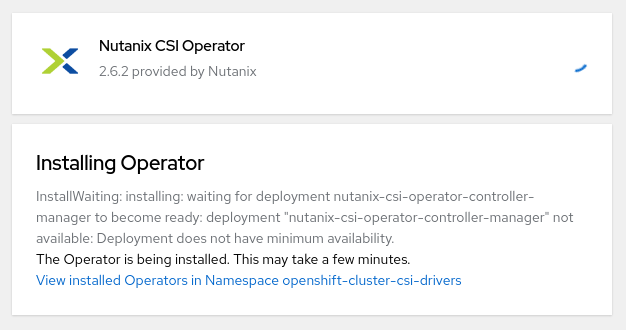
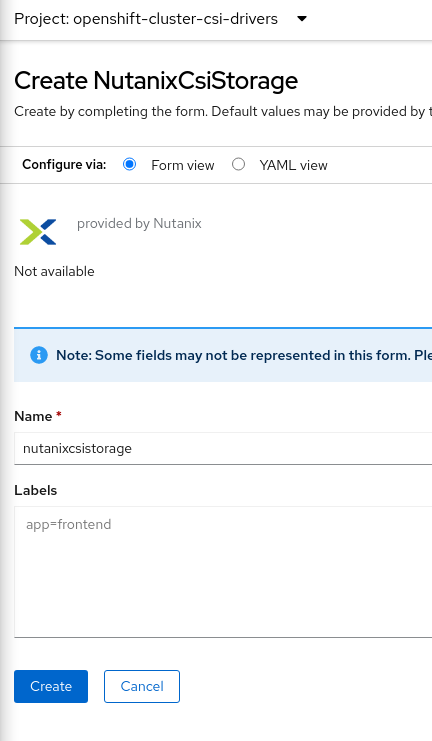
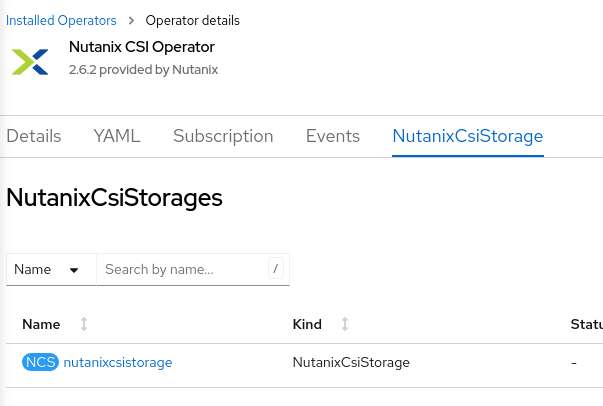
After the operator is installed, click View Operator, Create Instance, and Create:
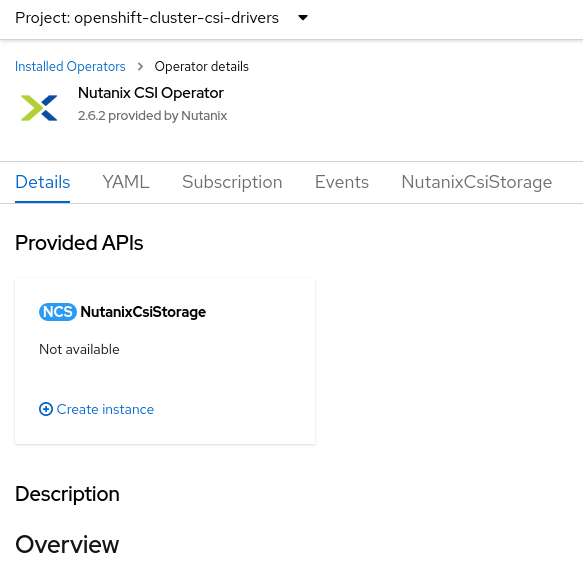
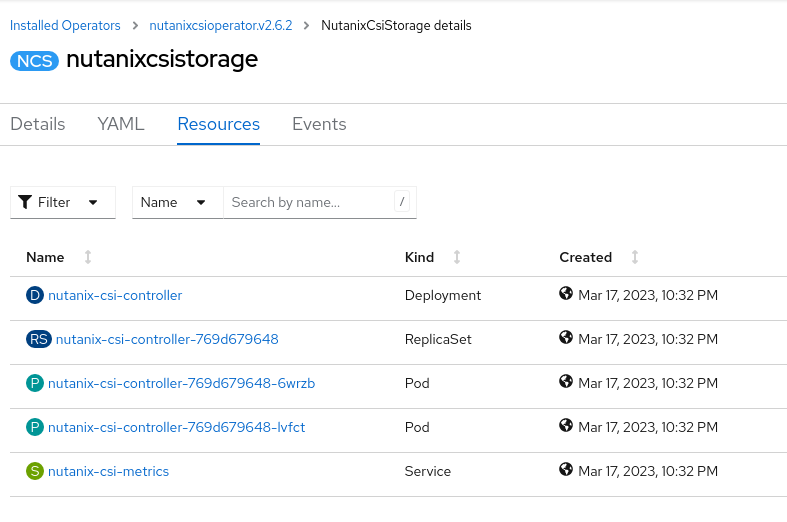
Click the nutanixcsistorage instance and verify the resources are running:
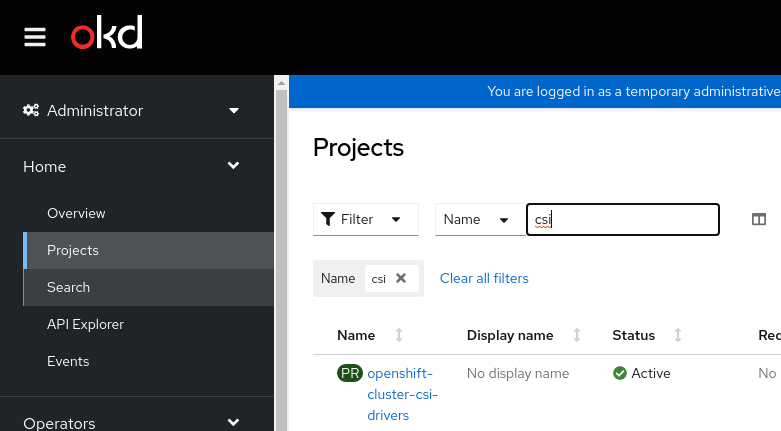
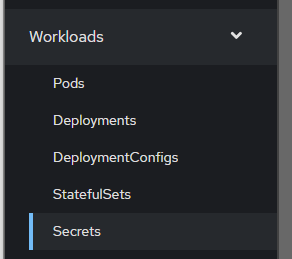
Select the openshift-cluster-csi-drivers project and select Workloads -> Secrets
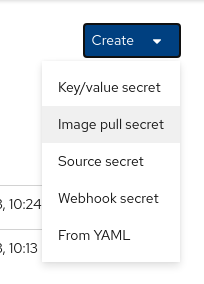
Select Create -> From YAML and paste in the YAML below, modifying the key to match your environment:
apiVersion: v1
kind: Secret
metadata:
  name: ntnx-secret
  namespace: openshift-cluster-csi-drivers
stringData:
  # prism-element-ip:prism-port:admin:password
  key: 192.168.80.17:9440:ocpadmin:Nutanix/4u1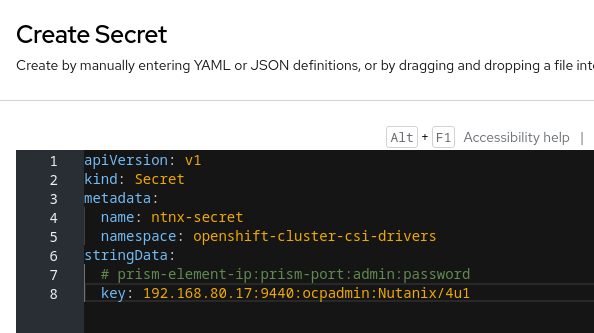
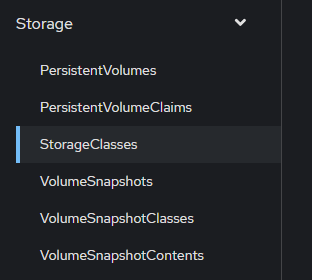
Click on Storage -> StorageClasses -> Create StorageClass -> Edit YAML
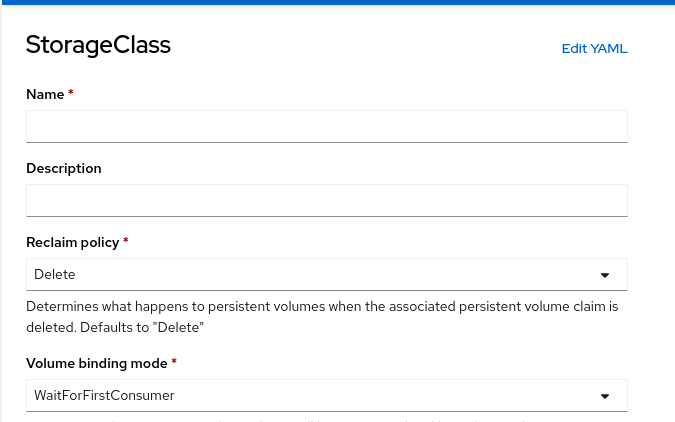
Paste in the YAML below, modifying the values to match your environment:
apiVersion: storage.k8s.io/v1
kind: StorageClass
metadata:
    annotations:
        storageclass.kubernetes.io/is-default-class: "true"
    name: default-storageclass
parameters:
   csi.storage.k8s.io/provisioner-secret-name: ntnx-secret
   csi.storage.k8s.io/provisioner-secret-namespace: openshift-cluster-csi-drivers
   csi.storage.k8s.io/node-publish-secret-name: ntnx-secret
   csi.storage.k8s.io/node-publish-secret-namespace: openshift-cluster-csi-drivers
   csi.storage.k8s.io/controller-expand-secret-name: ntnx-secret
   csi.storage.k8s.io/controller-expand-secret-namespace: openshift-cluster-csi-drivers
   csi.storage.k8s.io/fstype: xfs
   isSegmentedIscsiNetwork: "false"
   flashMode: ENABLED
   storageContainer: default-container-69104243748611
   chapAuth: DISABLED
   storageType: NutanixVolumes
   whitelistIPMode: DISABLED
   #whitelistIPAddr: ip-address
provisioner: csi.nutanix.com
reclaimPolicy: Delete
allowVolumeExpansion: true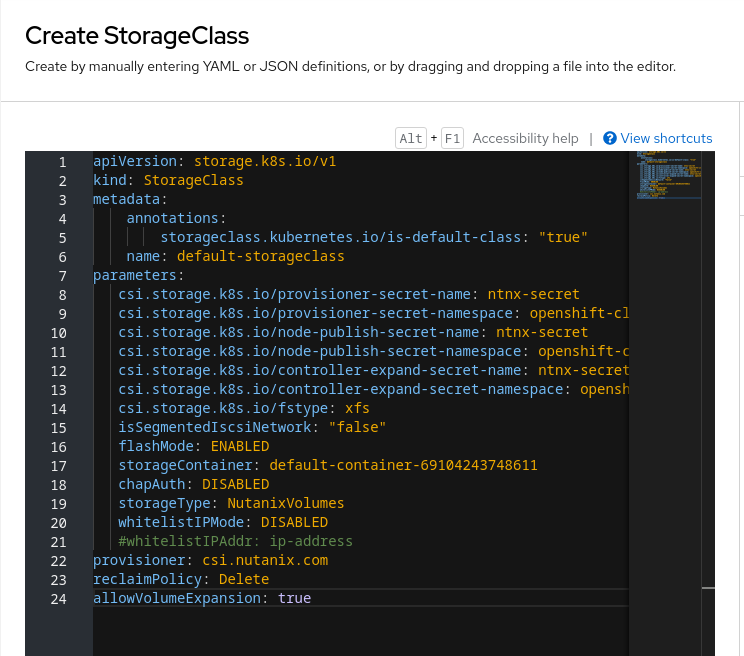
Enable iSCSI to Start by Default
The CoreOS nodes do not enable the iscsid service by default. In addition, Nutanix recommends tuning iscsid.conf values for Linux clients.
Create a worker and master machineconfig to enable the iscsid service to start and tune the iscsid.conf file.
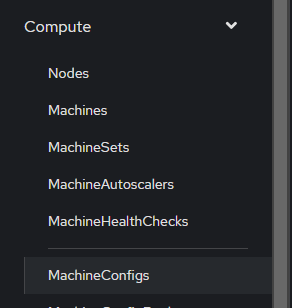
Click on Compute -> MachineConfigs, then click Create MachineConfig to create a MachineConfig for the nodes with the master role:
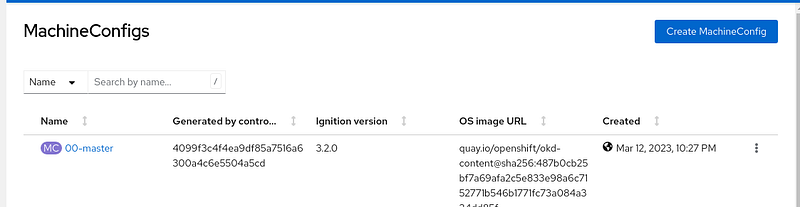
Copy and paste the master MachineConfig below and click Create.
apiVersion: machineconfiguration.openshift.io/v1
kind: MachineConfig
metadata:
  labels:
    machineconfiguration.openshift.io/role: master
  name: 99-master-nutanix-iscsid-profile
spec:
  config:
    ignition:
      version: 3.2.0
    systemd:
      units:
      - enabled: true
        name: iscsid.service
    storage:
      files:
        - contents:
            source: >-
              data:text/plain;charset=utf-8;base64,IyBPcGVuLWlTQ1NJIHR1bmVkIGNvbmZpZ3VyYXRpb24gZm9yIE51dGFuaXgKIyBTb3VyY2U6IGh0dHBzOi8vcG9ydGFsLm51dGFuaXguY29tL3BhZ2UvZG9jdW1lbnRzL3NvbHV0aW9ucy9kZXRhaWxzP3RhcmdldElkPUJQLTIwNDktTnV0YW5peC1Wb2x1bWVzOmxpbnV4LWNsaWVudC10dW5pbmctZXhhbXBsZS5odG1sCmlzY3NpZC5zdGFydHVwID0gL2Jpbi9zeXN0ZW1jdGwgc3RhcnQgaXNjc2lkLnNvY2tldCBpc2NzaXVpby5zb2NrZXQKbm9kZS5zdGFydHVwID0gYXV0b21hdGljCm5vZGUubGVhZGluZ19sb2dpbiA9IE5vCm5vZGUuc2Vzc2lvbi50aW1lby5yZXBsYWNlbWVudF90aW1lb3V0ID0gMTIwCm5vZGUuY29ublswXS50aW1lby5sb2dpbl90aW1lb3V0ID0gMTUKbm9kZS5jb25uWzBdLnRpbWVvLmxvZ291dF90aW1lb3V0ID0gMTUKbm9kZS5jb25uWzBdLnRpbWVvLm5vb3Bfb3V0X2ludGVydmFsID0gNQpub2RlLmNvbm5bMF0udGltZW8ubm9vcF9vdXRfdGltZW91dCA9IDEwCm5vZGUuc2Vzc2lvbi5lcnJfdGltZW8uYWJvcnRfdGltZW91dCA9IDE1Cm5vZGUuc2Vzc2lvbi5lcnJfdGltZW8ubHVfcmVzZXRfdGltZW91dCA9IDMwCm5vZGUuc2Vzc2lvbi5lcnJfdGltZW8udGd0X3Jlc2V0X3RpbWVvdXQgPSAzMApub2RlLnNlc3Npb24uaW5pdGlhbF9sb2dpbl9yZXRyeV9tYXggPSA4Cm5vZGUuc2Vzc2lvbi5jbWRzX21heCA9IDIwNDggICAgCm5vZGUuc2Vzc2lvbi5xdWV1ZV9kZXB0aCA9IDEwMjQKbm9kZS5zZXNzaW9uLnhtaXRfdGhyZWFkX3ByaW9yaXR5ID0gLTIwCm5vZGUuc2Vzc2lvbi5pc2NzaS5Jbml0aWFsUjJUID0gTm8Kbm9kZS5zZXNzaW9uLmlzY3NpLkltbWVkaWF0ZURhdGEgPSBZZXMKbm9kZS5zZXNzaW9uLmlzY3NpLkZpcnN0QnVyc3RMZW5ndGggPSAxMDQ4NTc2Cm5vZGUuc2Vzc2lvbi5pc2NzaS5NYXhCdXJzdExlbmd0aCA9IDE2Nzc2MTkyCm5vZGUuY29ublswXS5pc2NzaS5NYXhSZWN2RGF0YVNlZ21lbnRMZW5ndGggPSAxMDQ4NTc2Cm5vZGUuY29ublswXS5pc2NzaS5NYXhYbWl0RGF0YVNlZ21lbnRMZW5ndGggPSAwCmRpc2NvdmVyeS5zZW5kdGFyZ2V0cy5pc2NzaS5NYXhSZWN2RGF0YVNlZ21lbnRMZW5ndGggPSAxMDQ4NTc2Cm5vZGUuY29ublswXS5pc2NzaS5IZWFkZXJEaWdlc3QgPSBOb25lCm5vZGUuc2Vzc2lvbi5ucl9zZXNzaW9ucyA9IDEKbm9kZS5zZXNzaW9uLnJlb3Blbl9tYXggPSAwCm5vZGUuc2Vzc2lvbi5pc2NzaS5GYXN0QWJvcnQgPSBZZXMKbm9kZS5zZXNzaW9uLnNjYW4gPSBhdXRvCg==
          mode: 420
          overwrite: true
          path: /etc/iscsi/iscsid.conf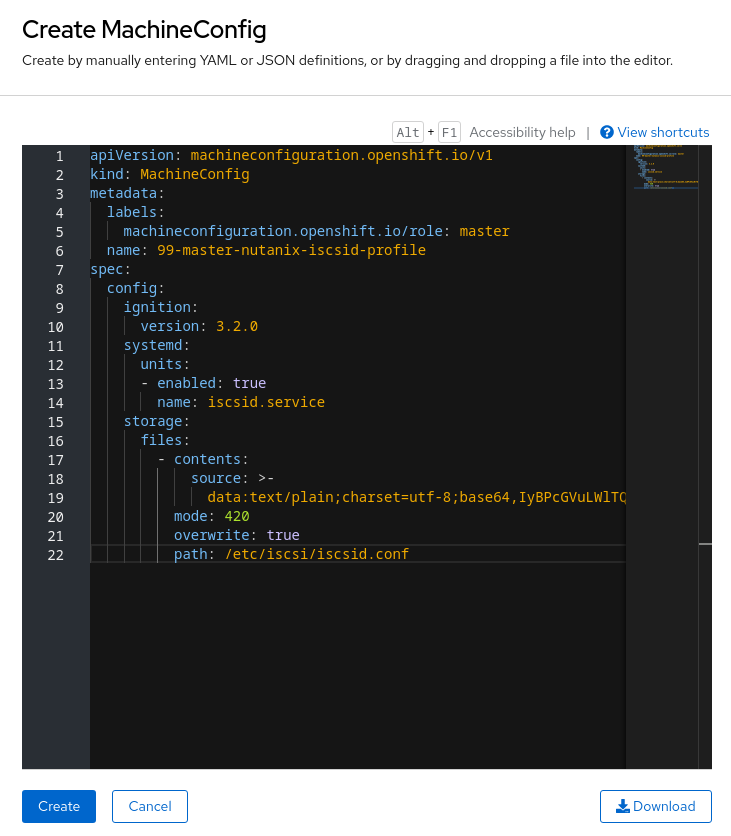
Click on Compute -> MachineConfigs, then click Create MachineConfig to create a MachineConfig for the nodes with the worker role:

Copy and paste the worker MachineConfig below and click Create.
apiVersion: machineconfiguration.openshift.io/v1
kind: MachineConfig
metadata:
  labels:
    machineconfiguration.openshift.io/role: worker
  name: 99-worker-nutanix-iscsid-profile
spec:
  config:
    ignition:
      version: 3.2.0
    systemd:
      units:
      - enabled: true
        name: iscsid.service
    storage:
      files:
        - contents:
            source: >-
              data:text/plain;charset=utf-8;base64,IyBPcGVuLWlTQ1NJIHR1bmVkIGNvbmZpZ3VyYXRpb24gZm9yIE51dGFuaXgKIyBTb3VyY2U6IGh0dHBzOi8vcG9ydGFsLm51dGFuaXguY29tL3BhZ2UvZG9jdW1lbnRzL3NvbHV0aW9ucy9kZXRhaWxzP3RhcmdldElkPUJQLTIwNDktTnV0YW5peC1Wb2x1bWVzOmxpbnV4LWNsaWVudC10dW5pbmctZXhhbXBsZS5odG1sCmlzY3NpZC5zdGFydHVwID0gL2Jpbi9zeXN0ZW1jdGwgc3RhcnQgaXNjc2lkLnNvY2tldCBpc2NzaXVpby5zb2NrZXQKbm9kZS5zdGFydHVwID0gYXV0b21hdGljCm5vZGUubGVhZGluZ19sb2dpbiA9IE5vCm5vZGUuc2Vzc2lvbi50aW1lby5yZXBsYWNlbWVudF90aW1lb3V0ID0gMTIwCm5vZGUuY29ublswXS50aW1lby5sb2dpbl90aW1lb3V0ID0gMTUKbm9kZS5jb25uWzBdLnRpbWVvLmxvZ291dF90aW1lb3V0ID0gMTUKbm9kZS5jb25uWzBdLnRpbWVvLm5vb3Bfb3V0X2ludGVydmFsID0gNQpub2RlLmNvbm5bMF0udGltZW8ubm9vcF9vdXRfdGltZW91dCA9IDEwCm5vZGUuc2Vzc2lvbi5lcnJfdGltZW8uYWJvcnRfdGltZW91dCA9IDE1Cm5vZGUuc2Vzc2lvbi5lcnJfdGltZW8ubHVfcmVzZXRfdGltZW91dCA9IDMwCm5vZGUuc2Vzc2lvbi5lcnJfdGltZW8udGd0X3Jlc2V0X3RpbWVvdXQgPSAzMApub2RlLnNlc3Npb24uaW5pdGlhbF9sb2dpbl9yZXRyeV9tYXggPSA4Cm5vZGUuc2Vzc2lvbi5jbWRzX21heCA9IDIwNDggICAgCm5vZGUuc2Vzc2lvbi5xdWV1ZV9kZXB0aCA9IDEwMjQKbm9kZS5zZXNzaW9uLnhtaXRfdGhyZWFkX3ByaW9yaXR5ID0gLTIwCm5vZGUuc2Vzc2lvbi5pc2NzaS5Jbml0aWFsUjJUID0gTm8Kbm9kZS5zZXNzaW9uLmlzY3NpLkltbWVkaWF0ZURhdGEgPSBZZXMKbm9kZS5zZXNzaW9uLmlzY3NpLkZpcnN0QnVyc3RMZW5ndGggPSAxMDQ4NTc2Cm5vZGUuc2Vzc2lvbi5pc2NzaS5NYXhCdXJzdExlbmd0aCA9IDE2Nzc2MTkyCm5vZGUuY29ublswXS5pc2NzaS5NYXhSZWN2RGF0YVNlZ21lbnRMZW5ndGggPSAxMDQ4NTc2Cm5vZGUuY29ublswXS5pc2NzaS5NYXhYbWl0RGF0YVNlZ21lbnRMZW5ndGggPSAwCmRpc2NvdmVyeS5zZW5kdGFyZ2V0cy5pc2NzaS5NYXhSZWN2RGF0YVNlZ21lbnRMZW5ndGggPSAxMDQ4NTc2Cm5vZGUuY29ublswXS5pc2NzaS5IZWFkZXJEaWdlc3QgPSBOb25lCm5vZGUuc2Vzc2lvbi5ucl9zZXNzaW9ucyA9IDEKbm9kZS5zZXNzaW9uLnJlb3Blbl9tYXggPSAwCm5vZGUuc2Vzc2lvbi5pc2NzaS5GYXN0QWJvcnQgPSBZZXMKbm9kZS5zZXNzaW9uLnNjYW4gPSBhdXRvCg==
          mode: 420
          overwrite: true
          path: /etc/iscsi/iscsid.conf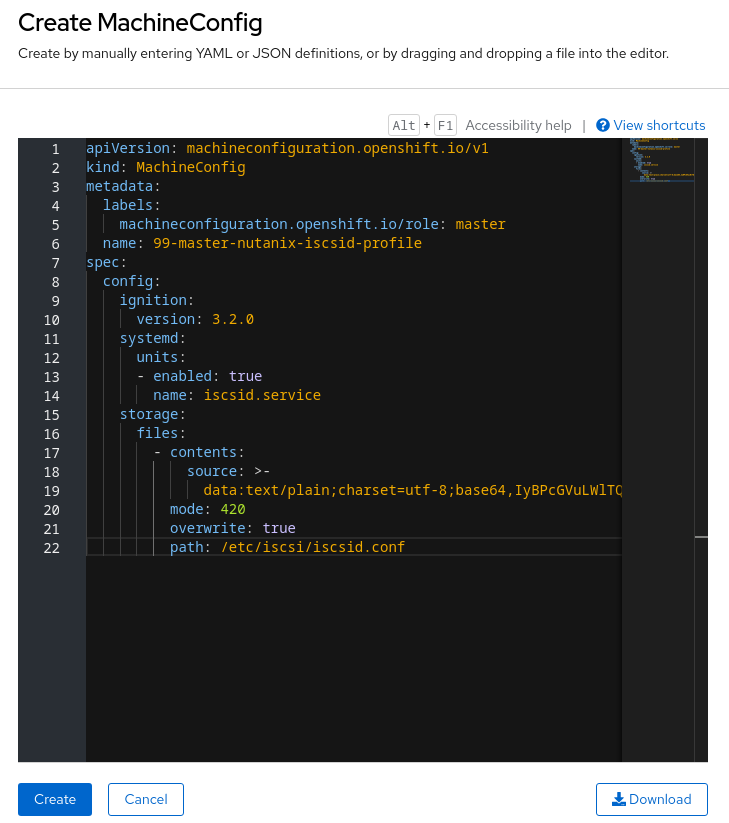
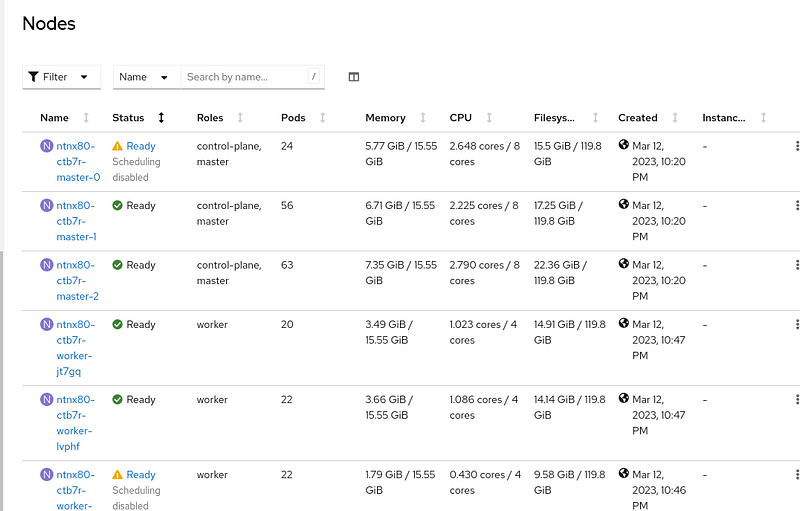
The nodes will gracefully reboot individually to implement the machine config changes.
Create Persistent Storage for the OpenShift Registry
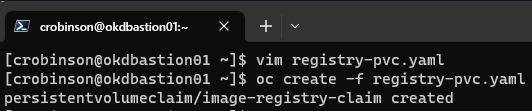
On the bastion host create a registry-pvc.yaml:
kind: PersistentVolumeClaim
apiVersion: v1
metadata:
    name: image-registry-claim
    namespace: openshift-image-registry
spec:
    accessModes:
    - ReadWriteOnce
    resources:
      requests:
        storage: 100Gi
    storageClassName: default-storageclass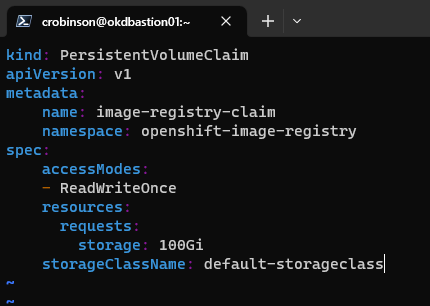
Create the registry PVC using oc create:
oc create -f registry-pvc.yaml
Patch the Image Registry Operator PVC
Patch the imageregistry operator to use the PersistantVolumeClaim created in the previous step:
oc project openshift-image-registry
oc patch configs.imageregistry.operator.openshift.io cluster --type merge --patch '{"spec":{"managementState":"Managed"}}'
oc patch configs.imageregistry.operator.openshift.io cluster --type merge --patch '{"spec":{"storage":{"pvc":{"claim":"image-registry-claim"}}}}'
oc patch configs.imageregistry.operator.openshift.io cluster --type merge --patch '{"spec":{"rolloutStrategy":"Recreate"}}'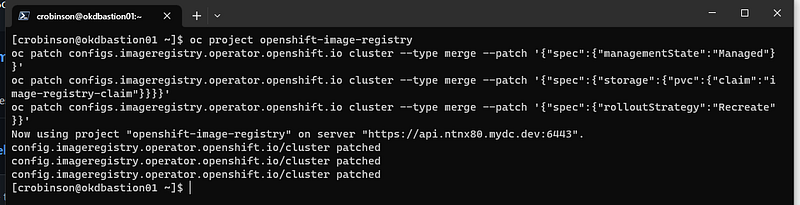
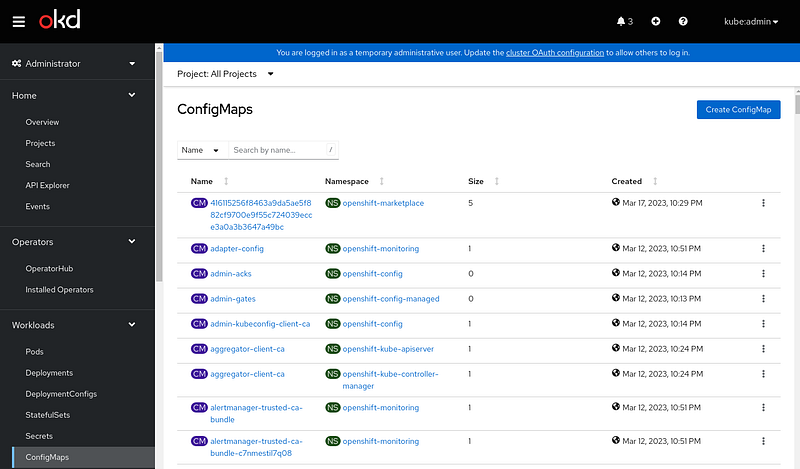
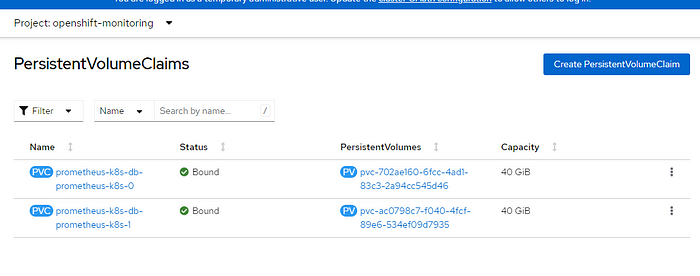
Setup Persistent Storage for OpenShift Monitoring
Select Workloads -> ConfigMaps -> Create ConfigMap
Paste in the YAML below and click Create:
apiVersion: v1
kind: ConfigMap
metadata:
  name: cluster-monitoring-config
  namespace: openshift-monitoring
data:
  config.yaml: |
    prometheusK8s:
      volumeClaimTemplate:
       spec:
         storageClassName: default-storageclass
         volumeMode: Filesystem
         resources:
           requests:
             storage: 40Gi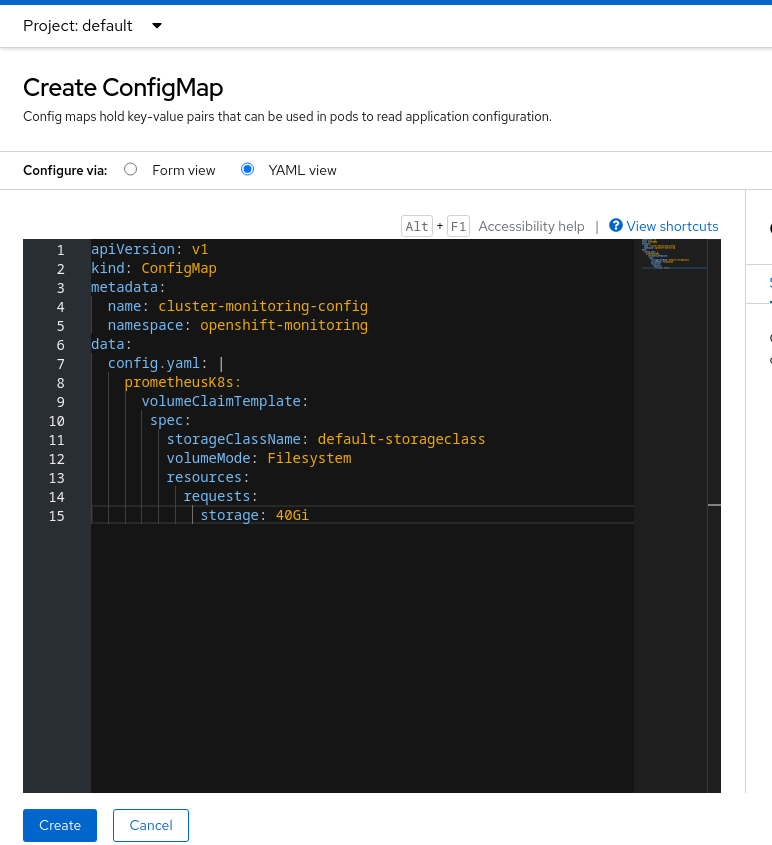
The PVCs will be created automatically. Now the monitoring data will persist after the containers restart.
Congratulations, you have a fully functioning OKD cluster with persistent storage configured on the monitoring stack and the internal registry running on the Nutanix HCI platform.
Excellent training resources for using OpenShift are available at https://developers.redhat.com/learn/openshift. Good luck!


