GPT Actions: How to Create Advanced Automation in Your GPTs
Customize your GPT further by connecting it to thousands of apps.

In this article, we’ll see how to add automation to your GPT with GPT Actions. Actions allow GPTs to interact with other apps.
In this case, we’ll use Zapier Actions to automate sending emails on Gmail, but you could follow the same steps to connect to Google Sheets, Drive, Calendar, and other apps.
You only need to follow the three steps below.
Step 1: Add Zapier action to your GPT
First, you need to go to the Configure option of your GPT. In case you don’t have a GPT, you’ll need to create one by following the steps below.
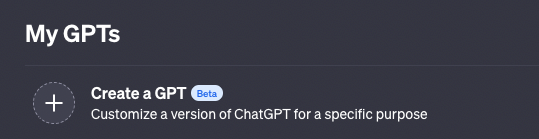
Open the left sidebar and click on “Explore.” Then click on “Create a GPT” within My GPTs.
Then you should see the GPT Builder. Click on Configure, and select “Create New Action.”
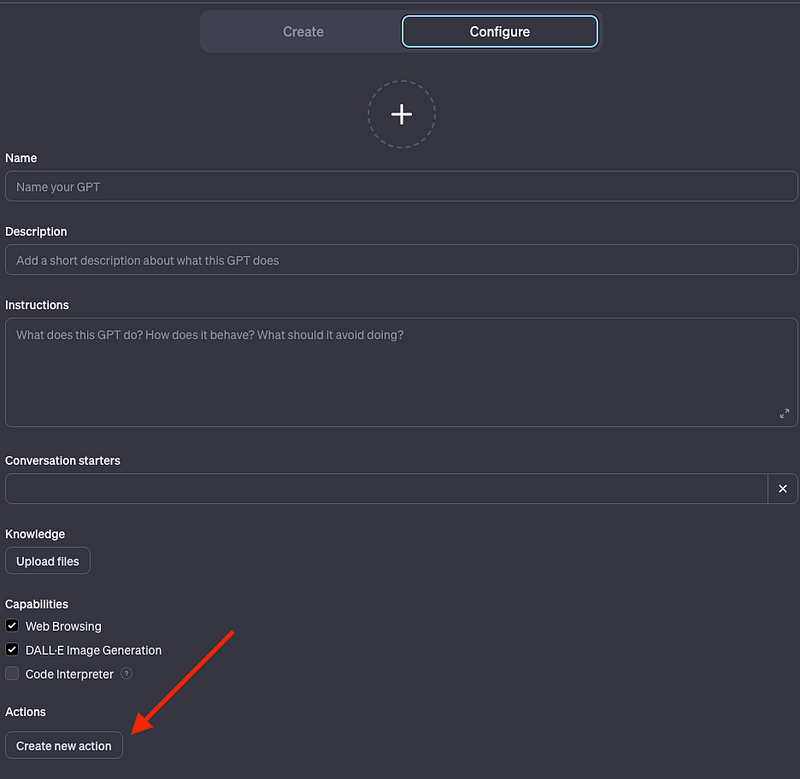
You should see this window now.
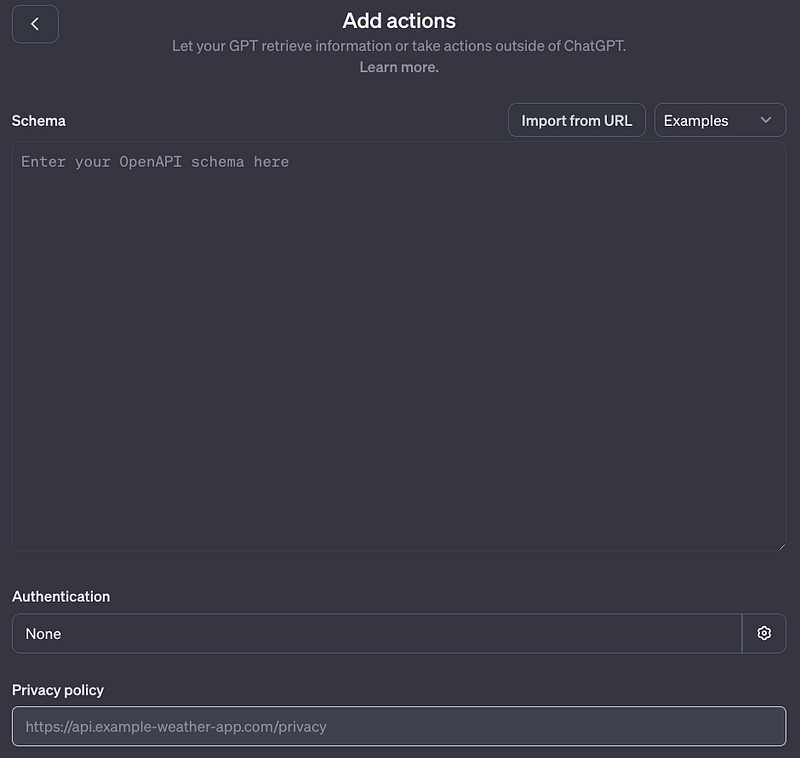
Click on “Import from URL,” paste the URL below, and then click on Import.
https://actions.zapier.com/gpt/api/v1/dynamic/openapi.json?tools=metaAfter that, you should see a bunch of text added to the schema. Leave it as is.

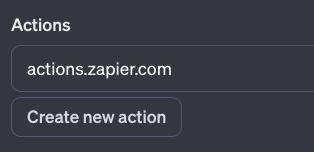
That’s it for the “Add actions” section, now you can click on the < button to go back to Configure. In “Actions” you’ll see that a new Zapier action was added.
Step 2: Paste the Zapier instructions
Zapier has a bunch of actions available from sending an email to updating an Excel spreadsheet. That’s why we need to specify in the GPT’s instructions what action we want to use.
With Zapier, there’s a specific format we need to follow. Besides the instructions you created for your GPT, you have to paste the text below in the GPT instructions (extracted from Zapier)
### Rules: - Before running any Actions tell the user that they need to reply after the Action completes to continue.
### Instructions for Zapier Custom Action: Step 1. Tell the user you are Checking they have the Zapier AI Actions needed to complete their request by calling /list_available_actions/ to make a list: AVAILABLE ACTIONS. Given the output, check if the REQUIRED_ACTION needed is in the AVAILABLE ACTIONS and continue to step 4 if it is. If not, continue to step 2. Step 2. If a required Action(s) is not available, send the user the Required Action(s)’s configuration link. Tell them to let you know when they’ve enabled the Zapier AI Action. Step 3. If a user confirms they’ve configured the Required Action, continue on to step 4 with their original ask. Step 4. Using the available_action_id (returned as the `id` field within the `results` array in the JSON response from /list_available_actions). Fill in the strings needed for the run_action operation. Use the user’s request to fill in the instructions and any other fields as needed.
REQUIRED_ACTIONS: - Action:
Confirmation Link:
The text has two fields that you need to fill: Action and confirmation link. We’ll get this from the Zapier website in the next step.
Step 3: Create an action on Zapier
In this step, we’ll create the automation we want to add as action to our GPT.
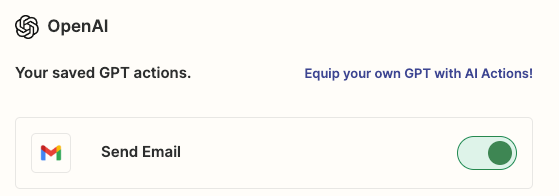
To build our automation (aka action), go to this site. If you don’t have a Zapier account, you’ll need to register. Once you’re logged in, you should see something like the screenshot below (ignore the “send email” action that I created for this tutorial).
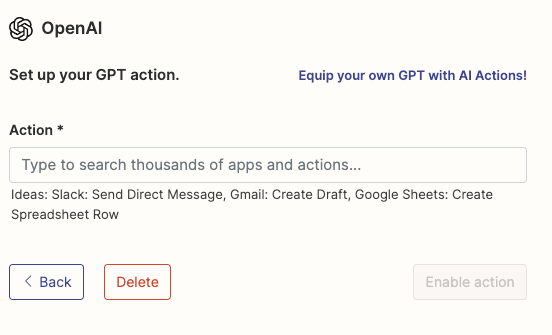
Now you have to click on “Add a new action” located at the bottom. Then you should see the page below where you can type to search thousands of apps like Gmail, Excel, YouTube, etc. For this tutorial, we’ll select “Gmail send email” to send an email via Gmail with our GPT.
Now we have to configure our GPT action. The settings for other apps will be similar.
- You must connect to the external app (in this case using your Gmail account)
- Overall, you can leave most of the fields as “Have AI guess a value for this field”

And that’s pretty much it! Now you can click on “Enable action.”
The action was created! Now we need to get the Action name and Confirmation Link. To do so, we select our action in the list.
Then we’ll see the “Set up your GPT action” section again. Here’s where you get the Action and Confirmation Link.
- Confirmation Link: Just copy the link to the site (it starts with
actions.zapier.com/gpt/action/) - Action Name: Click on “Show all options” and scroll down until “Action Name.” There type the name you want to set for the action
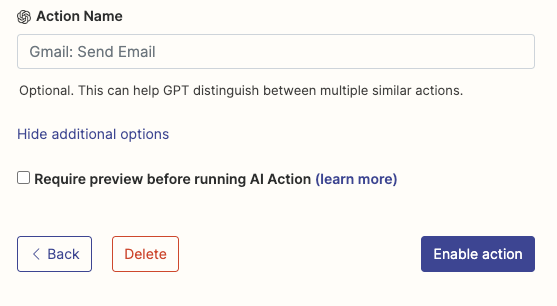
I’m naming my action “Send email.”
Copy the action name and link and paste them in the GPT instructions. Here’s how “Required_Actions” looks now.

Now that “Required_Actions” is completed, save your GPT. It’s time to test it!
Testing the action
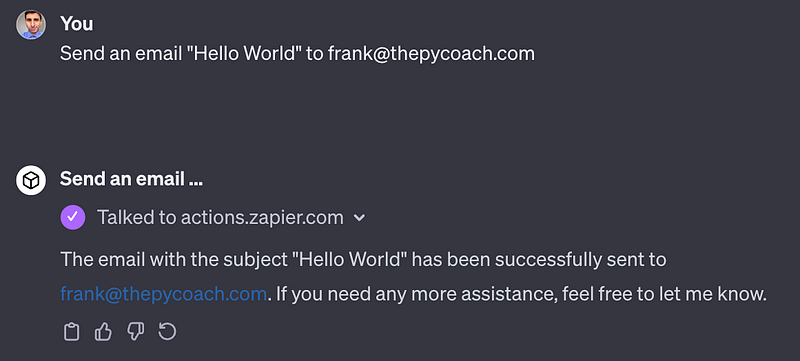
Start an instance of your GPT and type the following prompt for testing.
Send an email “Hello World” to [email protected]
Assuming you connected your main Gmail account to Zapier, type another email in the prompt (it doesn’t have to be a Gmail account)
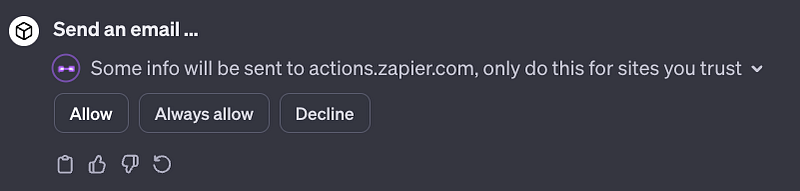
After pressing enter, you’ll probably see the message below. Click “Allow”
And that’s it! If everything is successful, you’ll get a message like this.
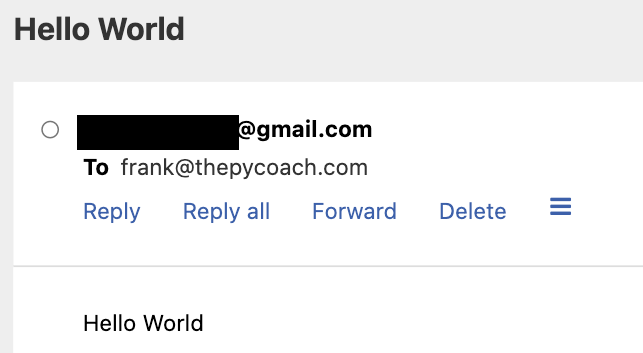
If you check your inbox, you should have a new email. In this case, I got an email from my Gmail account with the content and subject “Hello World”
You could customize the action further in the prompt and also on Zapier.
But that’s it for now! Now it’s your time to explore other apps you can connect to using GPT actions and Zapier.
If you enjoy reading stories like these and want to support me as a writer, subscribe to my Substack. On Substack, I publish articles that you won’t find on the other platforms where I create content.