
Google Colab Tutorial for Beginners
Create Colab Notebook, set up the runtime, run cells, read data from Google Drive, and run R programming language

Google Colaboratory (aka Google Colab) is an online notebook environment that runs on Google Cloud. The user interface is similar to a Jupyter notebook, and it supports GPU and TPU for machine learning models. In this tutorial, we will cover:
- How to create a Google Colab notebook?
- How to set up the run time?
- How to create and run Colab notebook cells?
- How to read data from Google Drive?
- How to run R programming language with Google Colab?
Resources for this post:
- Video tutorial on YouTube
- More video tutorials on Google Colab
- More blog posts on Google Colab
Let’s get started!
Step 1: Create a Google Colab Notebook
Step 1.1: Log in to your Google account. If you don’t have a Google account, go to accounts.google.com and create an account.

Step 1.2: Click the 9 dots icon on the upper-right corner and select Drive.

Step 1.3: Click New -> More -> Google Colaboratory to open a new Colab Notebook.

If you do not see Google Colaboratory in the list, click Connect more apps and search Google Colab in the search bar.

Install Google Colab and click New -> More -> Google Colaboratory to open a new Colab Notebook.
Step 1.4: Click the file name one the upper-left corner and change the file name.

Step 2 (Optional): Set Up Runtime
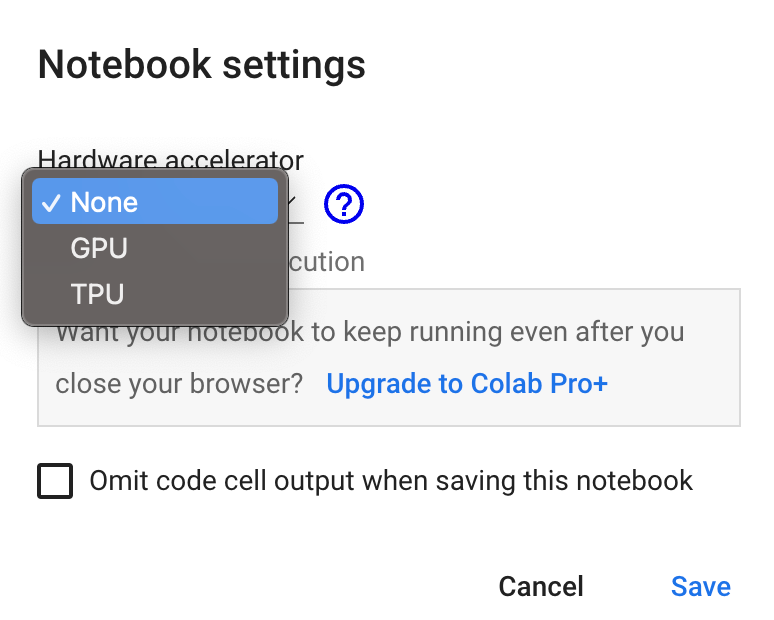
The 2nd step is to set up the run time. The default run time uses CPUs, but you can change the run time by clicking Runtime -> Change runtime type.

In the Notebook settings popup window, we can change the Hardware accelerator from None to GPU or TPU. GPU (Graphical Processing Unit) and TPU (Tensor Processing Unit) are usually used for computation heavy models. We will keep it as None since we do not need high computation power for this tutorial.
Step 3: Create and Run Cells
There are two types of cells in the Google Colab notebook, text cells, and code cells.
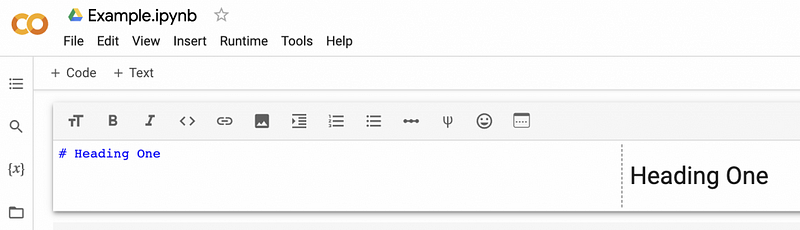
Step 3.1: To add a new text cell, hover the mouse in the middle until + Code and +Text show up. Click +Text.

Step 3.2: Type text in the newly added text cell. You can use markdown to format the text, and the rendered text shows on the right-hand side. The cell renders automatically when clicking outside the cell.
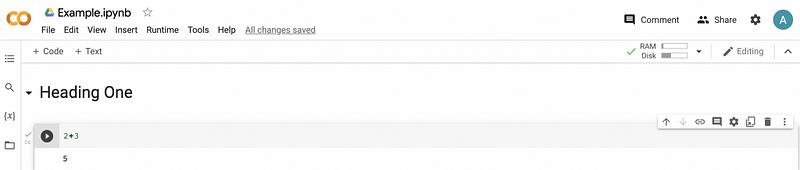
Step 3.3: To add a new code cell, hover the mouse in the middle until +Code and +Text show up. Click +Code.

Step 3.4: Type Python code in the newly added code cell, and click the run button (a black circle with a white triangle in it) to run the code. Here we entered 2+3 and get the results of 5.
Step 4: Read Data from Google Drive
When working with Google Colab, it’s common to read data from Google Drive. In step 4, we will talk about how to connect to Google Drive and read data.
Step 4.1: Mount Google Drive to Google Colab notebook by running the code below.
# Mount Google Drive
from google.colab import drive
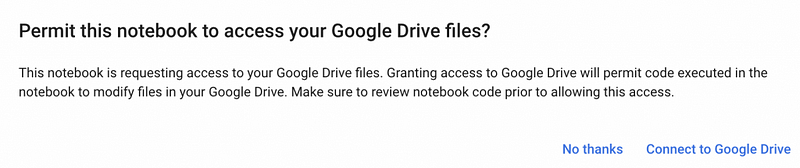
drive.mount('/content/drive')A popup window will show up with the question “Permit this notebook to access your Google Drive files?” Select the blue Connect to Google Drive.
Then select the Google account used for the Colab notebook and select the blue Allow.

We will see the output Mounted at /content/drive after the Google Drive is successfully connected.
Step 4.2: Change to the Google Drive directory with the data.
# Change directory
import os
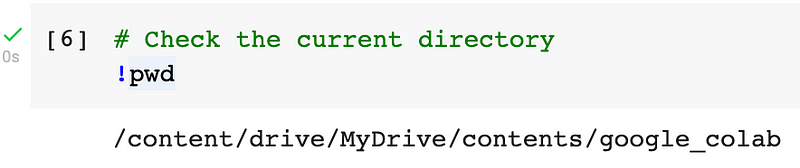
os.chdir("drive/My Drive/contents/google_colab")We can use !pwd to check the current directory. The output shows that we are in the correct directory.
Step 4.3: Read a csv file to a pandas dataframe. Now that the Google Drive is connected to the Colab notebook, we can read the data saved on Google Drive similar to reading data from a local folder.
# Read in data
import pandas as pd
df = pd.read_csv('example_data.csv')
df.head()
Output

Step 5: (Optional): R Programming with Google Colab
To change the Colab notebook’s default language from Python to R, use the link https://colab.to/r to open a new page.
To use both Python and R in the same notebook, we can use the rpy2 package. Please refer to my previous tutorial How To Use R With Google Colab Notebook for more details.
Summary
In this tutorial, we talked about how to get started with Google Colab. You learned:
- How to create a Google Colab notebook?
- How to set up the run time?
- How to create and run Colab notebook cells?
- How to read data from Google Drive?
- How to run R programming language with Google Colab?
More tutorials are available on GrabNGoInfo YouTube Channel and GrabNGoInfo.com.
Recommended Tutorials
- GrabNGoInfo Machine Learning Tutorials Inventory
- One-Class SVM For Anomaly Detection
- 3 Ways for Multiple Time Series Forecasting Using Prophet in Python
- Four Oversampling And Under-Sampling Methods For Imbalanced Classification Using Python
- Multivariate Time Series Forecasting with Seasonality and Holiday Effect Using Prophet in Python
- How to detect outliers | Data Science Interview Questions and Answers
- Time Series Anomaly Detection Using Prophet in Python


