
Google Colab — First Impressions
From a Microsoft ML Studio and Visual Studio Code Fan

The Quick
I’m going to cut right to the quick of it — while I really like Azure ML Studio combined with (or without) Visual Studio Code for use with Python Jupyter Notebooks, if you just look at the steps to get up and running, Google Colab (Colaboratory) is hands-down the easier to use.
Assuming you have a Gmail (Colab) or Outlook (ML Studio) account, the steps to create a Jupyter Notebook in ML Studio are:
- Create an Azure account
- Create an Azure ML Studio resource in Azure
- Create a Compute Instance in Azure
- Start the Compute Instance
- Code away
Comparing that to the steps required for Google Colab (and you’ll see why it’s so much easier):
- Navigate to https://https://colab.research.google.com/
- Code away

Yeah, that’s all there is to it.
First Take and Tour
Super simple start-up aside, here’s my impressions of Google Colab from start to finish.
When you launch Colab for the first time, a default “What is Colabratory” notebook is opened. In itself, it’s very informative and gives some clues about how a Colab Notebook can be structured.
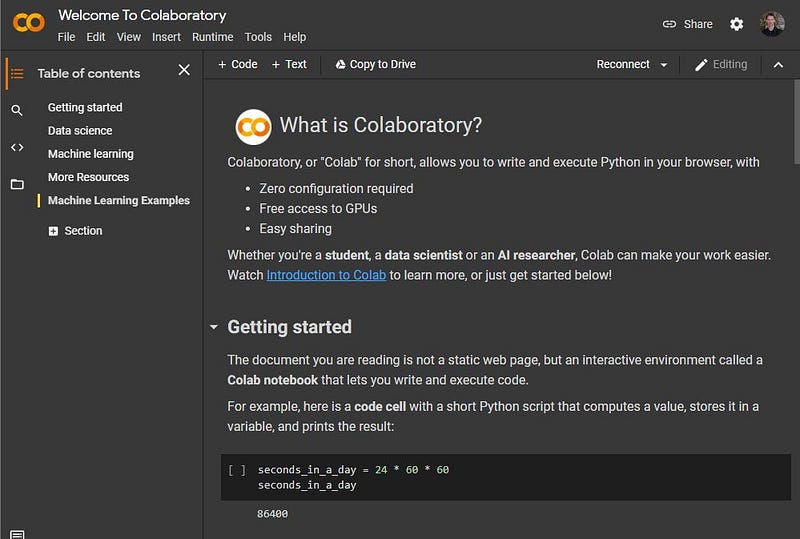
A few things really caught my attention with this notebook:
- Notice I’m logged in with my Gmail account (top right)
- As such, I can copy the notebook to Google Drive (“Copy to Drive”)
- There’s the option to create a table of contents
- The right pane looks like what I’m familiar with in a notebook
I naturally double-clicked the first cell to see if it works like my Visual Studio Code Notebooks and it does — and it doesn’t. I can edit the markdown cell as I expected but I get not only the code but a preview (very useful).
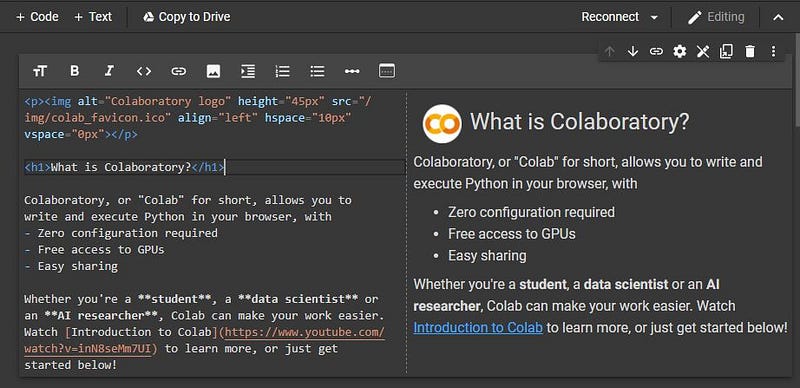
You’ll notice that the markdown for this cell is all HTML. I’ll do something with pure markdown (or Text as its called in Colab) when I build my own later on, but the interesting thing is that preview on the right. Well played Google.
My First Notebook
Creating a notebook is simple enough, I just selected File → New notebook. The result is a Colab Notebook, which is very much like a Jupyter Notebook with some extra features. Here’s the blank notebook that appears after creating it.
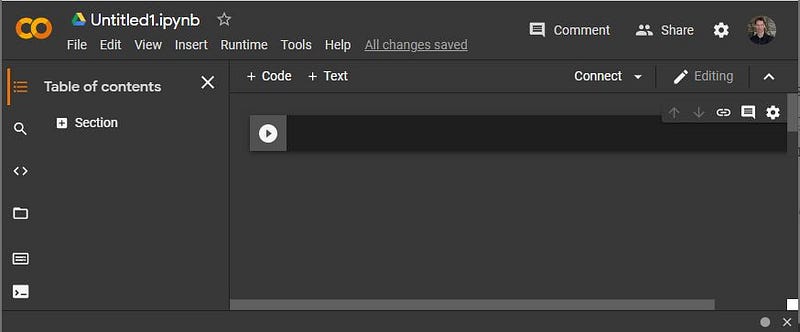
If you look at the icons on the far-left side, they give a glimpse into the Colab Notebook functionality.
- There’s a table of contents icon (I selected that before taking that last screenshot, which is why the TOC is visible)
- There’s a search (which has find and replace)
- The “<>” icon is pretty sweet; it’s the “Code snippets” option and selecting it reveals a very nice feature of Colab (which reminds me of R Studio)
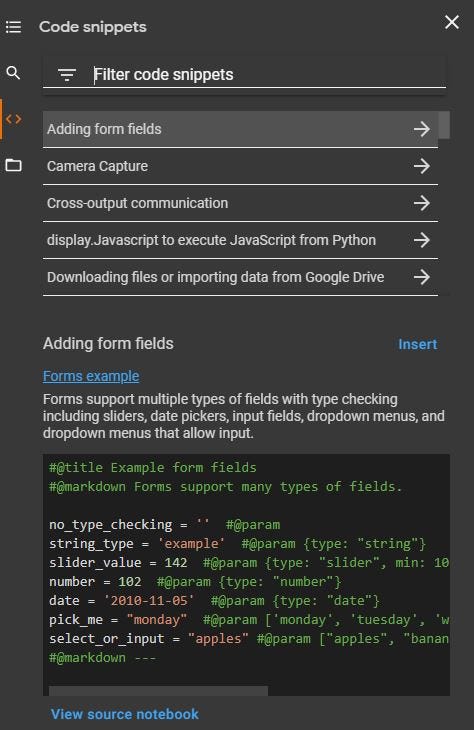
That’s pretty amazing .
- The next icon is a file icon, which allows you to navigate the Colab file structure, mount a Google Drive, or upload files to the session storage for the Colab
- The next icon is the Command palette, another really well-done feature of Collab Notebooks. Selecting this icon gives me a bunch of things I can do (it’s a bit like the Visual Studio Code Command Palette):
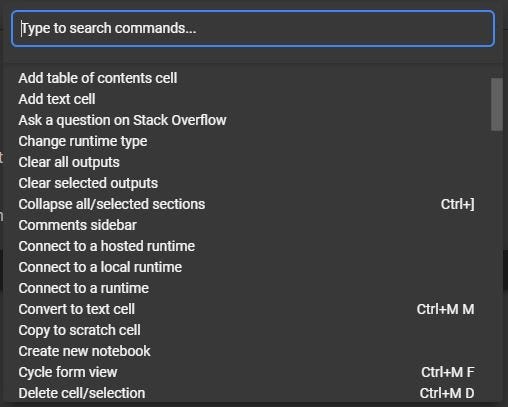
The image only shows a very small snippet of the commands available.
- Finally, there’s a terminal. If you’re using the free Colab, you get a message that says you need to have Colab Pro to access the terminal. I don’t often need the terminal, given I can use
pipwithin the notebook (more on this in a moment).
If you look again at that Initial Notebook image, you’ll also see some expected features such as the name of the notebook (Untitled1.ipynb), menu options to do things like manipulate cells, create a scratch code cell (nice feature there), and get help. (I renamed my notebook to first_notebook.ipynb.)
If you look at the far right (below my account), you’ll also see an indicator for the RAM and Disk being used. Selecting the arrow next to those indicators allows me to connect to a different runtime (like Google Cloud Platform), manage the session, and view resources.
Entering a Section and Text
To create a section that’s visible in the TOC, I selected the Table of contents icon on the left and then “+ Section.” This adds a section under the default-provided cell. I moved the section up with the up arrow.
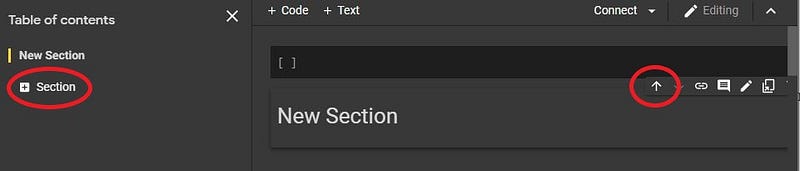
Editing the name of the section was not intuitive. I thought I could just select it and type, but alas, that’s not the case. But it’s not counter-intuitive either — I had to double click it. Geeze Google — can’t you just anticipate my intuition?
At this point I have a new section (that’s been renamed) and a cell under it. I renamed the section to About My Project and here I’ll put some HTML to do just that.
By default, the cell that’s created when I created the notebook is a code cell. I put some HTML in it and (as expected) it didn’t work (as HTML) when I selected SHIFT+ENTER to run the cell. (But something pretty cool surfaced.)
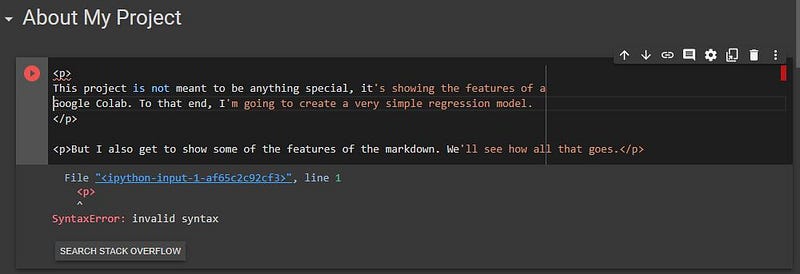
I got the syntax error as expected but check out that button at the bottom — “SEARCH STACK OVERFLOW”. That’s a nice touch.
Changing the cell from Code to Text is simple enough, but not intuitive. There doesn’t seem to be a way to do this graphically — you have to enter CTRL+mm (that’s m twice) to go from Code to Text and CTRL+my (m then y) to go from Text to Code. I think this feature could stand for a graphical method.
Now, when I changed the cell to Text, I got (another) nice surprise — test editing features. Check it out.
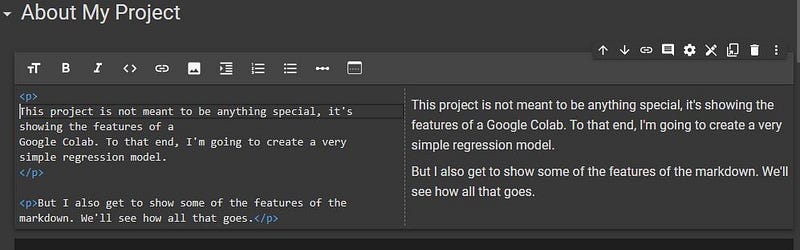
This is nice. While I have HTML in my Text cell, I really don’t need it. By using the icons, the corresponding Markdown is inserted (e.g., selecting text and selecting B for bold adds the “**” around the selected text). This is actually really nice.
Using PIP
Before I get to the code, I want to circle back to something I mentioned earlier about using pip in a cell. Normally, when I have a new programming environment, I like to see what Python packages I have available. Doing this is simple enough in both Studio Code and Colab Notebooks — it’s just pip list within a cell.
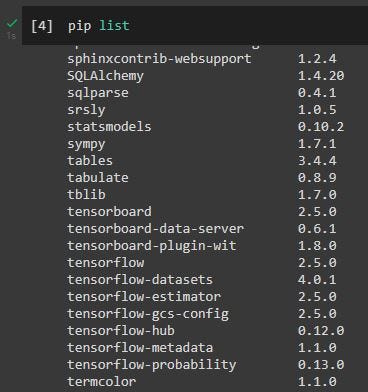
This is super handy (for both Studio Code and Colab). Honestly, I didn’t know I could do this in a code cell until I tried it in Colab. This method also lets you install and uninstall packages within a cell.
Enter Code
The default Colab Notebook provides a bunch of stuff — all the basics you’d expect (pandas, sklearn), but also some packages I normally have to add (pandas-profiling, spacy, Keras, tensorflow).
Let me take a moment to describe files in the (free) Colab environment. While you can’t get to a terminal for the VM, you can get to the files, which is helpful because I can manipulate them as you’d expect (add/delete files and folders). But I can also mount my Google drive, which you’ll soon see is a superior option.
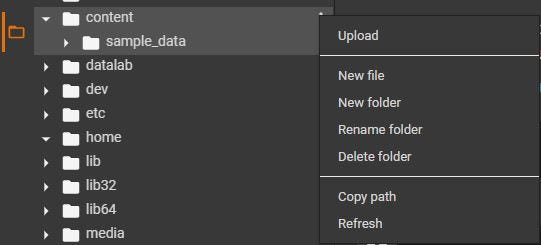
First, I’ll add a folder and .csv to my Colab file system. By default, the current working directory in a Colab Notebook is /content. If you select the File icon in Google Colab, that’s the folder that shows up containing a sample_data folder. I explored the file system a bit using the navigator and found things I’d have expected — /home, /usr, /var, etc. I uploaded a CSV file named insurance.csv, which I got here. I put it right in the /content folder for simplicity. I did so by first selecting the folder, then the vertical ellipses, then Upload.
That was easy enough, but when I uploaded the file, the main reason for not doing this appeared:
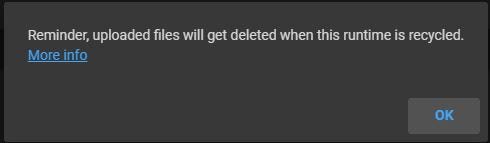
That’s right — as soon as I kill the runtime, the files are gone, which is entirely intuitive. The entire runtime is spindled when I start Colab, including the file system. That’s why we can use Google Drive for permanent storage. For brevity, I’m not going to show that, but it works the same basic way with the additional step of first mounting your Google Drive.
Now I can enter code.
First things first — load the data I just uploaded.

I didn’t put this into gist because this piece isn’t about the code, it’s about code in Colab. Either way, it works as you’d expect it to. One nice feature compared to Studio Code — the code complete worked out of the box, no need for an extension like pylance.
I wanted to see a bit more code and a couple of visualizations, so I wrote some code and corresponding description.
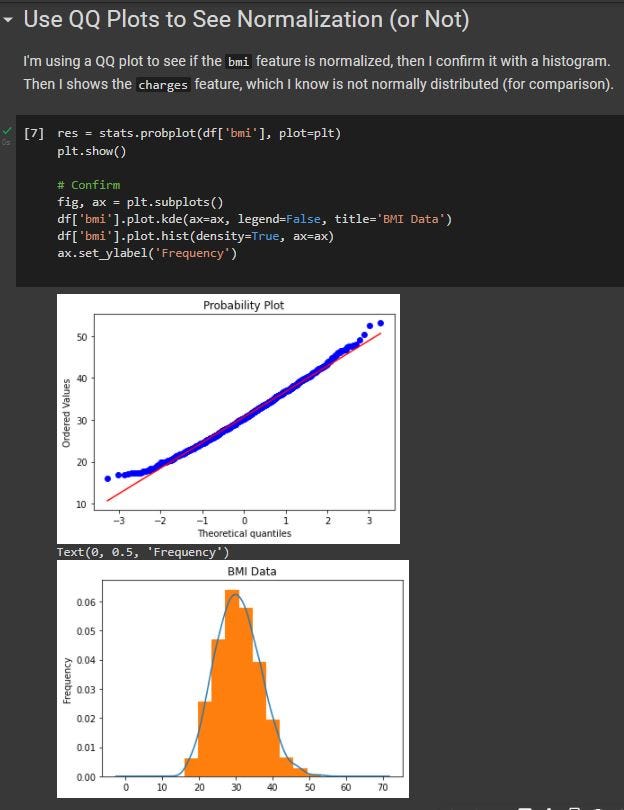
Again, this works as expected because it’s just Python running in a notebook. At this point, I am pretty well fully functional with Google Colab Notebooks.
One Last Detail — The Jupyter Notebook
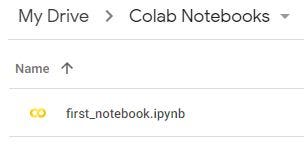
If you look around the Colab file system, one thing you won’t find is the Jupyter Notebook itself. That’s because Goodle Drive is automatically used to store those. When I created the Colab Notebook, Google Colab created a directory in the root of my Google Drive called Colab Notebooks, which is exactly where my first_notebook.ipynb file was saved.
Conclusions
Some takeaways for me in doing this:
- Setup is superior in Colab and in just about every way
- Text cell editing is superior in Colab
- There are more ease-of-use features in Colab, such as going to Stack Overflow automatically when there’s an error
- If you can’t use your Google Drive for some reason, the Colab file system really won’t work because either you need to copy the data to/from Colab every time you use it or you need to re-create it every time
- I don’t dislike Azure ML Studio / Studio Code any less, I just have another exceptional option if the situation merits it (e.g., at work in my day job, Colab is a non-starter but for my work in teaching, it’s exceptional)
Happy coding!