avatarMithun Khatri

Summary

The web content provides a detailed guide on setting up Looker, a business intelligence and analytics platform, in a local Ubuntu environment using VirtualBox or Docker, including steps for installation, configuration, and accessing Looker from a local machine.

Abstract

The article outlines the process for installing and running Looker, a comprehensive data analytics platform, on a local Ubuntu system. It begins by defining Looker and providing a link to its official website. The requirements for getting started include an Ubuntu environment, a valid Looker license, and a startup script. The guide walks through downloading VirtualBox and the Ubuntu Desktop Image, setting up a virtual machine, and installing Ubuntu with a specific username for ease of use. It instructs on checking the Java version, accessing the Looker installation documentation, and starting Looker using a command. To access Looker from the local machine, the article explains port forwarding configuration within VirtualBox. It concludes with instructions for creating a Looker account and connecting to a data source for exploration.

Opinions

  • The article suggests that using the username 'looker' during Ubuntu installation simplifies the setup process, though it acknowledges that other usernames can be used with additional configuration.
  • The recommendation to use VirtualBox or Docker implies that these are flexible and accessible methods for creating an Ubuntu environment suitable for running Looker.
  • The inclusion of screenshots for key steps, such as VirtualBox settings and Looker's registration page, suggests that visual aids are important for guiding users through technical procedures.
  • The guide assumes that the reader is somewhat technically proficient, as it does not provide in-depth explanations for each step, such as what port forwarding is or why a specific Java version is required.
  • The mention of a direct jump to step 4 in the Looker installation page indicates that the initial steps may be optional or already known to users familiar with similar installation processes.
  • The guide emphasizes the ease of accessing Looker from the local machine once the setup is complete, highlighting the convenience of local installation for users.

Getting Looker up and running in local environment

What is Looker? https://looker.com/

Business intelligence software and big data analytics platform that helps you explore, analyze and share real-time business analytics easily.

Getting started requirements

1. Ubuntu environment. (VirtualBox or Docker image should work) 2. Looker jar downloaded with valid license 3. Looker startup script (Download link mentioned in step 6 below)

Steps to setup Ubuntu on VirtualBox

1. Download virtual box : https://www.virtualbox.org/wiki/Downloads 2. Download Ubuntu Desktop Image (latest version) : https://www.ubuntu.com/download/desktop 3. Create new virtual machine on VirtualBox and use the downloaded Ubuntu Desktop image 4. During installation of Ubuntu, enter user name as looker and password of your choice. Note: other user name can also be used but that require granting access or changes in the startup script. Creating looker with root permissions is the easy way. 5. Once Ubuntu is ready, open terminal and check java version : java -version → 1.8 or above is required 6. Open browser in the Ubuntu and follow further steps as mentioned here : https://docs.looker.com/setup-and-management/on-prem-install/installation You can directly jump to step 4 in the installation page. 
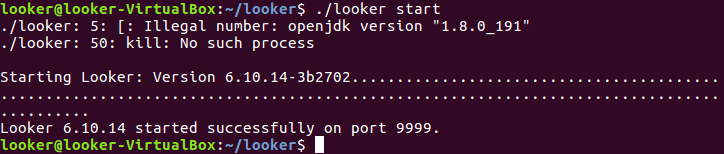
After step 13, Looker should be up and running on port 9999 in the VM.

7. ./looker start

8. Now in order to access Looker (installed on the VM) from local machine, port forwarding will be required.

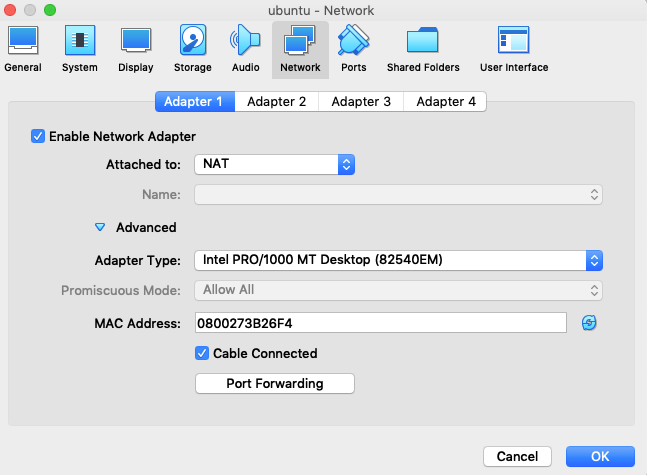
Locate the VM in VirtualBox application → Settings → Network → Adapter 1 (make sure its attached to NAT) → expand Advanced option → Click on Port Forwarding to map VM’s port 9999 to some port of your localhost as below example.

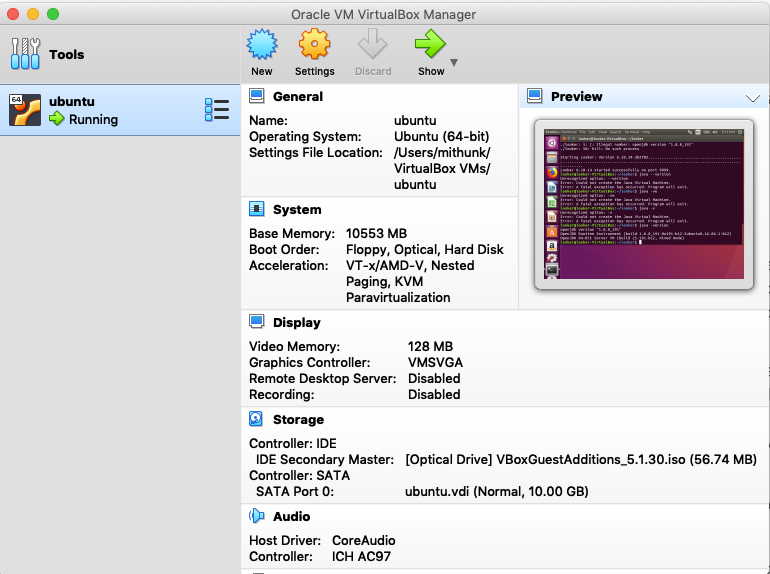
9. Create Ubuntu VM with below configuration

10. Goto Networks

11. Add Port Forwarding

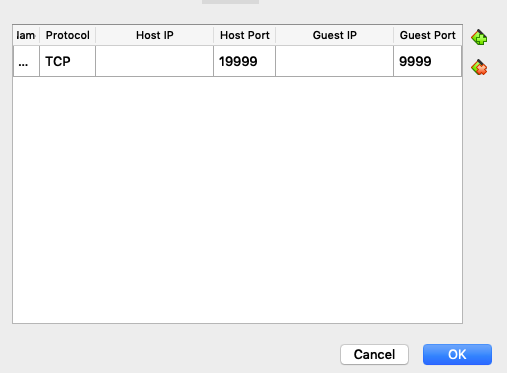
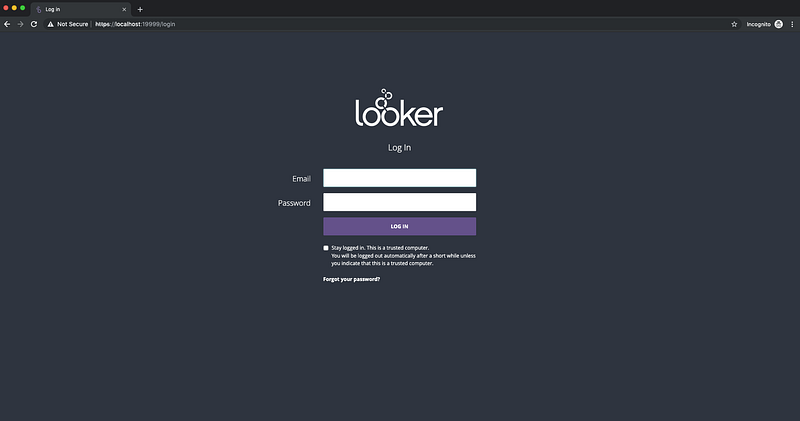
12. Now try accessing Looker from local machine at : http://localhost:19999 (http://localhost:19999/) It will render a registration page to create looker account. It can be anything. Next time when you start Looker, it will take you to the login page as below 13. Login → Connect to a data source and explore

References https://docs.looker.com/setup-and-management/on-prem-install/installation https://looker.com/

✌️

Looker
Analytics
Big Data
Business Intelligence
Explore
Recommended from ReadMedium