
Generate Thousands of NFT Images With Python
(This article goes over generating images only, but if you want to know how to generate metadata along with the image, please check out my newer article here. Also, after writing these articles and learning more, I went ahead and built a small website using the same concept to let users generate their collection. For now, I have limited it to 1000 images, but hoping to continue to work on it if there are enough visits. Please do check it out!)
NFTs have opened up a whole new playground for artists, graphic designers and crypto-enthusiasts all together. In this tutorial, we will learn how to use python to generate an NFT collection containing a large number of unique images.
Layers are the key
The approach is simple, you create the image in layers and then write code to generate images by randomly picking the layers and combining them. For example, if you want to create an NFT collection containing a cartoon figure, you can create different layers with each containing a component of the image, say one for background, one for face, one for hair, one for shirt and so on. Then for each layer, you create different variations of each layer, say for hair, you have different color variations, similarly, different variations of the skin tone in the face layer and then different colors for the background layer. Your code then picks a variation randomly for each layer and combines them into an image. The process if repeat again and again each time generation a new image.
Creating the layers
You have many options for creating the layers. The easiest I found was to use my iPad with a pen and draw it. However, any application on any platform that can handle .PNG files should be good. You can start by finding an image on google images. You can try adding keywords like “transparent png”, that will help in finding images where there’s no background data. Another useful (with a free basic version) is this website remove.bg, where you can upload an image, it will remove the background and let you download a transparent PNG. You can then use your application to create different variations of the layer.
The Strategy
The basic idea is that you are going to mix the layers to generate unique images. For example, you want to have a 3 layers image with 3 variations of each layer. So layer 1 is the background, say you have 3 colors, as shown below.


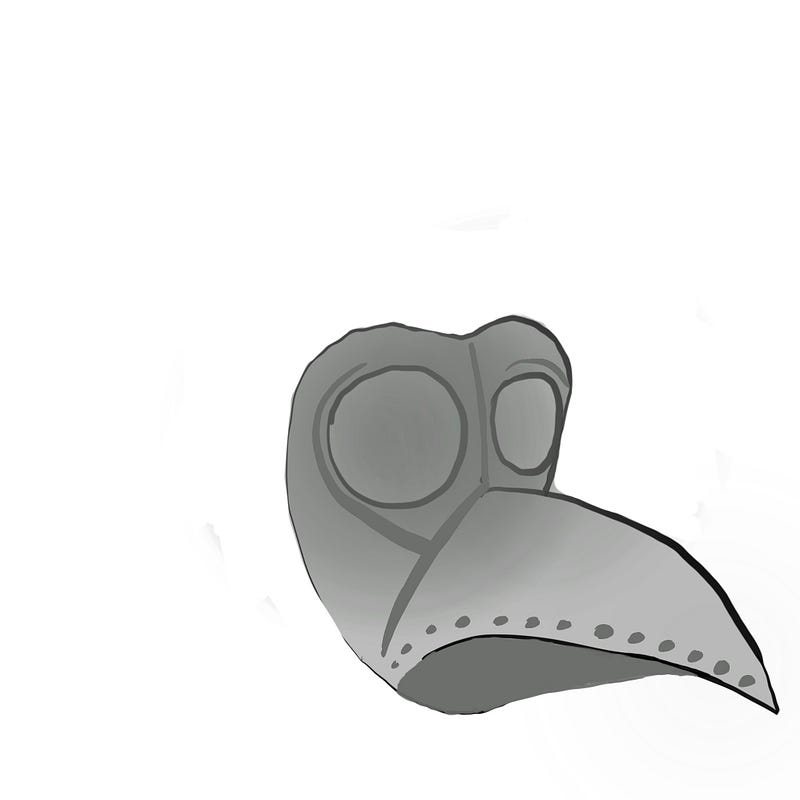
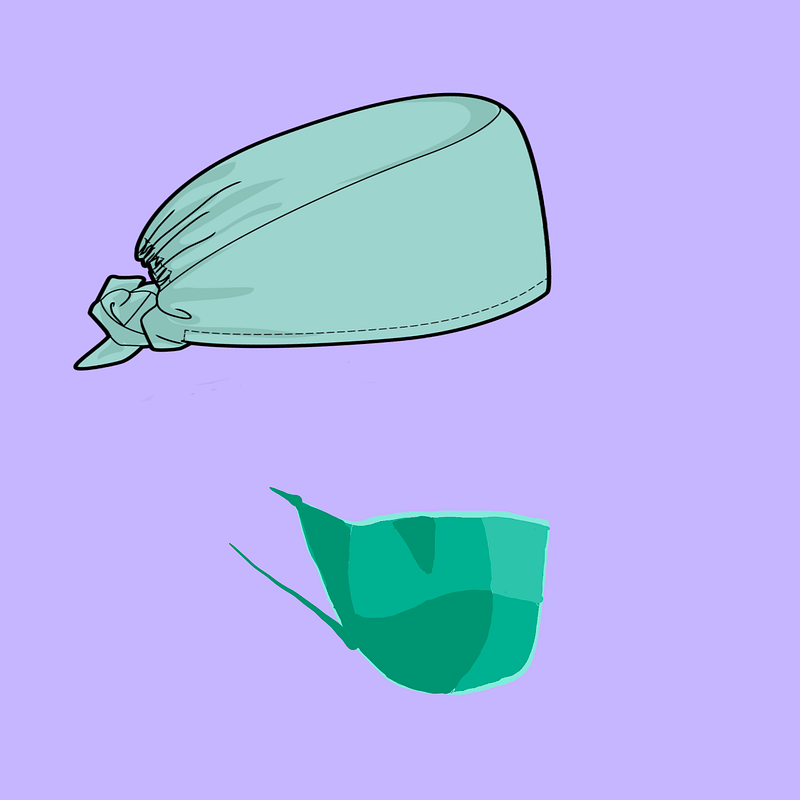
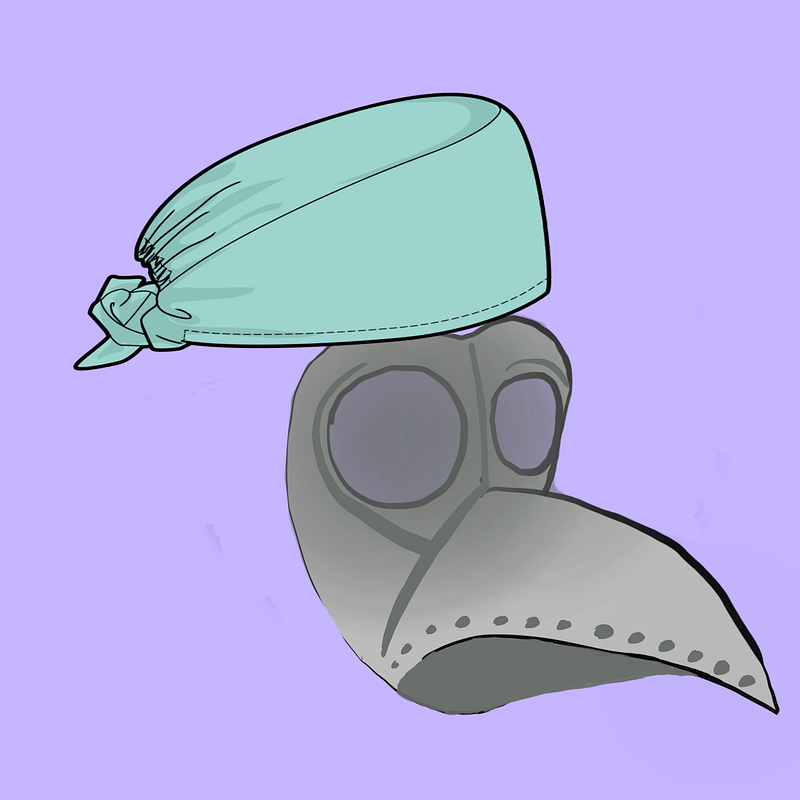
Layer 2 contains an object, a mask, say you have 3 variations,


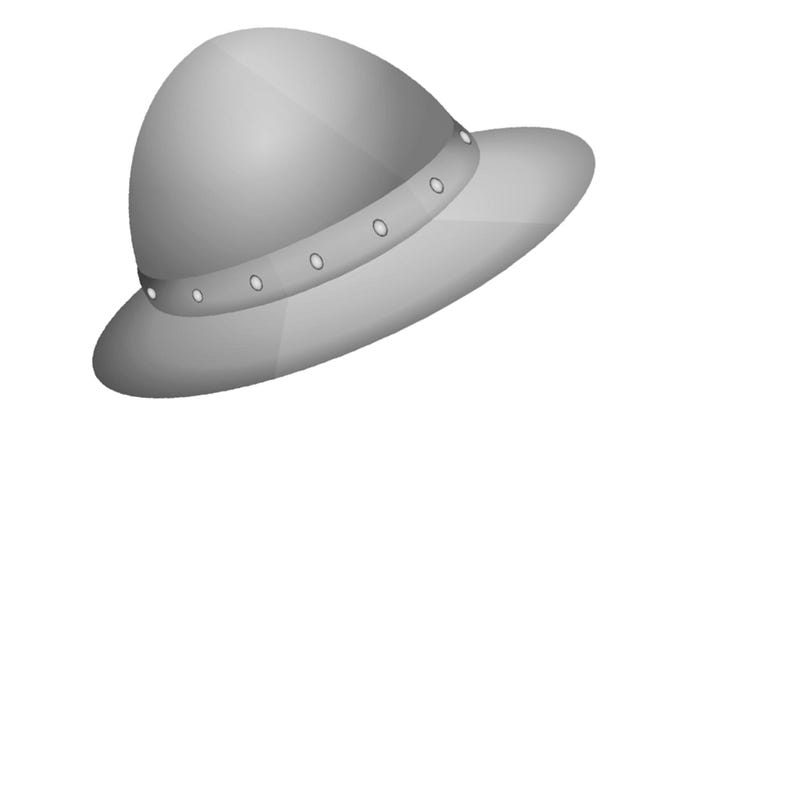
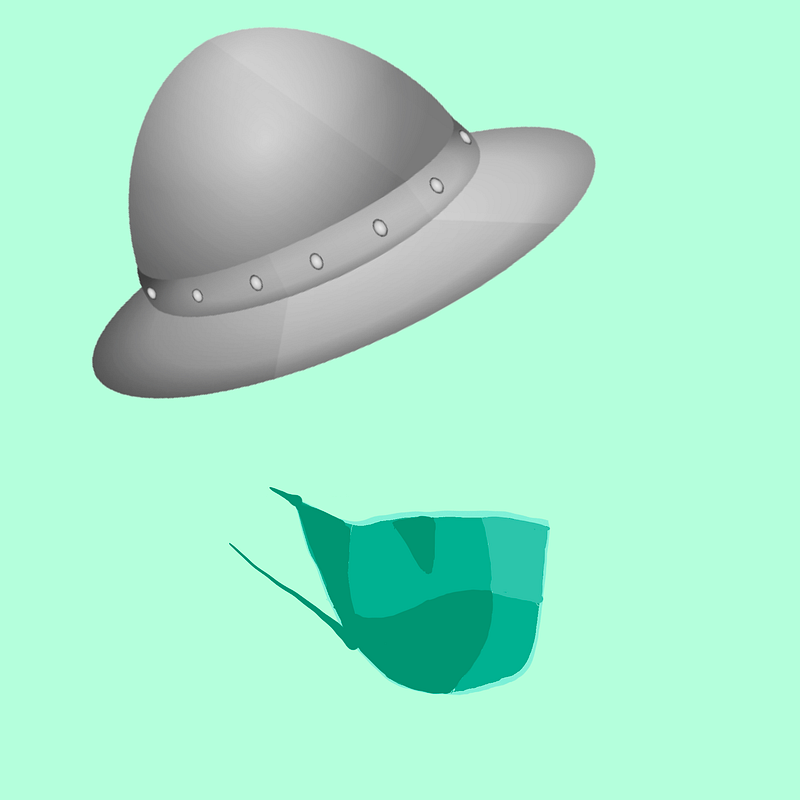
Layer 3 contains another object, a hat, and has 3 variations as shown below:


Now we will write code that will combine these layers into unique images.
The Code
The following chart represents the flow of things and directory structure in our code:
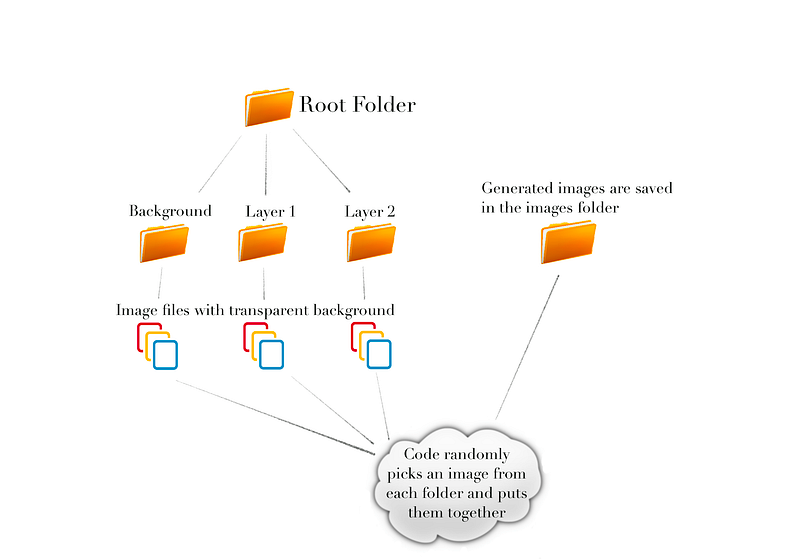
The simplest way is to use a numbering system for filenames. We can create folders for each layers and name them as background, object and label. Each folder will have image files with each variation names with a number. Since we have 3 variations for each layer, 1, 2 and 3.
Lets define some parameters.
variations = 3images_count = 10layers = 3Remember that the maximum number of unique images you can have depends on the number of variations. You can calculate that by multiplying the number of variations of each layer. Since we have 3 layers and 3 variations in each layer, we can calculate the maximum count of unique images as:
3x3x3 = 27We will pick a random number from 1 to the value of variations for each layer and join them into a string that represents a filename and add it to a list. Each number in this string represents a variation of a layer. So if the string is 231, it would mean file 2 from layer 1 folder, file 3 from layer 2 folder and file 1 from layer 3 folder.
#Function to generate a filename, with number of characters same to
#number of layers, each character is a number, randomly selected
#from 1 to the number of variations in each layer.
def generate_filename():
name=””
for i in range(layers):
name=name+str(randint(1,variations))
return name#List that will contain the filenames.files=[]#Now dependent on how many images we want, we call the function to
#generate a filename and add it to out list if a similar filename
#doesnt exist, this way we make sure all filenames are unique.for i in range(images_count):
name=generate_filename()
if name not in files:
files.append(name)from PIL import Image
from IPython.display import displayfor item in files:
# loading the image from each layer
layer1=Image.open(f’./1/{item[0]}.png’).convert(‘RGBA’)
layer2=Image.open(f’./2/{item[1]}.png’).convert(‘RGBA’)
layer3=Image.open(f’./3/{item[2]}.png’).convert(‘RGBA’)# Now combining the layers
com1 = Image.alpha_composite(layer1, layer2)
com2 = Image.alpha_composite(com1, layer3)
rgb_im = com2.convert(‘RGB’)
file_name = item + “.png”
rgb_im.save(“./images/” + file_name)Following are some of the images generated:


Obviously these images don’t make sense but the idea is to show how to generate images by combining various layers.
Things to remember
Files have to be named numerically, so each layer folder should have files names as 1.png, 2.png, 3.png so on.
You can modify the code as to whatever number of layers and variations of your choice.
Make sure the background is transparent.
Layers are loaded in sequence of what’s specified in the code. The last layer is on top of the previous layer so if your image doesn’t seem right, you may want to look at the sequence in which you’re loading the layers.
You can set the number of images to lower number initially to experiment.
Please feel free to provide feedback, I will be happy to clarify/improve if I can, let’s learn together!
Please do check out my updated article, it goes over generating metadata along with the files.


