
Syncing Obsidian Notes For Free Between Mac and iPhone Using iCloud Drive
Alternative to the Paid Obsidian Sync Service
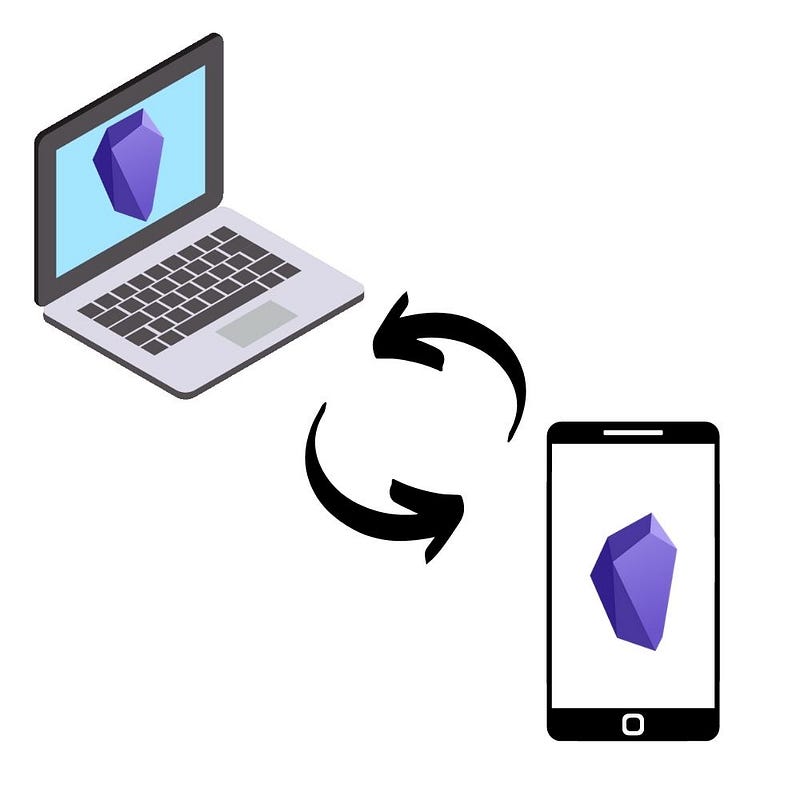
Obsidian offers a Sync service that costs $10 / month, but I wanted to find a free way to keep my iPhone and Mac in sync. This tutorial covers how to easily sync your vault across your Apple devices using iCloud Drive. If you’re looking for end-to-end encryption, I recommend purchasing the Obsidian Sync service instead.
Prerequisites:
You must have iCloud and iCloud Drive enabled on your Mac and iPhone
Steps
- Download the Obsidian app on your iPhone from the App Store (link to download).
- Download the Obsidian desktop application on your Mac from the website.
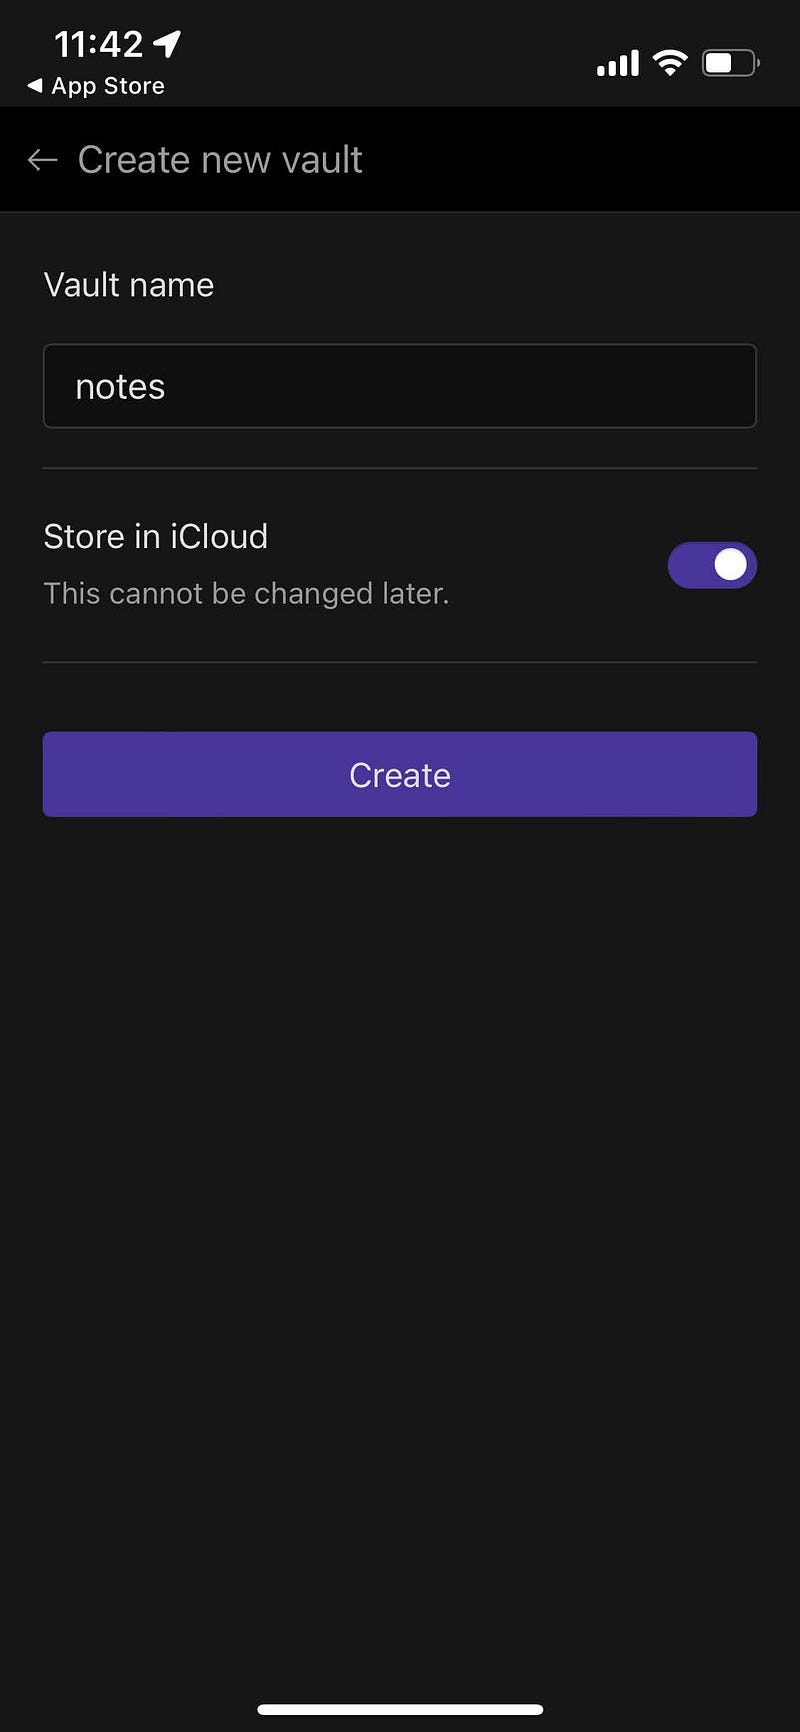
- Open the app on your phone and click “Create a new vault”.
- Enter a name for the vault and make sure you enable “Store in iCloud”.
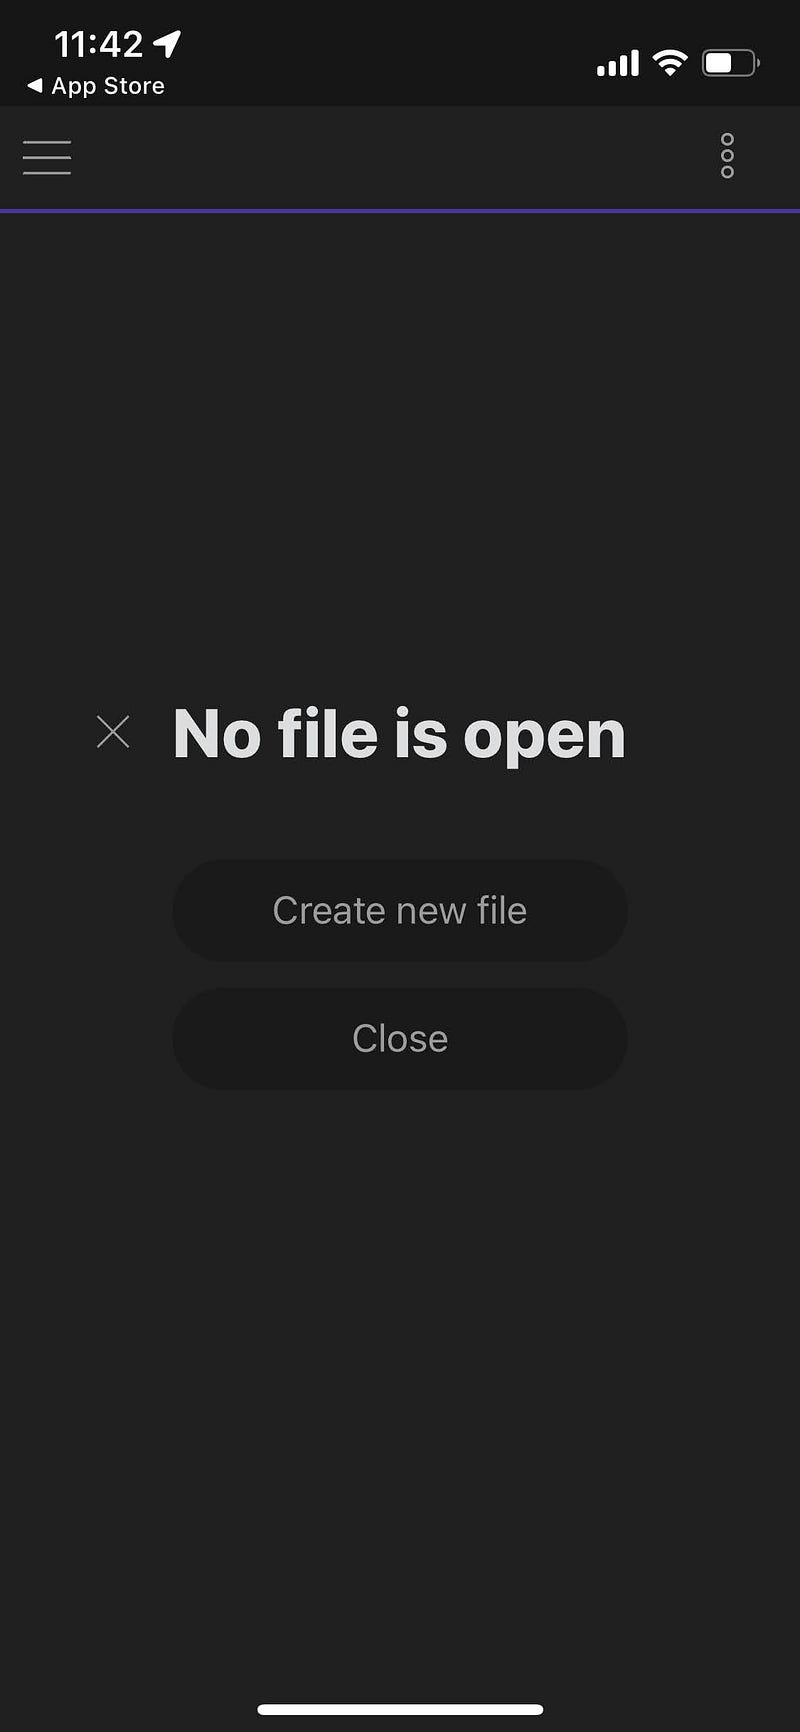
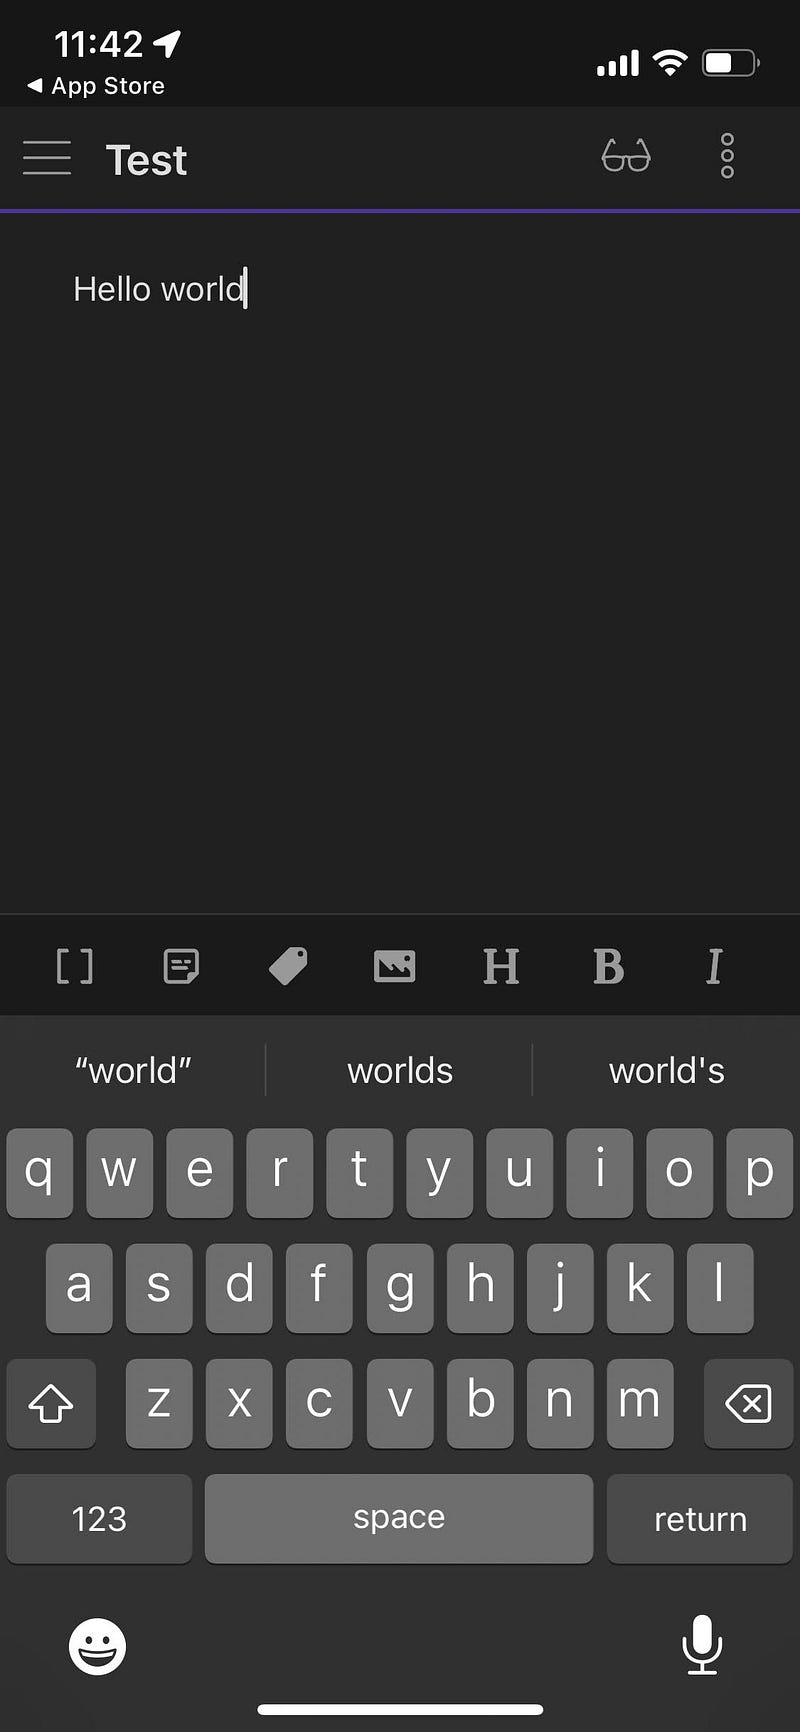
5. Click “Create new file” and create a test note (enter anything for the title and body of the note).
6. Go to your iPhone Settings app.
7. Click on your name at the top of the app to view your Apple ID.
8. Select iCloud.
9. Select iCloud Backup and click “Back Up Now” to backup your phone including the new Obsidian vault.
10. Now go to your Mac and open Finder (file explorer).
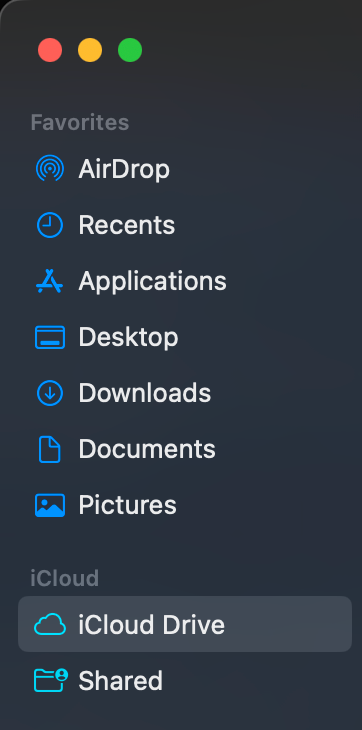
11. Go to your iCloud Drive folder.
12. You should see an “Obsidian” folder. If you open the folder, you should see another folder with the name of the vault you created on your phone.
13. Open the Obsidian application on your computer and click “Open Vault”, either on the welcome screen or File → Open Vault.
14. Go to the iCloud Drive → Obsidian → notes (or your vault name). Click open.
Testing the Sync
You should now see the test note on your computer that you created on your phone in step 5. Try editing the file on your computer and see it update on your phone in (almost) real-time. There is some lag, but the notes should be almost always up-to-date. Test editing the note on your phone and watch it change on your computer to make sure it’s syncing that way as well.
All done!
You now have Obsidian notes setup syncing for free from your iPhone to your Mac and vice versa stored in iCloud with all of the security it comes with.
Please 👏 if this article helped you and follow me to get more tech tips in the future.


