The web content provides a comprehensive guide on installing Flare VM, a Windows-based security distribution with a suite of malware analysis tools, and discusses its use in conjunction with REMnux for reverse engineering tasks.
Abstract
The article outlines the process of setting up Flare VM, a specialized Windows environment tailored for malware analysis. It details the installation steps, beginning with obtaining a Windows 10 image from Microsoft's official website and setting it up in a virtual environment like VirtualBox. The setup process involves running an installation script that equips the system with essential security tools. The completion of the installation is indicated by a change in the desktop wallpaper and the presence of all tools listed under the "Tools" directory. The article also opens a discussion on the practical applications of Flare VM and REMnux, suggesting that a combination of both provides a robust solution for reverse engineers to perform static and dynamic malware analysis within an isolated environment. Additionally, it highlights the importance of setting up a "Fake Net" to safely observe malware behavior, referencing a network setup guide with INetSim. The article concludes by mentioning the possibility of running Flare VM within Windows Sandbox for added security.
Opinions
The author advocates for the use of Flare VM due to its comprehensive collection of security tools, which facilitate Windows malware analysis.
There is a preference for using REMnux alongside Flare VM to capture traffic and perform malware analysis in a secure, isolated environment.
The author emphasizes the importance of taking snapshots at various stages of the installation process to mitigate potential errors and maintain a clean state for analysis.
The article suggests that building a "Fake Net" is beneficial for analyzing malware communication with command and control (C&C) servers without risking actual network exposure.
The author provides a personal insight that they benefit from REMnux for traffic capture and rely on Flare VM for in-depth static and dynamic analysis.
The mention of Windows Sandbox as a platform for Flare VM indicates the author's recognition of the advantages of virtualization and sandboxing for malware analysis.
Flare VM — Windows Malware Analysis
This article shows how to install Flare VM, a Windows-based security distribution, which includes a comprehensive collection of Windows security tools such as debuggers, disassemblers, decompilers, static and dynamic analysis utilities, network analysis and many others.
Installation Flare VM over Windows Image
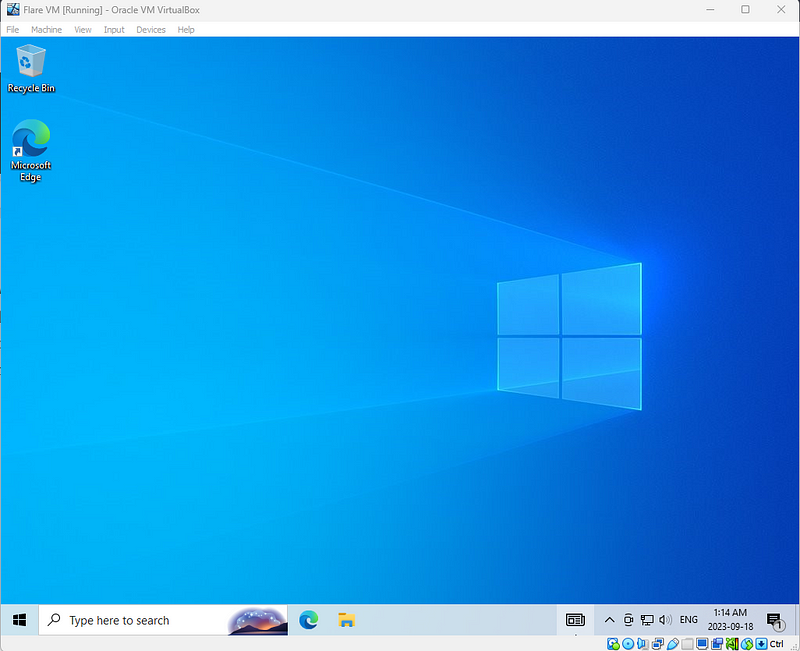
Step 1: We can get multiple Windows version images from this official website. I installed Windows 10 ISO image on my VirtualBox, and let’s wait for 30–40 minutes, we can get a coffee in the meantime.
Windows 10
Step 2: Follow this setup instruction here, taking a snapshot before setting up Falre VM in case some errors happen. We have to wait for the “install.ps1” execution around 2-3 hours to install all needed packages into the machine.
Step 3: The final complete installation indicates the desktop’s wallpaper will be changed to Flare VM image and all available packages are included under the “Tools” directory. Again, taking a snapshot in case we can restore to a clean state.
Flare-VM DesktopTools List
Open Discussion: Why do we use Flare VM or REMnux? Which one is the best way for a Reverse Engineer? Personally, I take benefits from REMnux to capture traffic and only communicate to Flare VM where I perform both static and dynamic malware analysis.
Remember, the communication between REMnux and Flave VM should be in an isolated environment. We also can build a “Fake Net” to see how malware outbound connection, which is in this “Network Setup with INetSim Article”.
Alternatively, Flare VM can be built on top of Windows Sandbox!!!!!
Windows Sandbox — Flare VM
Take a look at my blog about how I build a “Fake Net”