avatarBrandon Cox

Free AI web copilot to create summaries, insights and extended knowledge, download it at here

1169

Abstract

ngameart.org/content/rpg-character-ranger-nes">here</a> and added one to my player.</p><figure id="77f6"><img src="https://cdn-images-1.readmedium.com/v2/resize:fit:800/1*mx_gIsdB5zlg68D4KINHEg.png"><figcaption>My player with a character sprite added</figcaption></figure><p id="0336">Next, I brought that character to life with some 2D animations! I started with 4-directional run and idle animations. It was my first time using <a href="https://docs.unity3d.com/Manual/class-BlendTree.html">blend trees</a> for 2D animation, and it made the process SO much easier.</p><figure id="a259"><img src="https://cdn-images-1.readmedium.com/v2/resize:fit:800/1*A6pZP4aDko8TirD-VVBNPw.gif"><figcaption>My player’s idle and run animations</figcaption></figure><p id="88e9">Next was to create the world the player runs around in! So I used the background tile-set found <a href="https://kenney.nl/assets/roguelike-rpg-pack">here</a> to create a simple scene using Unity’s tilemap.</p><figure id="1051"><img src="https://cdn-images-1.readmedium.com/v2/resize:fit:800/1*ltPLlbEp383pMYy6Fkegug.gif"><figcaption>My scene with a background added using tilemap</figcaption></figure><p

Options

id="0072">Then, I updated my enemies with <a href="https://opengameart.org/content/rpg-character-pirate-nes">these</a> new sprites, including a running animation.</p><figure id="f559"><img src="https://cdn-images-1.readmedium.com/v2/resize:fit:800/1*e9zKUUzepy05iXKh8wcQVA.gif"><figcaption>My enemies with a pirate sprite and running animation</figcaption></figure><p id="2fc8">And finally, I got the ninja stars <a href="https://opengameart.org/content/throwing-stars-pixel-art">here</a> and updated the player’s projectile.</p><figure id="5539"><img src="https://cdn-images-1.readmedium.com/v2/resize:fit:800/1*og2N2eb5VDskD2v05Drarg.gif"><figcaption>The player’s projectile with a ninja star prefab and spinning animation</figcaption></figure><p id="6cbf">There is much more polishing to do, but the game already feels much more alive. And now I can get back to implementing better functionality and more features, before I once again move into the polishing phase.</p><p id="3227">Bringing your game to life with art is such a gratifying experience. But having the right functionality in place first makes it even better. So it’s worth the wait.</p></article></body>

Flank I — From Prototype to Art!

When working on a game, it’s a good idea to start with a prototype until you have a better understanding of your core gameplay. Ignoring the visuals and sound right away can help you create something functional so that you have less to change later after you add some polish.

Once that’s done, however, you get to the fun stuff — making it pretty!

Generated using Copilot

Polish Phase 1

My current project, working name “Flank,” is moving out of prototyping stage. I’ve started adding art and making it unique.

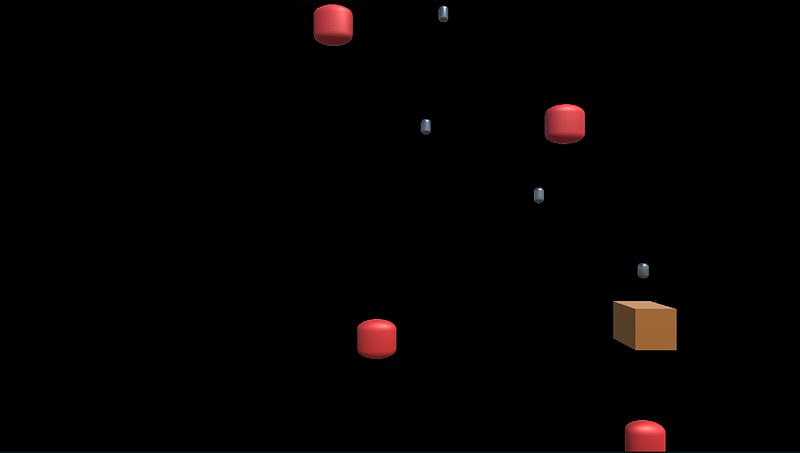
Here’s how Flank started. The player was a cube, enemies were red capsules, and the projectiles the player threw were silver capsules.

Flank as a prototype

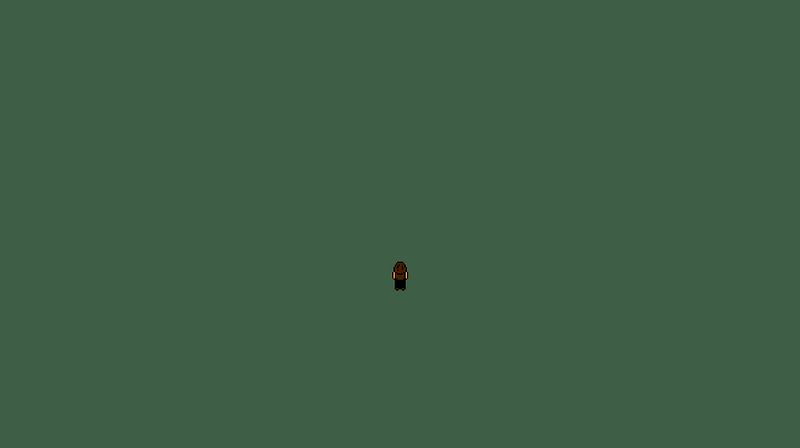
Then I found character sprites here and added one to my player.

My player with a character sprite added

Next, I brought that character to life with some 2D animations! I started with 4-directional run and idle animations. It was my first time using blend trees for 2D animation, and it made the process SO much easier.

My player’s idle and run animations

Next was to create the world the player runs around in! So I used the background tile-set found here to create a simple scene using Unity’s tilemap.

My scene with a background added using tilemap

Then, I updated my enemies with these new sprites, including a running animation.

My enemies with a pirate sprite and running animation

And finally, I got the ninja stars here and updated the player’s projectile.

The player’s projectile with a ninja star prefab and spinning animation

There is much more polishing to do, but the game already feels much more alive. And now I can get back to implementing better functionality and more features, before I once again move into the polishing phase.

Bringing your game to life with art is such a gratifying experience. But having the right functionality in place first makes it even better. So it’s worth the wait.

Unity
Game Development
Game Design
Software Development
Recommended from ReadMedium