
Fixing a ‘Stranger Things’ Grade Hole in My Staircase Wall
A DYI layman’s hands-on-approach to getting things done

If you haven’t watched Stranger Things, treat yourself to a quick binge-watch session of the show on Netflix. Trust me, it’s worth the ride. Meanwhile, if you’re short on time, here’s a spoiler-free quick lowdown.
In the Stranger Things universe, a hole in the wall serves as a portal, an interdimensional gateway that punctures the fabric of space-time, connecting the ordinary town of Hawkins to the eerie and perilous Upside Down, a ghostly landscape that mirrors the real world.
These gates are, in fact, the reason why creatures like the dreaded Demogorgon can travel between the two planes of existence and bring havoc down on Hawkins.
In the series lore, the ominous “Mothergate” is an ever-expanding passageway in between worlds. The original gate in Stranger Things appeared as a crack in the wall of the Rainbow Room of Hawkins National Laboratory.

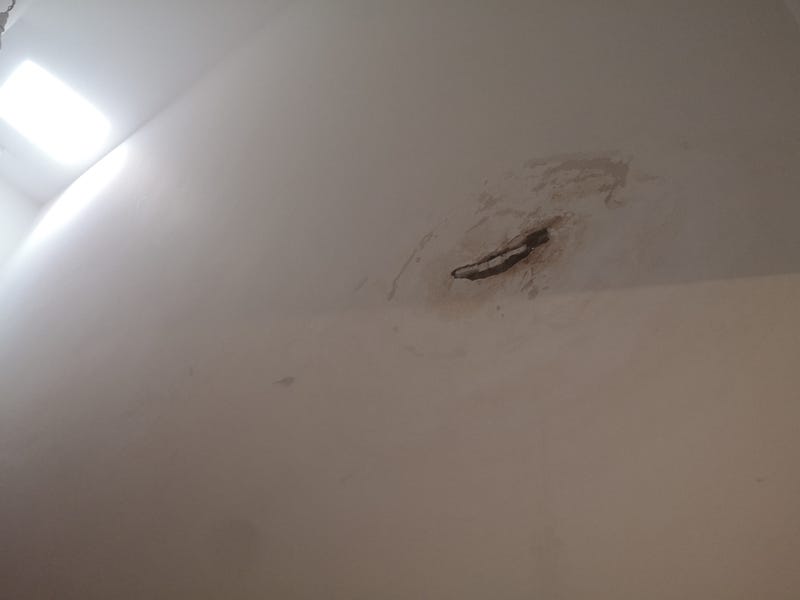
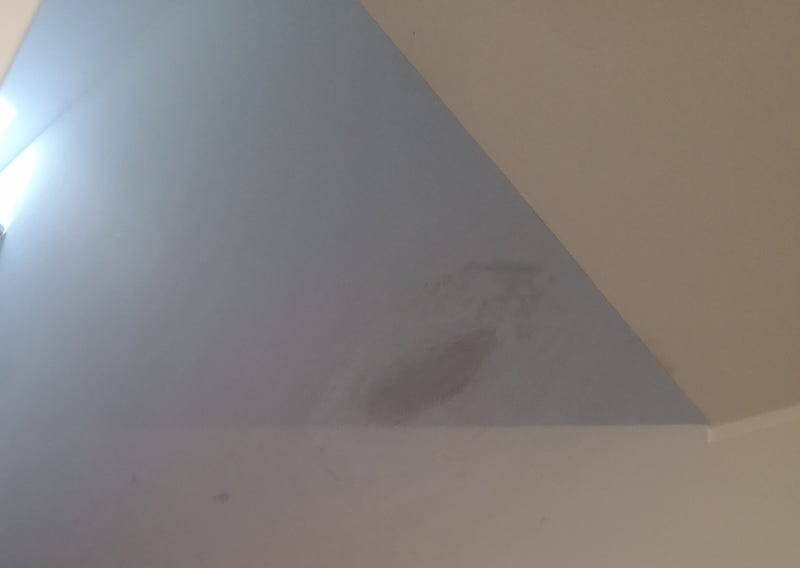
A year ago, right around the time I started watching Stranger Things season four, I started to notice a rather strange thing happening to my staircase wall. All of a sudden, there was dampness creeping in.
Soon enough, I noticed a circular watermark started to take shape, and it didn’t take long for the once immaculate white wall to turn brownish, which is never a good sign.
Thanks to good ol’ gravity and fluid dynamics, water was permeating the fissures in the concrete, looking for a way out.
After a while, the “Demogorgon” lurking inside my walls had finally found the perfect spot to open the “Mothergate.”
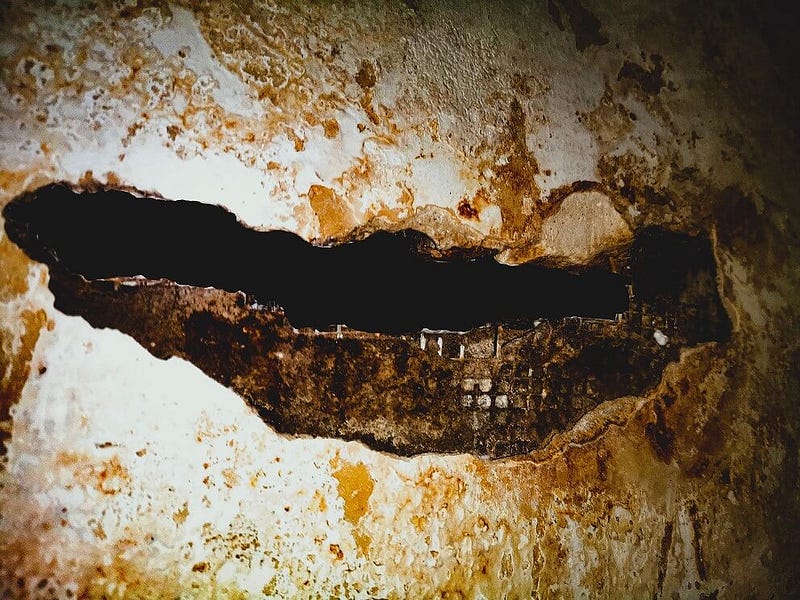
Time passed, and the plastered finish was bloated, saggy, and starting to warp as the wall succumbed and started to rot. It had swollen to the brink of rupture, and that was a sign the Demogorgon was about to step through the gate.
There was already massive flaking and peeling when the wall finally puffed out, opening an ominous black hole.
On the inside, you couldn’t see it, but the wall was rotten and had caved in.
Knocking on it would give back this eerie, hollow sound.
Being a pop culture geek and inspired by Stranger Things, I watched it grow and expand until the source of the problem was traced back and work was done to mend the water damage’s source.
Meanwhile, among my inner circle of friends, the ones with whom I still play Magic The Gathering, the hole in the wall earned the moniker “Rui’s Demogorgon Mothergate,” or “The Gate” for short.
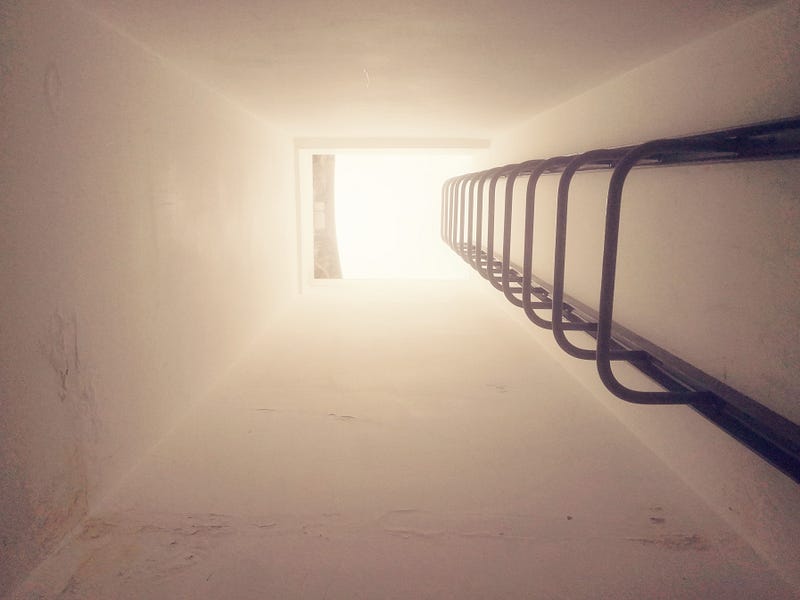
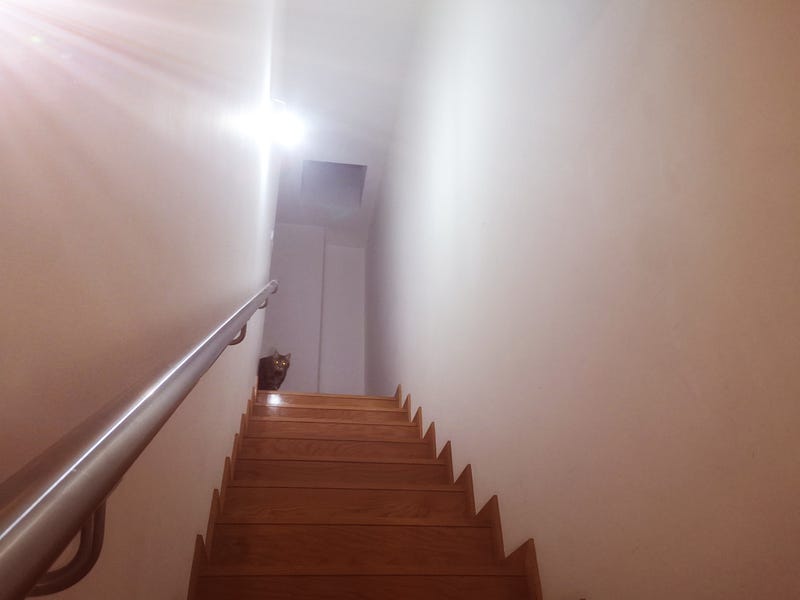
In the picture below, taken in the outside hall of my home, you can see how water has been flowing between the structural concrete slabs. That water damage line aligns perfectly with my hole in the wall.
October 31st came with insight and a resolution as my ominous dark portal served as the centerpiece for a Stranger Things-inspired Halloween party.
As a funny side note, while writing this story, I found out that “Stranger Things-Themed” parties are a thing these days. You can even buy your own “Stranger Things Hole” vinyl decal and simply peel it off and stick it on your wall.
But I digress.
So back to my party. Sporting a shaved head and a Johnny gown, it’s easy to guess which character I was embodying that evening.
While I don't have Eleven’s supernatural abilities, I felt confident in my new skin and told my fellow cosplaying friends that I was committed to sealing the Demogorgon gate before the holiday season, no matter the cost.
My initial commitment, however, waned as the days went by this November.
But last week, I finally found the will to push back against the Demogorgon’s scourge.
I’m an unskilled layman when it comes to DIY projects, and I’m far from being a hands-on, do-it-yourself enthusiast.
However, after watching a few YouTube videos, I had harnessed enough know-how, and I set off to surround myself with the tools of the trade.
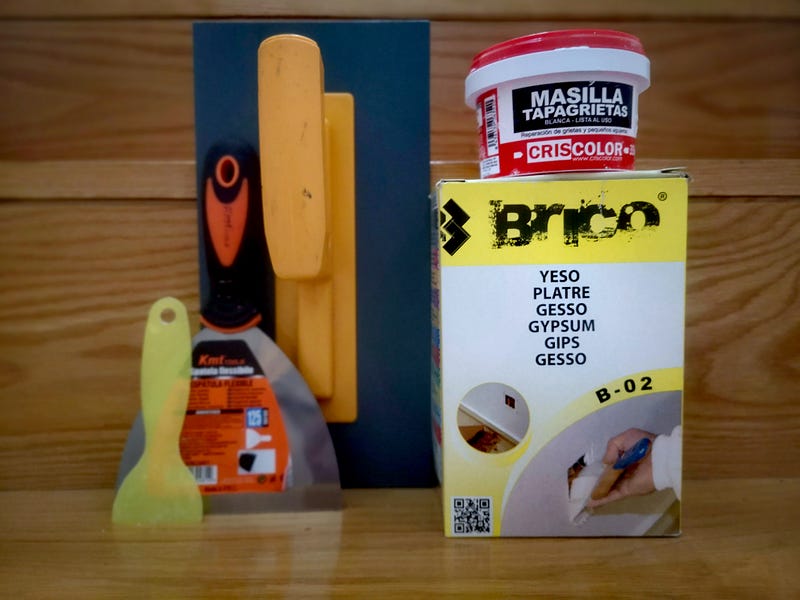
So, I learned that when it comes to closing water damage “Demogorgon gates,” there’s nothing better than good old gypsum. So I used B-02 gypsum for the hole-plugging part of my DYI project.
Gypsum is great for this type of masonry repair, as you just need to slowly add water, and you’ll get a soft plaster that is fast-setting and has great fineness and whiteness.
I started by scraping away the peeled layers of paint and gypsum with a putty knife, meticulously carving out any rotten cement. Then I cleaned the surfaces with a cloth.
I also put on a mask and gloves at all times, as gypsum can be a real lung irritant.
Afterward, came the tricky part. When mixing up that gypsum paste, you have to go slow with the water, as gypsum is fast-drying.
Once that was ready, I spread it nice and even over the hole, laying down a base coat for that smooth finish.
For the nitty-gritty part, I used both my putty knife and a plastic spatula. I applied a small amount of gypsum plaster to the putty knife and used the smaller spatula to fill in the hole.
I have to say that the plastic spatula came in handy for getting the job done in the sleekest fashion.
I was genuinely impressed by the outcome.
While I anticipated that using gypsum would guarantee a solid and smooth finish, honestly, the results went above and beyond what I expected.
Then it was a matter of letting it dry, so I left the second run for later.
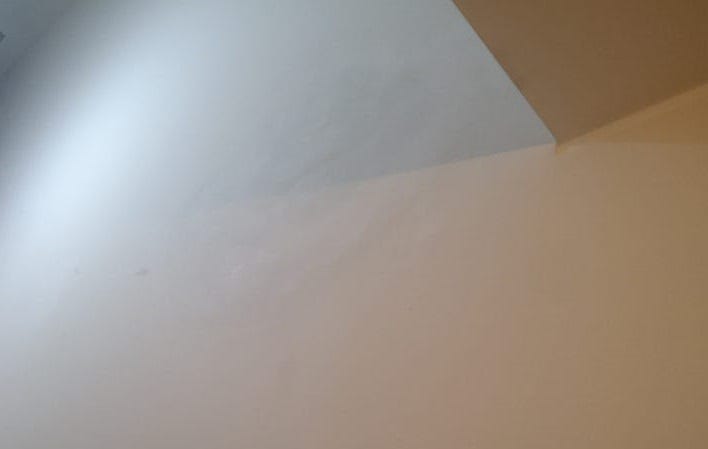
The next morning it was about time for the trickiest part of the job. The plan was to wrap it up by applying a thin layer of white spackling paste.
Truth be told, I wasn’t entirely happy with the paste I picked. B-02 dries fast, and it requires wrist skill and some fancy putty knife-handling art to get the job done as smoothly as possible.
Still, I think it gave it that magic touch for a smoother finish.
This was my wall-repairing maiden flight, so I had no prior notion or skill about the right materials and tools of the trade besides what I learned online.
Nevertheless, as a former army sergeant, I MacGyvered my way around the task at hand with a bit of good old army wisdom and improvisation.
Overall, I am happy with the result so far, even if next time I’ll probably go for a more fluid paste.
What do you think?
To my untrained eye, the result looks polished, and at this point, I haven’t gotten around to sanding and slapping on a fresh coat of paint on the wall.
And there you go. This is how I managed to successfully patch the “Mothergate” once and for all.
Now, I’m all set to dive into more hygge-inspired projects, making my home as cozy as can be for the holiday season ahead.
I can now rest in ease knowing that I have cinched that twilight passageway in between worlds
I hope you had a good time with my hands-on spin on this story. Your thoughts mean a lot, so feel free to share them. I’m curious about any holiday projects you’ve got cooking right now.