
Film Framing Techniques for Photographers
Inspiration & Techniques from Cinematography for the Stills Photographer

Introduction
I have lived in Japan for 25 years now, the last 21 in Tokyo. So much for my “three-year overseas adventure” (sorry Ma!).
One of the things that has kept me here so long is the seemingly endless inspiring subjects there are to photograph in The Big Sushi, as I like to call it.
More than I can shoot in a lifetime. More than in two.
Such a panoply of subjects also provides infinite possibilities for techniques to study and practice. There are, of course, many guides for photographers on subjects such as composition and lighting.
Here I want to add another camera bag’s worth, so to speak, of techniques for the aspiring photographer — or the jaded enthusiast looking for some fresh technical inspiration. The terms and the techniques I present here are directly drawn from cinematography — the art of film-making.
Perfect!
After all, the best way to learn something is to teach it to others :-)
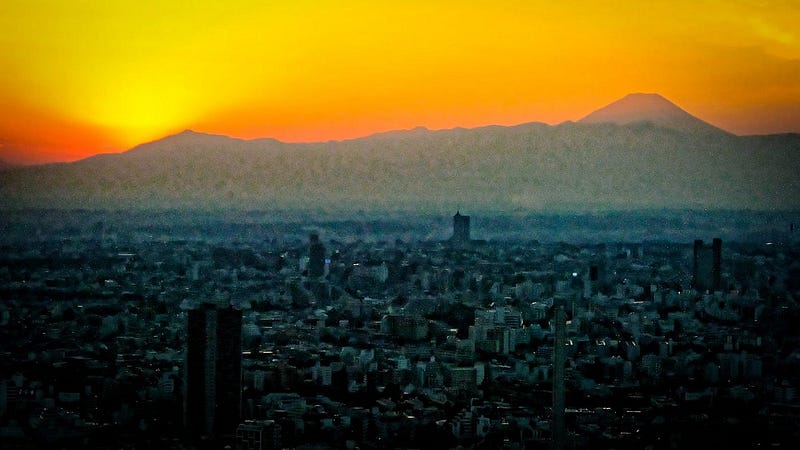
Aerial Shot
Establishes setting and reminds the audience that they are the viewer of a scene, not a participant in it.
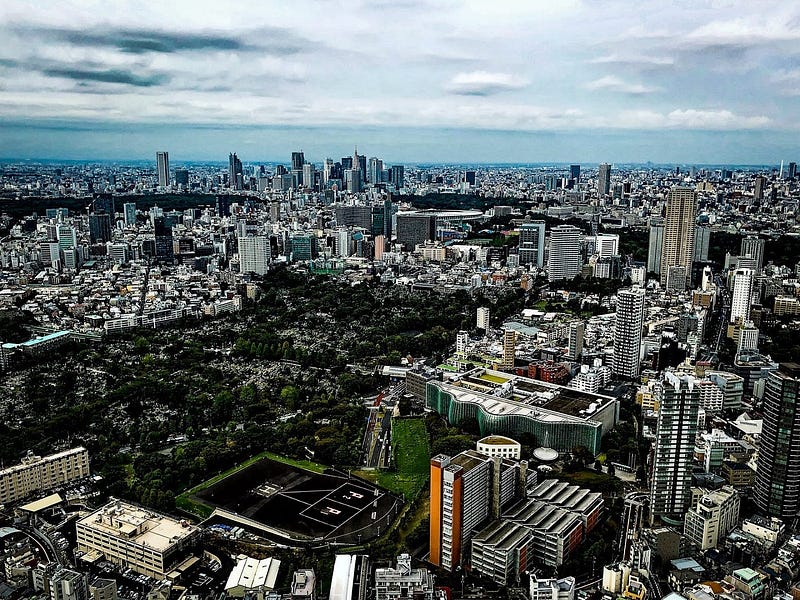
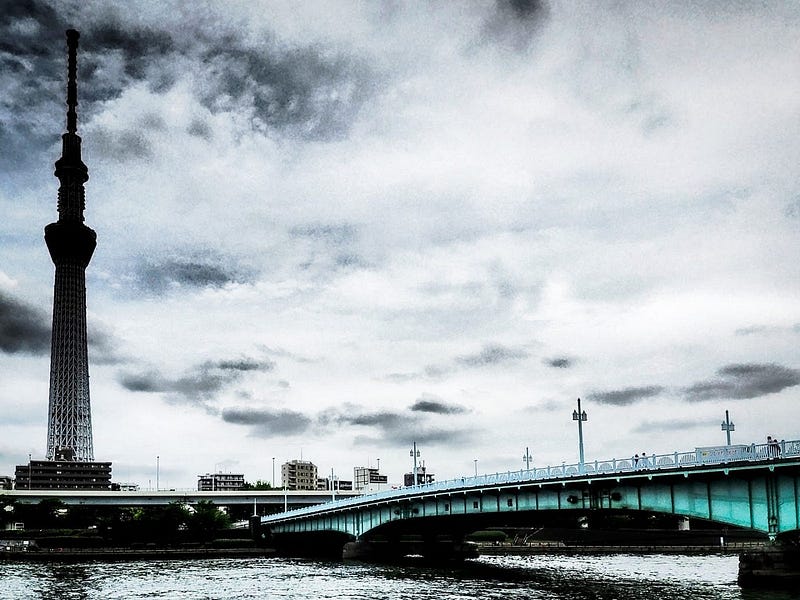
Establishing Shot
Locates the picture in time and place. Can also help set the mood, as the bright blues and greys in this sweeping view of Tokyo emphasizes the sprawl of the conurbation.
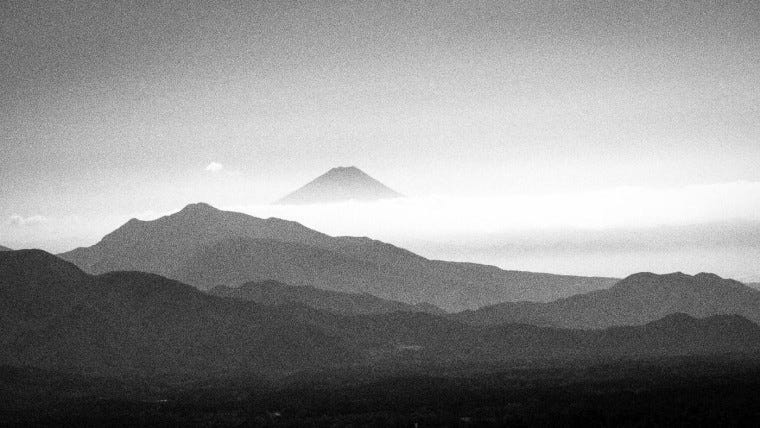
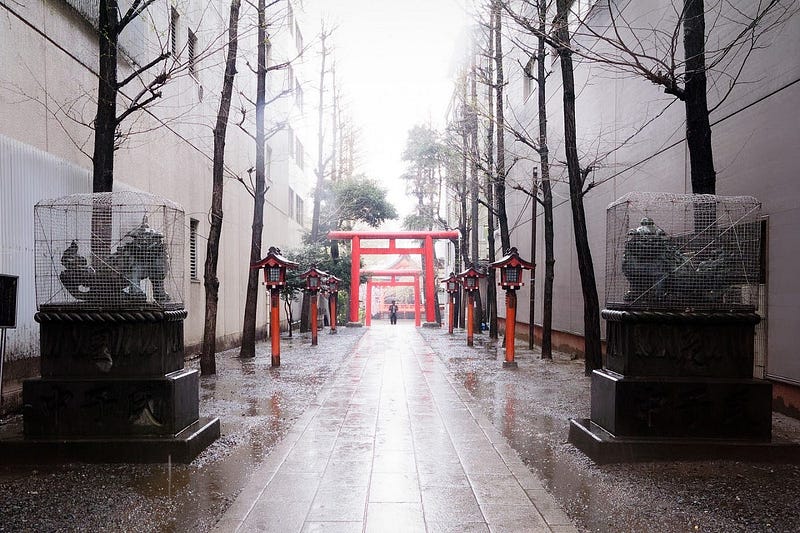
Extreme Long or Wide Shot
Distances and de-familiarizes the subject from the viewer. Can also include useful visual cues, such as framing and leading lines.
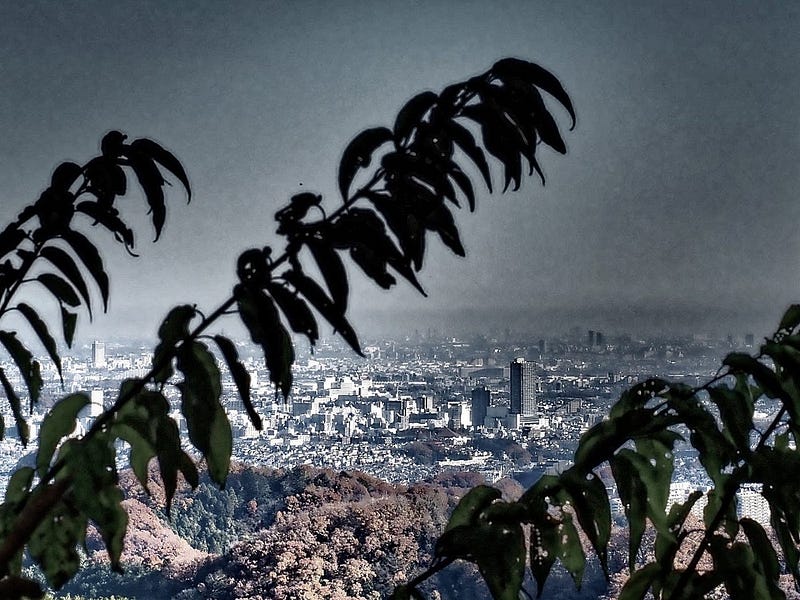
Full Shot
Puts the emphasis on the subject of the shot up close and personal, including only enough background to establish setting or mood.
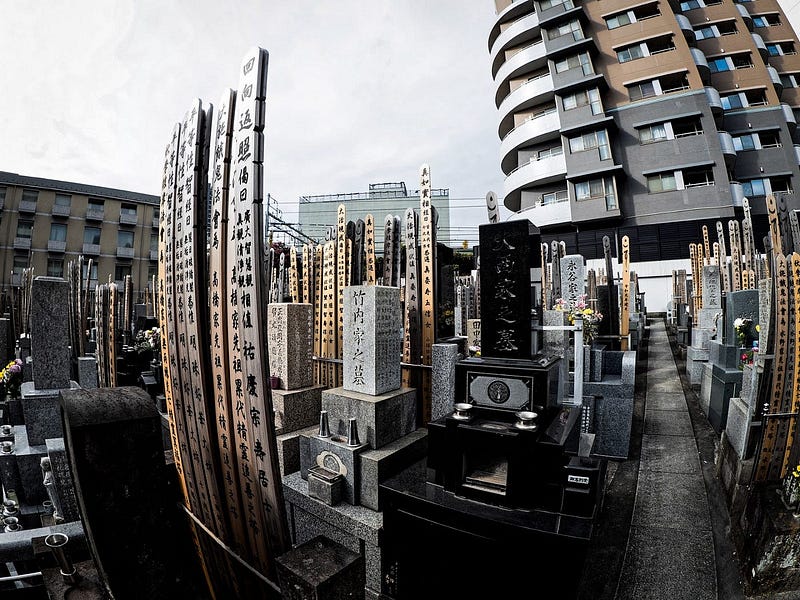
Long and Wide Shots
Keeps the main subject in plain view while also emphasizing the setting.
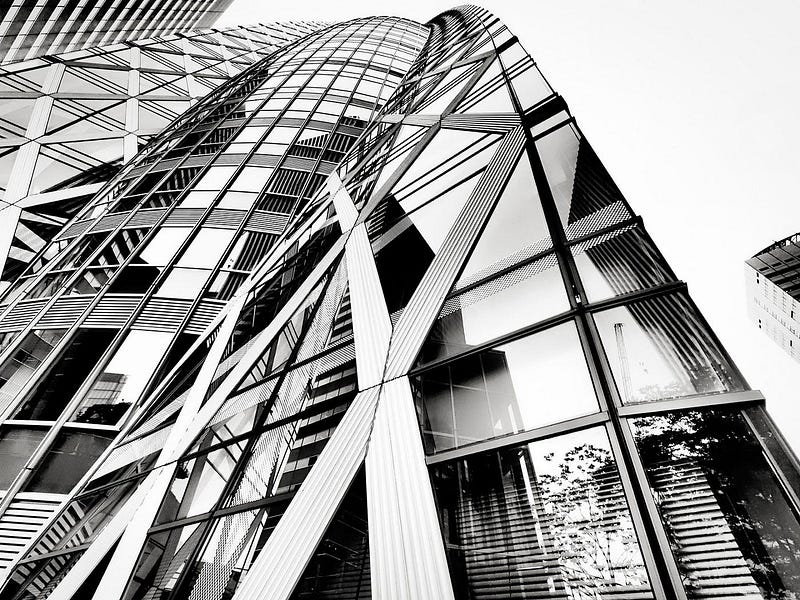
Medium Long Shot
Between a long and medium shot. Emphasis not just on the subject, but on the subject’s most important traits. In the case of the so-called Cocoon Building, below, in west Shinjuku, I sacrificed the foot of the building to give greater emphasis to the complex geometry of the windows and struts, and to emphasize the building’s vertiginous lines.
Medium Shot
For what it’s worth, apparently the most common type of shot used in movies.
Shows the subject in more detail than the long or wide shot, but keeps the background in view. If your subject is a person, then it’s roughly from the waist up.

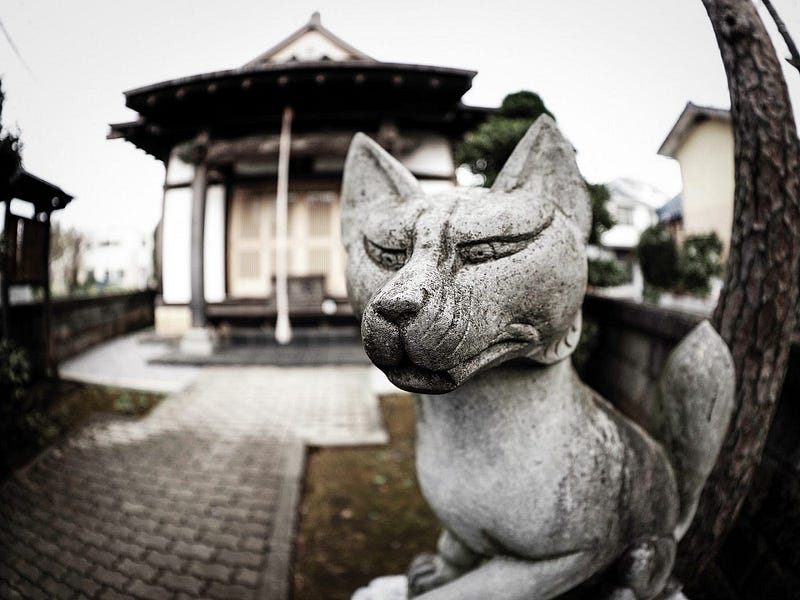
Medium Close-Up
If your subject is a person, then it usually focuses on the face, from the chest up. But lacks the close personal distance, the intimacy, of the close up.
For non-human subjects, the idea is to focus on an aspect of the subject while still maintaining that distance.
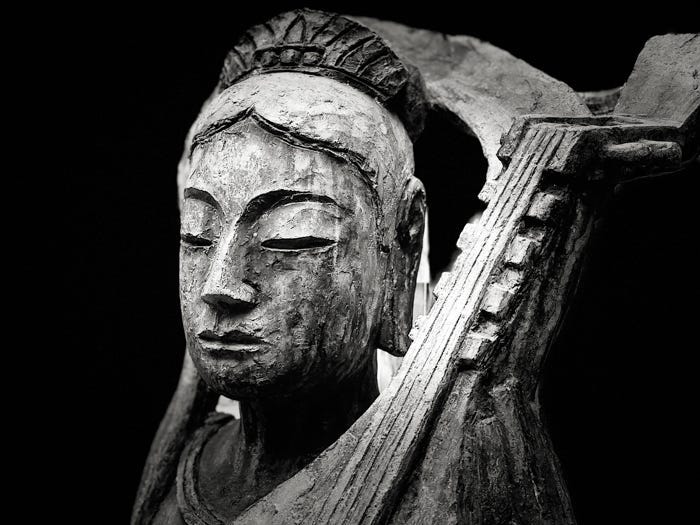
Close Up
Fills the frame with a part of your subject. In portraiture, that’s usually the face. In other cases, it may be a subject which is usually overlooked by the casual observer that the photographer wants to call attention to.
I must admit, I think this is my least-used framing strategy. Almost always, the background or foreground adds to the tension or narrative in the photo.
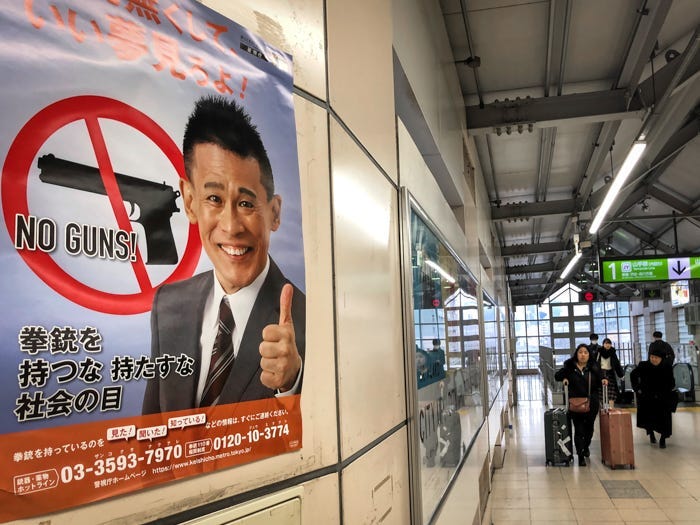
Extreme Close Up (ECU)
An extreme close-up is the most you can fill a frame with your subject. It often shows eyes, mouth and gun triggers. In extreme close-up shots, smaller objects get great detail and are the focal point.

Conclusion
So there ya go. A dozen or so terms to help you think about the photo you’re taking and consider the purpose, impression, message, or story you want your photo to tell.
There are other types and angles of shots that the stills photographer can borrow from the cinematographer to inform and inspire photography, such as the eye level and ground level shot, or the intriguingly named “Dutch tilt” and “cowboy” shot.
Perhaps I’ll write a follow-up to this post if there’s enough interest!


