
Fastest way to install Geopandas in jupyter notebook on Windows

Hello everyone. Recently I was working on a data science group project in which my part was to make Geospatial visualizations which requires python library Geopandas to be installed in my system. I had two options either do it in jupyter notebook or Google Colab.
I chose jupyter notebook but faced a lot of problems while installing Geopandas.There were not a single good resource on internet which can help me to install Geopandas properly without any errors. So, I decided to write an article which will help all the data science enthusiasts in installing Geopandas easily.
In this article I am going to show the fastest and best way to install Geopandas in jupyter notebook on Windows.So, let’s get started.
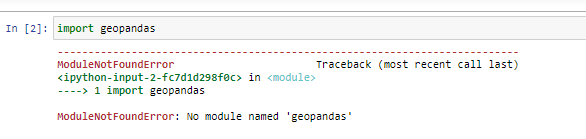
First of all, if you will import geopandas without installing it, it will show this error which means we need to install it first.
Installing Geopandas
Follow the steps given below to install geopandas.
Note- Anaconda is assumed to be installed on your system.
Step 1- Open Anaconda command prompt and create new environment variable say “geo_env” in our case using the command given below.
conda create -n geo_env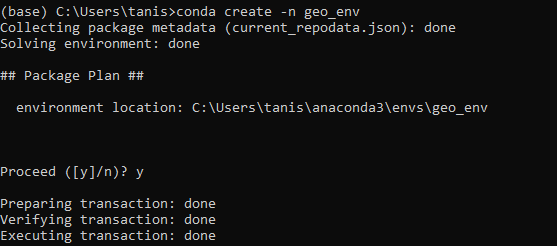
Step 2- Activate this environment “geo_env” and add and set conda-forge channel.
conda activate geo_envconda config --env --add channels conda-forgeconda config --env --set channel_priority strict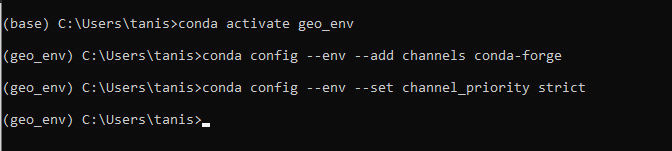
Step 3- Install Geopandas in the environment just created.
conda install geopandasVerify that it is installed by running python in your terminal and then running following code.No errors means geopandas is succesfully installed.
import geopandasexit() 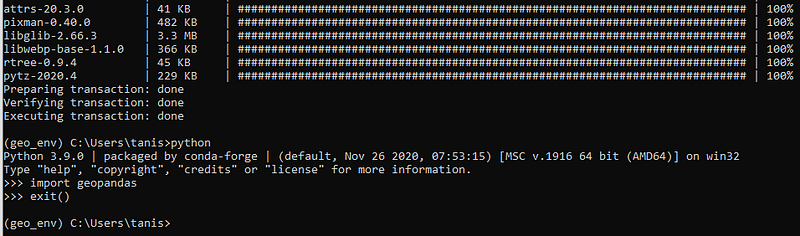
Step 4- Next task is to install jupyter notebook in this environment,as by default it is installed only in “base” environment.
conda install jupyter notebook
Note — If the above command doesn’t work for you, try “ conda install notebook”.
Step 5- Now add our environment to jupyter notenook.
python -m ipykernel install --name geo_env
That’s it ! Geopandas is succesfully installed in your environment variable. And now there are two ways to run it either through Anaconda Navigator or Anaconda command propmt.
Running Geopandas in Jupyter Notebook.
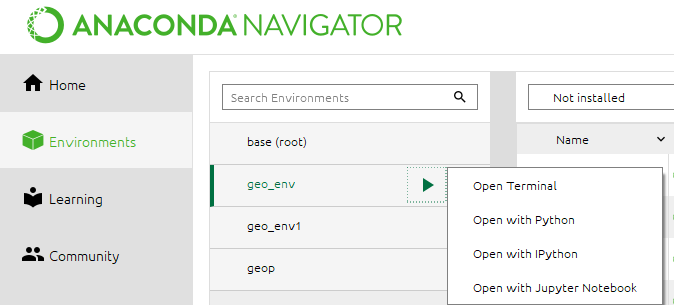
First way- Using Anaconda Navigator.
Open Anaconda Navigator,go to Environments section then select the environment,in our case geo_env. Then click on “play” button and select “Open with Jupyter Notebook”.
Second Way- Using Anaconda Command Prompt.
Follow the following steps.
Step-1 Open Anaconda command prompt.By default it is in “base” environment.
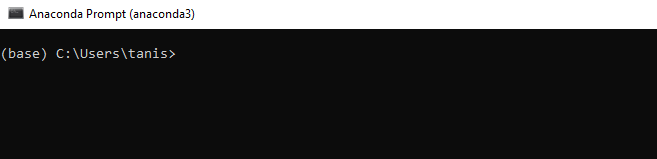
Step 2- Change it to the environment we created “geo_env” and installed geopandas by activating the environment.
conda activate geo_env
Step-3 Run “jupyter notebook” command and get going by either creating a new file or editing an existing ipynb file. Make sure you are working in the environment we have created.


Thanks for reading this article.
If you have any queries,either write it in the comments or mail me at [email protected] .


