avatarDani Montage

Summary

The website content provides a DIY tutorial for creating Halloween decorations featuring fairy skeletons using inexpensive materials.

Abstract

The article titled "Fairy Skeletons for Holiday Decor" introduces a creative and budget-friendly Halloween decoration idea. The author enthusiastically guides readers through the process of transforming miniature plastic skeletons into whimsical fairy skeletons by attaching butterfly wings with a hot glue gun. The craft is designed to be quick, taking less than 45 minutes for six fairies, and uses easily accessible supplies such as fake butterflies from floral decorations. The tutorial includes an optional step of adding antennae to the fairies' heads for an extra touch of fantasy. The finished fairy skeletons can be displayed individually or strung together as a garland, and the author suggests placing them in a cobweb decoration alongside other festive ornaments.

Opinions

  • The author expresses that fairy skeletons are a favorite Halloween décor DIY due to their cost-effectiveness and charm.
  • The craft is praised for its quick completion time, making it a convenient project for busy crafters.
  • The use of inexpensive materials from stores like Dollar General, Dollar Tree, and Hobby Lobby is highlighted as a positive aspect for budget-conscious decorators.
  • The author finds the process of removing butterfly wings to be simpler than expected, advising caution to avoid damaging the delicate feathers.
  • There is a playful suggestion that the fairy skeletons might undergo trepanation, a historical surgical procedure, when adding antennae, indicating a blend of humor and creativity in the crafting process.
  • The author shows pride and satisfaction in the finished project, inviting readers to share their own attempts and results.

Halloween

Fairy Skeletons for Holiday Decor

Spooky and cute for the right price!

Photo by Chris J. Mitchell, https://www.pexels.com/photo/selective-focus-photography-of-skeleton-1528375/

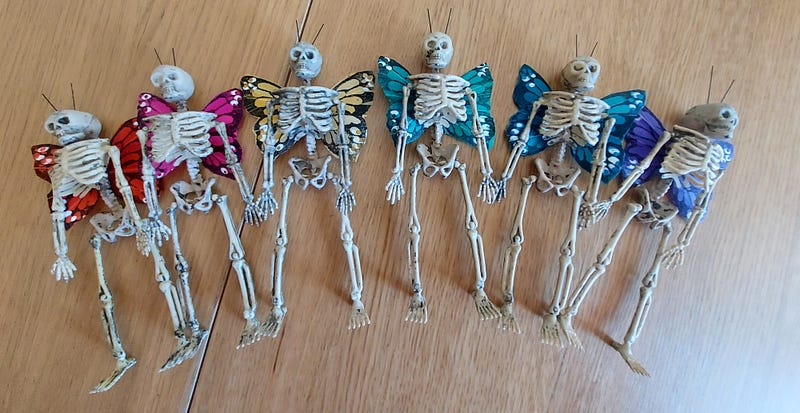
Hi, ghosts and goblins! Happy First Day of October! I wanted to show you one of my favorite and most cost effective Halloween décor DIYs. While I already had some of the supplies, you can pick most of it up for relatively cheap.

To make all six of my Fairy Skeletons took me less than 45 minutes, so it’s not going to take a whole day!

What you need:

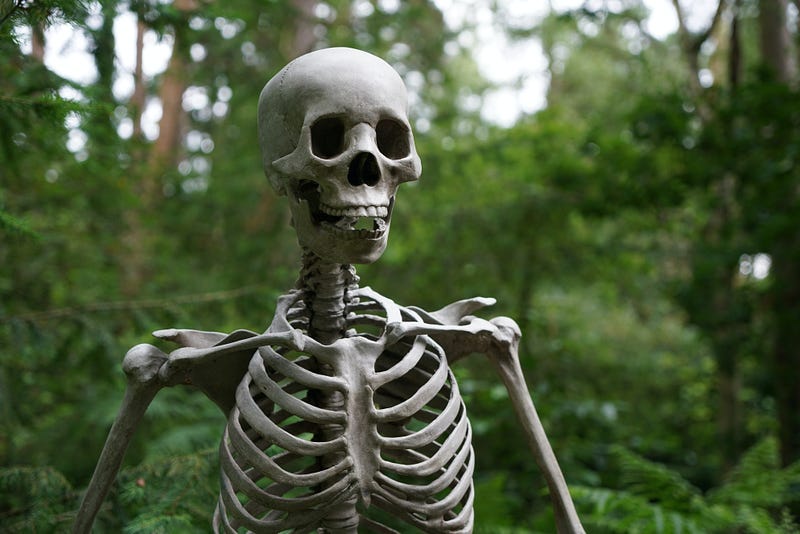
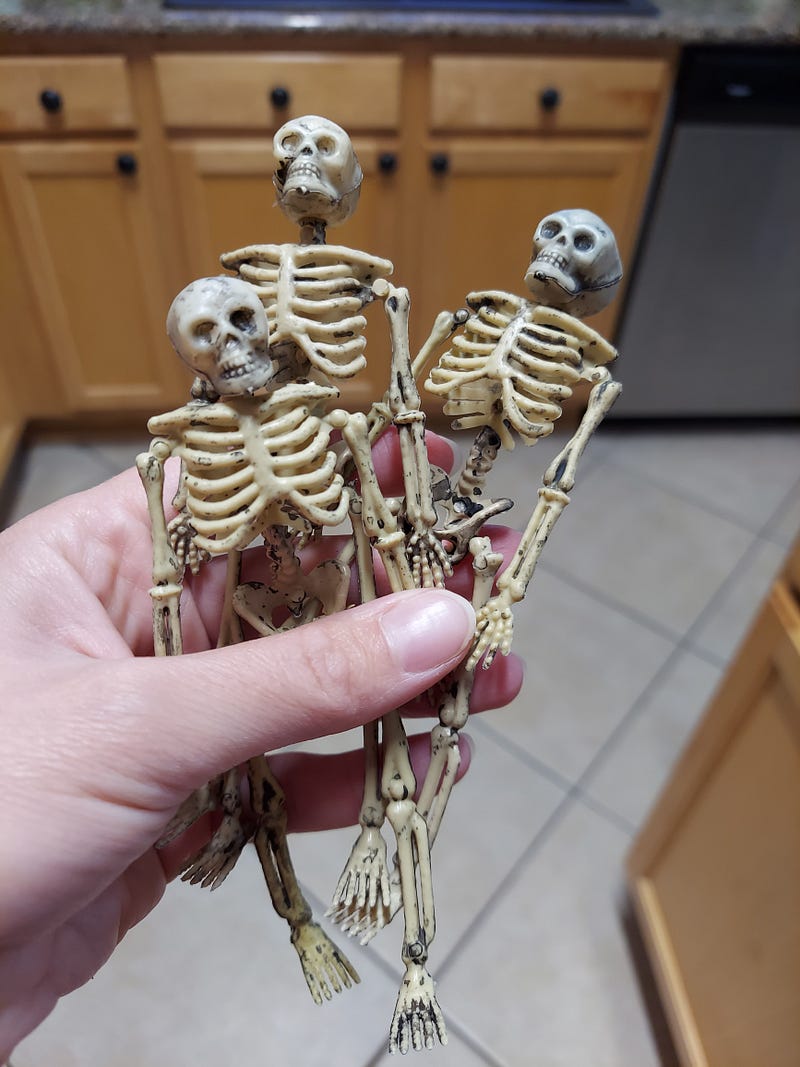
Miniature plastic skeletons (you can find these at Dollar General or the Dollar Tree)

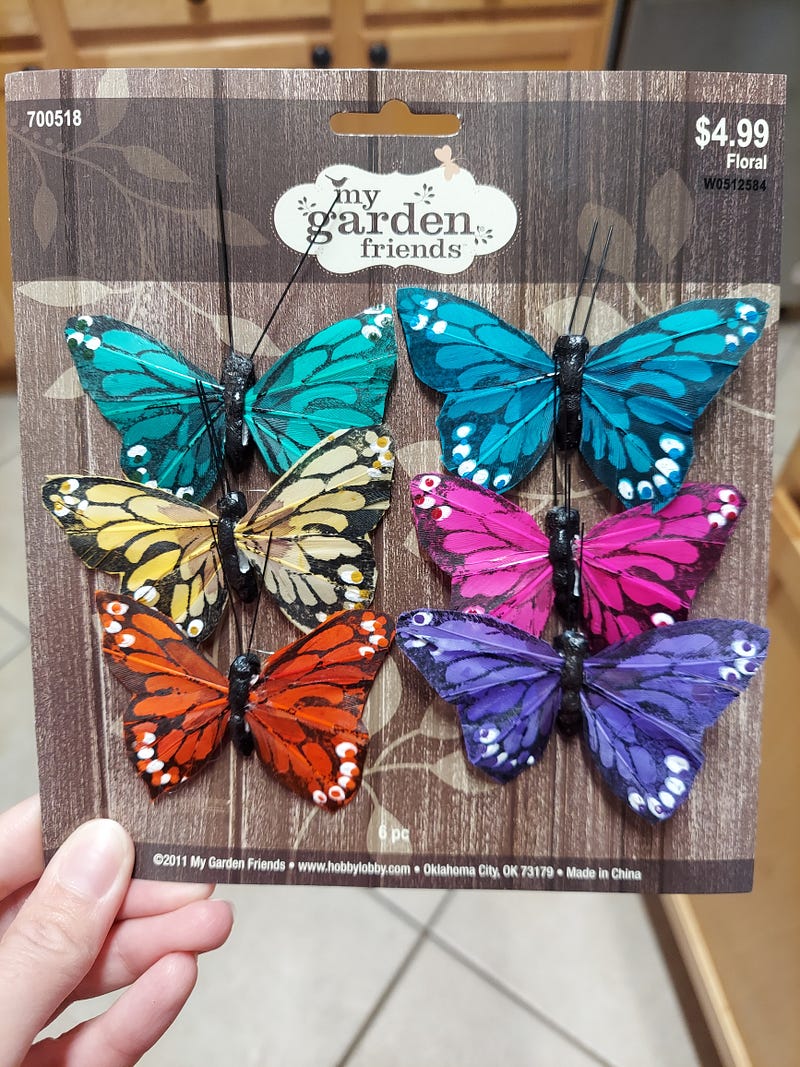
Fake butterflies; the kind for floral decorations.

Hot glue gun and glue sticks

Thumb tack (for the optional part of this craft)

Let’s get started!

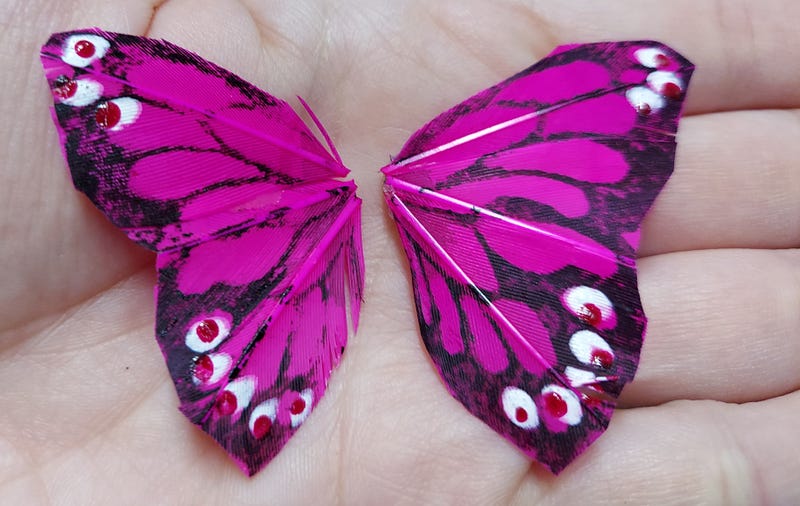
While your glue gun is heating up, you’re going to remove the butterfly wings from the butterfly “bodies”. I thought I would have to cut them off using scissors, but I was able to pull them off. Do this carefully, as the wings (usually made from feathers) are delicate and can rip.

Author’s own: I purchased these at Hobby Lobby, but keep a look out during the spring to pick these up at the Dollar Tree!
Author’s own: pulling the wings off retains more of it, just do it very carefully!

Next, you’re going to want to select your first “fairy” from your bony bunch.

Author’s own: they’re so cute!

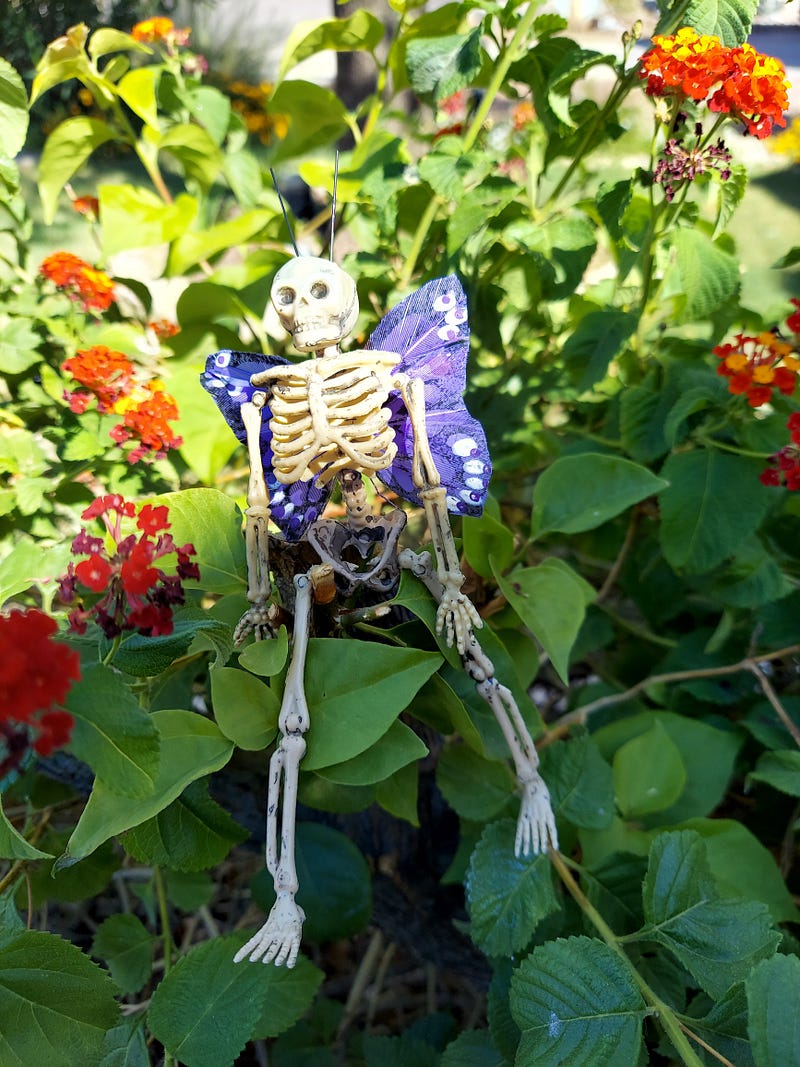
Taking your hot glue, squeeze a dot onto the middle of the skeleton’s spine and press one of the wings down for a few seconds. Repeat with the second wing.

Author’s own: no anesthetic needed, they don’t feel a thing!

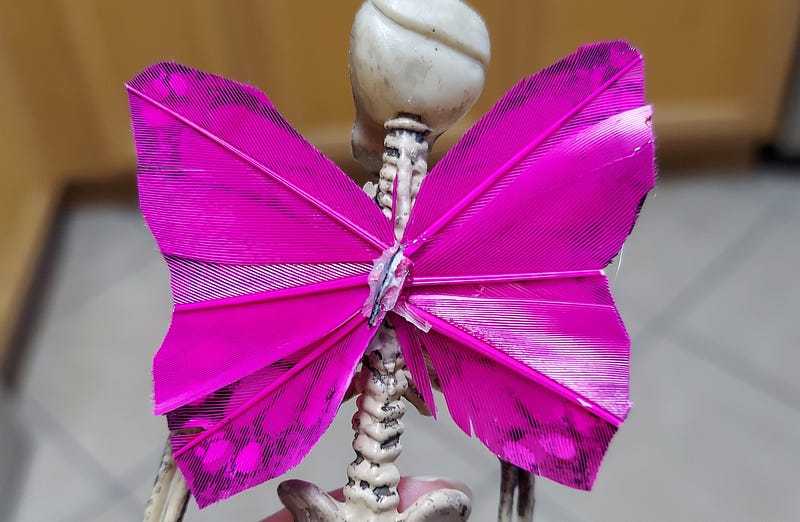
Repeat this process for the rest of your skeletons. These little guys will be cute as buttons; however, you can take it a step further.

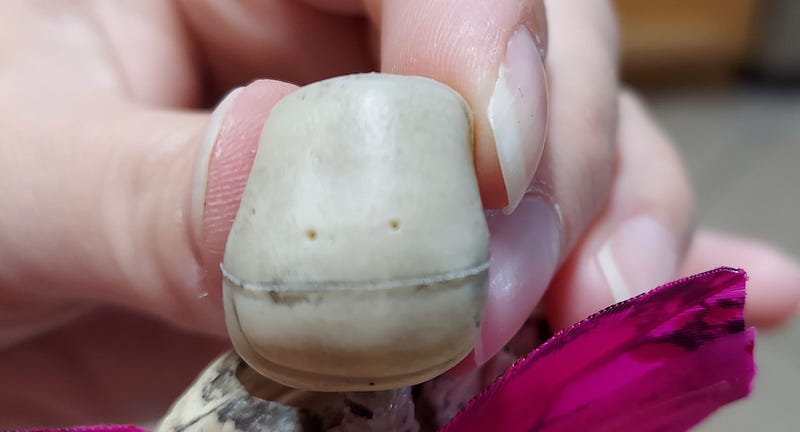
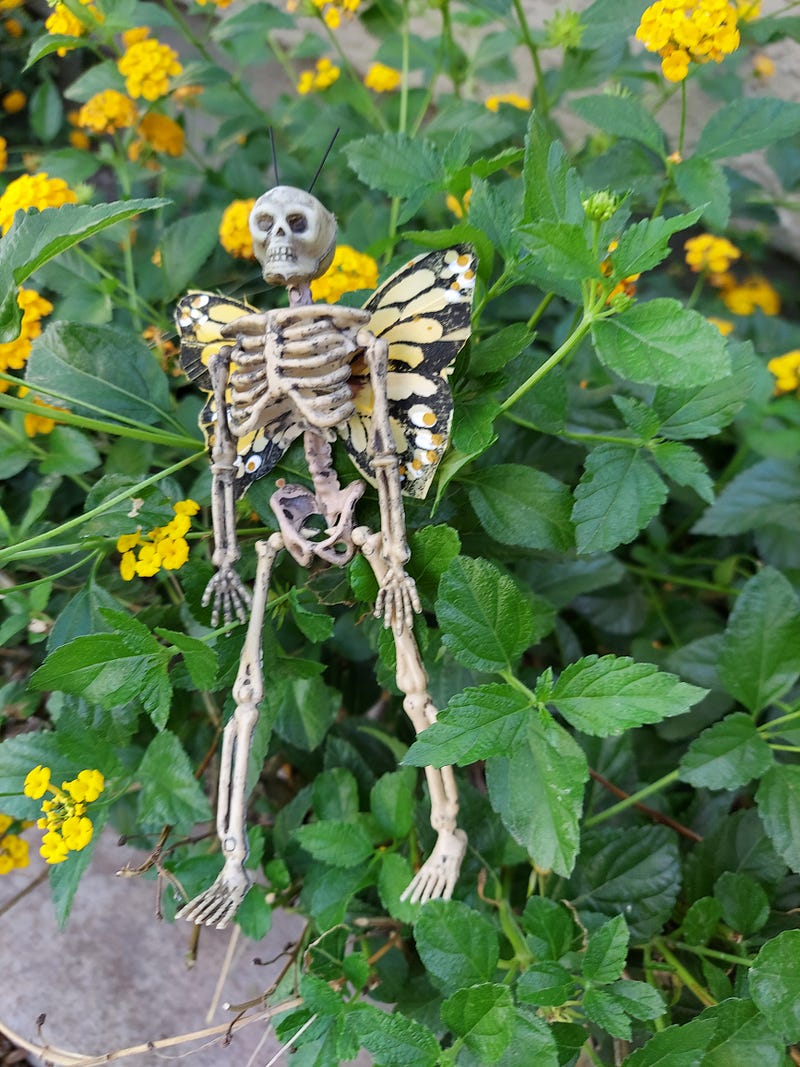
Optional step: Cut off the antennae from your wingless butterflies and set aside. Using your thumbtack, puncture two holes in each of your fairies’ skulls, like so:

Author’s own: the practice of trepanation?

I then took one antenna at a time and gave it a quick swirl in the hot glue that was dripping from the end of my glue gun. I stuck the glued end down into the hole and held it there for a few seconds, then repeated it with the second one.

Author’s own: Buzzzzzzzz!

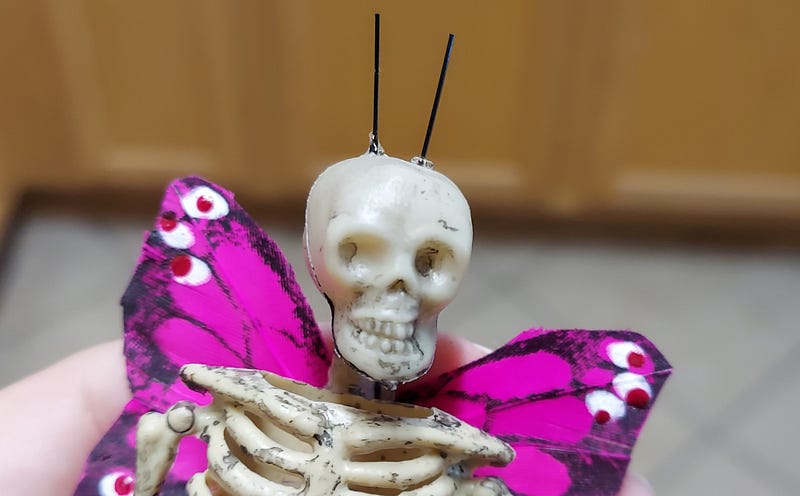
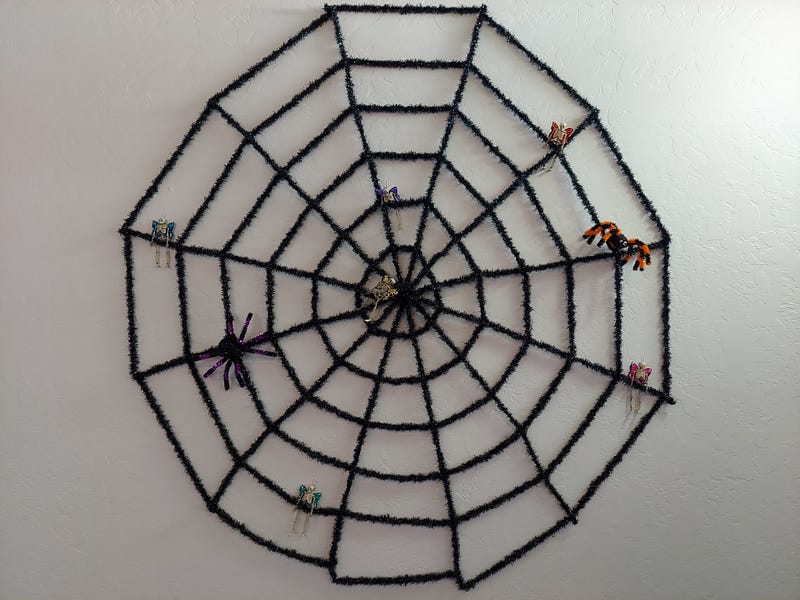
And that’s it! You can string these guys together for a garland or just leave them as is. I’m sticking mine in a large cobweb on my wall to hang out with the only kind of spiders I like: my sparkling/Styrofoam spiders, Creepy and Crawly!

Author’s own
Author’s own
Author’s own
Author’s own: caught up in a web!

And that’s all there is to it! Easy, right? If you try it, please let me know and take some pictures!

Happy Halloween!

The Diy Diaries
DIY
Halloween
Halloween Decorations
Halloween Crafts
Recommended from ReadMedium
avatarMario López-Goicoechea
Urban Diary

On the trail of bluebells

2 min read
avatarRoz Warren, Writing Coach
I Left My Tooth in San Francisco

Oops

4 min read