
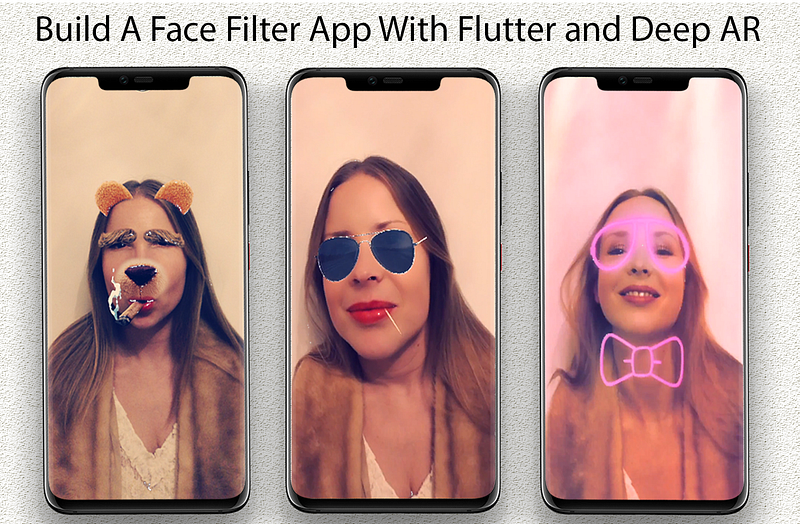
Easiest Steps To Build A Face Filter App With Flutter and Deep AR
Hello everyone, I’m excited to be sharing this article with you all.
At the end of this article, you will learn how to build a Face Filter App from scratch using Flutter and Deep AR.
So let start.
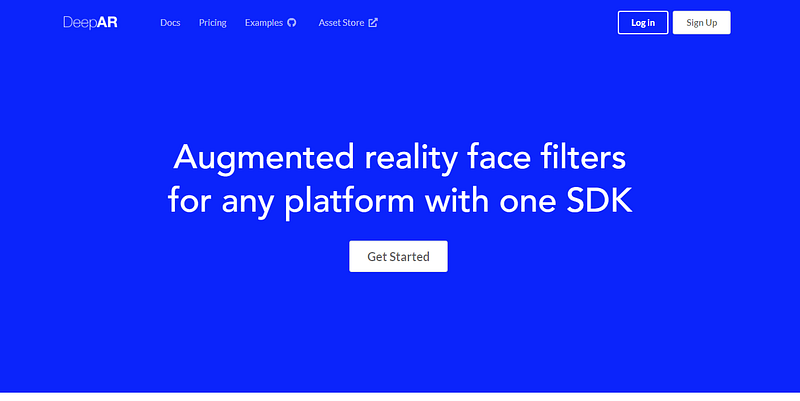
What is DeepAR?
DeepAR is a web platform that provides an SDK for Snapchat kind of 3D face filters, face lenses, and effects for any iOS, Android, Unity, or HTML5 app. The platform makes use of a technology called Augmented Reality (AR).
So what is Augmented Reality (AR)?
Augmented Reality is a new technological system that allows introducing virtual content and information onto the physical world as if they’re actually there with you.
In other to build a Face Filter App from scratch using Flutter and Deep AR, you need to follow these simple steps below:
Step 1: Creating a new Flutter project.
You can create a flutter application using Visual Studio, IntelliJ, or Android studio.
After successfully creating a flutter project, Open “pubspec.yaml”, and install the rwa_deep_ar and path package.
dependencies:
  rwa_deep_ar: ^0.0.12
  path:
Step 2: Create a Deep AR account.
Log on to https://deepar.ai/ to create an account,
At the top right corner of the site click on “Sign Up”, to create an account but if you have an account with Deep AR, click on “Log in”.
To “Sign Up” Deep AR only requires you to enter your email address and password.
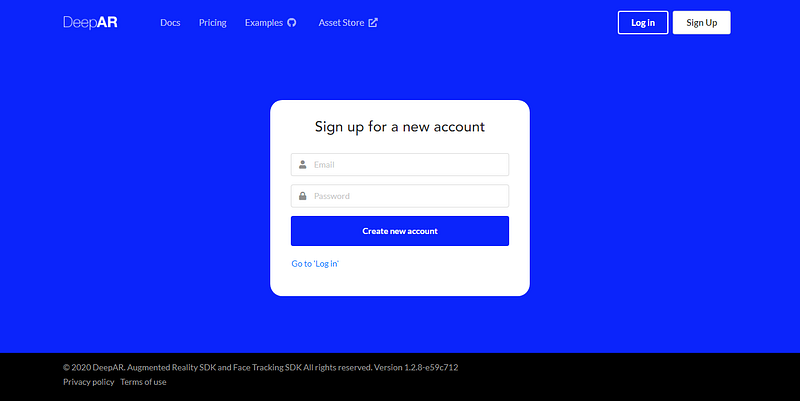
Once you have provided the necessary details required, Deep AR will send a link to the email address you provided while signing up.
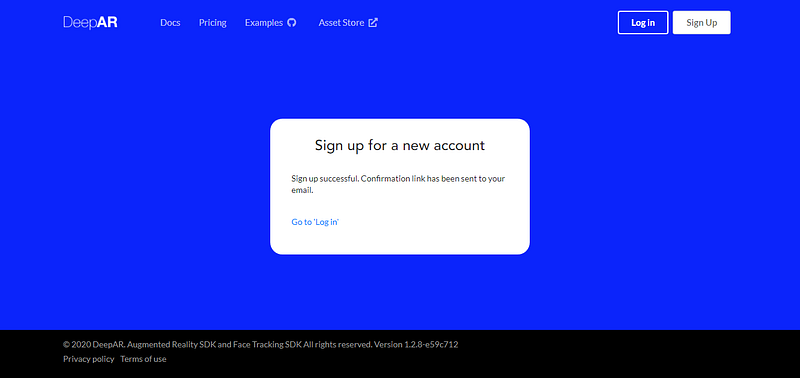
Click on the link sent to your email address and log into your Deep AR account.
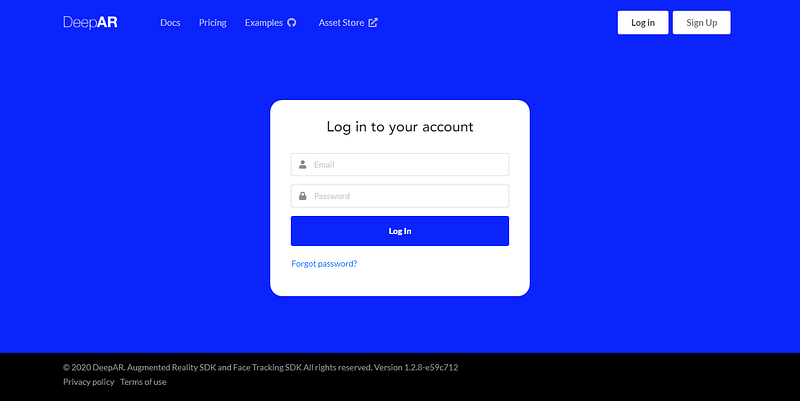
On successfully Log in, your Deep AR logged-in page will look like this image below.
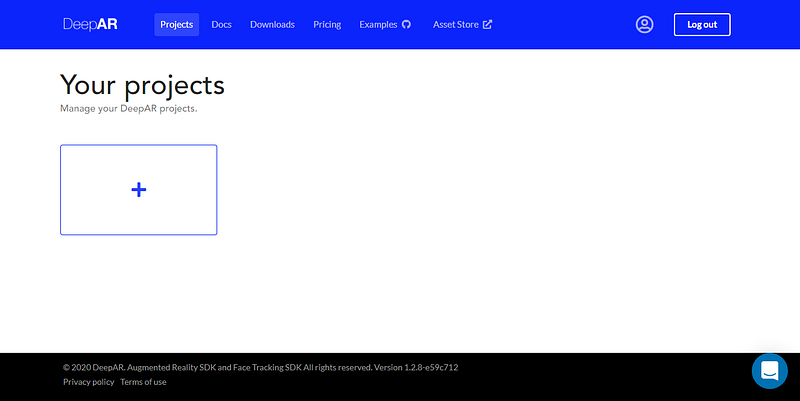
Step 3: Creating a new Deep AR project.
To create a new Deep AR project, click on the + icon.
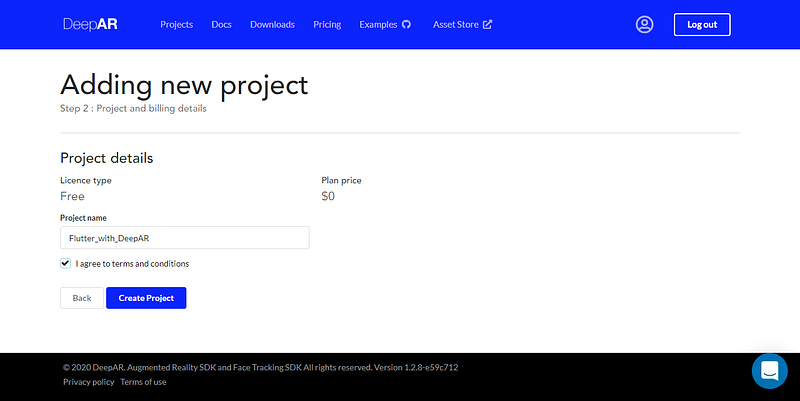
Note: For the sake of this tutorial, the number of monthly active users will be 10 which is Free.
When done, click on the “Get Started” button to navigate to the next screen.

Next, we are going to name our Deep AR project “Flutter_with_DeepAR”, click on the “I agree to terms and conditions” option, and click on “Create Project” to complete the project creation process.
Congratulations, you have successfully created your very first Deep AR project.
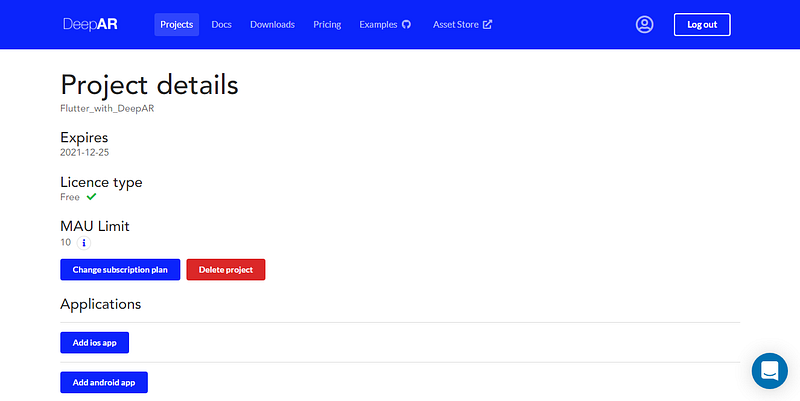
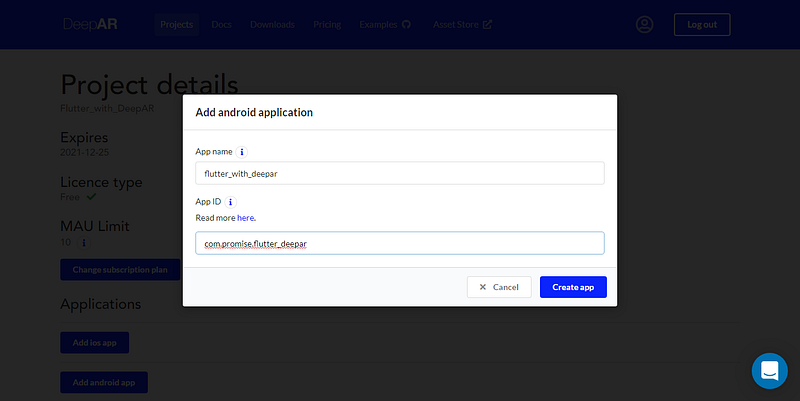
Step 4: Adding Deep AR to your android app.
Click on the “Add android app” button
On the App name field, enter “flutter_with_deepar”, while the App ID will be “com.promise.flutter_deepar”.
Note: To get the App ID for your Flutter project, go to android >> app >> build.gradle and copy the applicationId.
android {
    defaultConfig {
        applicationId "com.example.myapp"
        minSdkVersion 21
        targetSdkVersion 29
        versionCode 1
        versionName "1.0"
    }
    ...
}
Click on “Create app” to complete the Deep AR configuration for the android app.
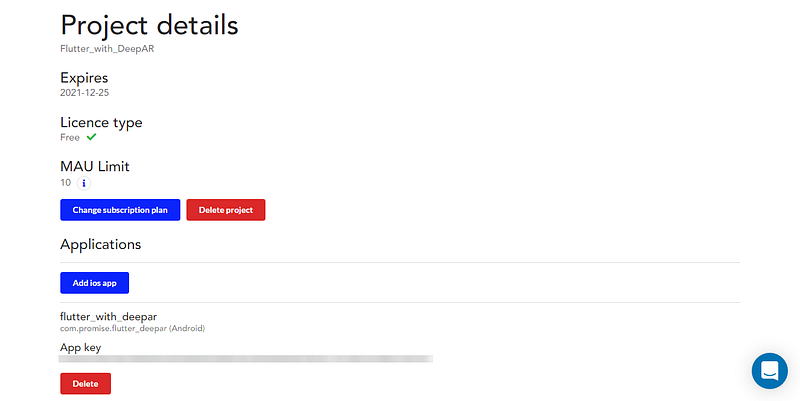
Note: Your Android App key should be kept private.
Step 5: Modifying your Flutter project.
Add this rule to your proguard-rules.pro file, to do so go to android >> app >> and create a new file, the name should be proguard-rules.pro, add these rules to your created proguard-rules.pro file
-keepclassmembers class ai.deepar.ar.DeepAR { *; }
-dontwarn android.**
-keep class io.flutter.app.** { *; }
-keep class io.flutter.plugin.**  { *; }
-keep class io.flutter.util.**  { *; }
-keep class io.flutter.view.**  { *; }
-keep class io.flutter.**  { *; }
-keep class io.flutter.plugins.**  { *; }
Modify your build.gradle file, do that goto android >> app >>build.gradle file
defaultConfig {
    applicationId "com.promise.flutter_deepar"
    // MinSdkVersion should be set to 21 or above
    minSdkVersion 21
    targetSdkVersion 29
    versionCode flutterVersionCode.toInteger()
    versionName flutterVersionName
}
buildTypes {
release {
signingConfig signingConfigs.debug
// add the proguard-rules.pro to your build.gradle file
        proguardFiles getDefaultProguardFile('proguard-android.txt'), 'proguard-rules.pro'
    }
} proguardFiles getDefaultProguardFile('proguard-android.txt'), 'proguard-rules.pro'
}
}Note: The minSdkVersion for android should be 19 and above while for iOS it’s 10 and above.
Open the AndroidManifest.xml file and add the following permissions.
<uses-permission android:name="android.permission.FLASHLIGHT" />
    <uses-permission android:name="android.permission.WAKE_LOCK" />
    <uses-permission android:name="android.permission.READ_EXTERNAL_STORAGE" />
    <uses-permission android:name="android.permission.WRITE_EXTERNAL_STORAGE" />
    <uses-permission android:name="android.permission.ACCESS_COARSE_LOCATION" />
    <uses-permission android:name="android.permission.ACCESS_FINE_LOCATION" />
    <uses-permission android:name="android.permission.RECORD_AUDIO" />
    <uses-permission android:name="android.permission.SYSTEM_ALERT_WINDOW" />
    <uses-permission android:name="android.permission.CAMERA" />
    <uses-feature android:name="android.hardware.camera.front" />
    <uses-feature android:name="android.hardware.microphone" />
    <uses-feature android:name="android.hardware.camera2" />
    <uses-feature
        android:name="android.hardware.camera.autofocus"
        android:required="true" />
    <uses-feature android:name="android.hardware.camera.flash" />
    <uses-permission android:name="android.permission.READ_PHONE_STATE" />
Finally, Open your main.dart file and add this code below:
Test run your app using a physical device or an emulator.

Congratulation, you have built your first Face Filter App with Flutter and Deep AR.
P.S: Here is the source code for the project you just worked on.
If you found this article helpful and educating, please hit the clap button 👏 as many times as you can to show your support!
To get my latest updates and happenings from the world of Flutter, and mobile app development, follow me on Twitter, Facebook, Linkedin, and Github.
My name is Promise Amadi. I am a writer and Flutter Developer. I work with startups across the globe to build mobile solutions using Flutter.
I’m open to collaboration on Flutter-based projects. Send an e-mail to [email protected].
Follow Flutter Community on Twitter: https://www.twitter.com/FlutterComm


