
Adobe Photoshop Just Got Generative AI Fills
Adobe rolls out Firefly functionality in Photoshop for generative fills. Its really easy, powerful—and not perfect.
Adobe’s new Photoshop (Beta) available on Creative Cloud has a new feature—Generative Fill. Harvested from Adobe Firefly’s capabilities, this single feature puts a lot of what Photoshop designers want, where they want it.
What Works Well
- Speed. Generative Fill is a powerful, and blazingly fast feature. For most of my images, it was at least 4 times faster than Midjourney.
- Fine grain control. I really like how I can isolate the area within my existing image that it will manipulate, which makes it much more useful for modifying specific images or using real people in images I want to alter.
- Easy to use. Prompting seems to be more intuitive, with more natural language capabilities and less weight on the order of terms. I suspect Adobe is rightly setting a gold standard for training its models. As long as your selection is right, it was very easy to nail the image I wanted each time.
- Non-destructive. I also love that this is a non-destructive way to edit the image. You can revert in history, and generate fills in layers.
What Doesn’t Work
- Subject selection is clunky. Selecting the subject image with their auto-tools is problematic, but reverting to standard tools for selection and inversion works.
- Blending is still rough when objects are close. Many of the images blend light weirdly when objects are too close, and it does not handle layering of objects well—it wants a clear background to fill.
- No support for illustrations. I also noticed that it does not handle illustrations at all. So, all fills will be photographic.
- Image variations and refinement. Finally, while it does present several image variations, you have to scroll through them. It is not easy to compare, or refine the generations.
I’m sure I will notice more as I use the tool more, but these are the first impressions. Please share your observations in the responses below!
Let’s take a look at what a simple Generative Fill looks like today in Photoshop.
How To Use Photoshop’s Generative Fill
After downloading and opening the new Photoshop Beta, when you load a photo, you get a new dialogue. It will let you select the subject, or remove the background in one super fast click.
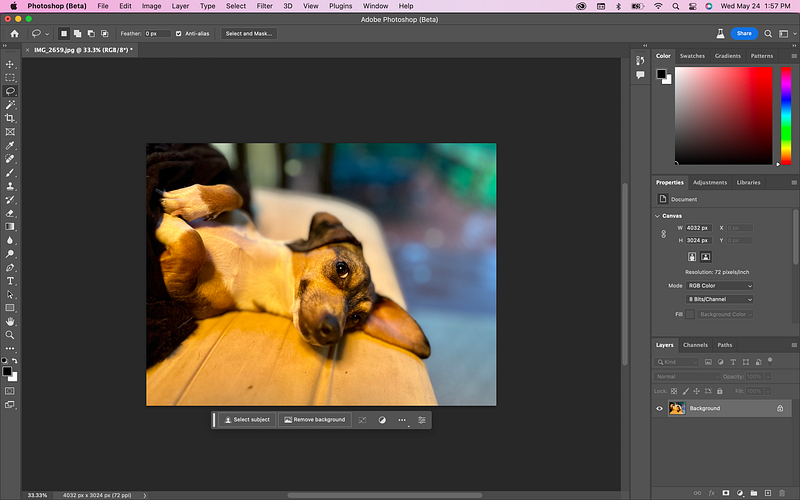
For my first Photoshop Generative Fill rodeo, I decided to use a photo I took recently of our Chiweenie, Reagan.
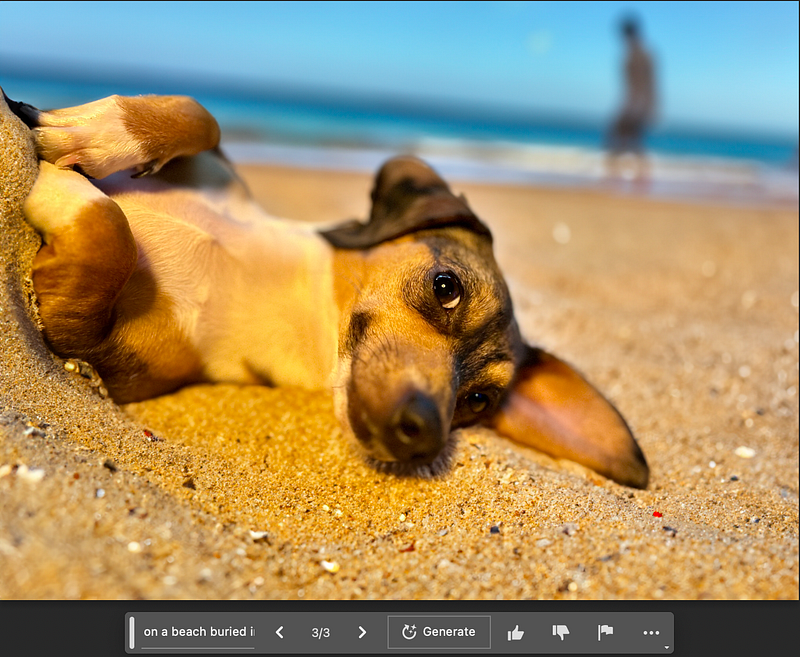
I’d like to transport Reagan to the beach and bury her in the sand. She’s already buried in a blanket so let’s see how Photoshop makes the transition.
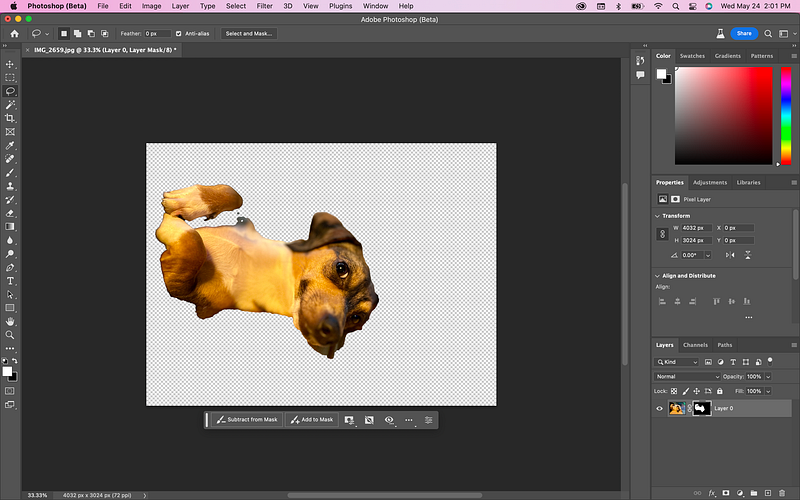
In under a second, this rough image came back. It is not perfect, especially under her face. But there is a handy button to Subtract from Mask which will help me to paint out the rest. I’ll click it, increase my brush size using the ] key, and finish rough cutting her out. I don’t think perfection matters with the Generative Fill.
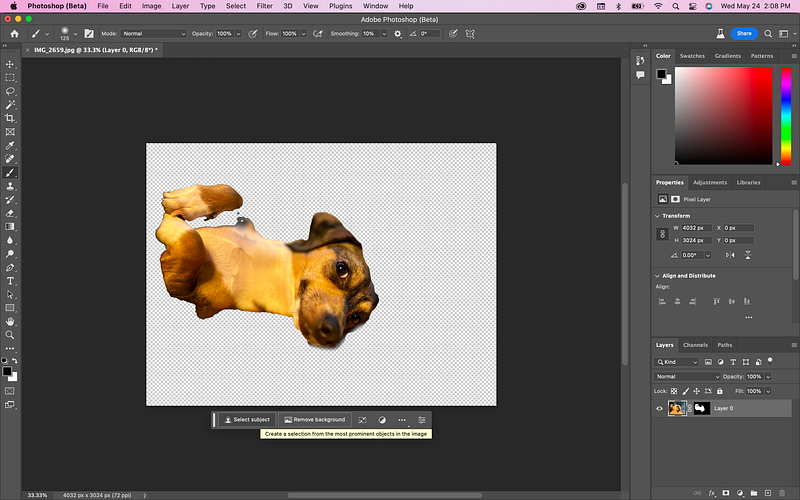
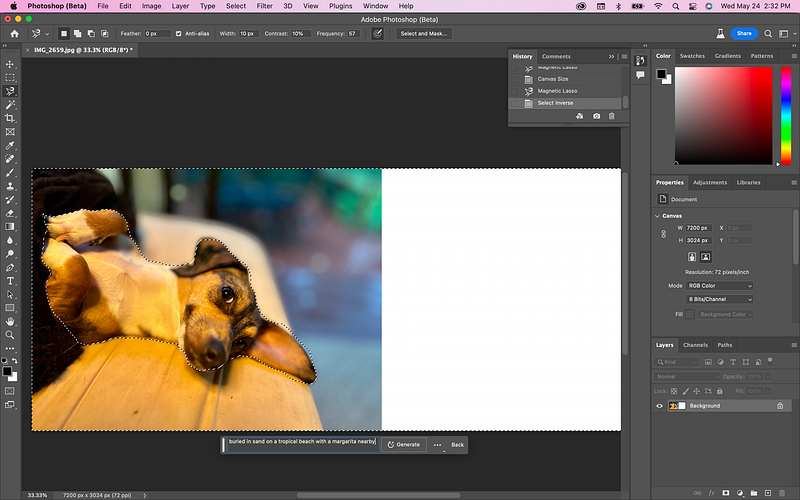
Now, I know Generative Fill works with the selection tool. Anywhere you select, the fill will auto-populate. So, this handy Select Subject button is nice, but then it will just fill the area of the dog. We want the area around her. So, we’ll select the subject and invert the selection.
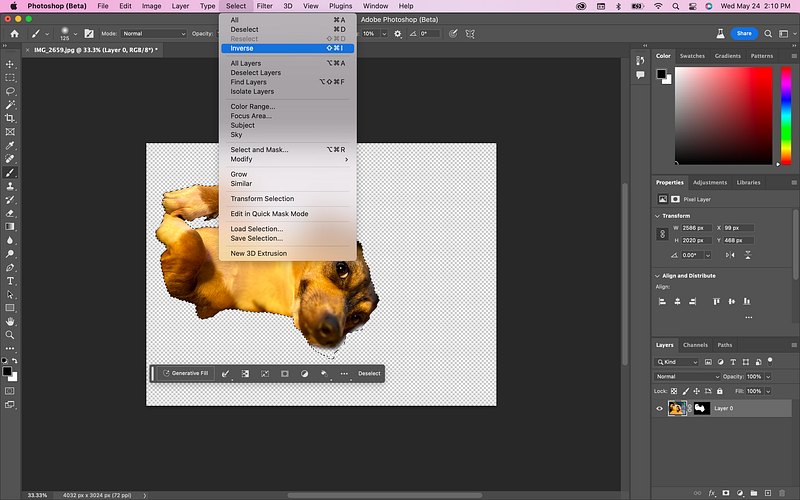
Unfortunately, the area I erased under the nose is still selected. I was wrong, there is no easy way to add or subtract from this mask, so I had to abandon this selection tool.
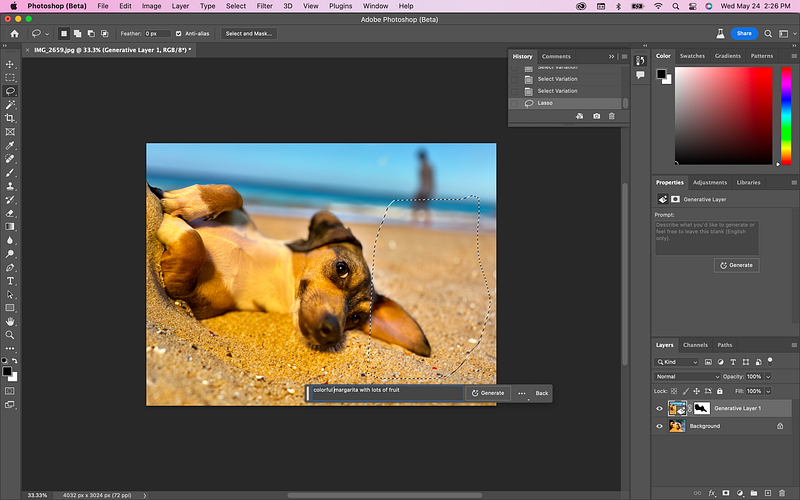
I went back to the old faithful magic lasso, and got a perfect selection, which I then inverted.
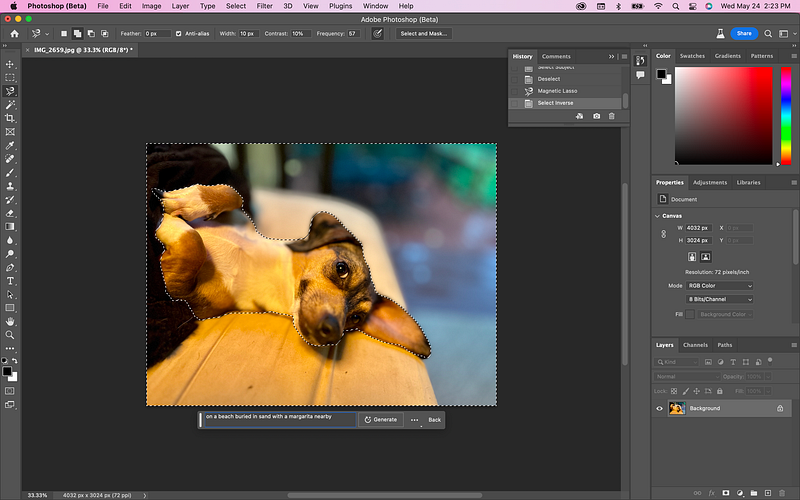
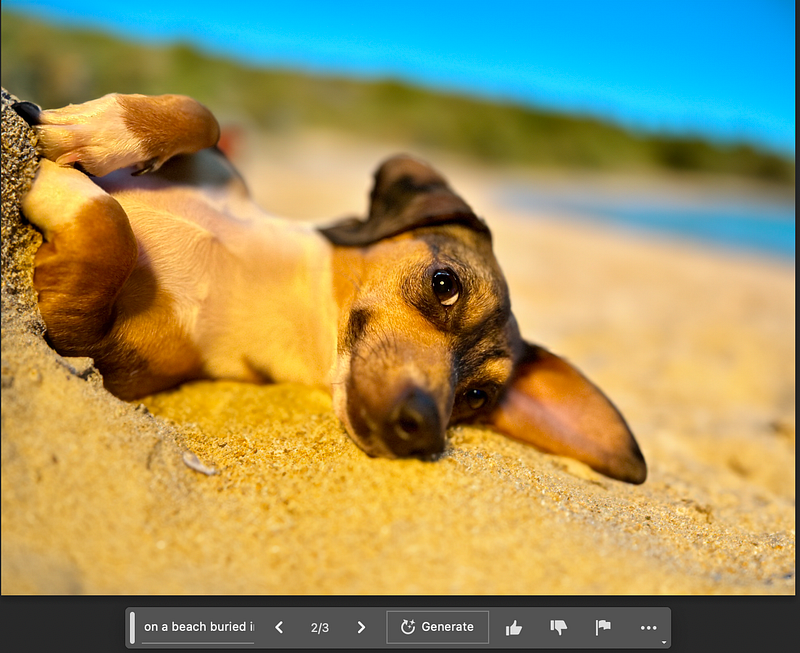
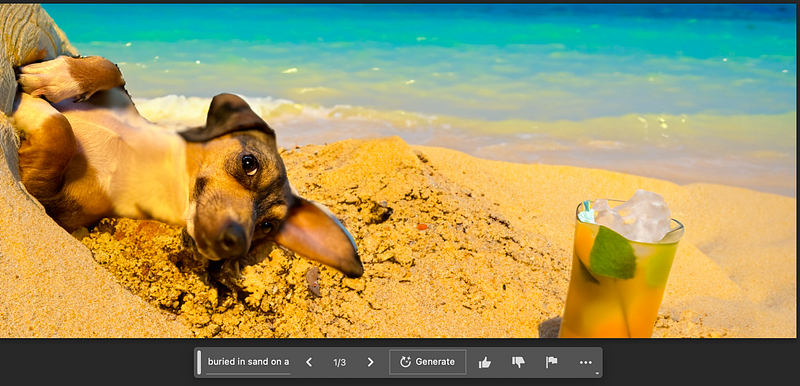
Now time for the magic! Clicking the Generative Fill button, I get a tiny prompt to type my command. This generates 3 images.
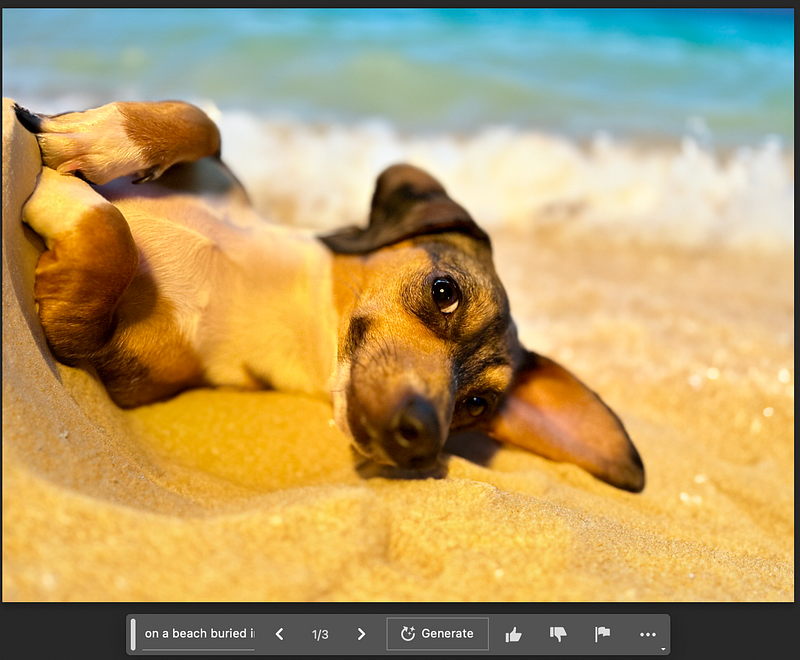
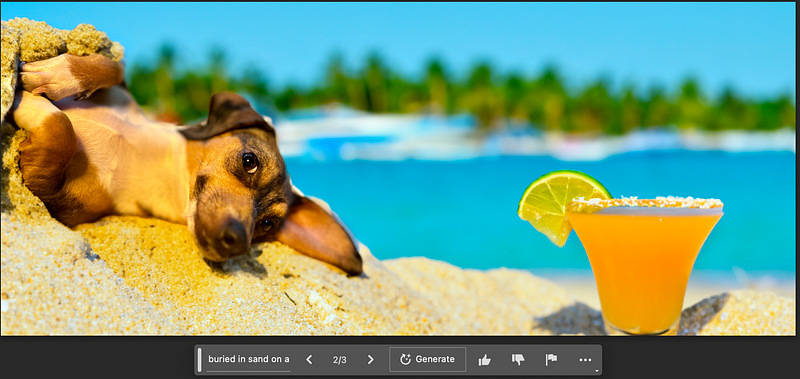
I like the first image best, but it is missing the margarita. So, I am going to use my Lasso tool to draw in the area of the photo that I want the margarita. Then I’ll add another Generative Fill.
I specifically drew the Lasso around where Reagan’s ear is laying on the beach in an attempt to see how Photoshop handled this.
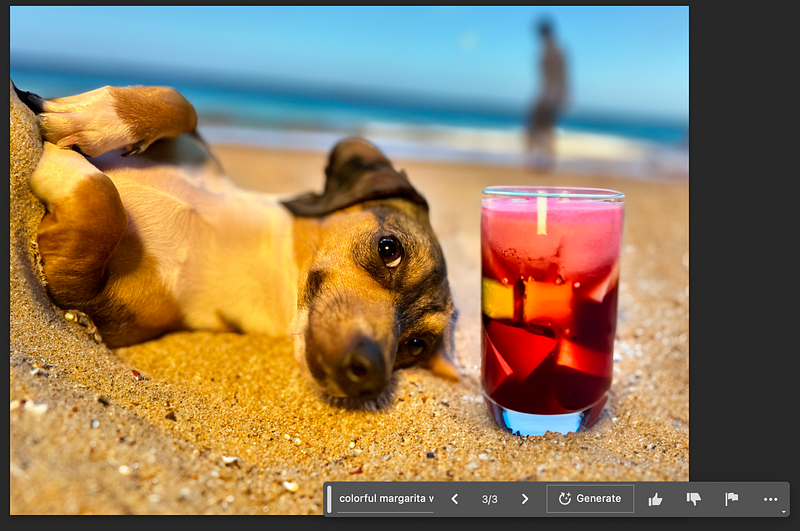

Not surprisingly, it cut off the ear, and caused some weirdness where the images come too close. It seems to be having trouble blending.
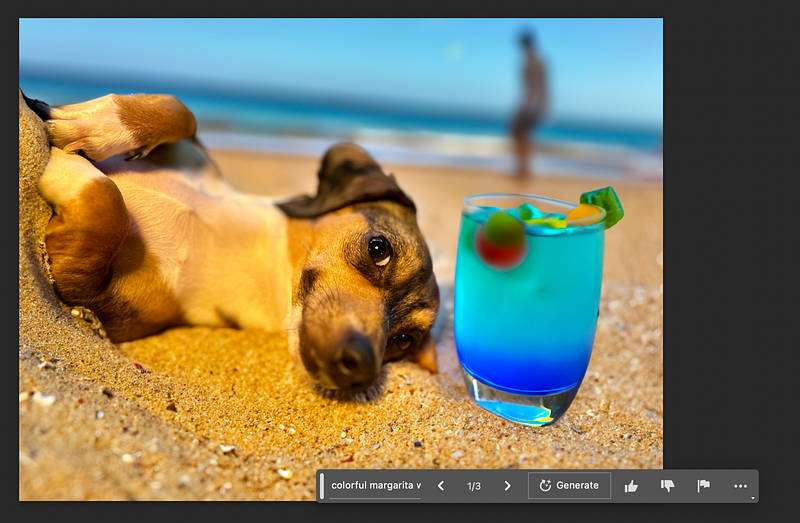
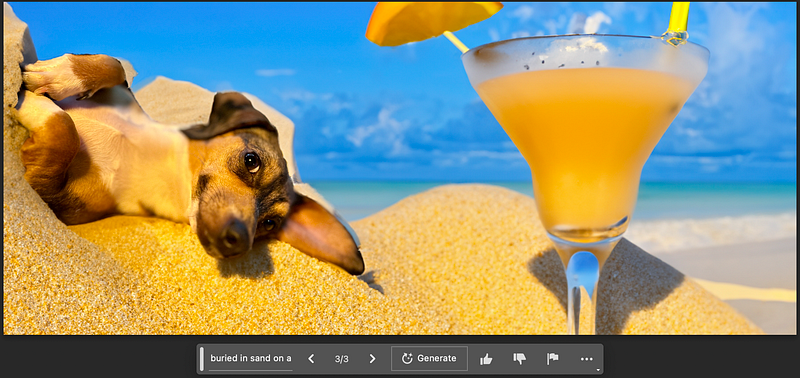
I decided to roll back my history and extend the image. I doubled the canvas size horizontally and redid my Magnetic Lasso tool, which I then inverted and repopulated the Generative Fill prompt.
This fill took a lot longer—over a minute. The first images went extremely quick, producing final images with just seconds. This was more comparable to how long Midjourney takes to generate images.
How Generative Fill Should Be Used
Photoshop’s Generative Fill feature is useful for all kinds of tasks today.
- Remove unwanted objects from an image. For example, you could use Generative Fill to remove a person from a photo, or to remove a background from an object.
- Fill in gaps in an image. For example, you could use Generative Fill to fill in a hole in a wall, or to fill in a missing piece of a puzzle.
- Create new content from scratch. For example, you could use Generative Fill to create a new background for a photo, or to create a new object for a design.
- Improve the quality of an image. For example, you could use Generative Fill to sharpen an image, or to remove noise from an image.
That’s all for now — hope you enjoyed it!
If you did, please consider becoming a Medium member if you appreciate reading stories like this and want to help me as a writer. It costs $5 per month and gives you unlimited access to Medium content. I’ll get a little commission if you sign up via my link.