

Download Android Studio Koala 🐨 — Whats Going On With Android Development
Lets Check Out The New Features In Android Studio Koala
Let’s begin the download by opening the android developer site in your browser here I will paste the url for your ease. https://developer.android.com/studio
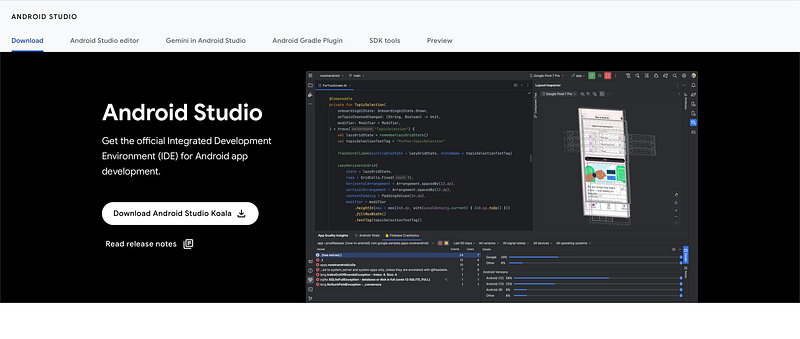
On this url you are going to find the download button. Your download will start once you tap the button and accept the terms and conditions.

Scroll down to the end of your terms and conditions you will find two options for download if you are using a mac.
Download for Mac with Intel chip or Mac with apple chip. Make sure you know the type of mac you have.
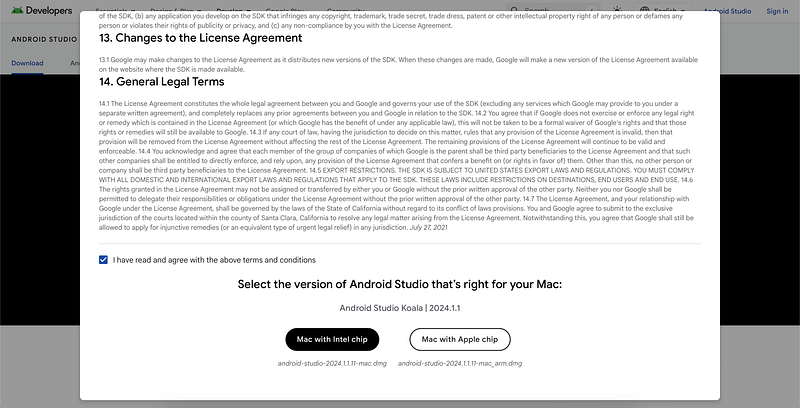
Click on either one to begin your download.
The download will take some time. While you’re downloading checkout my other articles. Here is a bonus for you if you are new to android development. 🌟
Try out this Simple but trendy tutorial I have written to get anyone started in android UI development basics with the awesome Jetpack compose Toolkit. ⚙️
So, below is this pinterest style layout that you can use in any of your app ideas to give it a sophisticated and modern look and feel.🥂
Once your download finishes. Open the file downloaded for mac its dmg and windows it will be exe file. Drag the android studio icon to your applications icon and if you already have and android studio you can choose to keep it or replace it with this new version.
Once copied you can see the Android studio icon in your applications folder and your launchpad.
Let’s try out Android Studio Koala.
Launching Android Studio Koala I am greeted by this startup animation.

The startup time is surprisingly small.😮🤩 Android studio opens up so fast I had a hard time getting this screen shot of the startup animation. 😂
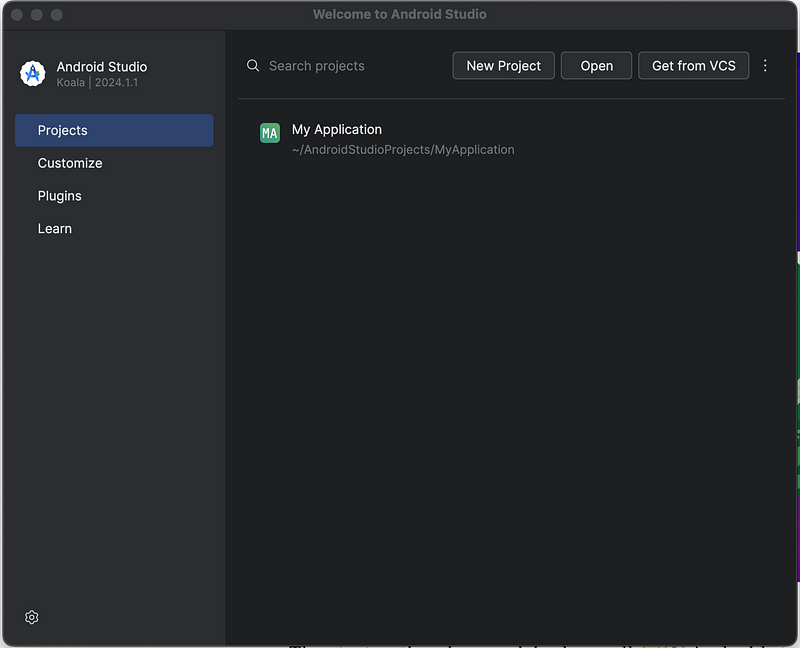
Android studio is launched you will see this screen above. Its time for some fun lets create a new project and explore a bit.

Here we have project templates for device types phone and tablet. They are the same as jellyfish. Gemini API Starter is still in preview.
Will create an empty activity which will create a jetpack compose starter project.
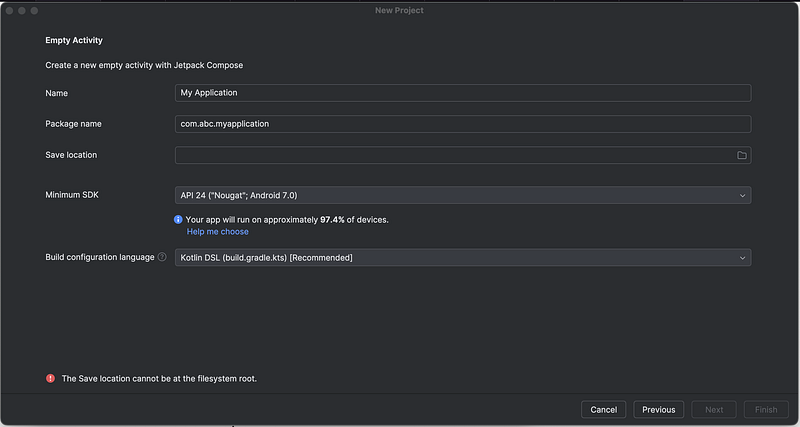
In this dialog you are going to fill your application details. Like name of your application and package name com.yourorganisation.application name and save loaction which will be the folder path where you like to save your application. Last select our build configuration as Kotlin.DSL.
Click finish and our project gradle will start building model. Which will take a significant amount of time still. I don’t know why they don’t consider making it faster.
Ok once our build is successful project sync and indexing will commence.
Indexing is done.
Let’s explore whats new in Android Studio Koala.
You can see next to whats new in koala our project MainActivity for jetpack compose project.
You can see this option of edge to edge enabled by default in your activity.
enableEdgeToEdge()Our target sdk is 34 by default in our build.gradle file which is minimum requirement by google now.
targetSdk = 34Kotlin version is 1.8 and java version are 1_8.
    compileOptions {
        sourceCompatibility = JavaVersion.VERSION_1_8
        targetCompatibility = JavaVersion.VERSION_1_8
    }
    kotlinOptions {
        jvmTarget = "1.8"
    }
Build features has compose enabled.
    buildFeatures {
        compose = true
    }
The way to include libraries or dependencies has changed a bit. It did since jetpack compose.
Now libraries are included in your project like this:
implementation(libs.androidx.ui)Now this abbreviation libs.androidx.ui has value and version that is stored in libs.version.toml file.
[libraries]
androidx-ui = { group = "androidx.compose.ui", name = "ui" }
Like the following under [libraries] means its in libs and androidx-ui means androidx.ui.
Above you can see their versions as well.
Ok time to run our sample app.
With an emulator or real device you can run your app.
I will download a system image for API level 35 to run an emulator.
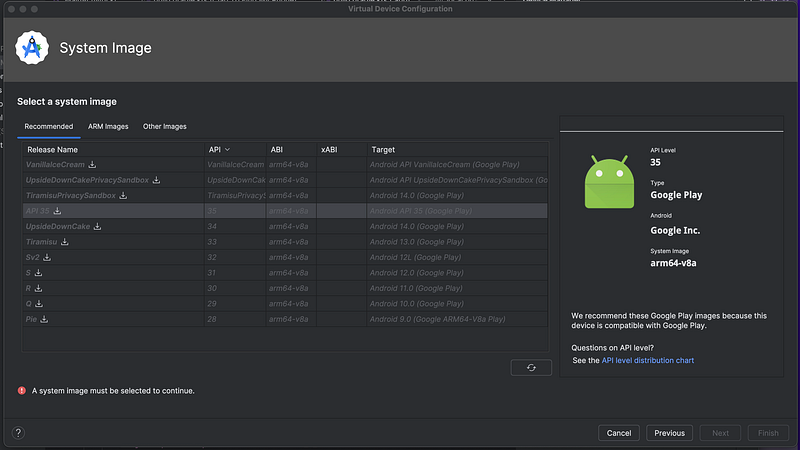
Click the small download icon in-front of the API 35 release name.
And your system image download will begin.
While your download progresses have a cup of tea. ☕ 🙂
Once the sdk component installer successfully downloads the image click next and configure your emulator or android virtual device settings.
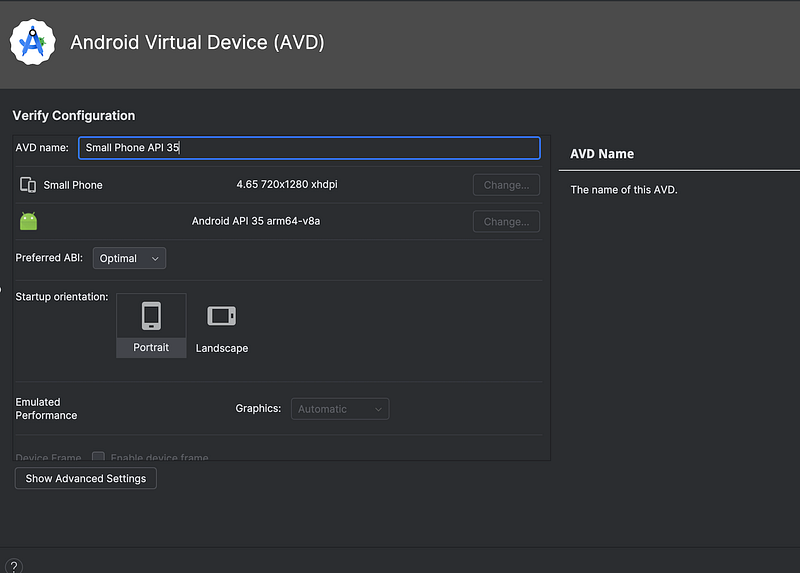
And click finish to continue.
You can see the device small phone we created earlier in your Device manger on the right side.
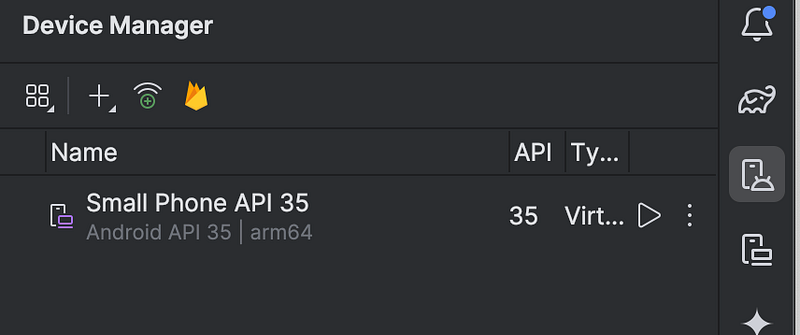
Click on the small green play button on top to run the test app.
Gradle build begins it will take some time to start the device and build the app and install it on the device.
Let’s wait.
Gradle build took 1 minute and install took 5 seconds.

Here, is the final app with “Hello Android!” text.
You can explore Android Studio Koala more once you are through with the basics. Get to know it bit more.
That’s all for today folks.
Happy Reading!
Happy Coding! ☕


