
Django Shorts — User Authentication and Lockout
Django already provides great user security out of the box, but what about if you want to add account lockout? Then follow this tutorial…

Welcome to Django Shorts.
This tutorial series will provide you with quick and simple solutions for different needs of your Django projects and to improve your knowledge.
Django is the web framework for perfectionists with deadlines, so let’s perfect our user account security.
This article assumes that you have already experience with Django projects.
Django User Authentication
Creating our project and application
As soon as you create your Django site and application, by default the user authentication will be already available, you just need to add the proper configurations to use the authentication screens.
Let’s start a base Django project and application creating it on the command line with:
## Create our Django project
$ django-admin startproject django_shorts## Navigate to our site directory
$ cd django_shorts/## Create our application
$ python manage.py startapp django_axes## Perform initial migrations
$ python manage.py migrate## Run the development server
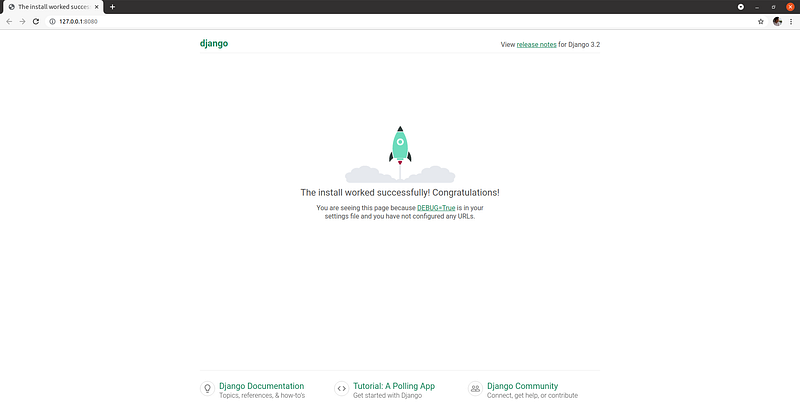
$ python manage.py runserver 8080Let’s check our initial home page to make sure everything is working at: http://127.0.0.1:8080/
Creating our homepage
Now that we have our basic page working let’s create our new home page that we will secure with authentication.
We need to perform the following steps and configurations:
- Create the html file for our new homepage
- Create view for our homepage
- Create urls file for our application
- Add our app urls file to the main urls of the project
- Add our app to the list of apps of our project
- Finally we will activate the authentication so only logged in users can access the homepage
Let’s start by creating out very simple homepage html file, inside a templates folder in our django_axes app:
Up next we create the view for our homepage, inside the views file in our django_axes app:
We can now define the url for our homepage, since we have defined our view, let’s create a new urls.py file inside the django_axes app:
We included already the urls for the authentication views (line 5) that we will use later on when we activate the authentication.
We also need to add our app urls to the main urls for our project, in the django_shorts folder:
Now we just need to add our app to the list of apps of our project so we can use it, for that we edit our settings.py file in django_shorts folder:
And that is it. We can again run our server and now we should see our homepage at http://127.0.0.1:8080/:
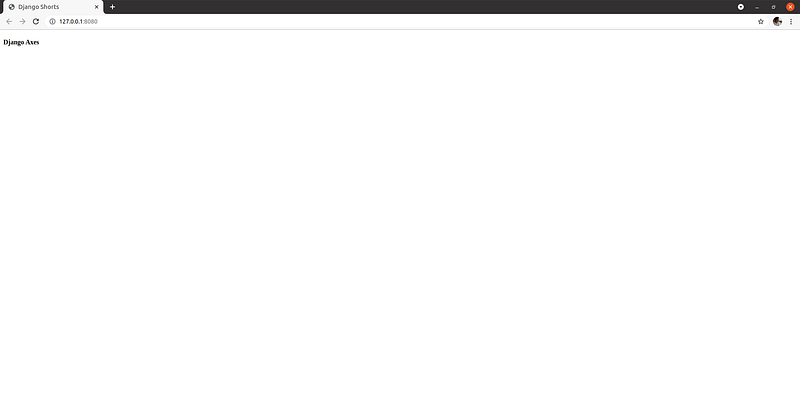
Congrats we now have a full functional and simple homepage.
Adding User Authentication
We can now add authentication to secure our precious homepage. For that we need the following steps:
- Add the authentication urls to the app urls (we already did this step)
- Create the html templates for the login and register default views
- Activate the authentication for the homepage
Let’s then create our login page html template, which needs to be placed inside the templates folder in django_axes application:
Next step is to activate the authentication for our homepage, so that an unauthorized access redirects to the login page. For this we just need to add the decorator ‘login_required’ to our view:
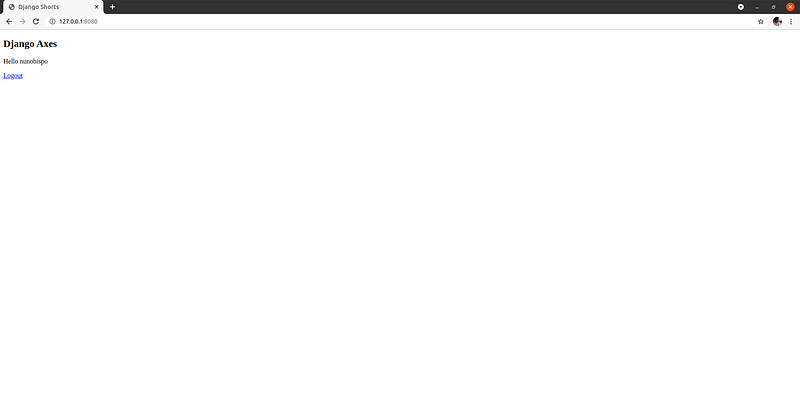
We will also change our homepage so that we display the username after we have logged in and the logout link:
Now that we have all components in place, we can test accessing our homepage at http://127.0.0.1:8080/.
Since we are not logged in, we will be redirected to the login page:
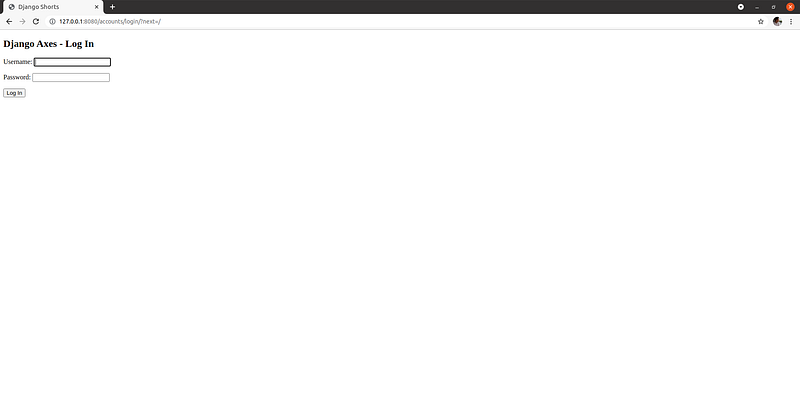
We have a login page, but at the moment we don’t have users!! Let’s solve this by creating a super user with the command line:
## Execute inside our virtual environment
$ python manage.py createsuperuser
Username (leave blank to use 'nunobispo'): nunobispo
Email address: [email protected]
Password:
Password (again):
Superuser created successfully.We can now login with our newly created user and we should now be able to access our new homepage:
Django Axes
Django Axes is a Django plugin for monitoring suspicious login attempts and implementing account blocking.
GitHub project available here: https://github.com/jazzband/django-axes
Documentation available here: https://django-axes.readthedocs.io/en/latest/
Let’s get started then with securing our user accounts from malicious login attempts.
Installation and configuration
$ pip install django-axesWith the package django-axes installed, the next step is to perform the configurations so our application can use it.
All configurations will be done in the settings.py file of our project:
- Add
axesto the list ofINSTALLED_APPS - Add
axes.backends.AxesBackendto the top ofAUTHENTICATION_BACKENDS - Add
axes.middleware.AxesMiddlewareto your list ofMIDDLEWARE
Let’s check the changes in our settings.py file:
After changing our settings.py file we need to check our configuration and run our migrations so the supporting database models are created:
## Checking configuration
$ python manage.py check
System check identified no issues (0 silenced).
## Performing migrations
$ python manage.py migrate
Operations to perform:
Apply all migrations: admin, auth, axes, contenttypes, sessions
Running migrations:
Applying axes.0001_initial... OK
Applying axes.0002_auto_20151217_2044... OK
Applying axes.0003_auto_20160322_0929... OK
Applying axes.0004_auto_20181024_1538... OK
Applying axes.0005_remove_accessattempt_trusted... OK
Applying axes.0006_remove_accesslog_trusted... OKWe now have the django-axes plugin installed and configured, so we could use it immediately.
But let’s change some of the default settings, since by default it will block by IP address, meaning all our users would be blocked from accessing from that IP address.
To change this setting let’s had the following configuration option to the settings.py file:
Let’s create a new user so we can have that user become blocked and then check on the Django Admin backoffice to unblock the user with our other user.
We can create another superuser for this testing purpose:
$ python manage.py createsuperuserUsername: test
Email address: [email protected]
Password:
Password (again):
Superuser created successfully.Let’s go to our homepage and logout if necessary so we can test the lockout with our new user.
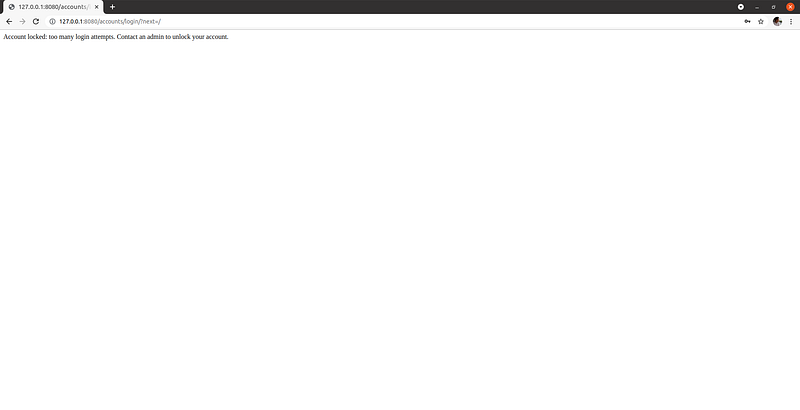
At the login page we try to login with an invalid password 3 times and our account should be blocked and a message like this will be shown:
We can navigate to our Django Admin backoffice page and check the status of our blocked user, http://127.0.0.1:8080/admin/:
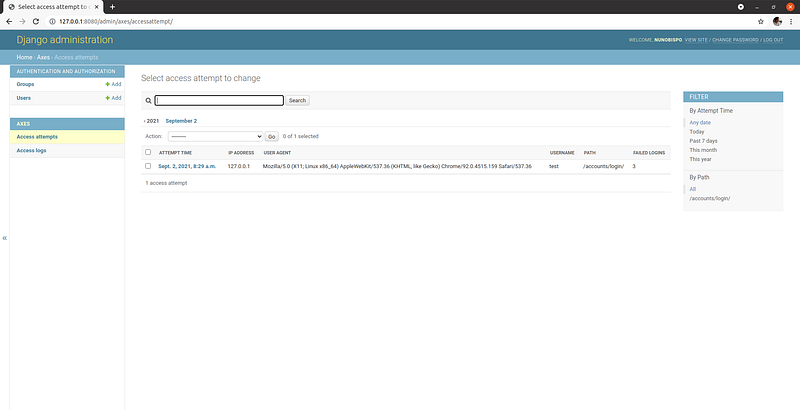
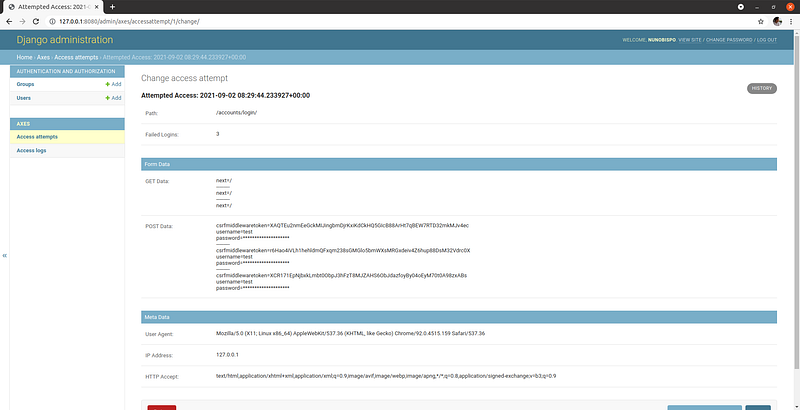
All we need to do to remove the lock on the account is to delete this corresponding record and the user will be able to log in again.
In case you accidentally block yourself out completely then you can remove all blocks with:
## This will reset all account locks
$ python manage.py axes_reset
Conclusion
Check out the project code on GitHub at: https://github.com/nunombispo/DjangoShorts-DjangoAxes
Follow me on Twitter: https://twitter.com/DevAsService
Check out my website at: https://developer-service.io/
If you enjoyed reading this article and found it usefull, you can support me by signing up for a Medium membership (if you are not a member). It will only cost you $5 a month — this will give you access to all stories on Medium! (and I will receive a small commission)
Besides that, if you want to stay updated when I post a new story, you can signup for my free newsletter!


