
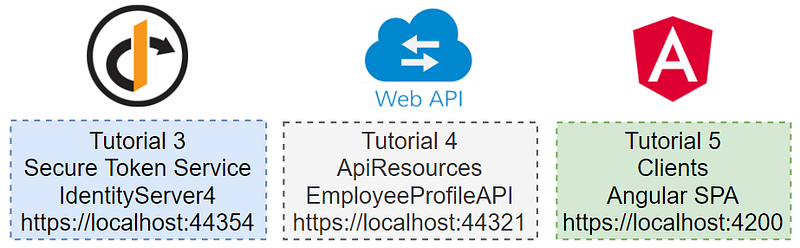
IdentityServer4 Angular SPA authentication | Tutorial 5

In tutorials 3 and 4, you have set up the secure token service and WebAPI. In this tutorial 5, you will learn how to configure an Angular SPA to work with IdentityServer4 to call a secured WebAPI endpoint.
Prerequisites
- Visual Code
- Git client
Tutorial Content
This tutorial has two parts
- Download the Angular SPA source code from Github and run the project on localhost
- Setup/configure OIDC client
Part 1 — Download the Angular SPA source code from Github and run the project on localhost
Task 1 — Download source code
To download the source code, follow the steps below
- Create folder C:\apps\devkit\Clients.
- Open command prompt and change to the directory C:\apps\devkit\Clients.
- Run “git clone https://github.com/workcontrolgit/devkit-clients-angular-auth-oidc-client angular-auth-oidc-client”. This command will download the source code from Github and save into folder C:\apps\devkit\Clients\angular-auth-oidc-client.
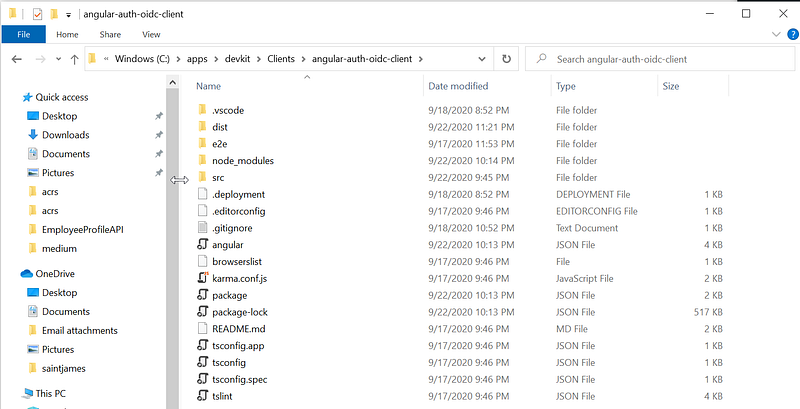
See Figure 2 for a screenshot of the source code location and content in the folder C:\apps\devkit\Clients\angular-auth-oidc-client. It is highly recommended that you use the same folder naming convention to make it easy to reference the location of the source code in future tutorials.
Task 2 — Run Angular SPA in Visual Code
The Angular SPA is a sample app that supports OpenID Connect Code Flow PKCE with Refresh token. You can use Visual Code to open and run the Angular SPA. See Figure 3 for example the project open in Visual Code.

To run the Angular SPA in the Visual Code, follow the steps below
- Start Visual Code and open C:\apps\devkit\Clients\angular-auth-oidc-client folder
- Go to Terminal screen (CTRL + ~)
- At the Terminal prompt, run “npm install”
- After “npm install” is done, run “npm start”
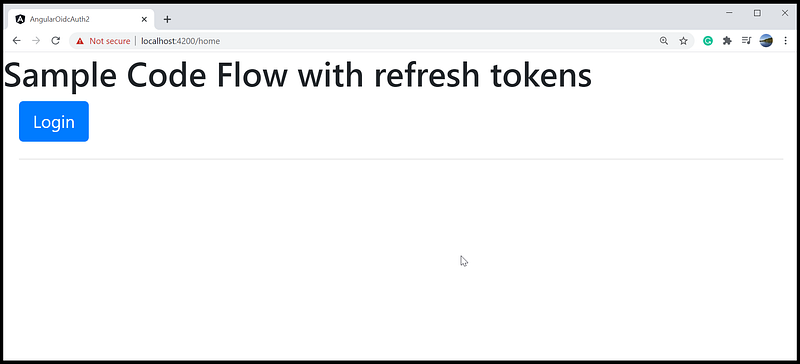
- Open Chrome and enter https://localhost:4200 in the address bar
You should see an instance of Angular SPA running on port 4200 as shown in Figure 4.
Part 2 — Setup/configure Angular OIDC client
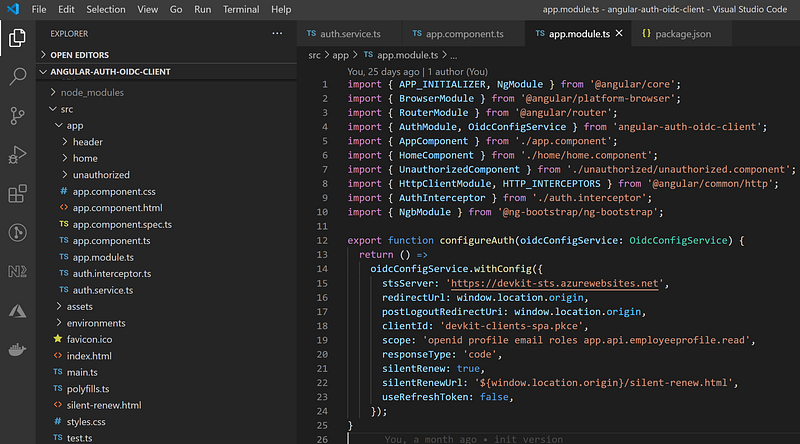
You can find the block of code to connect to token service IdentityServer4 in the app.module.ts as shown in Figure 5.
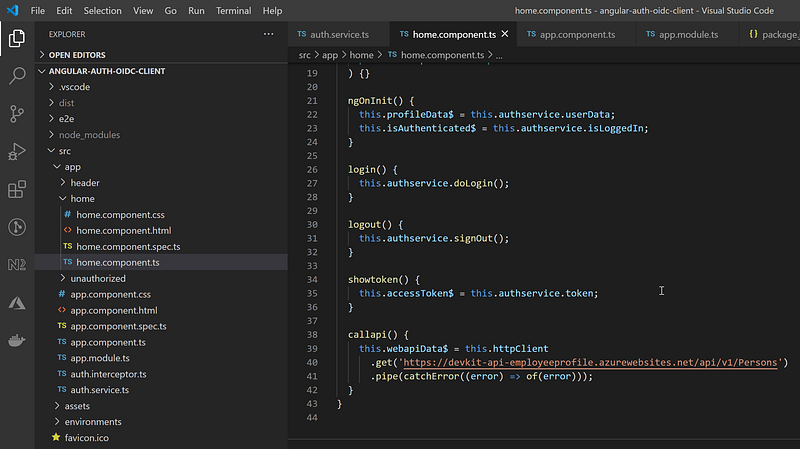
The home.component.ts contains code to retrieve JWT from secure token service IdentityServer4 and passes JWT thru the header to access EmployeProfileAPI that was set up in tutorial 4. See Figure 6, line 38 to 42 for example source code calling WebAPI.
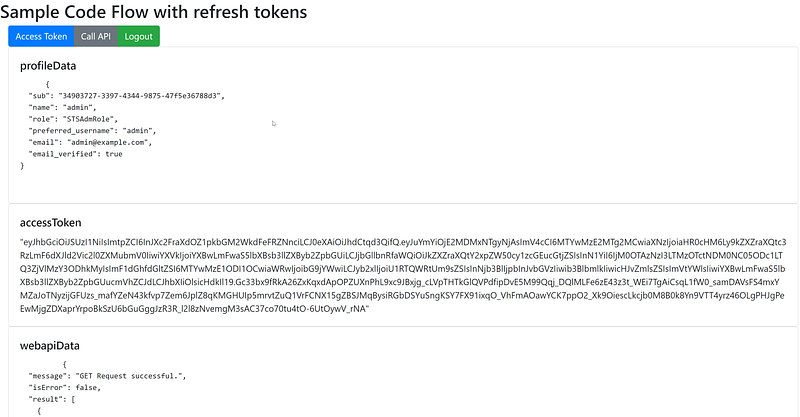
If everything is wired up properly, you should see Acess Token, Call API, and Logout as shown in Figure 7.
Test Drive
Login account: (janedoe, Pa$$word123)
Demo Angular SPA: https://devkit-cli-angular-oidc-oauth2.azurewebsites.net
Demo WebAPI: https://devkit-api-employeeprofile.azurewebsites.net/swagger/index.html
You can log in to the demo Angular SPA to obtain the JWT Access Token. Then go to the demo WetAPI to enter access token via Swagger API and test run WebAPI endpoints.
Related Tutorials
Rapid Prototype Asp.Net Core REST API using KissApi Template — use Visual Studio template to generate Clean Architecture solution based on Repository Pattern, Unit of Work, Dapper, SQLKata, and Swagger.
Summary
This tutorial provides step by step instructions to set up and configure an Angular SPA to work with IdentityServer 4. To view all other related tutorials, visit DevKit WebAPI Security.


