
IdentityServer4 WebAPI JWT validation against | Tutorial 4

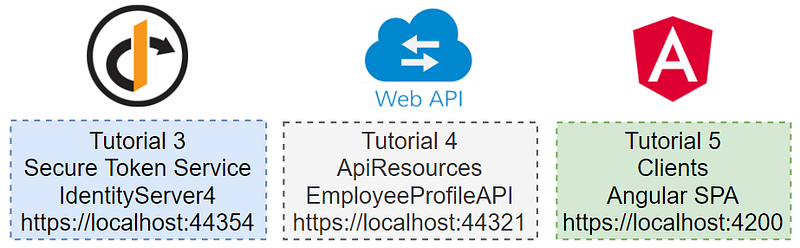
In the previous tutorial 3, you have learned to set up the Secure Token Service. In this tutorial 4, you will learn how to configure an ASP.NET WebAPI project to work with IdentityServer4 to secure WebAPI. In tutorial 5, you will learn to set up an Angular SPA to call secured WebAPI. See Figure 1 for the relationship between tutorials 3, 4, and 5.
Prerequisites
- Visual Studio 2019 (community edition is ok)
- Git client
Tutorial Content
This tutorial has two parts
- Download the WebAPI EmployeeProfile source code from Github and run the project on localhost
- Setup/configure WebAPI security.
Part 1— Download the WebAPI EmployeeProfile source code from Github and run the project on localhost
Task 1 — Download source code
To download the source code, follow the steps below
- Create folder C:\apps\devkit\ApiResources
- Open command prompt and change to the directory C:\apps\devkit\ApiResources
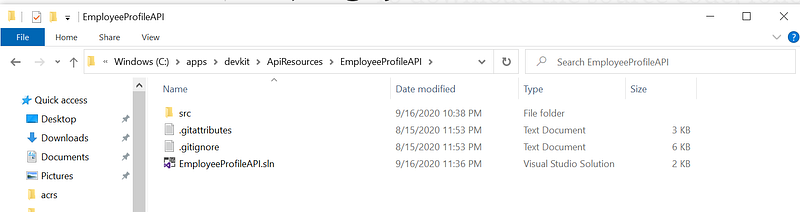
- Run “git clone https://github.com/workcontrolgit/devkit-apiresources-employeeprofileapi EmployeeProfileAPI” (this command will download the source code from Github and save into folder Open command prompt and change to the directory C:\apps\devkit\ApiResources\EmployeeProfileAPI)
See Figure 2 for a screenshot of the source code location and content in the folder C:\apps\devkit\ApiResources\EmployeeProfileAPI. It is highly recommended that you use the same folder naming convention to make it easy to reference the location of the source code in future tutorials.
Task 2 — Run STS solution in Visual Studio
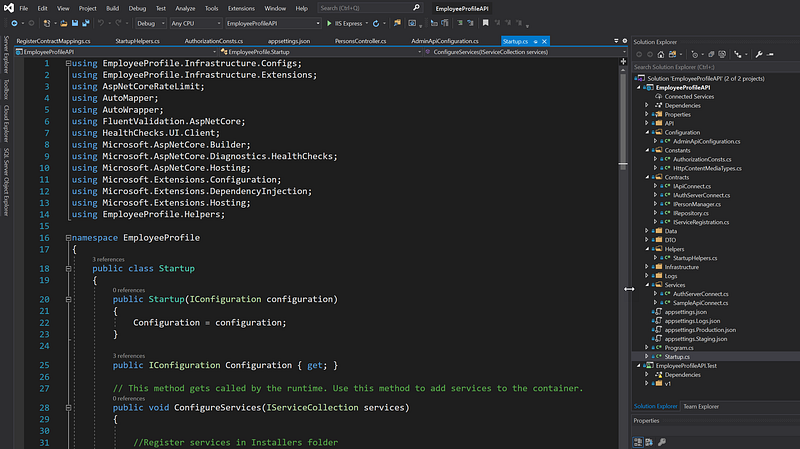
The EmployeeProfileAPI solution contains two projects EmployeeProfileAPI and EmployeeProfileAPI.Test as shown in Figure 3.
To run the EmployeeProfileAPI solution in the Visual Studio, follow the steps below
- Start Visual Studio and open the EmployeeProfileAPI.sln from C:\apps\devkit\ApiResources\EmployeeProfileAPI folder
- Click on the Start button on the menu bar to run the solution (or Hit F5 key)
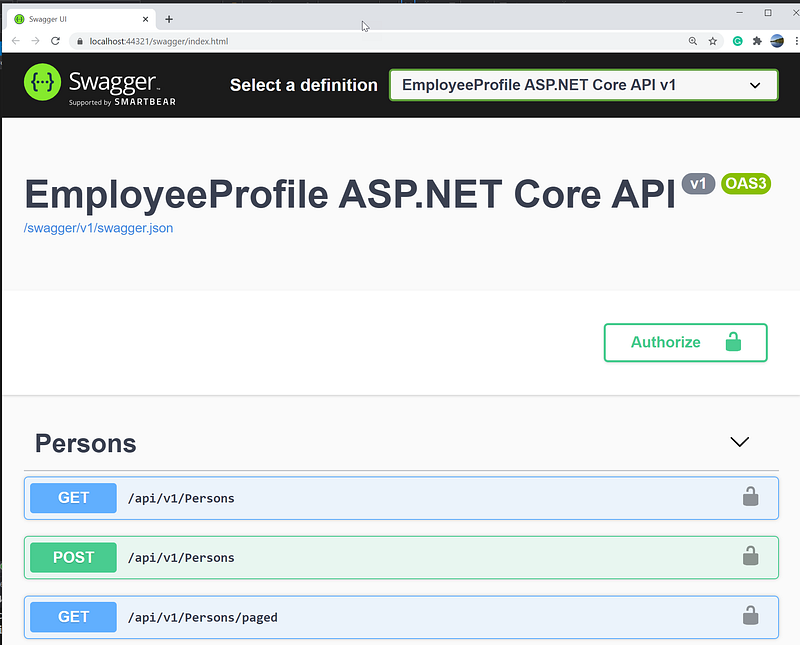
You should see an instance of EmployeeProfileAPI running on port 44321 as shown in Figure 4.
Part 2— Setup/configure WebAPI security
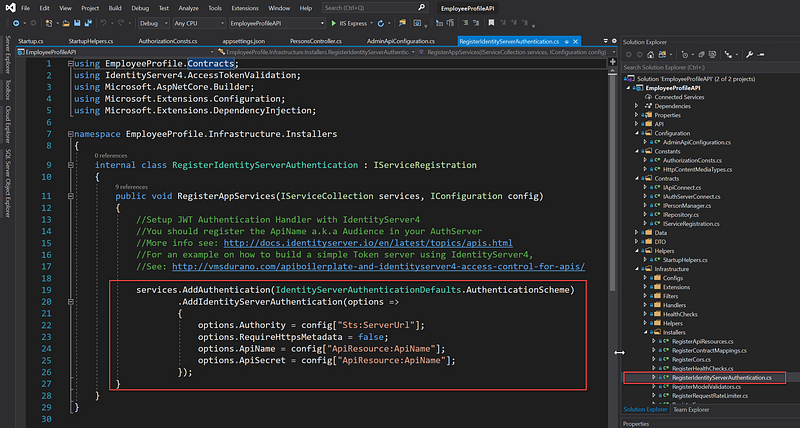
You can find the block of code to validate the token in the RegisterIdentityServerAuthentication.cs as shown in Figure 5.
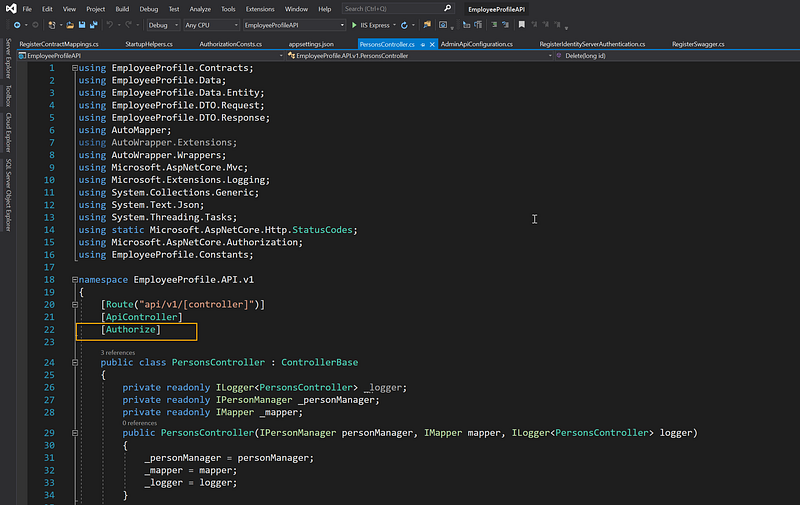
If the WebAPI request has a valid JWT token, it can access the WebAPI. To require valid JWT, add [Authorize] attribute the controller as shown in Figure 6.
Related Tutorials
Rapid Prototype Asp.Net Core REST API using KissApi Template — use Visual Studio template to generate Clean Architecture solution based on Repository Pattern, Unit of Work, Dapper, SQLKata, and Swagger.
Summary
This tutorial provides step by step instructions to set up and configure an ASP.NET WebAPI project to work with IdentityServer 4. To view all other related tutorials, visit DevKit WebAPI Security.


