Developing Ethereum smart contracts
Article aim and scope
This tutorial won’t cover the basics of neither blockchain, Ethereum nor implementing smart contracts. If you’re really interested on getting started and building your very first smart contract I recommend that you take a look to the Cryptozombies course which covers everything from Solidity basics, ERC-721 tokens up to using Web3js to use your smart contract from a front-end application.
Now, assuming that you know Solidity and the very basics of developing smart contracts — how to use mappings, structs, modifiers, etc… — we’ll be focusing on getting a working local environment you can use for testing and developing.
All the source code reviewed on the article can be found on this Github repository.
Starting point
Most Ethereum developers I’ve spoken with seem to be fine creating local blockchain nodes connected to any testnet (Ropsten or Rinkeby) or just using an online IDE like Remix. This approach also forces you to use deployment scripts with Web3js.
Personally, I prefer being able to develop with a local, offline setup I can use to build and test my contract and then deploy it easily via Infura. This abstracts the smart contract developer from the network, easing his work and setup time.
On this tutorial, we’ll be covering different tools that will ease your smart contract development experience, making it simple and easy to build, test and deploy contracts. These are the tools we’ll be covering:
- Truffle Suite: set of tools aimed to ease smart contract development.
- Metamask: browser plugin that allows handling user accounts and funds for different Ethereum networks ranging from test networks to the production network.
- Infura: service that exposes an Ethereum node as a service so that we don’t need to start our own local network to deploy or access the network.
Setting up Metamask and Infura
First of all we’ll configure Metamask and Infura. You’ll need to create accounts on each of these services, but worry not, they’re free!
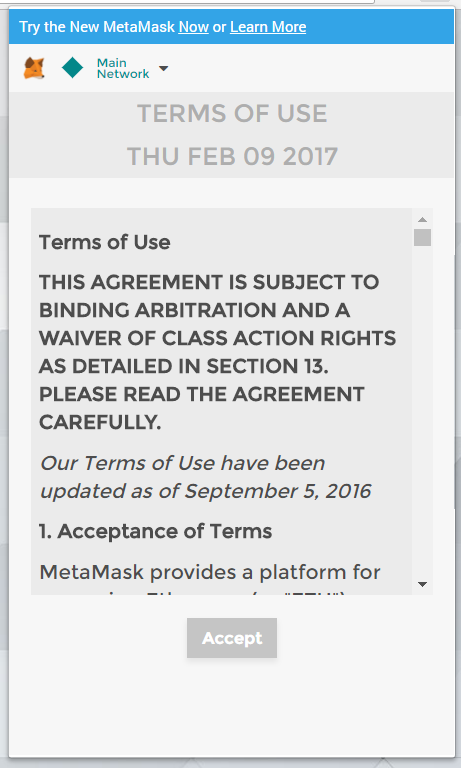
First get to the Metamask site and download the plugin for your favourite browser. As a note, I’ve found issues when using the Firefox plugin, while the Chrome one worked perfectly.

You’ll have to accept the usual terms of use and privacy notice before getting started with your account creation:

Once you’ve downloaded, installed the plugin and accepted the different TOS and notices, you’ll be able to create a new account.
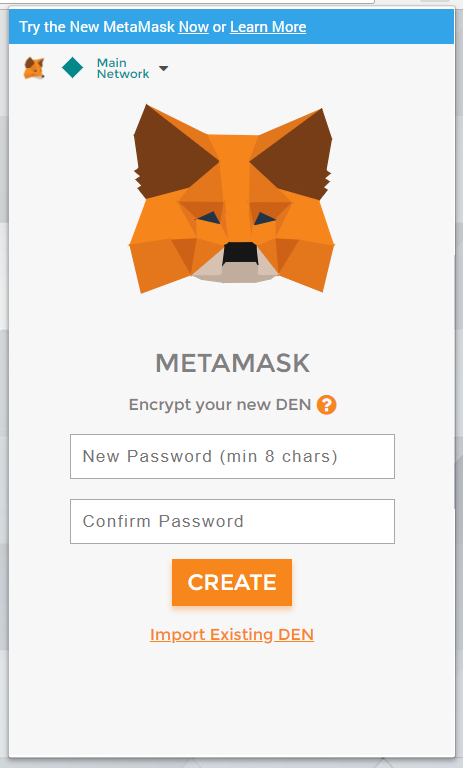
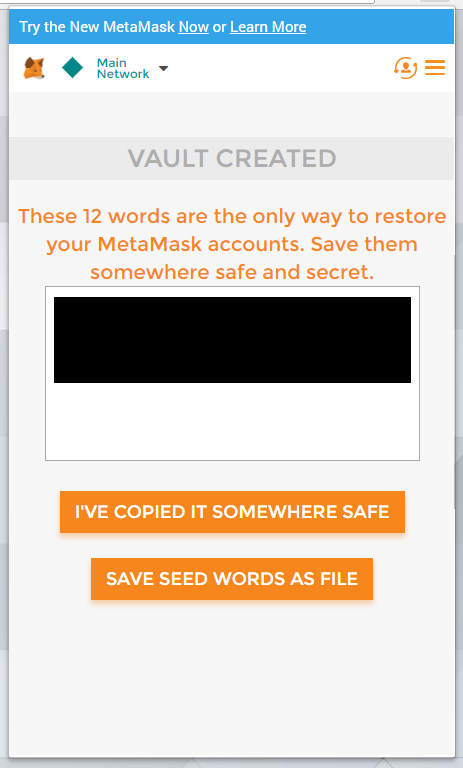
As you can see on the screenshots, you won’t be selecting your account’s name, but you’ll be given a 12 words mnemonic that will identify your account. It’s very important that you store the mnemonic safely, as it’ll be your account’s recovery key and it will be compromised in case someone steals the mnemonic.
Finally, after these steps, your Metamask account will be ready:
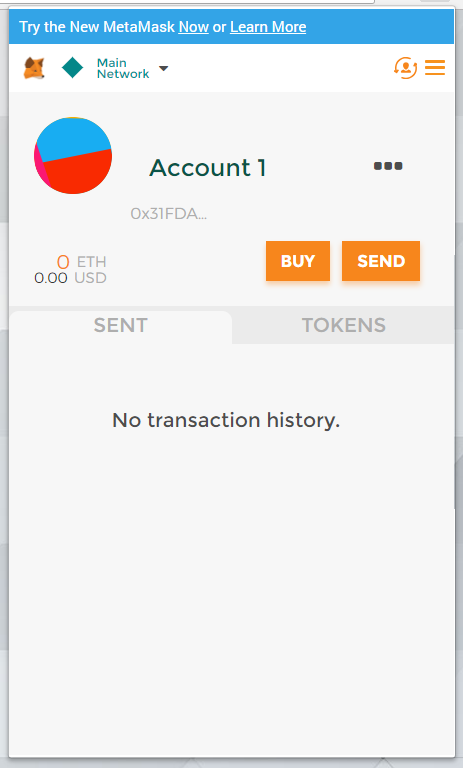
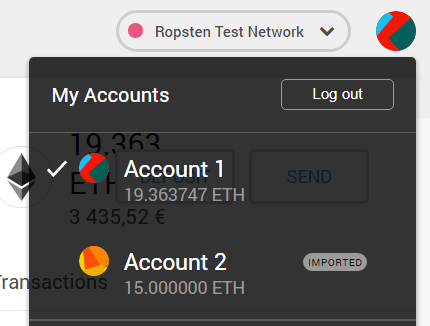
Later on the tutorial, we’ll use this account to request some ether from Ropsten faucets in order to deploy our smart contract to the testnet. But that’s a thing of the future, let’s move on to Infura.
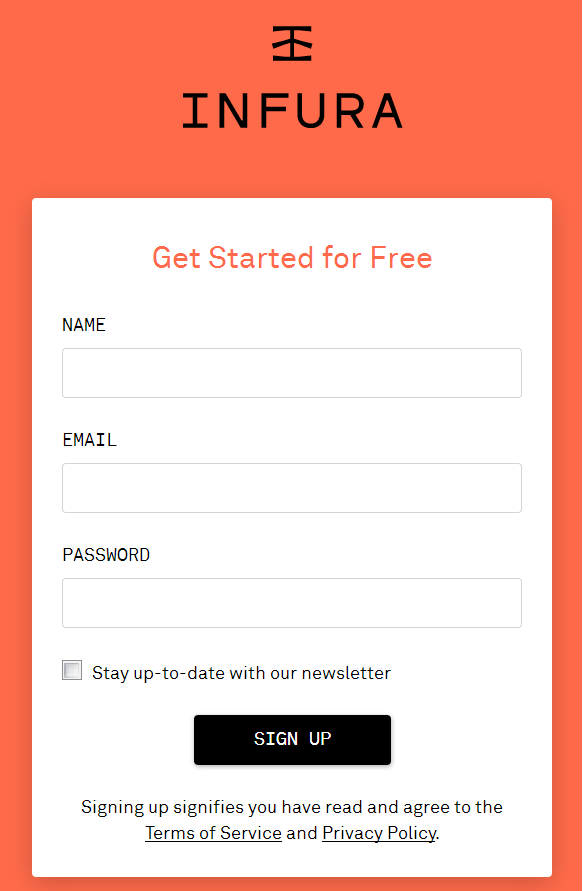
We’ll use Infura to deploy our smart contract without creating our own local testnet node. In order to get started get to it’s site and register a new account.
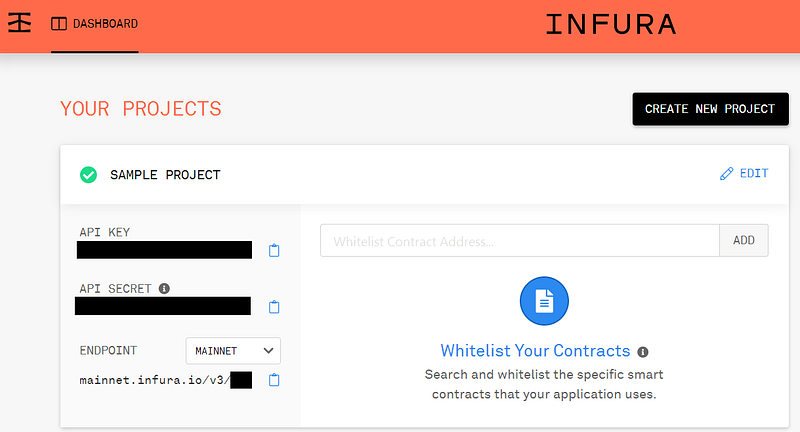
Once logged in, you’ll be able to create new projects. Creating a new projects will generate API keys — which you should keep secret — that you’ll use to connect to Infura’s nodes. You’ll also be able to generate the connection urls to different networks under the project details on the endpoint selector.
Enter Truffle Suite
I used to create local Ethereum instances with geth so I could develop and test my smart contracts there until I found the Truffle Suite. The suite contains the following tools:
- On one hand, Truffle will help us code, build, test and eventually deploy our smart contracts.
- On the other hand, Ganache will help us run a local Ethereum blockchain node we will use for local unit testing, deployment and what not.
- Finally, Drizzle is a front-end development library that exposes the smart contract data on a reactive fashion by using a Redux store. Personally, I haven’t delved much into this one as of yet.
So, in order to get started we’ll have to install a few global dependencies and the Ganache binary for our operating system (Ganache releases can be found here).
Now that we’ve setup our local development environment, we’ll be creating our first project using Truffle. The framework provides developers with application templates called boxes; you can find all the available boxes or submit your own over here, take the time to pick the box that best suits your application needs. For our example, we’ll be generating a basic template with the command truffle init.
Note: I was unable to make Truffle download templates through a corporate proxy, if you’re also behind one, consider downloading the base Truffle project template from here.
Taking a quick glance at the generated project, we’ll find the following folders:
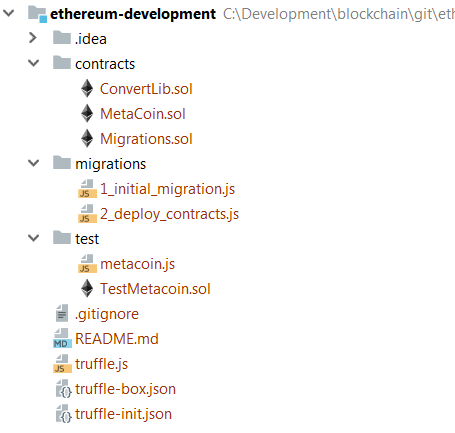
Among other files, we’ll find the following:
- contracts: all our smart contracts will be stored on this folder.
- migrations: deployment scripts will be stored on this folder.
- test: test scripts will be stored on this folder.
- truffle.js: this is Truffle’s configuration file. We’ll be able to configure networks to interact with here.
The base project features an example MetaCoin contract with it’s test and deployment scripts. I found these useful when I began playing around with Truffle so feel free to keep them around, otherwise you can just delete them. However, be sure to keep Migrations.sol and 1_initial_migration.js. This contract and it’s deployment is used by Truffle to track the changes you perform locally.
Finally, we’ll start the local Ganache instance by running the downloaded binary for our platform. We’ll be prompted with Ganache’s visual interface, which looks like this:
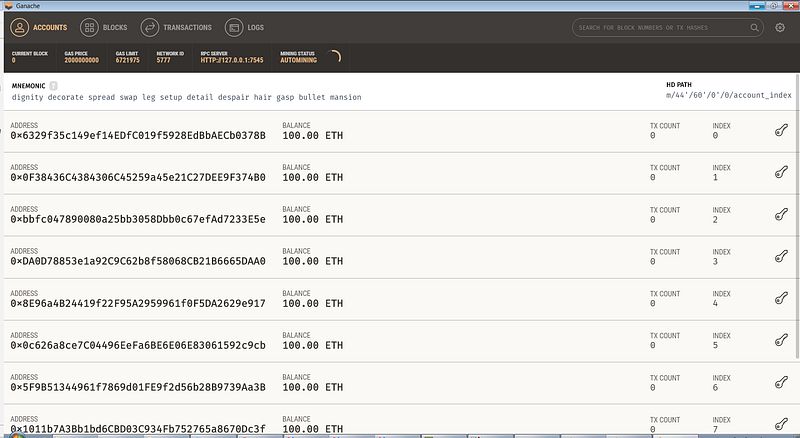
Ganache provides a set of accounts with 100 ether on them so you can use any of them to run transactions on the blockchain. There’s also a transaction count for every account as well as network information such as the RPC server URI, the gas price or the gas limit.
There’s also three other tabs on which you can see more detailed information:
- blocks: information about the blocks being commited to the blockchain.
- transactions: information about the transactions being run on the blockchain.
- logs: logs generated on the blockchain.
As you can see, Ganache provides with all the tools required to monitor and run your very own Ethereum development node.
Developing the smart contract
Now that we’ve setup all the required tools, we can start developing our smart contract and it’s unit tests. For this example, we’ll be building a contract that stores a chat information so we’ll need to track rooms and their messages.
We will be keeping user data off the blockchain for privacy reasons, user data can be stored on any off-chain solution such an IPFS or a MongoDB; the user information stored on the blockchain will be the unique hashes generated by the off-chain solutions so that the user is not revealed to the public but it can still be traced if needed be.
This is our smart contract source code:
As you can see, we’ll be storing rooms and messages. For rooms we will only store their name while for messages we will store their content, the user hash that created the message, the language and the creation date.
We’ll then store the message to room relationship as a mapping in order to keep track of which room a message belongs to as well as a mapping to track how many messages a room has.
As for users, we will track which rooms a user has joined as well as which users have joined a room on two different mappings. This will help us validate whether a user can join or leave a room or not.
The contract also exposes several events which will be emitted when certain interactions happen:
- MessageCreated when a new message is added.
- RoomCreated when a new room is added.
- UserJoinedRoom when an user joins a room.
- UserLeftRoom when an user leaves a room.
Later on, these events will help us interact with the blockchain after launching transactions via Web3js.
There’s also a couple of modifiers that will help validate function parameters and the rest of the functions interact with the data stores by adding, removing or getting information from them. These should be quite intuitive once you’ve grasped Solidity basic concepts.
Last but not least, our contract can be compiled by using truffle compile. This will generate a build folder with the ABI specifications of the contract.
Now that we’ve implemented our smart contract, we’ll implement unit tests to guarantee that everything is working as planned.
These tests can be run by executing truffle test on the command line. The Truffle Suite allows for both Solidity and Javascript tests. Since I’m more used to Javascript I usually end up using it, but the initial template provides Solidity unit test samples you can use as a guide.
As you can see on the code gist, the contract is allocated by using the artifacts object and requiring the contract by it’s name. Tests are then initialized by the contract object, which represents tests for a given contract. Finally, test cases are defined by using the it object. If you use Javascript and NodeJS version 8+ you can use promises and async/await.
Test implementations usually follow a pattern:
- First we allocate the contract instance by using the imported contract artifact and calling deployed. This will deploy the contract on the local Ganache blockchain on your machine or retrieve an instance of the existing contract on the blockchain.
- Then we can use the contract instance to call it’s methods. There’s two ways of invoking a contract method call and sendTransaction. The first will execute the method but won’t persist results into the blockchain. The second will execute the method and persist results into the blockchain. This will also apply to Web3js connections as we’ll see later on the tutorial.
- Finally, we can use the assert object to validate received results. As a note, numbers are usually returned as BigNumber object and casting them to number is required for assertions to properly work.
Deploying the smart contract
At this point we’ve successfully implemented and tested our smart contract so we’re ready for going live. You may still want to test your contract on a real blockchain or maybe your application is a proof of concept and you want to stay cost free, so we’re going to deploy our application on a testnet.
I have picked Ropsten, but Rinkeby or any other should be fine too. Feel free to drop me a line with your experiences with testnets on the comments.
Our first step is getting some ether on our Metamask account so we can afford deploying and invoking our contract. In order to avoid being attacked or flooded by malicious users, testnets funds are sent to accounts on request and they’re usually capped after a few requests a day. You can request ether from any faucet, but I’ve personally tested the following:
Faucets will basically send ether to your account on request up to a limit. Limits and transferred amounts usually depend on the faucet.
The next step is adding a new network on Truffle so we can easily access it using Truffle commands. In order to add the Ropsten network, simply modify the base truffle.js file and add the new network there. Keep in mind we’ll be attaching an HDWalletProvider in order to allocate funds from our Metamask account and the Infura API as target in order to avoid deploying a local testnet node to deploy our contract.
Note: There’s a known bug that causes Metamask to only be able to use the first wallet under the account. Keep it in mind in case you’re handling multiple wallets with your account.
Now that we’ve added the network to Truffle, we can deploy our contract by running truffle migrate — network ropsten.
As you can see on the logs above, you’ll be provided with a contract hash that will be your contract’s identity within the blockchain — you can see it on the line Chat: 0xff36b43Cc46e8726dbefA3A03102259ec7D90552. Do not forget this hash, as you’ll need it in order to use your contract. On another hand, Truffle will also build your contract locally, generating the interface’s ABI JSON file — do not loose this file as you’ll need it to invoke the contract via Web3js.
You can also see our deployed contract using Ropsten’s block explorer and our contract hash here.
On the next sections we’ll use the deployed contract via Truffle queries and we’ll implement a very simple Web3js client.
Querying the contract from Truffle
Now that we’ve successfully deployed our smart contract on the Ropsten testnet, we may want to validate that everything is working properly, or we might just want to check the data stored on our contract or execute some transaction.
Again, we’ll be using Truffle in order to create the requests and submit them to the testnet. Let’s take a loot at the example:
On the example, we export a function with the requests to execute. We’ve implemented a room creation function, a find rooms function and a find room details function, and we’ll be calling those just to validate everything works as expected.
As an important note, pay attention to the callback function that’s being passed into our function; we must invoke this function to let Truffle know we’re done the Node process will get stuck.
Finally, we will use Truffle exec to run our queries file pointing at the Ropsten network:
truffle exec queries\queries.js --network ropstenImplementing a NodeJS client for the contract
Last but not least we’ll be using Web3js to implement an Ethereum client based on NodeJS.
We’ll begin by creating a smart contract utils function that will create a Web3js connector instance we can share across our application. Said connector looks like this:
As in the previous example, we’ll need the contract hash, but we’ll also need the contract’s ABI interface in order to invoke it — as a reminder, the ABI JSON file is generated during the contract compilation. Remember not to loose it!
A really important method to take a look at on the smart contract util implementation is sendSignedTransaction. This method will replace the send method used in our tests since invoking a real Ethereum network will have us sign our transactions. Since we’re using Infura to avoid creating our local network node as an entry to the network, we have to manually sign our transaction.
In order to sign our transaction, we’ll allocate the gas prices from Eth Gas Station and we’ll generate a nonce which will be used as the unique transaction number for a given wallet. Once we’ve allocated both values, we’ll generate the transaction parameters, containing gas limit, gas price, target network identifier (chainId), destination contract, eth value transferred (if any, this can be used to pay for payable functions or simply to transfer eth between accounts) and the transaction data. Finally, we’ll sign the transaction with our account’s private key and send the transaction using Web3js.
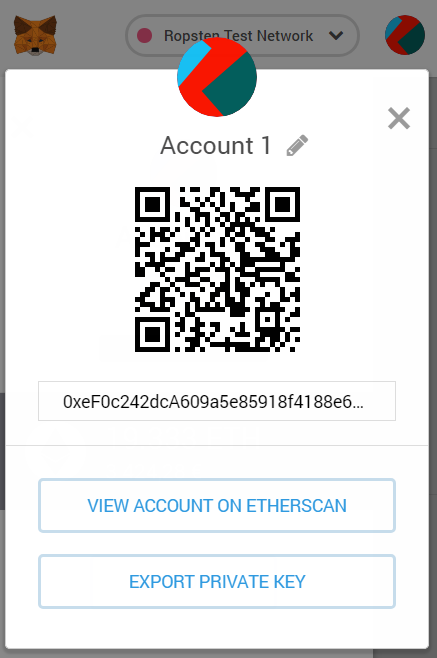
We can find our Metamask account private key on the plugin, by clicking on “Details” and then on “Export private key”.
Once we’re set with our smart contract connector, we’ll start implementing our service. We want to be able to expose every use case provided by the smart contract to any NodeJS process — this may range from some sort of maintenance CLI tool to a REST API powered by anything ranging from Express to Koa.
Just like during the tests, we can use either call or sendSignedTransaction to invoke the smart contract; also just like before, call will not persist changes on the blockchain — and we won’t have to pay for said transactions — while sendSignedTransaction will persist changes — and we will have to pay for those, so choose wisely!
There’s also a difference on the return objects since call will return the data specified on the smart contract while send will return a transaction receipt with the submitted transaction data. There’s parse methods on the client that will transform the data into our expected data models that we can persist or return as an API response.
It’s also worth noting that we must provide a caller— which basically happens to be our account — when we use call, while the sendSignedTransaction method will deal with generating the caller, gas price and gas limit values to be used as we previously saw.
Conclusions
Ethereum contracts are coded using Solidity which is very similar to JavaScript and quite easy to learn — while there are a few details to take into account when it comes to storing data, such as using mappings for relationships, there’s well-known workarounds and tips all around the internet.
While there’s online coding solutions like the Remix IDE, I personally prefer developing offline with the Truffle Suite which basically provides everything you need to develop, test and deploy your contract. Keep in mind the suite also provides tooling to test your deployed contract in order to guarantee everything is working as expected. Do not forget that Infura will help us connect to the network without a local Ethereum node, easing the process of deploying the contract.
In order to expose the smart contract features to any sort of NodeJS process, you can use Web3js to create a client. Since we’re using Infura in order to connect to the network, remember transactions have to be manually signed offline since you cannot rely on your local network node. You could even package your client as an npm module and share it with the world — careful tho, you don’t want to be paying for everyone’s transactions on the network!
It’s also quite important to learn about testnets — such as Rinkeby or Ropsten — and how they help us test our contracts before we push them to the real network. Remember there’s faucets for every testnet that will provide you with free test ether to deploy and run your contract. Do not be greedy though, and refund all unused ether so that other users can also enjoy the testnet!
Remember you can check all the source code on this Github repository, and feel free to comment or ask any questions below!
Get Best Software Deals Directly In Your Inbox