
Deploy an application in Elastic Beanstalk with Nginx and with SSL, without ACM
I love Elastic Beanstalk. It’s an awesome PaaS solution which makes application deployment a breeze with automatic scaling. Being under the umbrella of AWS, it is also really robust and has so many features.

In typical scenarios, the load balancer should handle the HTTPS traffic and send the plaintext traffic to the backend servers via TCP 80. But I have seen a lot of scenarios where there is need to encrypt the traffic from load balancer to the end servers also, so that the business can have SSL implemented throughout the way. In these cases, we have to configure SSL in the webserver ( Apache/Nginx) also.
In this post let’s deploy an application in Elastic Beanstalk with Nginx to proxy the requests. We will also configure SSL in Nginx with certificates available in the S3( Not using ACM)
The code is hosted here:
I have used the plain sample application provided by AWS and added the necessary files for SSL.
We need only 3 files.
- nginx-proxy.config This file enables the nginx features so that Elastic Beanstalk knows that it needs to use Nginx as a proxy server.
Place this file in the .ebextensions folder when bundling the application code.
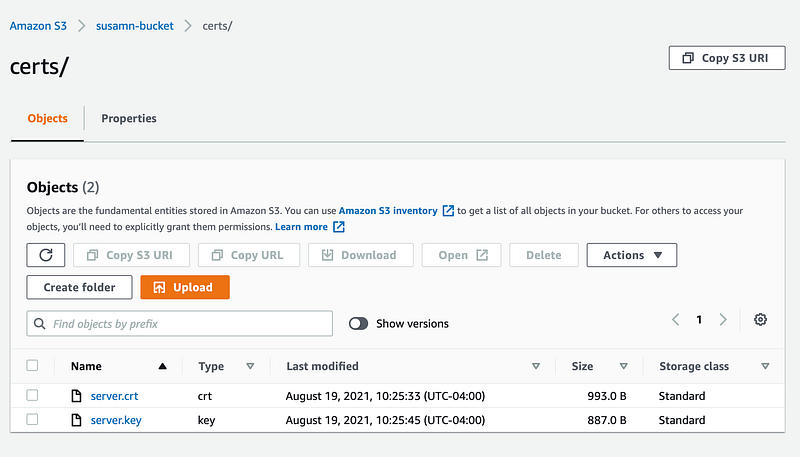
2. copycerts.sh This file is used to download the cert files from S3 to the application servers before the app is started.
I have my self signed certificates here:
Some things to keep in mind here.
- The this file execute permission (+x) before bundling with the application. Otherwise we will get Permission Denied from the EC2 servers.
- This script needs to know where the cert files are. To specify these data, we need to setup env variables. The PRIVATE_BUCKET specifies the bucket name and the CERT_PATH specifies the location.
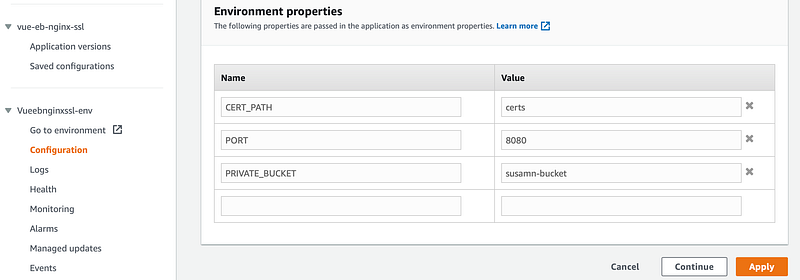
- Set another environment variable called PORT to control which port will be used by the app to run locally. Make the necessary change in the app and in the next file in Nginx configuration in line no 16. It tells Nginx where to route the traffic for the application.
- If you have a certificate chain in the bucket, make necessary change in this script to copy them also.
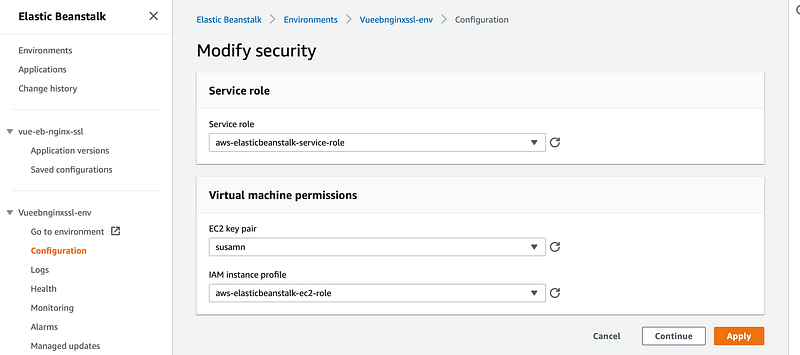
- Make sure to give the S3 access rights to the elastic beanstalk environment, so that any server started by it will have that policy attached. Go to Elastic Beanstalk env -> Configuration -> Security and note the instance profile name. Then go to IAM and add S3ReadOnlyAccess policy to this instance profile.
Save this file in the .platform/hooks/predeploy in the root of the bundled application code, so that it is executed before the main application runs and Nginx can find the certificates in the correct place.
3. https-listener.conf This is the Nginx config file which replaces the origin config files used by the Nginx.
This file is pretty simple Nginx configuration. It is used to configure the Nginx server behavior in the running server.
- In line 6 and 7 we are pointing the certificate locations in the application server. We copied the certificate files from S3 in the previous script.
- From line 15 to 21, we are specifying the location. When Nginx receives traffic, it will forward those traffic to this location based on the path.
Place this file in the .platform/nginx/conf.d/ folder in the bundled application. This is the path AWS recommends for the Nginx configuration.
That’s it, if everything works well, the nginx server will have proper configuartion and when the app starts, we will get a 443 port exposed to get HTTPS traffic.
Verify it via going to the server:
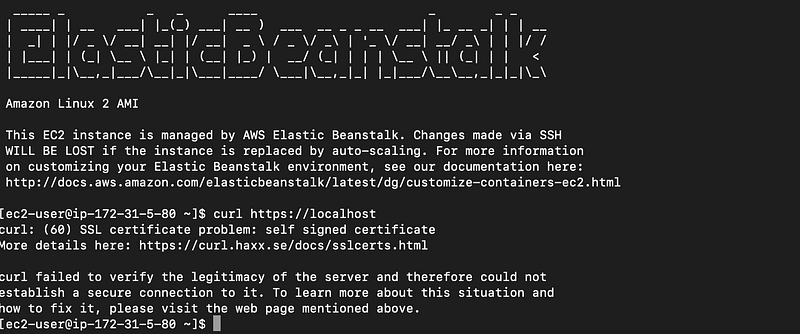
As have a self signed certificate, I am getting the issue with curl. But in ideal scenario, your client or employer will provide the certificate to configure, so you should be good.
When things do not work
If for any reason, the environment fails to start, please enable log streaming from Elastic Beanstalk env and see the logs in CloudWatch.
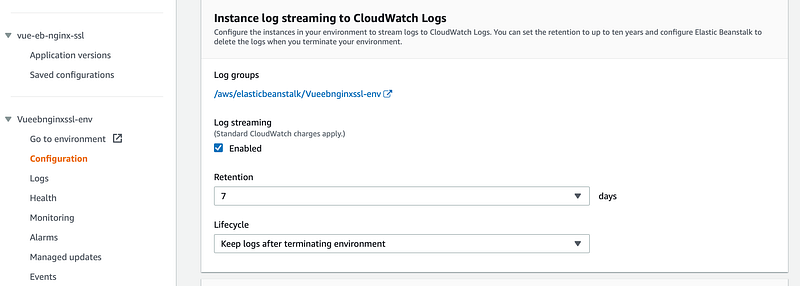
See the eb-engine.log to find any elastic beanstalk environment setup related issues.

Now it’s time to configure the load balancer to forward HTTPS traffic to the elastic beanatalk servers.
Add a listener in the load balancer
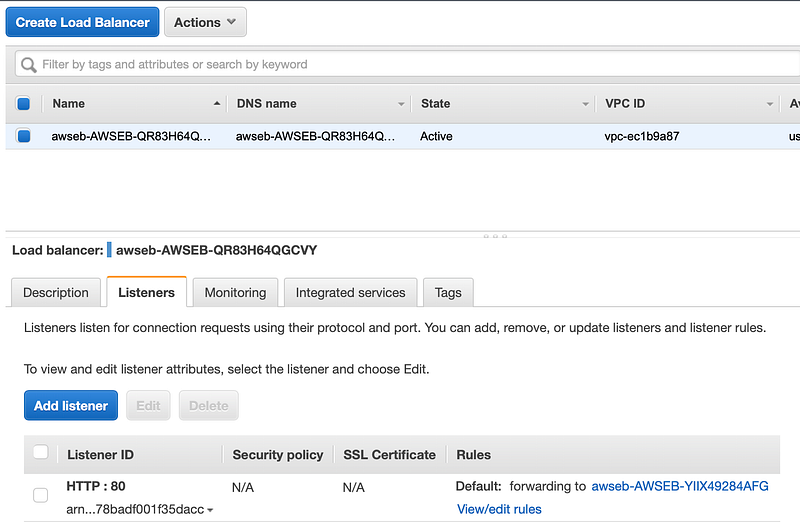
Here we only have a HTTP port forwarding. Click on Add listenter and add a HTTPS listener and forward the traffic to the eb servers.
So there are 2 things to do, which is pretty straight forward.
- Add an inbound rule in the eb server’s security group to accept HTTPs traffic.
- Add listener in load balancer to forward HTTPs traffic to the aforementioned security group.


