Deploy a Reliable and Robust Multi-Tier AWS Infrastructure using AWS CloudFormation
In this project we are going to deploy a reliable and robust multi-tier architecture using a Infrastructure-as-Code(IaC) tool called AWS CloudFormation.
AWS CloudFormation is very similar to the industry standard Terraform which is used by many organizations to automate the deployment of cloud architecture in a quick and efficient manner for operational needs. As more and more companies make their transition into the cloud, the demand for Cloud/DevOps engineers to have the knowledge and skillset to be able to automate time consuming tasks will be essential for organizations to be able to scale and meet business needs.
IaC tools such as AWS CloudFormation and Terraform allow engineers to be able to write reusable code that can be used to deploy cloud infrastructure and is a MAJOR skill that all engineers will need to have going forward into the future to stay relevant.
By the end of this project you will be able to have a fundamental understanding of IaC and be confident enough to deploy your own infrastructure using AWS CloudFormation!
LINK: https://youtu.be/5oTYJs3rgyM
Let’s get started!
Things you will need for this project
- ) AWS Account
- ) A personal computer
- ) Desire to learn something new
Step 1: Login to your AWS Account & Create the AWS CloudFormation Stack
- Login to your AWS account and type “AWS CloudFormation” into the search box to bring up the AWS CloudFormation console. Click on “With new resources (standard)”
- Deployments through AWS CloudFormation are all done through a template and will be using a template for this project that will contain all the necessary script to our multi tier architecture.
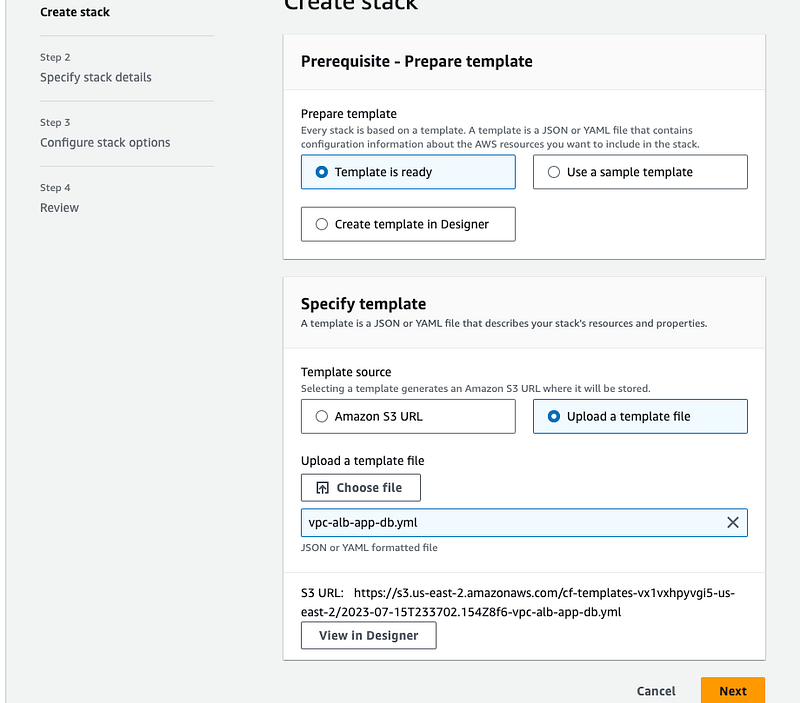
- Under the prerequisite tab select “Template is ready”
- Under the Specify template tab, “Select upload a template file”. (The template will be using can be found here)
- The template we will be using will deploy a VPC(Virtual Private Cloud), Auto-Scaling Group of AWS EC2 instances with a load balancer to help distribute traffic to the instances, and a AWS DynamoDB for the database layer.
- Click “Next” to move to specify stack details.
Step 2: Specify Stack Details
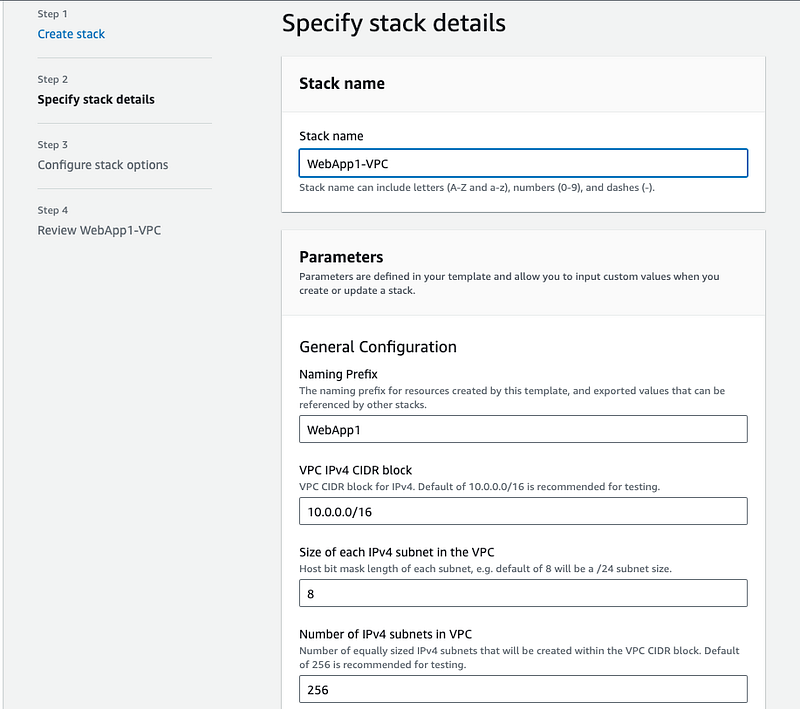
- Once the template stack is uploaded it will pre-populate the stack details with everything needed to deploy our virtual private cloud infrastructure.
- The stack configuration details are listed below in the screenshot.
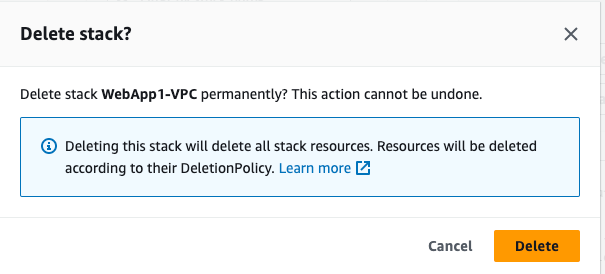
- For the stack name use: “WebApp1-VPC”
- Leave all details and settings as is and click “Next”
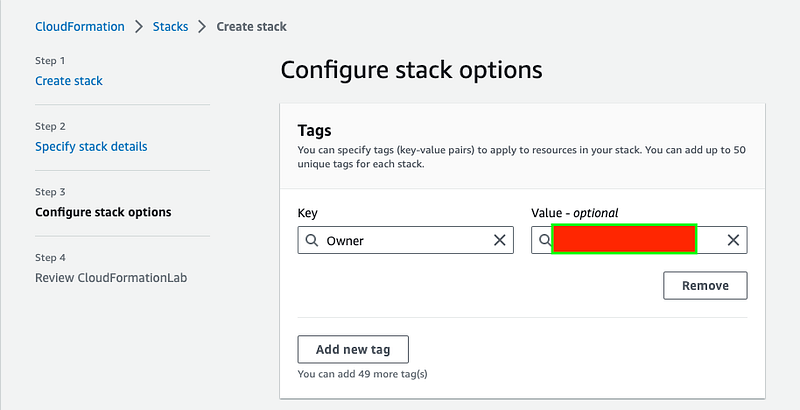
Step 3: Configure Stack Options
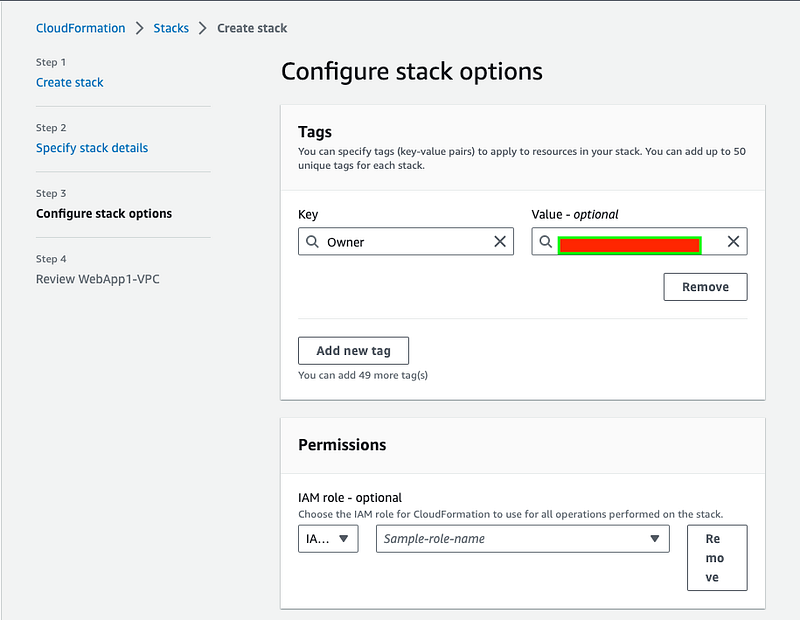
- Next up you can create tags to use for the deployment our stack.
- For the key use “Owner” and for use your email as the “Value”. Click Next to move to the stack review page. This will be our last step before we can officially deploy our VPC.
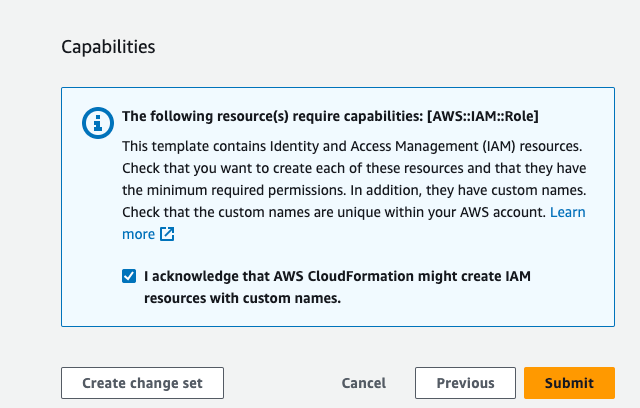
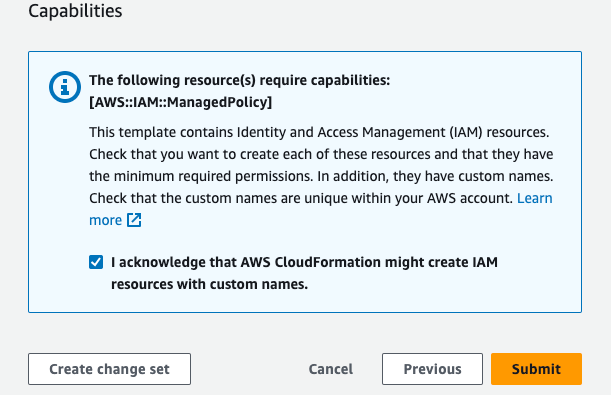
Step 4: Review WebApp1-VPC
- When you get to the review page accept the acknowledge statement. The acknowledgement statement states that it will create IAM resources for the deployment.
- Click “Submit” which will start the deployment by AWS CloudFormation.
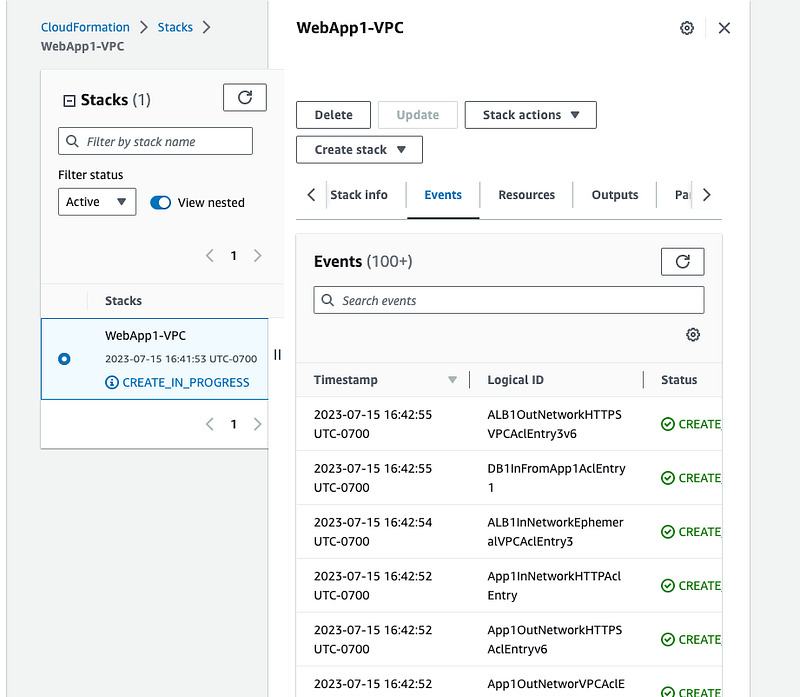
Step 5: Deployment in Progress
- You can see the deployment progress by clicking on the events tab under our stack. The deployment events will show you in real time each and every resource that is being deployed along with their status.
- The deployment time will take a few minutes before everything is successfully deployed.
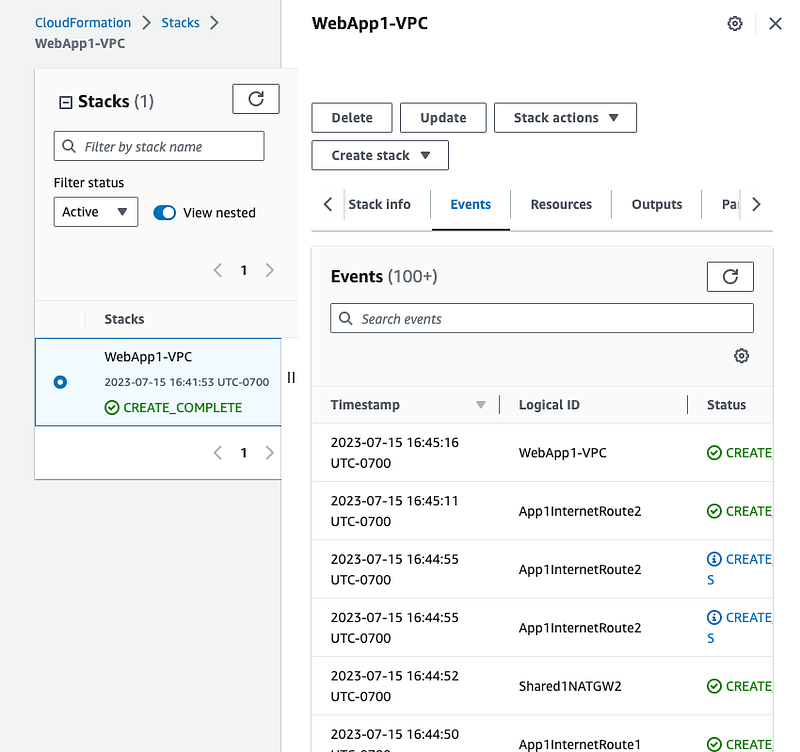
Congratulations our VPC and all the necessary components needed for it to work has been officially deployed!
Web Application & Database Deployment
Step 1: Create a template for the web application and database deployment
- Just like with our VPC configuration will be using a YAML template for the Web Application.
- Select “Template is ready” under the Prerequisite tab
- Select “Upload a template file” under the Specify template. (Here is the YAML template configuration file)
- Click “Next” to move to the specify stack details

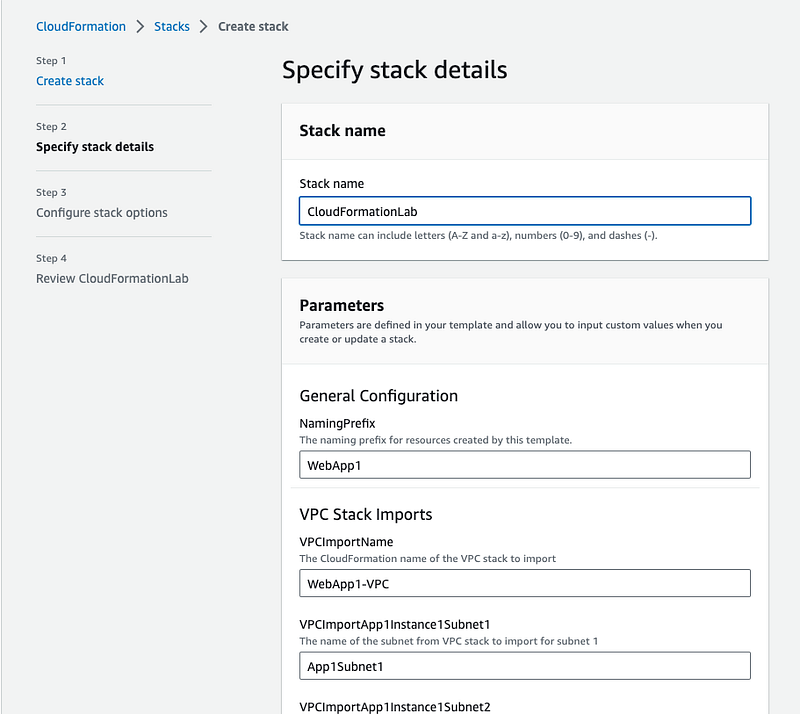
Step 2: Specify Stack Details
- Choose the stack name for the stack. For this project I used “CloudFormationLab”.
- The YAML configuration will pre-populate the parameters with our stack resources.
Step 3: Configure stack options
- Next up you can create tags to use for the deployment our stack.
- For the key use “Owner” and for use your email as the “Value”. Click Next to move to the stack review page. This will be our last step before we can officially deploy our VPC.
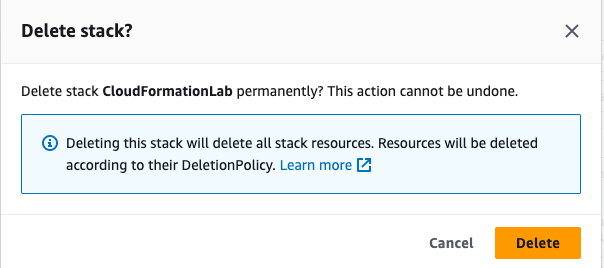
Step 4: Review CloudFormationLab
- Accept the the AWS CloudFormation acknowledgement statement and click “Submit”
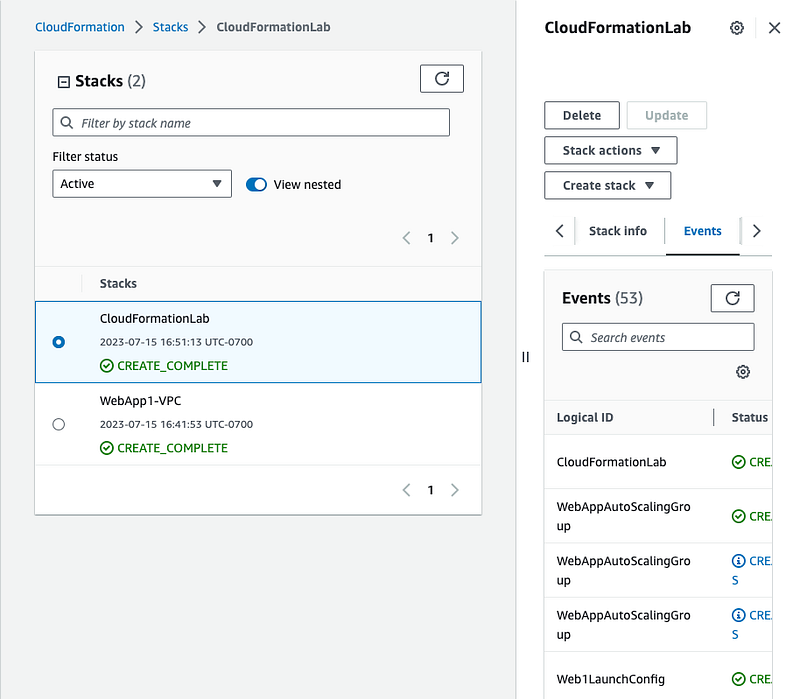
Step 5: Deployment in Progress
- You can see the deployment progress by clicking on the events tab under our stack. The deployment events will show you in real time each and every resource that is being deployed along with their status.
- The deployment time will take a few minutes before everything is successfully deployed.
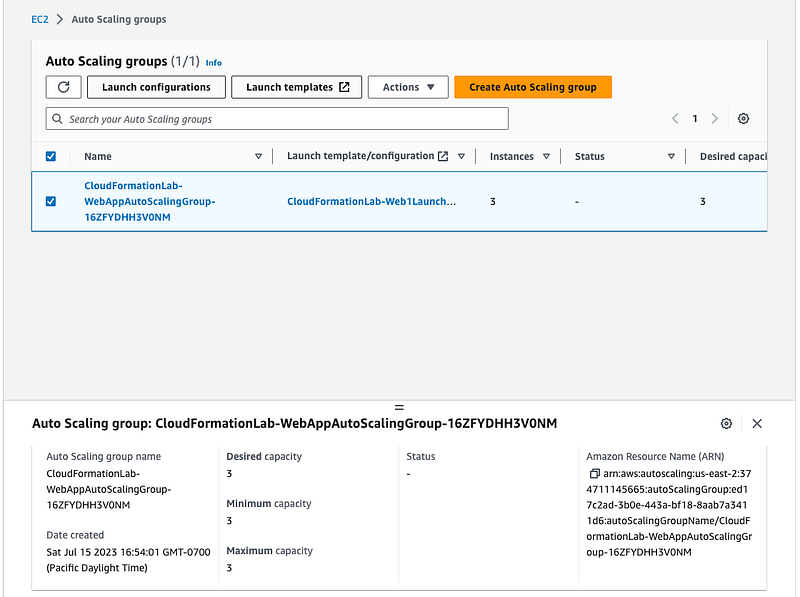
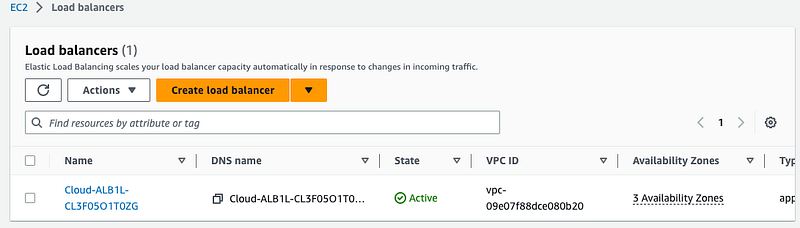
RESOURCES DEPLOYED FOR REFERENCE:
EC2 Instances(Auto-Scaling Group)
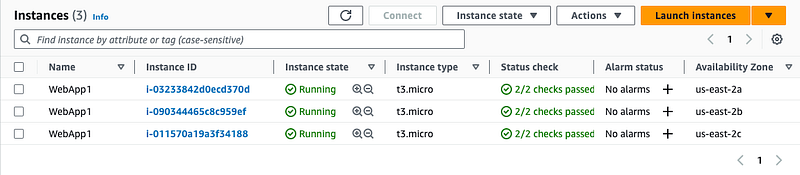
Load Balancer
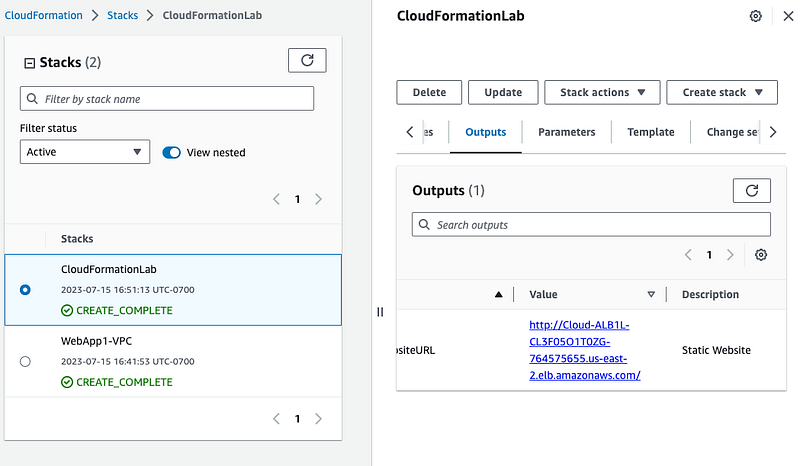
Step 6: Exploring the Web Application
- Click on the “CloudFormation” stack and the “Outputs”. In the Outputs section you can see the website URL which is the static website that was deployed along with the web application stack.
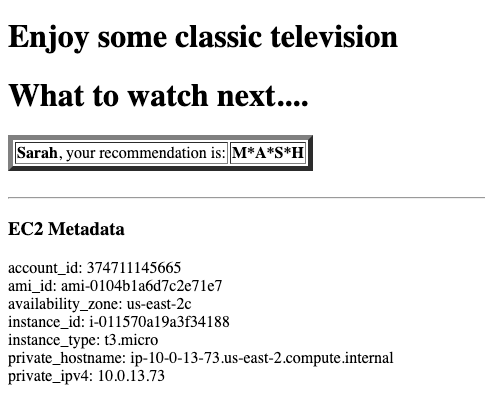
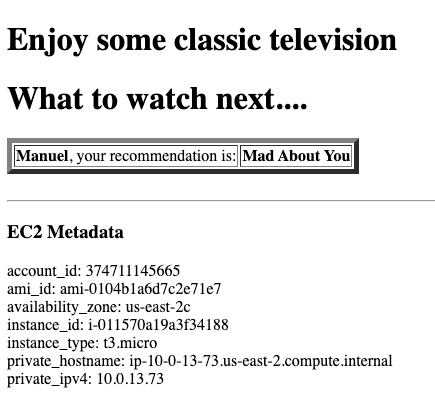
- Click on the URL to see the static website. The website we will be working with, will display a random name along with a recommended list of classic TV shows to watch.
- The Web Application and Database layer includes the following: Auto-Scaling Group of EC2 Instances with Elastic Load Balancing, and DynamoDB. The purpose of auto-scaling is to allow scaling up and down dynamically to keep the infrastructure constantly running with zero down-time.
- Refresh your browser and a new name with a different classic show will appear.
- Keep in mind that the data which includes the name of each individual and tv show recommendations that is being rendered is derived from the database layer which is DynamoDB.
- The EC2 Metadata layer that is being shown represents the EC2 instance type as well as the availability zone in which the each request is coming from.
Congratulations if you see the webpages above then that means everything is working properly. You have successfully deployed a multi-tier AWS architecture using AWS CloudFormation. In this project walkthrough, you learned how to deploy cloud infrastructure using an Infrastructure-as-Code tool!
DON’T FORGET TO DELETE ALL THE RESOURCES!!
Feel free to follow/connect with me on🔽🔽🔽🔽🔽🔽🔽🔽:
My GitHub: https://github.com/GeorgeBaidooJr9

My LinkedIn: https://www.linkedin.com/in/georgebaidoojr/