
CSS Grid (Part 19A)— Image Gallery
Project case study — Responsive Dense Image Gallery
Live dev notes taken throughout the CSS Grid course by Wesbos — cssgrid.io
Today we explore the implementation of grid-auto-flow: dense in the creation of an image gallery.

This image gallery design isn’t something you would normally see on sites that require images to be laid out, but a creative idea that pushes the boundary of what’s possible.
This project will also require a bit of JavaScript.
The base elements we need are:
Overlay
When we click into any of the tiles, a transparent overlay (transluscent black covers the site) with the image sized at 100% sitting in front.
<div class="overlay">
    <div class="overlay-inner">
        <button class="close">× Close</button>
        <img>
    </div>
</div>
Gallery
Where we place our image tiles. Instead of manually referencing these images, we’ll use JavaScript to generate them inside of the empty section.
<section class="gallery">
</section>
Image files
A separate folder stores 500 x 500 pixel images which we’ll pull from.
CSS
The base CSS file which has been used throughout the CSS Grid fundamentals is not used in this project. We will start from scratch with our own.
<style>
    * {
        box-sizing: border-box;
    }
body {
padding: 50px;
font-family: sans-serif;
} h1,
h2,
h3,
h4,
h5,
h6 {
margin: 0 0 5px 0;
} p {
margin: 0 0 20px 0;
} .close {
background: none;
color: white;
border: 0;
} .gallery {} .overlay {
position: fixed;
background: rgba(0, 0, 0, 0.7);
top: 0;
right: 0;
bottom: 0;
left: 0;
display: none;
z-index: 2;
} .overlay.open {
display: grid;
} .overlay-inner{
background: white;
width: 700px;
padding: 20px;
} .overlay img {
width: 100%;
}
</style>1 — Generate Image Tiles
Using JavaScript, we can randomly generate our image tiles.
Inside our script tags, we need to select our gallery and overlay objects that were defined in our html.
<script>
    const gallery = document.querySelector('.gallery');
    const overlay = document.querySelector('.overlay');
</script>
Now we’ll also need to select the image and button from the overlay objects.
const overlayImage = overlay.querySelector('img');
const overlayButton = overlay.querySelector('.close');
The grid itself is made up of 100px grid cells that auto-fill as the window is resized.
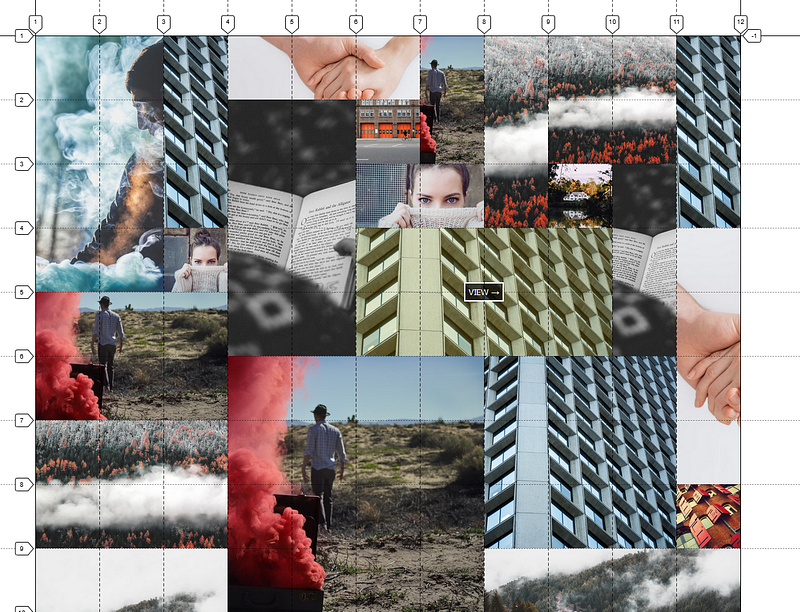
The way in which those images will come through is based on its given width and height values assigned in its class. Below is an example of an image that spans horizontally 2 columns and vertically 3 rows:
<div class="item h2 v3">
    <img src="images/4.jpg">
    <div class="item__overlay">
        <button>View -> </button>
    </div>
</div>
Those classes are then referenced via custom CSS to be sized for spanning.
In order to assign those values, we first need a function that generates the grid items as HTML.
Using a destructuring function, we can return a div with whatever inputs we provide.
function generateHTML([h, v]) {
   return `
       <div class="item h${h} v${v}">
            <img src="images/1.jpg">
            <div class="item__overlay">
                <button>View -></button>
            </div>
        </div>
    `;
}
Additionally, since we are referencing images from a folder, the limited amount would benefit from randomising the selection order.
We determine the order through a random value generator that takes in the highest random number it should return:
function randomNumber(limit) {
    return Math.floor(Math.random() * limit) + 1;
}
Then amending the generateHTML function to include the random number for sourcing the image.
function generateHTML([h, v]) {
return `
<div class="item h${h} v${v}">
<img src="images/${randomNumber(12)}.jpg">
<div class="item__overlay">
<button>View -></button>
</div>
</div>
`;
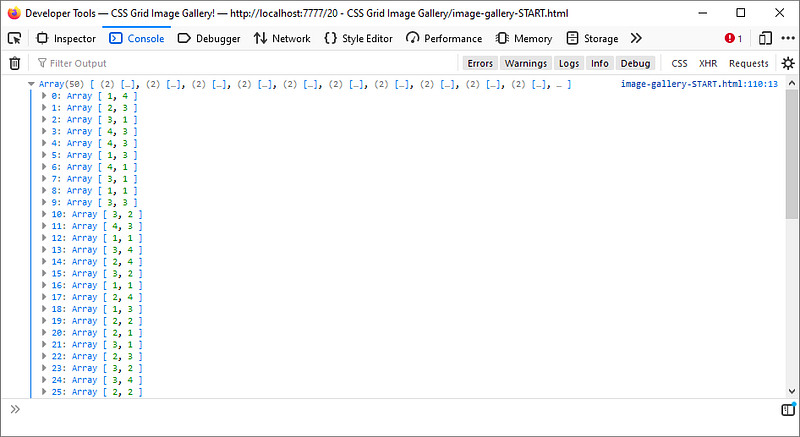
}To test the image generation, we can create our own dataset using the randomNumber function we defined earlier.
Using Array.from() we can provide a length for how many arrays as well as what those arrays would return.
const digits = Array.from({ length: 50 }, () => [randomNumber(4), randomNumber(4)]);Using console.log() we can see what is generated — an array of arrays.
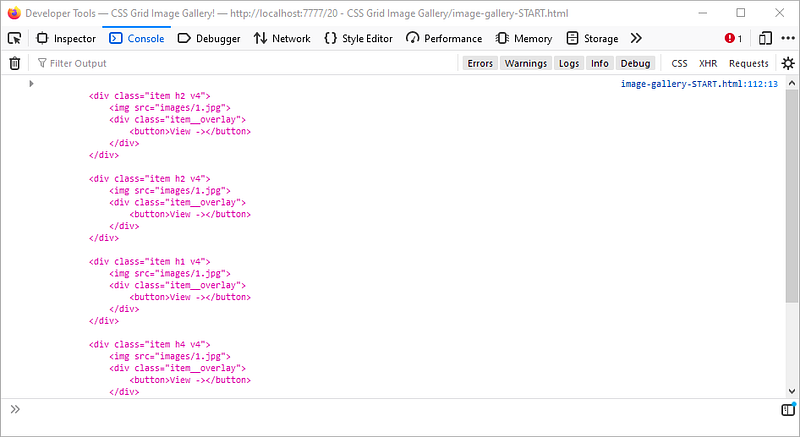
For each of the arrays, let’s generate a grid item.
const html = digits.map(generateHTML).join('');
console.log(html);
Each time you refresh the page, the height and width value randomises.
To see our images, we grab the gallery which we’ve query selected earlier and assign its innerHTML as the html string we created:
gallery.innerHTML = html;Now we have all our images appearing in one column with a button below.
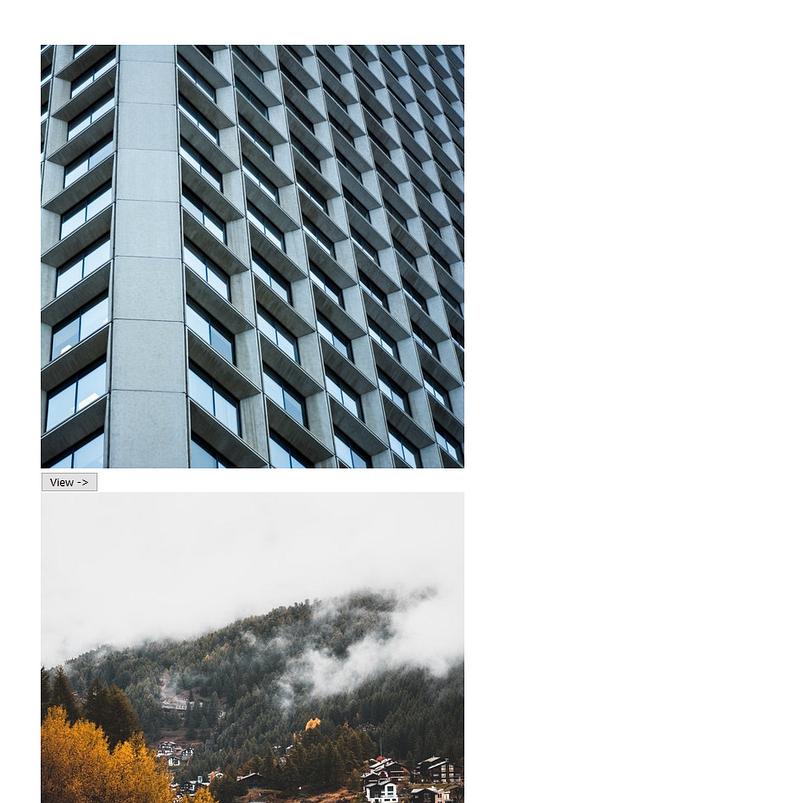
Part 2 looks into applying CSS onto the generated images.