
Creating Websites, Blogs, or Books is now incredibly easy
Find out how you can create nicely structured content with Quarto

Content
- Introduction
- Setup
- File Structure
- Project Features
- Markdown Features
- Render Final Result
- Publishing
- Introduction
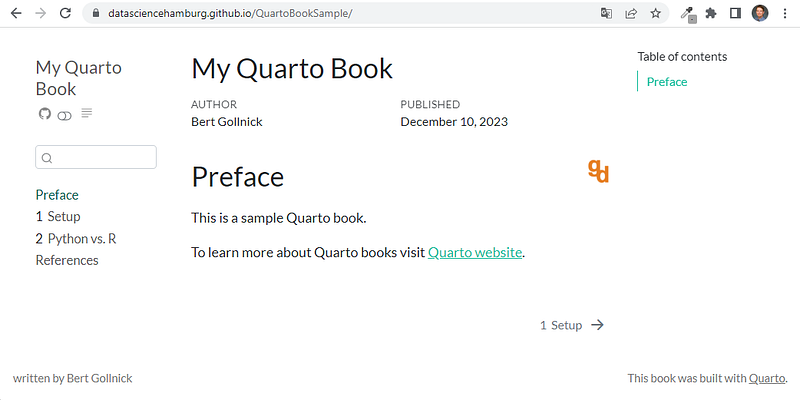
Quarto is an open-source system to create reports, websites, blogs, and even books. In my first article “Create Interactive Reports with Python” I showed you how to create nice single page HTML-reports. Now I am going to show you how to write more complex documents like books that can be hosted online or even rendered to PDF.
You can find the source code on GitHub and the final deployed book here. By comparing the end-result and source code you can reverse-engineer how to implement features. In the following chapters I will guide you through the steps to set up your own book.
2. Setup
- You need to download Quarto CLI and install it on your system.
- I work with Visual Studio code and recommend to install Quarto extension for VS code.
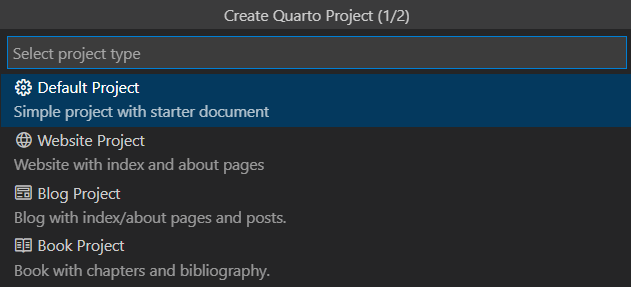
It is easiest to start with a few sample files, so from Command Palette (shortcut CTRL + SHIFT + P) you can select “Quarto: Create Project”.

Next, you have the choice to select the project type. In this article we develop a book, so please select “Book Project”.
Now you have to specify the working folder, in which the sample files are created.
I have adapted these files for this article and will explain in the next chapter what these files are used for.
3. File Structure
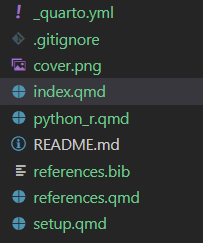
- The most important file which defines the look-and-feel of the final site or document is “_quarto.yml”. All the features described in the next chapter are set up here.
- The different qmd-files (Quarto Markdown) like index.qmd, setup.qmd, references.qmd, and python_r.qmd are the files which will later be rendered. It is to me best practice to reserve at least one file for each chapter of the book. If you work with very long chapters, it could even be good to make more splits and have several documents per chapter.
- If you have some experience with LaTex and created some documents with it, then you might be familiar with bib-files. references.bib is used for bibliographic citations. So if you cross reference you can specify the book or link you want to reference in the bib file and reference it from other chapters.
- cover.png is an image that can be used in the book.
Let’s dive into the features.
4. Project Features
I distinguish between project features, which affect all pages and the general look, and markdown features, which affect a single page or paragraph.
All described project features are based on parameters defined in _quarto.yml. I will show the features and their corresponding parameters.
Theme
There is a range of different themes from which you can choose.
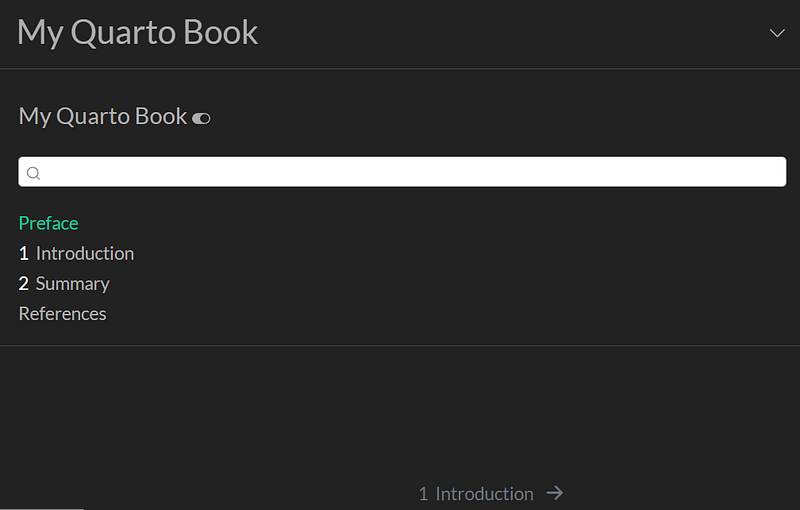
Wouldn’t it be great if the user could decide to work with light or dark mode? That is actually possible. All you need to do is specify the light and dark themes.
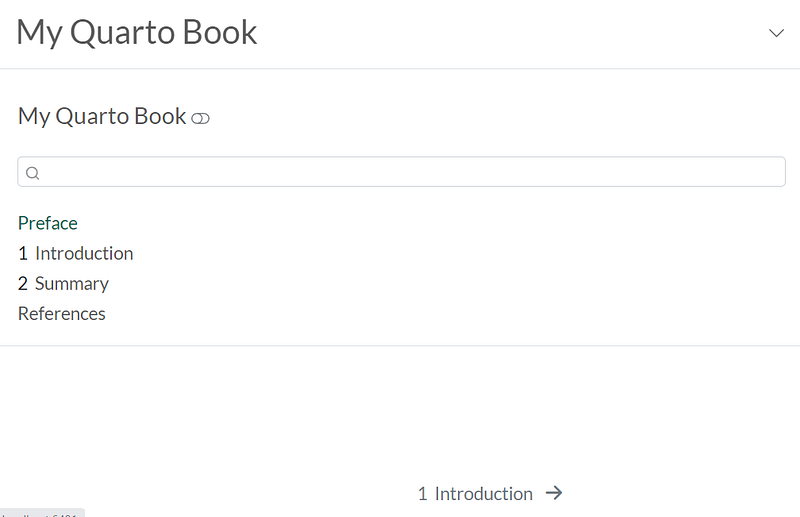
As a result you get a switch in the final document which allows to change between both.
Reader Mode
Another nice feature is the Reader Mode. This allows the reader to focus on the content and hide all other visual sugar.
To enable this you just have to set the flag.
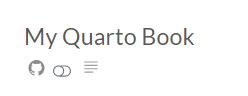
GitHub Link
It is possible to directly link (and a small icon) to the GitHub repository. You only need to reference your repo to the corresponding parameter.
Footer
Your page can provide additional information in the footer.

This is achieved with a few lines in _quarto.yml.
5. Markdown Features
Code Chunks
To me the most important feature are code chunks. This are areas of programming code, which are run during the rendering of the page. The code can be Python, R, or Julia. To create a chunk you need to wrap it in an area starting and ending with three back-ticks as shown here. Then you need to specify the language of the package. In the example you see R and Python.
You don’t need write the cumbersome code-chunk definition manually — instead you can use the shortcut CTRL + SHIFT + I.
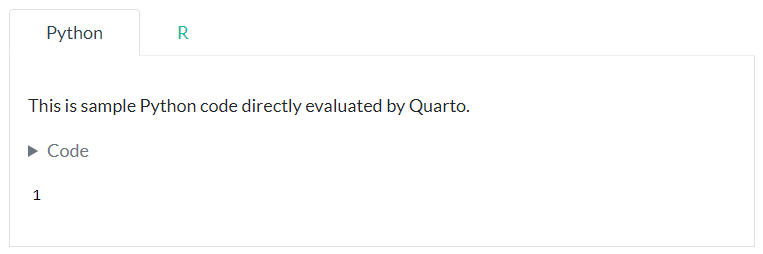
This would just render the chunks and provide the result. The best is that you can keep the code as part of the document, so that readers can check out what produced the output. For this you have the option code_fold.
The rendered document will show “Code” and allows the user to expand it to see the actual code.
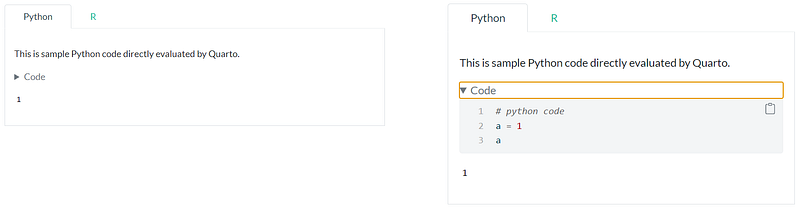
Tab Panels
Tab Panels are a powerful feature when you want to organize information which is hierarchically on the same level. In my example I want to show how a functionality is implemented in Python, and then in R. With tab panels you can savel space is increase readability.
To implement this, you can adapt the following template.
Cross References
If you want to cross reference to literature or other articles Quarto is a great support. After setup up your structure you are easily able to cross reference each bibliographic item at every point in your book. But you need to set your system up.
First you need a reference in _quarto.yml to your bibliography file.
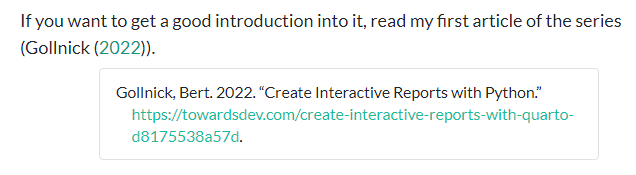
Next, you need your references file. I reference to my earlier article on Quarto.
To create a cross reference you just need to place the @ character and a dropdown allows you to choose from different references you set up in references.bib.
The rendered document shows a link which provides further information on hovering.
You typically want to show all references in a dedicated chapter. For this you need to install some additional program. Just run the following in a terminal.
quarto install tool tinytexAfterwards you need to restart your system. Next time you render your project you can see the complete list of references.

6. Render Final Result
In this step you can create the output format of your choice. You only need to run in a terminal.
quarto renderThe result is stored in a subfolder _book. If you want to render only to a specific format, e.g. PDF, you can set the to-parameter.
quarto render --to pdf7. Publishing
You have static HTML content which you want to publish and make available to others. The are many options. I prefer to host the files on GitHub and deploy them with GitHub pages. My article “Deploy Shiny for Python apps with GitHub pages” guides you through the different steps.
Thanks for reading and your support,
Bert