
Creating a Simple Banner for Websites
Hello ya’ll!
I decided I’d make this quick tutorial to show folks how to edit pictures in a picture editor!
I do this to make banners to decorate my profile and to get more Medium subscribers and other advertisements. I feel like the banners are eye catching and have a better chance of getting noticed on my Medium profile.
First, I’ll show you how to make a simple non-animated banner, and then we’ll get a little more complex with decorations. I’ll show you how to make animations in another article.
But the end results can be something like these:


Ok, ya’ll! Let’s get started!
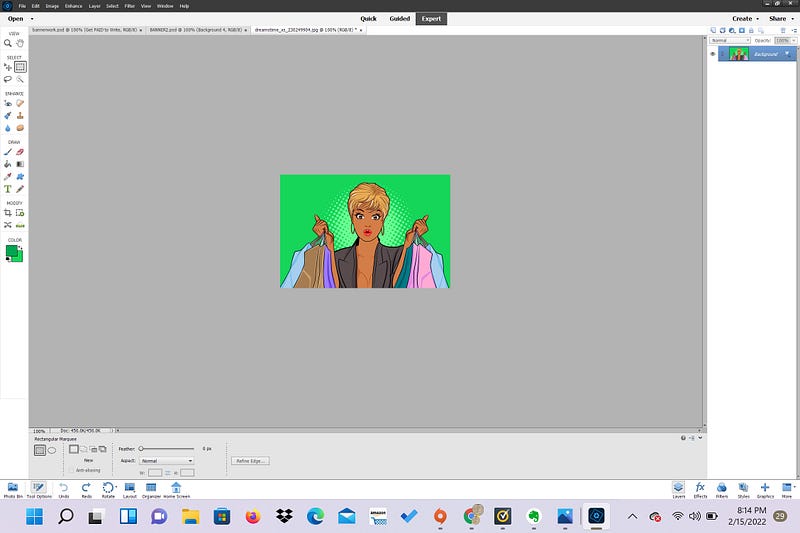
First, decide what picture you want to use. You can use something you already have on your computer, or you can get royalty free pictures from places like Unsplash and Pixabay. Or you can purchase images from places like Dreamstime.
((FYI: The dreamstime links are affiliate links. You won’t pay a penny more for your purchases, but I get a commission from the sale if you use my link to access the site!))

The photo editor I am using here is the trial version of “Photoshop Elements 2022.” It’s an expensive program, but lots of free and cheap image editors work the same way!
I know pixlr has a picture editor that also uses layers, and you can use that one for free!
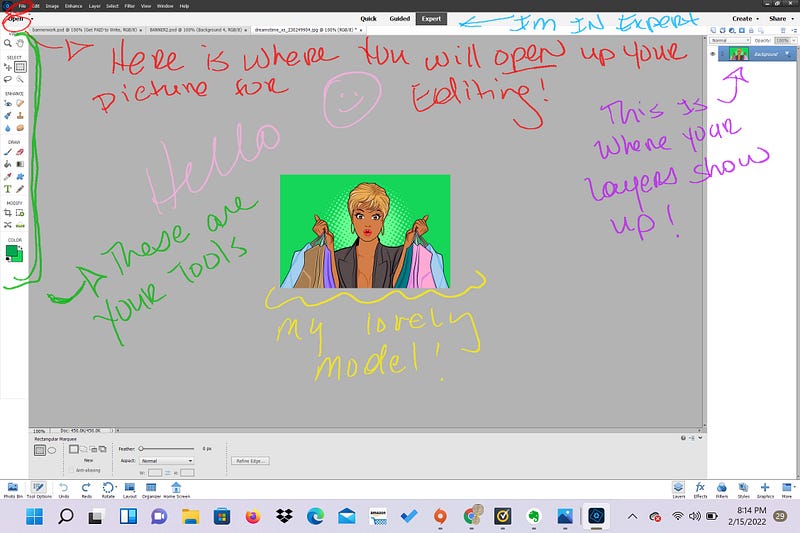
- First hit the “File” menu and then “Open.” Find the picture you’d like to work on, and click it to open it.
- Once you’ve selected your picture, let’s resize the canvas to look more like a banner, since that’s what we’re making.

3. I want the finished banner to be about 3 sizes longer than the original pic. So go to “image” →”resize” → “canvas size” and click on it.
4. Once the canvas window is open, go to where it says “width.” We want to make the Width about 3 times longer. So if it says 6.667, change it to 18.667

5. Further down, you’ll see a weird little box that says “Anchor” and has a bunch of arrows coming out of it. You can use this box to dictate what direction you want the lengthening to go.
So if you want the canvas to get larger to the RIGHT, you have to click on the LEFT arrow.
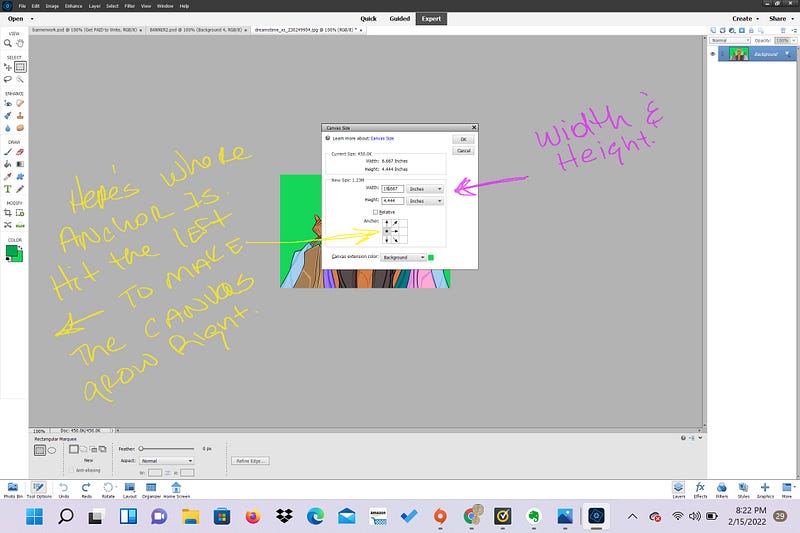
6. Once you’ve set all your parameters and which direction you want the canvas to grow, hit “ok.”

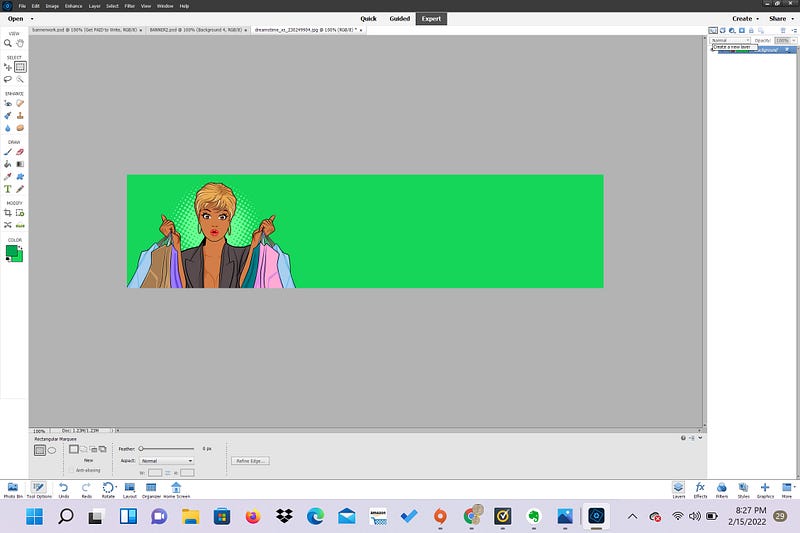
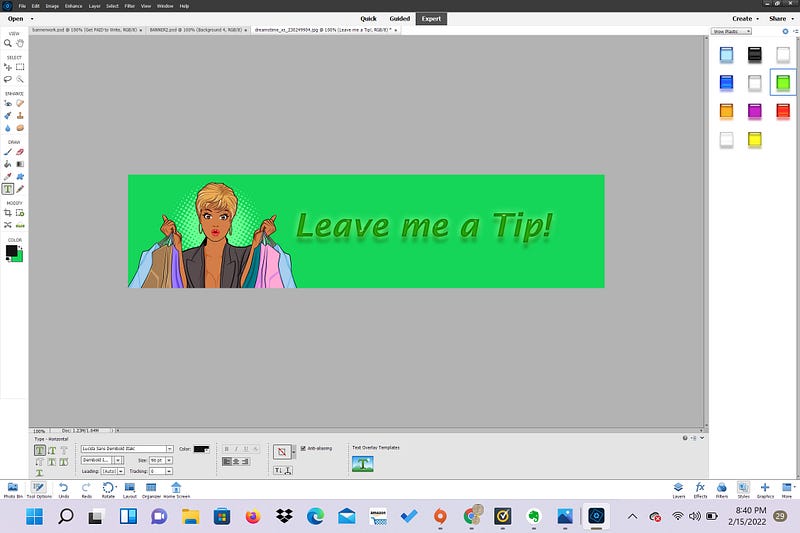
7. Booyah! And now we have our simple Banner!
All we need to do now is add a little text.
8. If you go to the far right, you’ll see the column that’ll house your layers. Layers are great because they allow you to add all kinds of elements to your base picture. If you don’t like the changes you’ve made, you can just delete the layer and your base picture is fine!
However, for text, you don’t have to add a layer, because once you hit the “T” (text) button, and click on the spot where you want your text to appear, a new layer will pop up automatically.
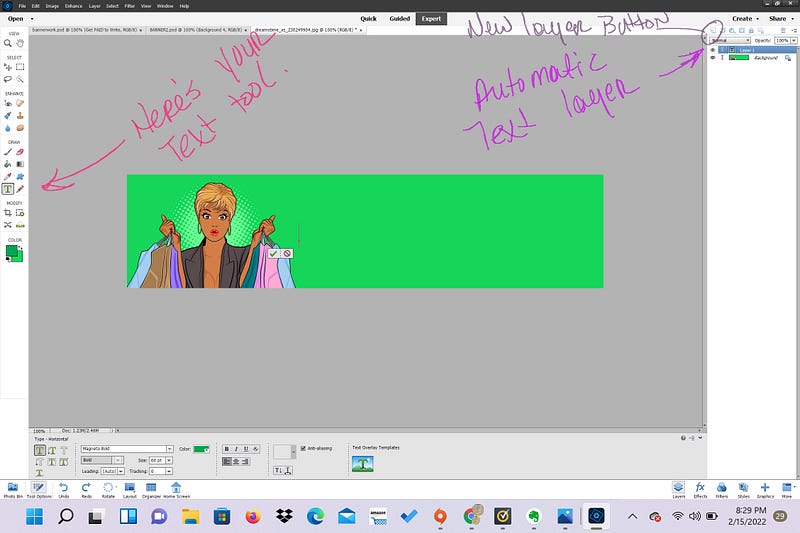
9. Once you’ve hit the text button and got that in place, you’re ready to start adding your text.
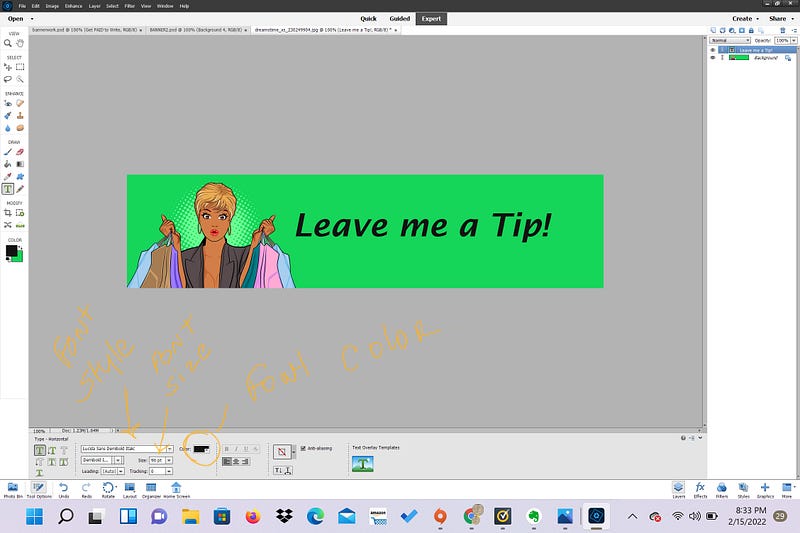
10. Add your text! Then you’re pretty much done!
Unless you want to get a little bit fancy with it :)
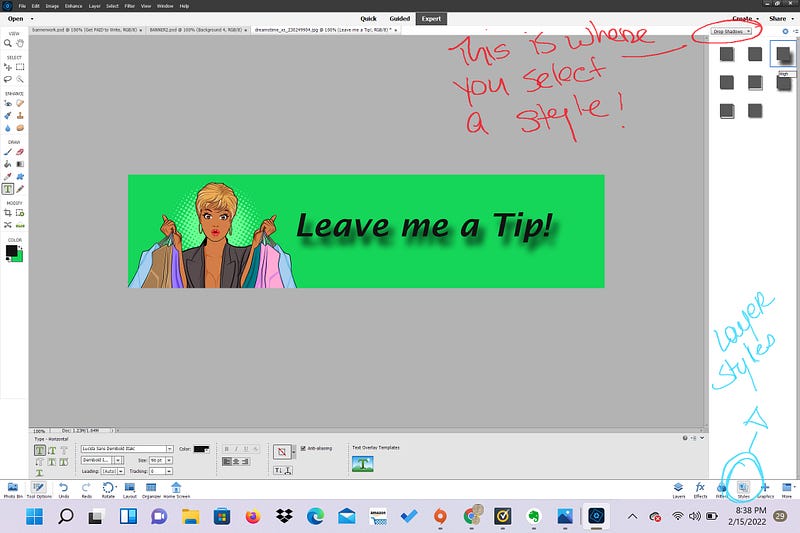
11. You can hit the Layer Styles button on the bottom. You can use this to add nice effects to your layers, including your text layer.
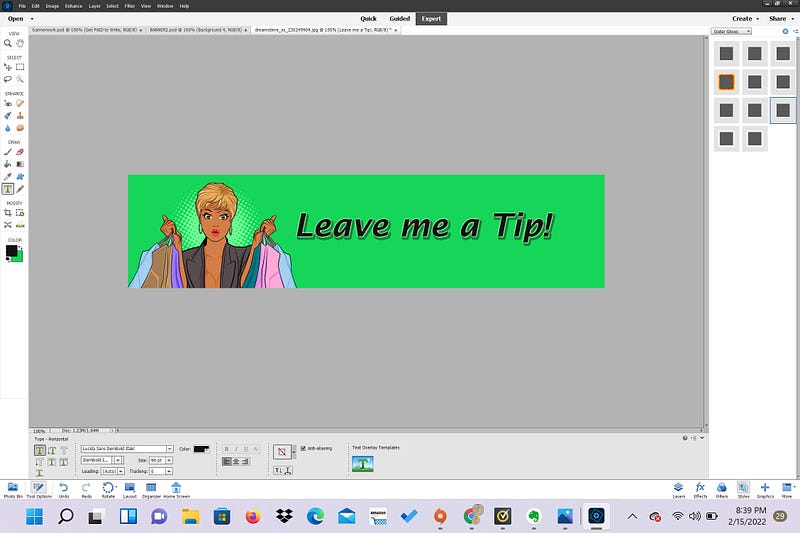
For instance, you can add a drop shadow like above or an outer glow like below!
Or how about a little WOW! Plastic.
Try lots of different things and have fun with it! There’s so many different things you can choose to help you make eye-catching art work and images.
I hope this tutorial was helpful! Next time, we’ll do even more advanced image editing and maybe even gif animations!
Thanks for reading! Be sure to subscribe for alerts when I post new articles!
Coke Francis created the banners/animations from images purchased from Dreamstime.com. ←This is a referral link. Click on it and I get a percentage of the sale!


