
Creating a simple 3rd person camera (Godot 4)
Let’s see how to make a RPG-like camera… that doesn’t clip into walls!
Cameras are always an essential mechanic in a video game, because they’re our only window on this virtual world. That’s why having a great camera can help sublimate a moment… and having a bad one can severely hinder the fun for your player!
So, today, let’s discuss how we can make a system 3rd person camera in Godot, with a RPG-like vision (à la World of Warcraft).
In this article, you’ll learn how to use a simple Godot Camera3D to film your scene while making sure it always follows the player… and how to avoid the annoying issue of it clipping into every wall!

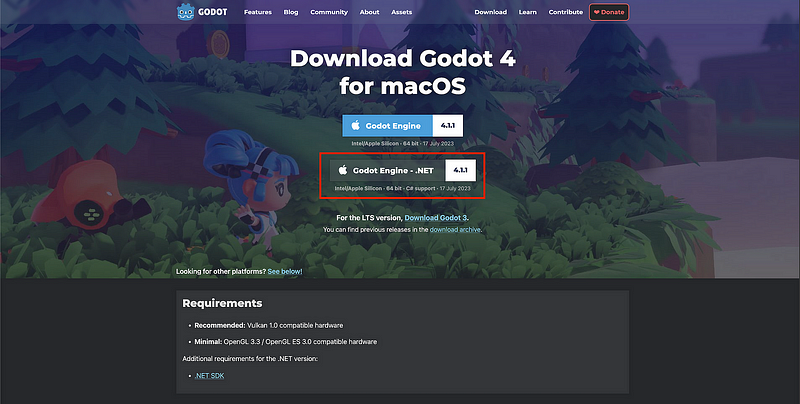
As usual, since we’ll be coding our logic in C#, make sure that you have a version of Godot with .NET enabled.
And of course, don’t forget that you can get the demo scene and all the assets for this example on my Github 🚀 with all my other Godot tutorials :)
Also, the spaceships & icon assets are from Kenney’s library🚀
The tutorial is also available as a video — text version is below:
And just before diving in, what if your next game wasn’t 3D but 2D? Well…
If you want to learn more about 2D tools for your future Godot 4/C# game projects, go ahead and check out my brand new “short-read” ebook: L’Almanach: Mini-2D Platformer!
This quick, practical guide will teach you the fundamentals of doing 2D games in this game engine with essential notions like tilemaps, 2D physics, animations, character controllers, and more. You’ll even build your very own 2D platformer game step-by-step!
So if you want to discover some 2D tricks for your next Godot 4/C# game in just about 100 pages and for a low-price, don’t hesitate to have a look at the Gumroad page :)
With all that said, let’s dive in and discover how to setup a basic third person camera in Godot and C#!
Preparing a basic setup
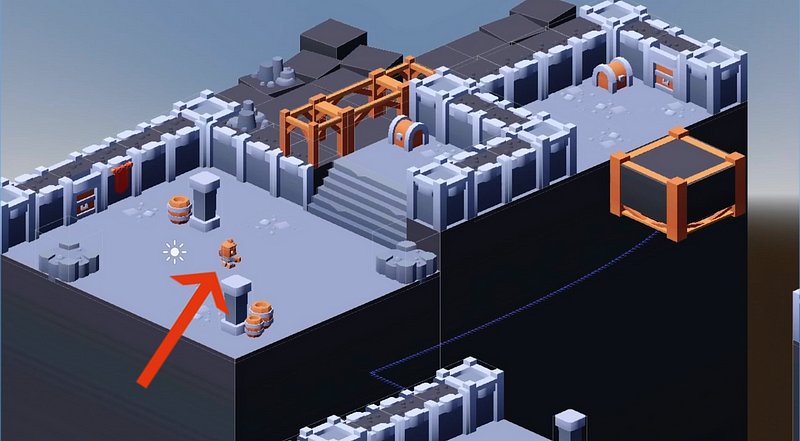
Ok — let’s say we have this scene:
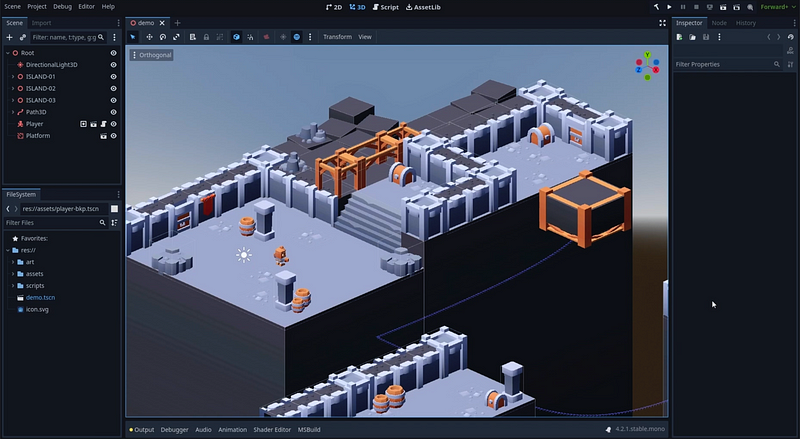
This is a basic dungeon-kinda-level I used in this previous episode of the series, where we discussed how to implement the movement of the platform in the middle:
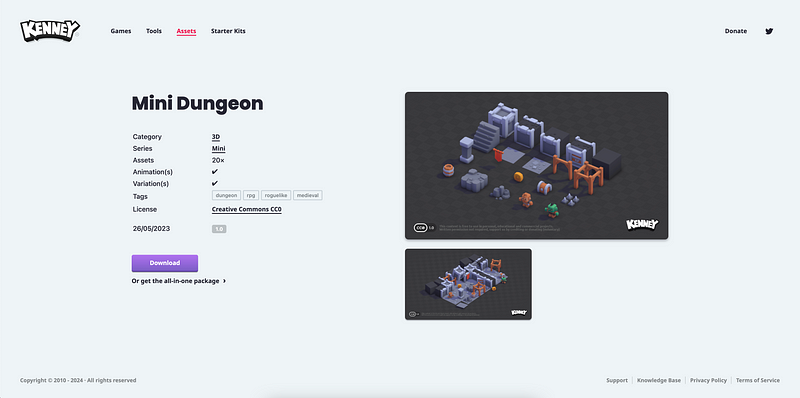
And of course, it uses Kenney’s really cool Mini Dungeon kit:
For now, we don’t have any camera in the scene, meaning that, if we run the game, it won’t render anything. Our goal will be to attach a camera to our player object, over here:
And the camera should follow the avatar at all times, and rotate along with it, like this:
By the way, you’ll also notice that here I’m re-using the animated physics-based controller system that we created in this other tutorial of the series— I’ve already prepared the character with it :)
Well, to do this, good news: it’s actually super simple!
Cause if we open up our player scene, add a Camera3D node child inside and move it slightly behind our character, with a down angle so that it looks a bit to the ground, we’re basically done!
Indeed, since our character controller is attached to the parent node in the hierarchy, anytime we translate or rotate it via our code, all of its child nodes will automatically follow — that’s the whole concept of parenting in a game engine :)
Though, just to get a better view and really adjust our camera, I want to take this opportunity to talk about a super neat Godot plugin that was published very recently, and that you can get easily from the Godot AssetLib tab at the top of your editor:

The plugin is called Little Camera Preview. It was released just 3 weeks ago by Anthony Cossins, and it’s an amazing way of getting a little preview of your camera just by selecting it, that is integrated in the viewport and doesn’t require you to split everything it anymore:
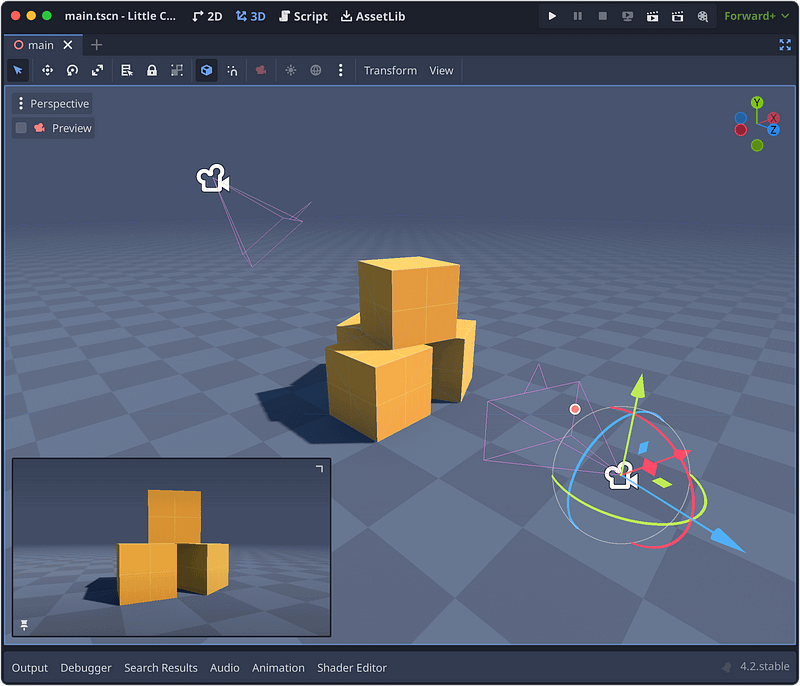
You can even scale the preview up and down, move it to either bottom corner of the viewport, pin it to keep the preview active even when you select another node…
In short, it’s really a must-have for any Godot dev, and as all Godot assets, it’s completely free and installable with just a few clicks! :)
Once you’ve installed the addon, don’t forget to enable it in your Project Settings panel, in the Plugins tab:
And from that point, if you select a Camera3D or a Camera2D node in your hierarchy, you’ll get this new preview, and you can now move your camera to get just the perfect framing of your hero :)
And there we are: we’ve just made a super basic but functional 3D camera for our dungeon RPG!
Note that if you feel like the field of view is a bit too wide and objects are a bit deformed in the distance, you might want to play around with the FOV property of the camera, aka its field of vision, and reduce it to make the visuals a bit straighter:
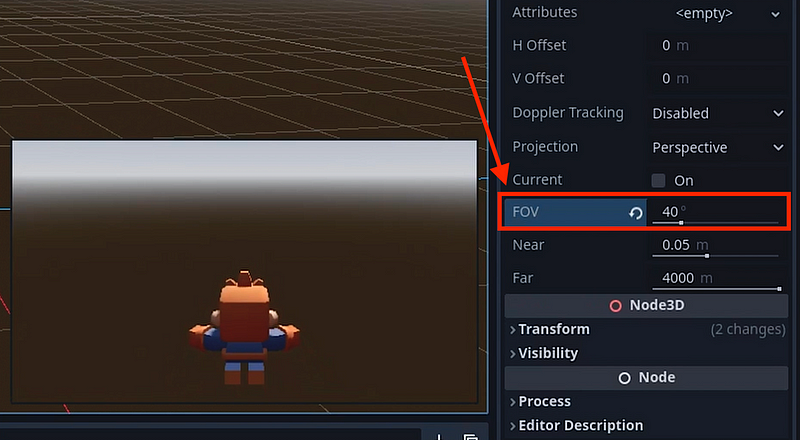
But that’s just personal preferences, so it’s up to you :)
Ok, we’re finished! Right?
Well… although it works great in wide spaces, you’ll quickly notice that there’s a big issue with this super simple setup: we get the dreaded wall clipping problem!
That’s an infamous issue with all 3D cameras (that made for really clunky controls in the early 2D-to-3D game transition era), and it just completely ruins the experience.
Let’s see how to avoid this problem!
Avoiding the clipping issues
To avoid our wall clipping problem, it’s luckily, once again, extremely simple. Godot actually has another trick up its sleeve for this specific case, and that’s the SpringArm3D node.
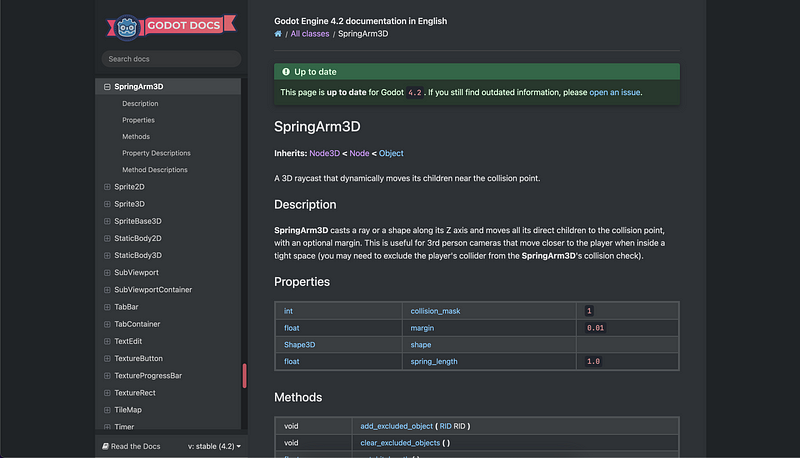
In a nutshell, this node allows us to define a spring of a given length that tries to put any child node hooked to it at this specific distance of its own position, but can also contract to bring the child nodes closer if the other end of the spring is colliding with something.
So basically, in our case, we can solve our collision issue by doing the following:
- First, we’ll create a SpringArm3D node in our player hierarchy.
- Then, we’ll move it up slightly.
- Then, we’ll rotate it and extend its length (shown as the light blue line in the viewport) to match our current camera position.
- Finally, we’ll put our Camera3D node inside, as a child.
And here we go! Now, if we get close to a wall and turn around, the SpringArm3D automatically shrinks and brings the camera back towards our player, zooming in and avoiding the wall:
This is an almost perfect basic 3rd person camera, but there is one last issue that you might miss if you’re not careful… and that’s this really weird glitch that happens if I try to take my character on the moving platform:
It looks as if my spring was getting crazy and popping in and out suddenly. So, what’s going on?
In fact, that’s because we get some unexpected collisions… and more precisely, our SpringArm3D detects collisions with the player object itself!
Note: The reason it only happens on the moving platform here is because it is sort of a “complex” case where our player CharacterBody3D node has to stick to a moving floor… but this could happen at other times, so we need to fix it! :)
If we take a look at our nodes setup, we see that our SpringArm3D is supposed to check collisions with the physics layer n°1:
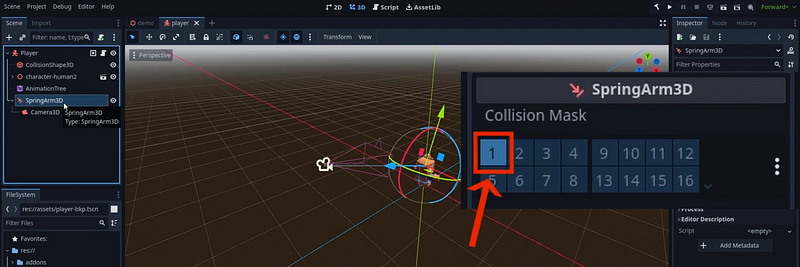
But our avatar is on this exact layer, too!

Now, you could try and play around with these layers values, and change it for the player or the walls… but ultimately, you’ll probably always have the same issue, because you can’t have the SpringArm3D collide with the walls but not the player, if the walls and the player collide together.
Or can you?
Actually, in our case, the trick is that our SpringArm3D’s origin is inside the player, but it is not inside the walls. So we can solve our problem by using its Shape property and creating a new SeparationRayShape3D shape inside:
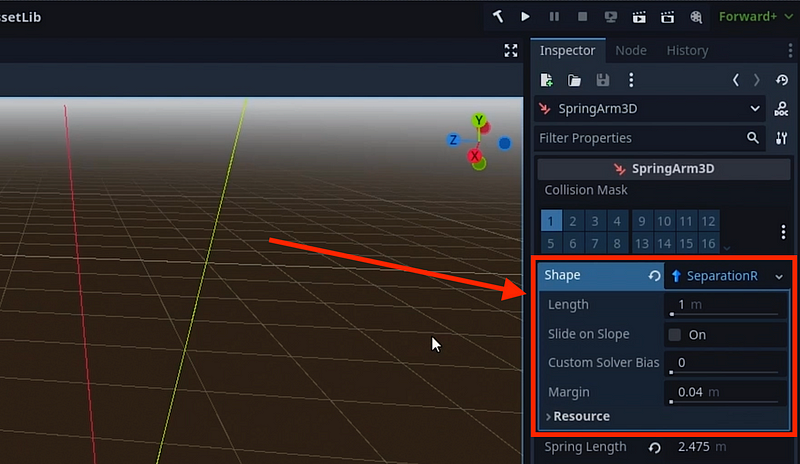
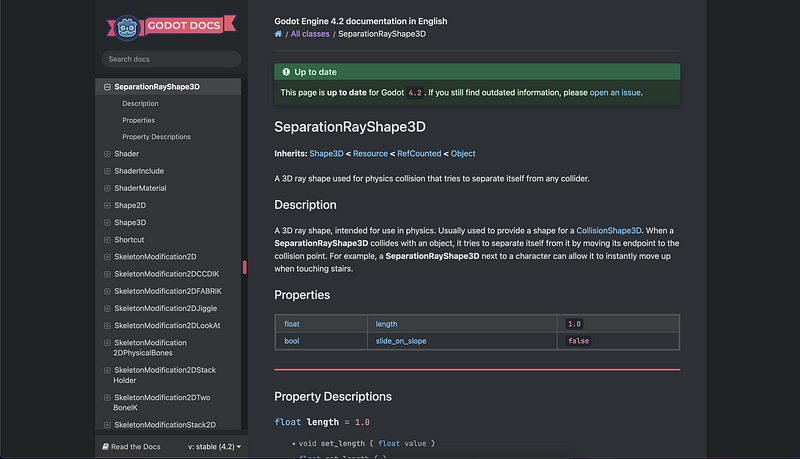
This SeparationRayShape3D will tell Godot to try and “separate” the SpringArm3D from the collider it hit — which, in our case, means that it won’t collide with the player’s collider anymore but instead “move out” of it :)
And that’s it, we’re finally done, with no issues and no clipping: in a matter of minutes, we’ve made a simple 3rd person camera system for our Godot dungeon RPG, and it only required two new nodes in our player scene!
Conclusion
If you enjoyed the tutorial, feel free to clap for the article and follow me to not miss the next ones — and of course, don’t hesitate to drop a comment with ideas of Godot tricks that you’d like to learn!
As always, thanks a lot for reading, and take care :)
To read more of my content, and articles from many other great writers from Medium, consider becoming a member & following me!


