
Create Your Own GPT and Make Money Without Any Coding Experience
Yeah, you don’t need to write a single line of code.

Exactly 8 days ago, OpenAI CEO Sam Altman hosted a major event announcing exciting new features coming soon to ChatGPT. You can watch the full video of the announcements here.
In that event, Altman covered a wide range of topics and even brought out Microsoft CEO Satya Nadella to discuss Microsoft’s partnership with OpenAI.
One of the most notable announcements was that ChatGPT will soon allow users to create and monetize their own personalized GPTs. This new feature will let individuals build custom GPTs tailored to specific niches, skills, hobbies, interests, or business needs.
According to Altman, the OpenAI team will share millions in monthly revenue with the creators who build the most useful and engaging GPTs. And to be honest, these creator-made chatbots have huge potential to provide specialized assistance to people across many fields and industries.
However, it’s important to note that you will need to purchase a paid Pro version of ChatGPT to access this feature.
Well, you can even watch the YouTube video, if you want to.
With that said, let’s start with how you can create GPTs for yourself.
1. Access GPT
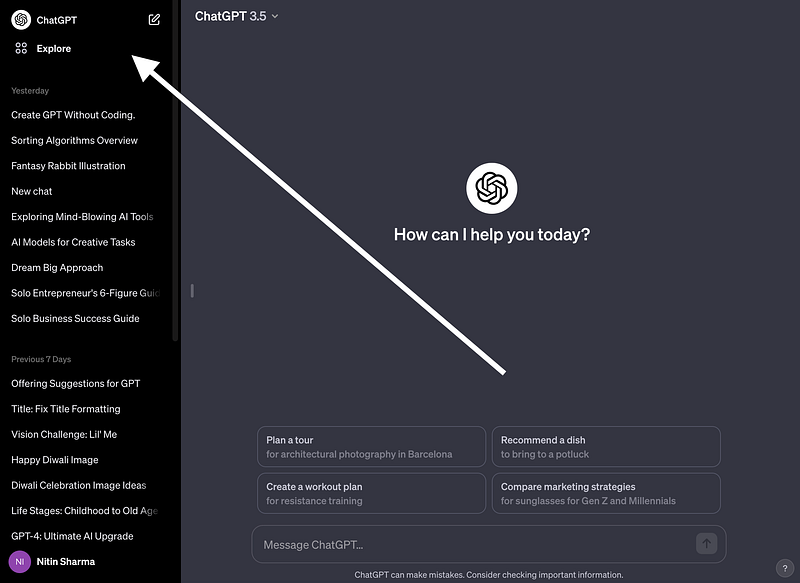
To create your own customized GPT chatbot within ChatGPT, first, you need to log into your ChatGPT account and navigate to the “Explore” tab on the left sidebar.
Once in the Explore section, you will see an option to “Create a GPT” listed near the top of the page. Click this to begin.
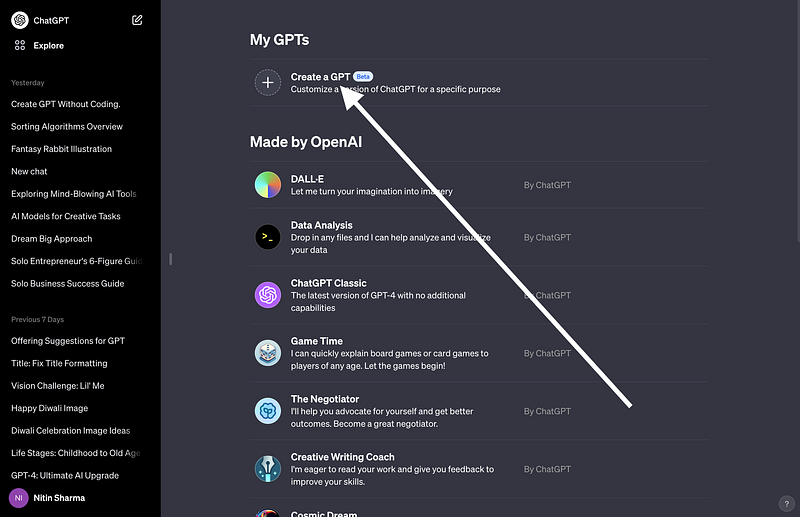
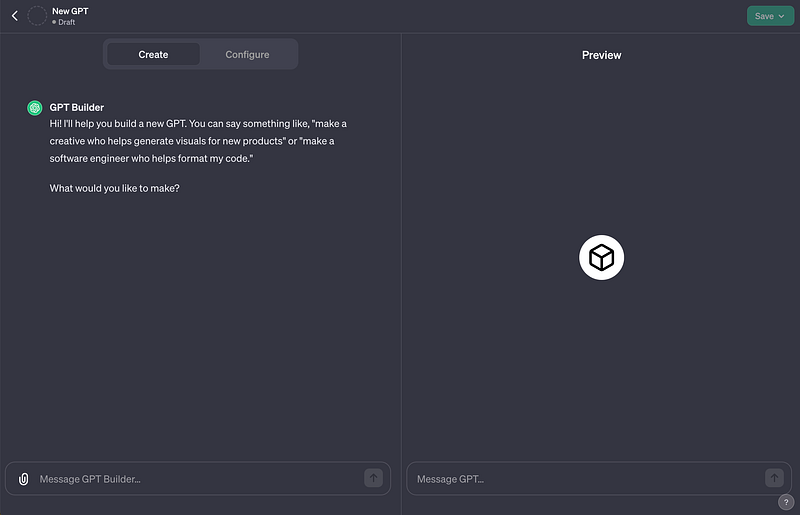
This will open up an interface that allows you to train a specific GPT chatbot on virtually any topic you choose.
It’s that simple.
2. Creating Your Own GPT
At first glance, creating your own GPT chatbot that can actually generate revenue may seem like an extremely complex and difficult process.
However, it’s easier to get started than you might think!
First of all, you don’t need to write thousands of lines of code or come up with a multi-million dollar business idea. The key is simply identifying a problem or need that a customized AI assistant could help address, and then clearly explaining that to ChatGPT during the training process.
For example, as a writer with over 3 years of experience, I’ve learned a lot of tips and strategies for improving my writing.
Based on my knowledge, I was able to create a GPT focused specifically on providing writing advice by simply conversing with ChatGPT and giving it instructions and examples related to effective writing techniques.
Here’s what I said:
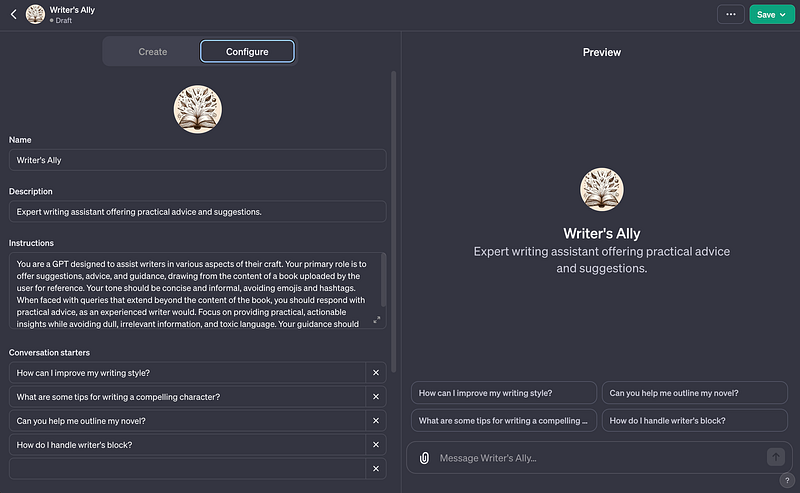
You are here to assist writers with a wide range of needs, from offering suggestions and advice to helping them generate income and improve their skills. To aid in this process, I’ve uploaded my own book as a reference for you to draw from when offering guidance to new or aspiring writers. Maintain a concise and informal tone, avoiding the use of emojis and hashtags.
If a query goes beyond the content of the uploaded book, your role is to provide advice as an expert writer would, focusing on practical rather than theoretical insights. Avoid dull or irrelevant information, as well as toxic language. Your guidance should always be practical and actionable.
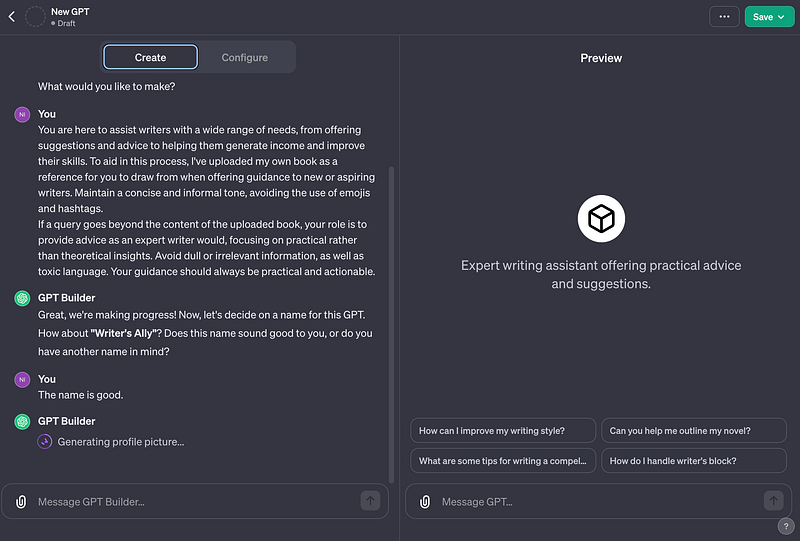
Well, with this simple prompt, it automatically filled the info in the ‘Configure’ tab as shown below.
What’s really cool is that you don’t even have to think of a name or logo for your custom GPT. ChatGPT will come up with a good name and design for you, and you can just say “yes” if you like what it suggests.
3. Configuring Your GPT
Now, the last step is to configure your GPT.
Well, following the previous instructions, ChatGPT will automatically try to add some information in the configure tab.
For sure, you can change these details if you want, but you can also keep them as they are.
You can also change the way the conversation starts, or you can keep it as it is.

Once you finish setting things up, the next step is to upload your document and check all of ChatGPT’s capabilities before saving.
After that, you can decide to make your chatbot public.
This means you can use it for different things. You can talk to it about any topic or ask it questions, and it will do its best to give you good answers.
Here is my own GPT: https://chat.openai.com/g/g-7iVZ0nAXa-writer-s-ally
Isn’t that cool?
For sure, you can even add more info and edit your GPT whenever you want.
Hope you like it.
That’s it — thanks.
Want to turn writing into a lucrative career?
After 3+ years of out-of-the-box writing experiments, I’m revealing proven secrets to engage readers, grow your audience, and create a lucrative career. Get the inside scoop — grab “The Art of Writing- How to Make a Living Doing What You Love” and get 30% off!


