Create, Update & Test Azure Prompt Flow Locally — Part 2
In my previous article on ‘Getting Started With Azure Prompt Flow’, I explained about creating standard Azure Prompt Flow using portal and how we can test it. In continuation to that, this article focuses on how we can do the same thing locally, aka on our local machine.
So, to replicate existing Azure Prompt Flow or to create a new one, we need to setup Visual Studio Code.
Setting Up VS Code
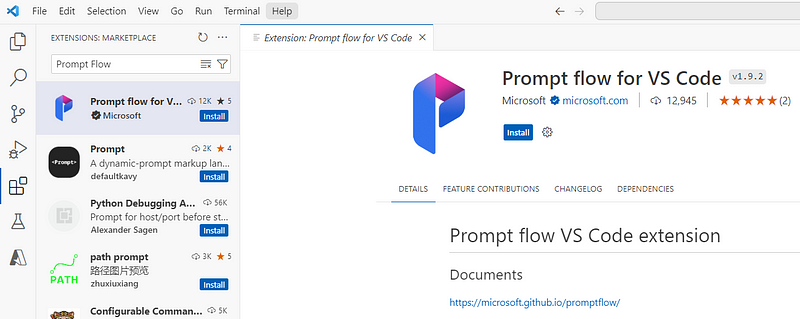
To play seamlessly with Prompt Flow locally, we need to install an extension named Prompt flow for VS Code.

It is not mandatory to install extension but good to have as it will help us to visualize entire flow in VS Code.
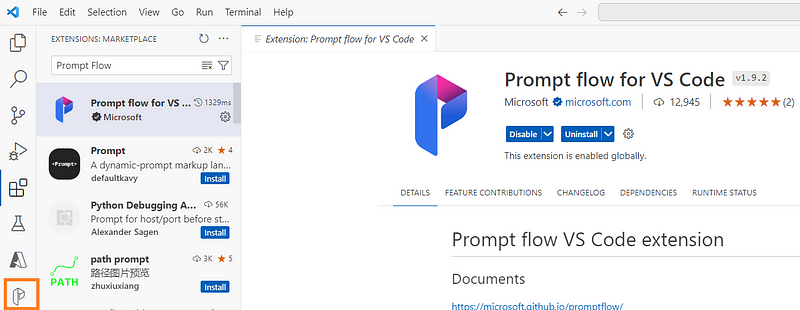
Once the extension is installed, you will see a new icon on your left toolbar:

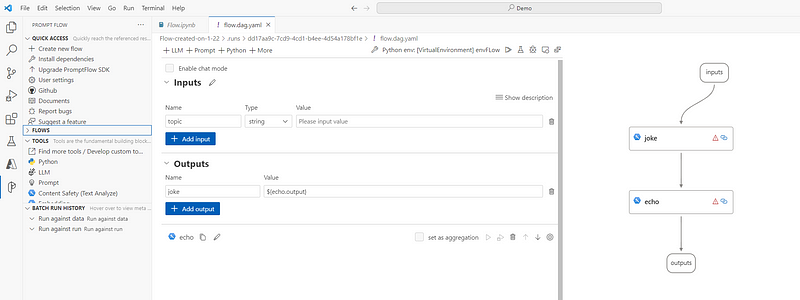
And clicking on flow.dag.yaml file, you would be able to visualize your flow:

Connecting Flow From VS Code On Local Machine
Once we have the setup ready, we need to write few lines of code to connect our flow to local machine and that can eb done using this:
Install Dependencies
from promptflow import PFClient
from promptflow.connections import AzureOpenAIConnection
pf_client = PFClient()
Grab Connection Settings For LLM
con_name = "sh-aoai-con"
conn = pf_client.connections.get(name=con_name)
Test Flow
flow_path = "Flow-created-on-1-22"
flow_input = {"topic":"book"}
flow_result = pf_client.test(flow=flow_path,inputs=flow_input)
flow_result
Executing above lines will give you below output in VS Code:

Conclusion
I didn’t explain every single thing here as I’ve a very well drafted video for this. I would recommend you watch the recoding for complete understanding of what is going on under the hood:
Happy prompting!


