
Create Tables in your Terminal with Python
Hello World!
Lately I’ve been playing a lot with a Python library called Rich.
Rich is a Python library for rich text and beautiful formatting in the terminal. It is pretty easy to use and fast to integrate in your projects.
Let me show you a few examples:
A basic table
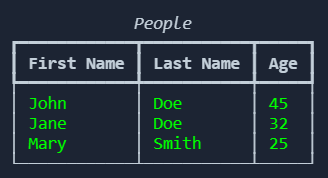
For this first example we have our data in a standard Python list. We initialize the table using the Table class from rich and then we add columns and rows to the object.
To show the table we create a Console object (which is used in every rich function) and we finally print the table.
A pandas table
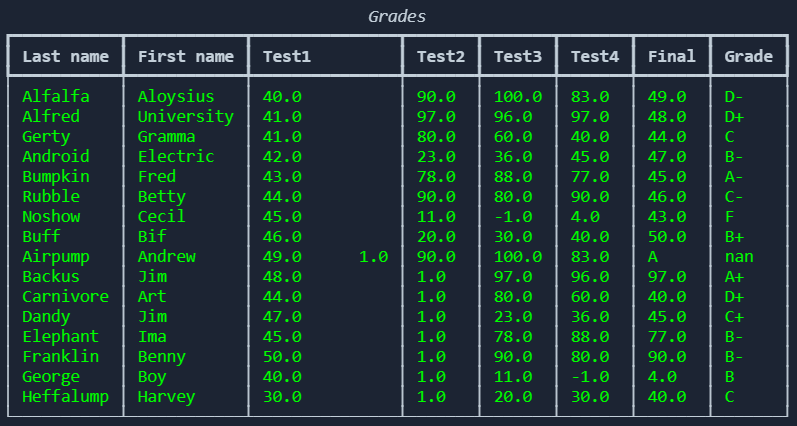
This time we are going to use a pandas dataframe as a source. Rich does not support natively pandas dataframe to create a table (there are custom modules that can fix that), but we can transform the dataframe to two lists (rows, columns) in a few steps.
And that’s it for today. We are going to explore more of this awesome library in the next weeks. In the meantime you can have a look a the code on my github repo.