
Create Interactive Web Applications in Pure Python with PyWebIO
Web Applications without HTML & JS

Exciting time to witness!
Creating Web applications in Python is way easier than it used just a few years ago. We had Streamlit that revolutionized the way we create and deploy apps in Python.
Meet PyWebIO now.
It is easy to build simple web applications using PywebIO without HTML and Javascript in Python. The concept of this package is simple: you get input and output functions that you can create simple GUI or web applications.
Then you can serve the web applications in your browser locally or on the cloud from your terminal, interactive execution environments like Python shell, IPython, or Jupyter notebook.
To install PyWebIO, run the following command.
pip install -U pywebioInput & Output
PyWebIO is intuitive and straightforward. If you think of it as an extension to your scripts, terminal or interactive environment that enables you to create web applications, it would be fitting.
Let me show a simple example running in a python environment. Here we create different types of inputs, including text input, radio button, and checkbox.
The following GIF shows how you get a browser GUI for your code immediately when you run the python code.
Isn’t that cool!
There are several input functions available in Pywebio; you can find the list of input functions available here.
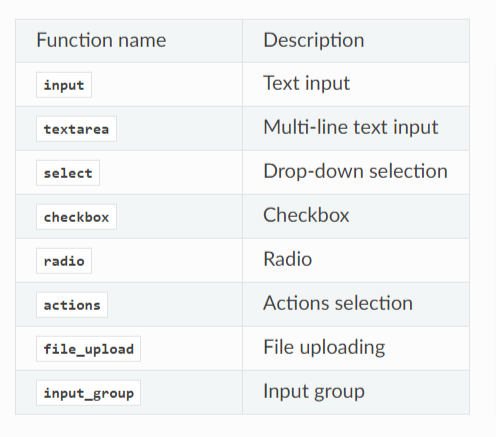
You have seen several examples of these input functions in the preceding example. However, we often tend to group different inputs, and that is what input_group does.
Let us revisit our first example and use the input_group function for packaging together different inputs. Note here that we have a name parameter in all inputs. We will later use the name parameter for each input.
You might have realized that we did not have any output from the preceding example because we have not created any output function yet. PyWebIO has a rich list of output functions that you can refer to.
Feel free to explore them but here in this example, I will use only two output functions: put_textand put_table. Note here that we are using the input group with the name of each input to put them into a table.
Here is a GIF showing the grouped inputs and output of the preceding example.
One final example here to show you that you can extend your python code into Pywebio applications easily without changing too much. This example shows a simple function that formats coordinates into a friendly format.
Here is a GIF showing the simple coordinate formatted application with PyWebIO.

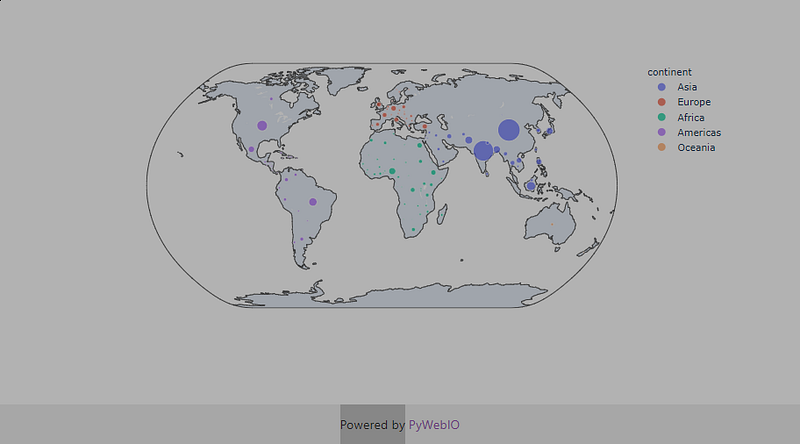
Data Visualization
PyWebIO is integrated with several data visualization libraries, including Plotly. The following example creates a Plotly map and serves it with PyWebIO.
We transform the Plotly Figure into HTML and then pass it to put_html function from PyWebIO. Make sure also to use .send() if you are using Jupyter Notebook.
Conclusion
I loved the simplicity of the PyWebIO functionality and concept. You get input and output functions that enable you to transform your python code into a simple web application on your browser. There are many more to explore in this package, especially that it allows styling your application and serving it.
Please refer to the documentation of PyWebIO for further exploration of this beautiful package.


