
Create AI Videos In Seconds With HeyGen
Learn How I Created an Awesome Video to Promote My Medium Profile
In this tutorial, I’m going to demonstrate the use of one of the leading AI video generation platforms designed to simplify the creation of captivating business videos. With its generative AI technology, producing engaging videos becomes as effortless as creating PowerPoint presentations. Simply choose an avatar, type your script, and with a click of a button, receive a flawless spokesperson video within minutes. Without further ado, let’s start creating a video using HeyGen.
Don’t miss the final version at the end of the tutorial! 😃
Step 1: Starting a template
After clicking the link to open the website, select the “Template” option right away and choose any template you prefer.:
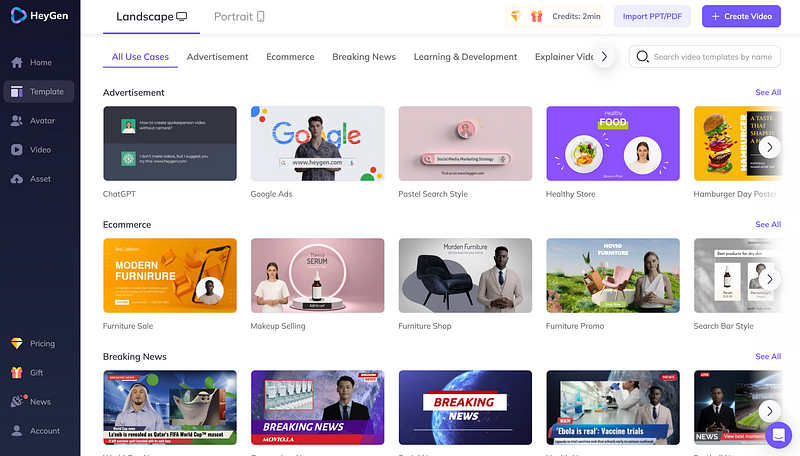
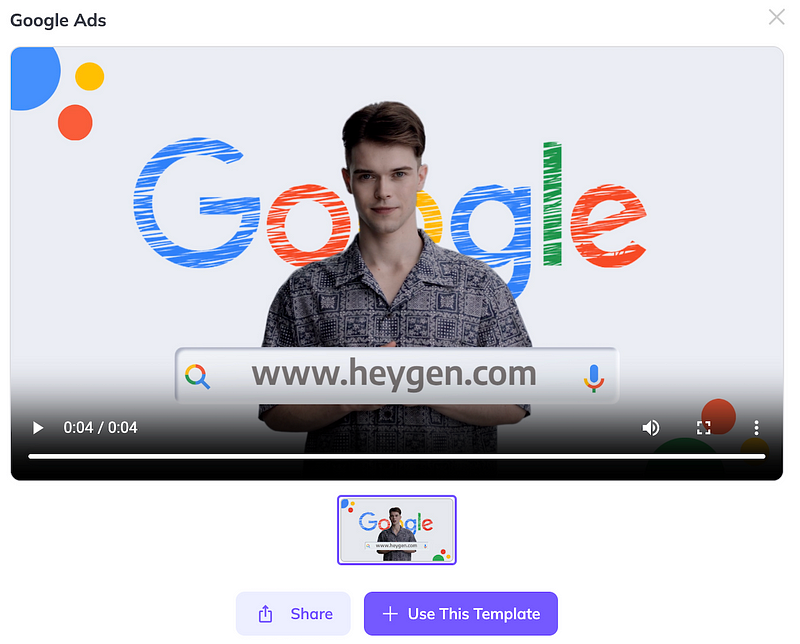
I’m going to select the “Google Ads” one to start:
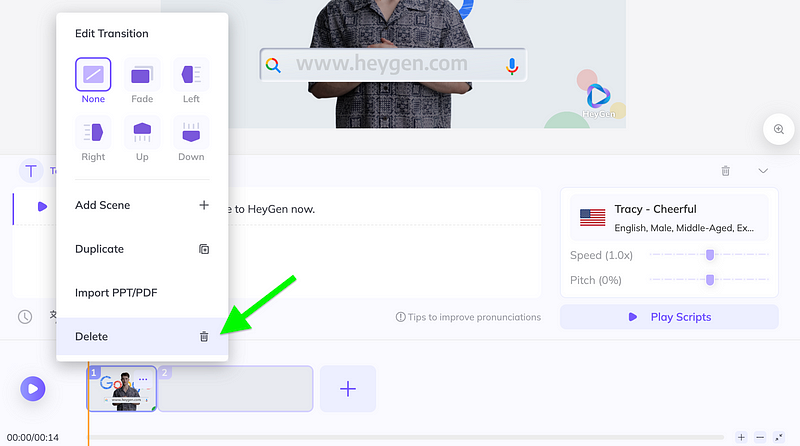
I’m going to add a new blank scene (click the ‘+’ button) and delete the one related to Google Ads.
Step 2: Creating the screenplay
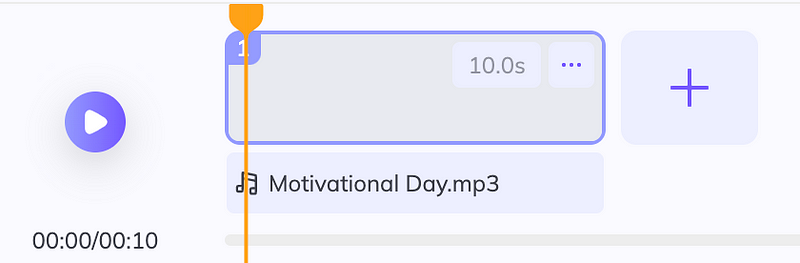
With a blank scene, let’s begin by adding the music:
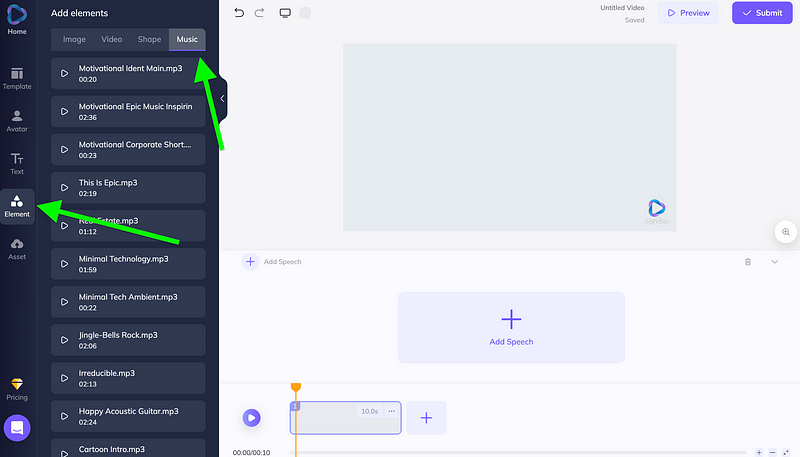
I picked “Motivational Day.mp3” song.
After that, select the avatar.
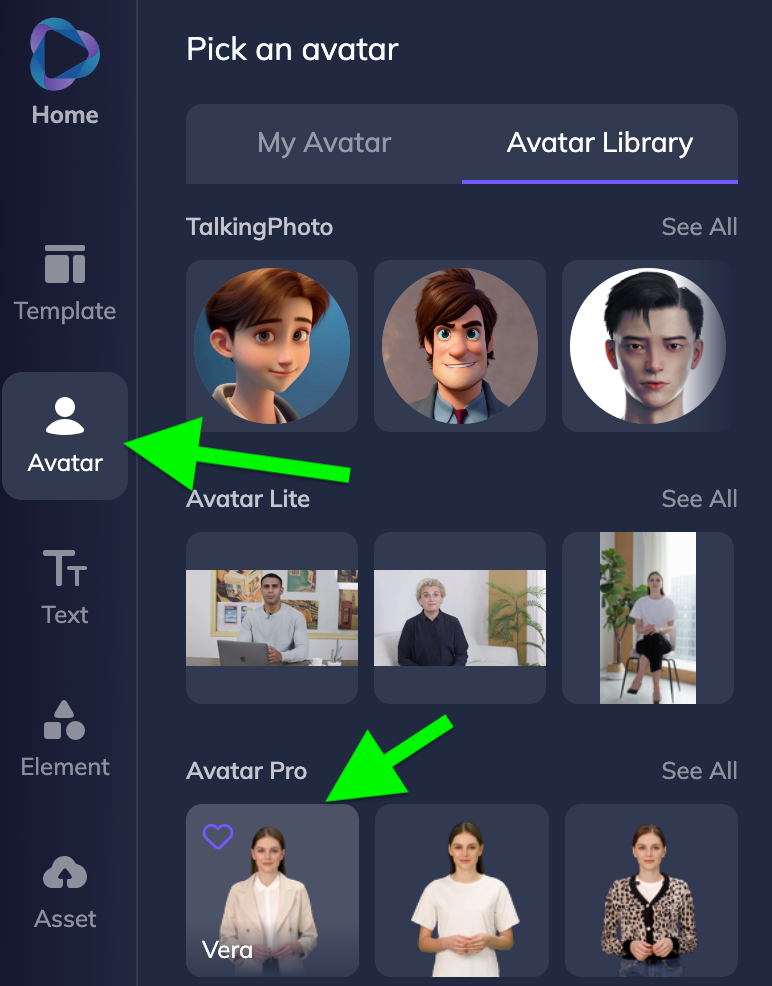
I’m going to choose Vera.
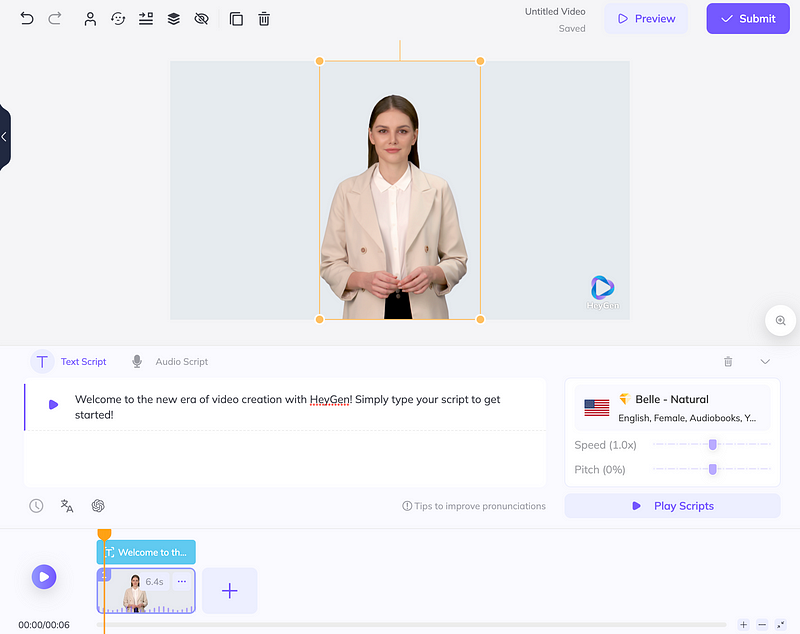
Step 3: Inputting the scripts
For this video, I’m going to create a script about my Medium profile. The script will be as follows:
“Welcome to Wagner Franchin’s Medium profile. Here, you can find stories ranging from Tech to Finance, from AI to Career, and more.”
Now, replace the placeholder text in the “Text Script” text field with the provided script.
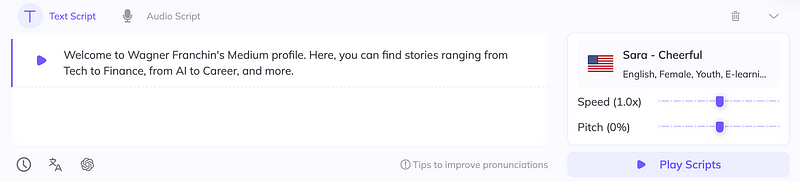
I also changed the voice from “Belle — Natural,” which is a premium voice for members, to “Sara — Cheerful,” which is a free voice available. You can listen to how it sounds and even explore different languages.
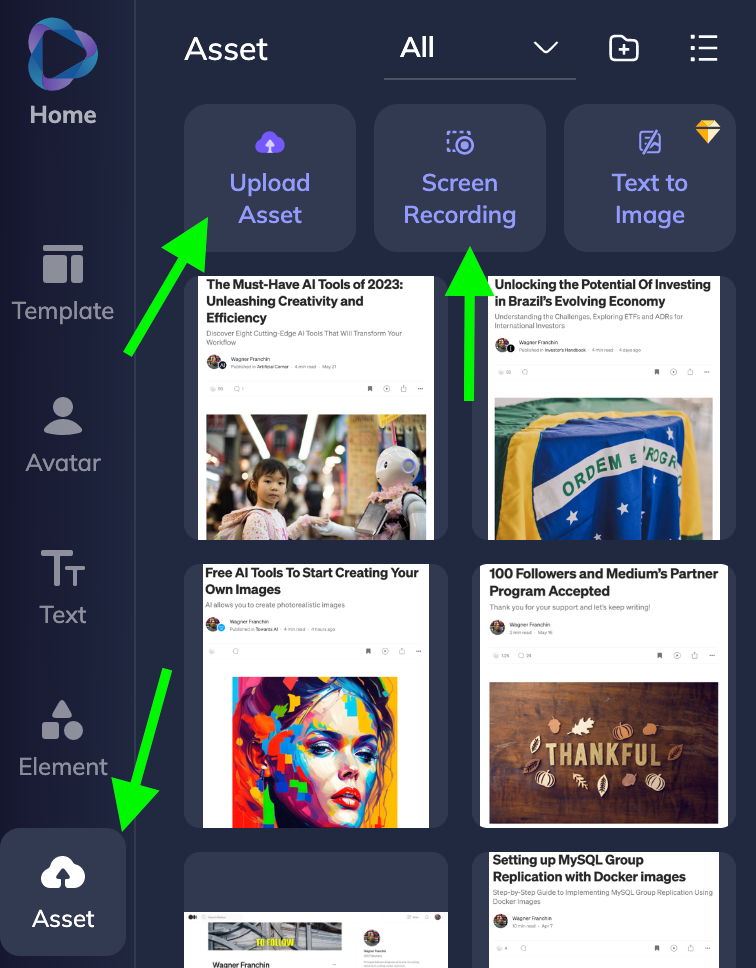
Step 4: Uploading images, videos, and recording the screen
To build the background, I added some screenshots from my Medium Stories and uploaded them. Additionally, I utilized the platform’s screen recorder to create a short video.
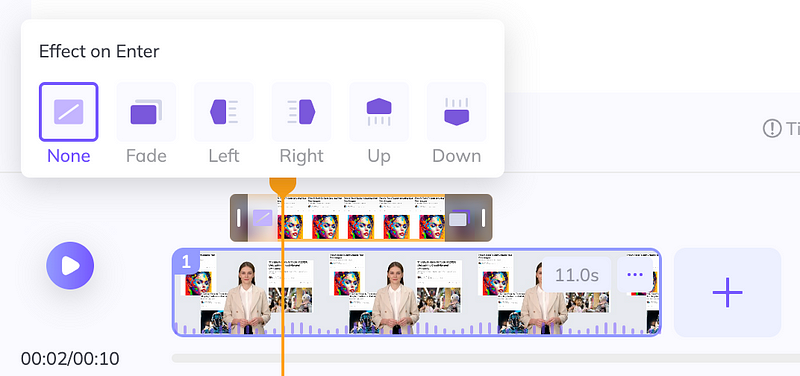
Step 5: Adding assets and finalizing the video
To keep the tutorial concise, I will incorporate some images into the background, which will appear throughout the video.

You have the option to set the duration for how long the images will be displayed and apply different transitions, such as fading, moving left, moving right, and more. Simply click on the extremes to explore these options and see how they affect the visuals in the video.
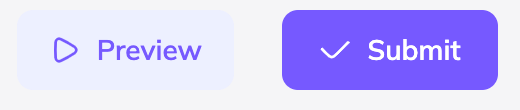
That’s great! The basics you’ve covered provide a solid starting point, and now you can let your imagination take over to create the desired video. When you’re finished, you’ll find options to “Preview” and “Submit” the video at the top right of the screen. Click on “Preview” to review your video before finalizing it, and then click on “Submit” to complete the process.
Final version
Thank you for following the tutorial! Check out the final video version and enjoy the rest of the tutorial. I hope it inspires you to create your own video, and I would love to hear about your experience with the process. Let me know in the comments.
6 Cutting-Edge Technologies Shaping the Future of Work
Unveiling the AI Revolution
pub.towardsai.net
Thanks for reading
- 👏 Please clap for the story (50 claps) to help the article to be spread
- 🌐 Share the story on Social Media
- ➕More stories about Programming, Career, AI and more.
- 🔔 Follow me: Medium | LinkedIn | Twitter
- 📝 Join the Medium Membership Program for only 5$ a month, and support me and other writers to keep on the tremendous work.