
Create a Virtual Machine Template in Hyper-V

Microsoft Hyper-V is a handy utility for creating virtual machines. In today’s article, we are going to go over how to create a virtual machine using the on-screen menus and with PowerShell.
If you don’t have Hyper-V available on your Windows machine, check out my previous article:
Requirements
- Hardware Virtualization Enabled in System BIOS
- Hyper-V is Installed and running.
- Windows Server 2022 ISO
- Windows 10 Enterprise ISO
You can use almost any Operating System ISO, in this article I’m setting up Windows VMs for my lab.
Always get your ISO files from a trusted source! Check out my article below for links to Microsoft’s official page for downloading trials of their operating systems.
Where to Download the Tools Needed for An IT Homelab
We are going to create a Windows 2022 Server virtual machine that is intended to be used as a template. This will save us time in the future when we need to spin up new 2022 servers.
When you open Hyper-V, you should see the screen below.

Let’s create our first VM!
Step 1 — Open VM Creation Menu
In the upper left corner of the Hyper-V Manager screen, inside the pane on the left, right-click on your hostname right under the words “Hyper-V Manager”. Select New and then Virtual Machine.
You should see something like the screenshot below.

Step 2 — Specify Name and Location
Choose a name for the VM. In my case, I’m naming mine “Template — Windows Server 2022” because I’m going to use this VM as a template. More on that later on in a later article. I also created a dedicated folder for this VM and chose that as my Location. Leave everything else as the default and click Next.

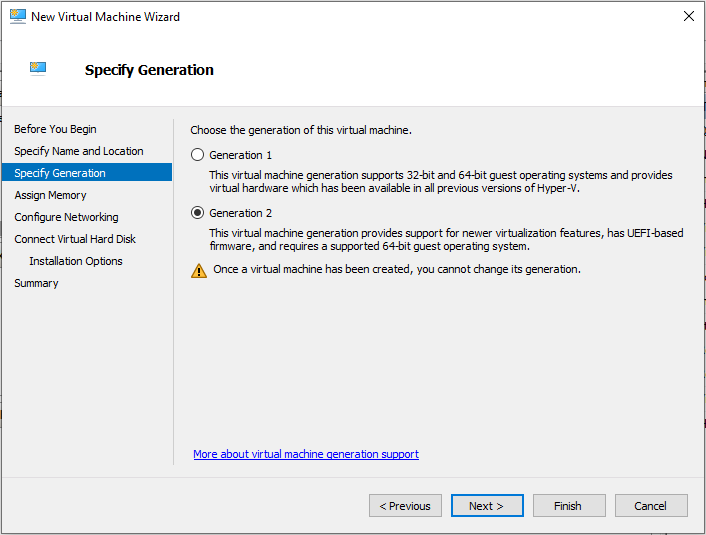
Step 3 — Specify VM Generation
Now we need to pick a VM Generation. Since we will be working with the latest Windows OS families that rely on UEFI, we will choose Generation 2. When in doubt, always pick that option. Click Next to continue.
Step 4 — Assign Memory
On this screen, we need to choose how much RAM our virtual machine will use. If you go through the Microsoft recommended hardware configuration for Domain Controllers, SQL Servers, etc., they are leaning toward production environments. Since we are only testing, we can pick lower RAM numbers. Set your number and leave the check box checked. Click Next to continue.

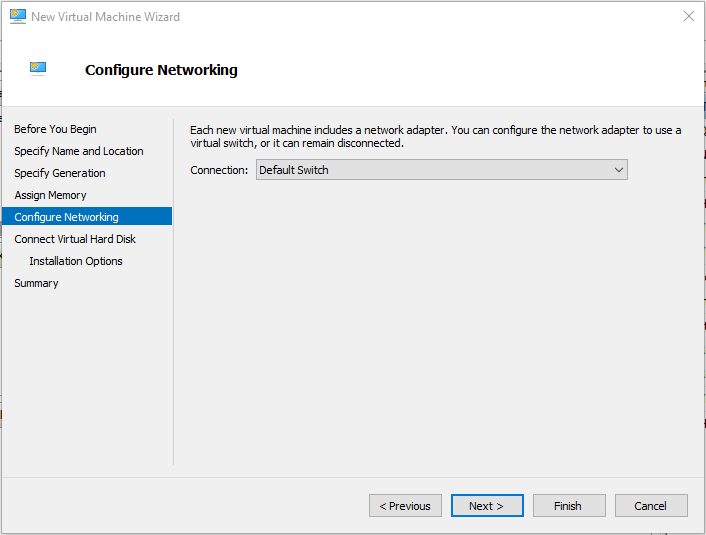
Step 5 — Configure Networking
If you haven’t used Hyper-V before, you probably only have one network available named “Default Switch”. Select that option and click Next to continue. We’ll go over networking in a later part of the series.
Step 6 — Connect Virtual Hard Disk
In this step, we are going to create a virtual hard drive for our VM to live on. We will choose the “Create a virtual hard disk” option. Create a name for your hard drive and make sure it has .vhdx at the end of it. This is the file type for the virtual hard drive. Select the folder you created for your VM as the location. I like to keep everything in one place for each VM. Then select a size. We won’t have much on our servers so 80 GB is a decent number. Some VMs, later on, will require more storage. Click Next to continue.

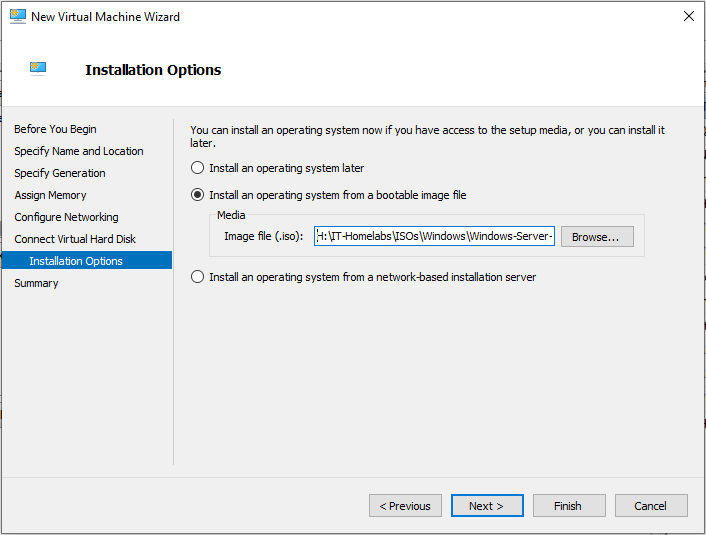
Step 7 — Installation Options
In this step, we are going to select our installation option. If you haven’t already, check out my article below and download the ISO for Windows Server 2022.
Select Install an operating system from a bootable image file. Navigate to your downloaded ISO file and select it.
Then click Next to continue.
Step 8 — Completing the VM Creation Wizard
On the next screen, you should see a summary of your selections. Click Finish to create the VM.

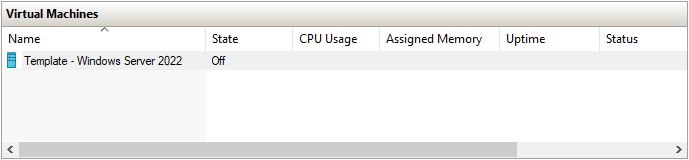
You should see your newly created VM in your list of Virtual Machines.
Step 9 — Connecting to Your VM
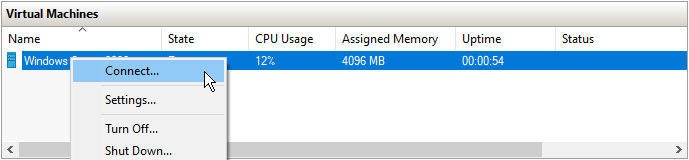
Right-click on VM and select Connect.
Step 10 — Starting Your VM
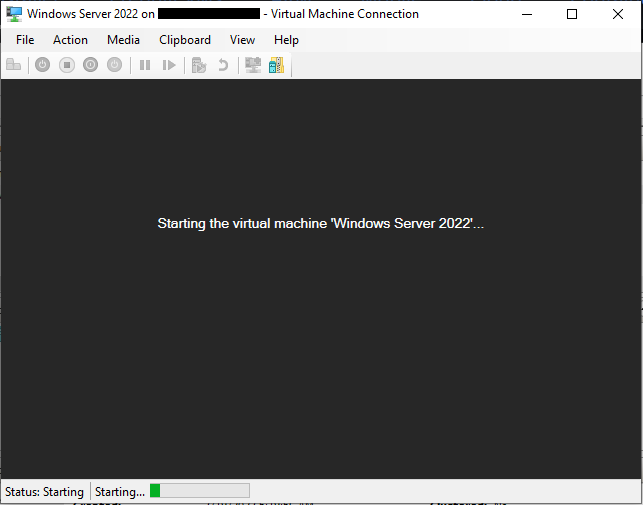
In the screen that pops up. Click the Start button to power on your VM.

You should briefly see this screen afterward.
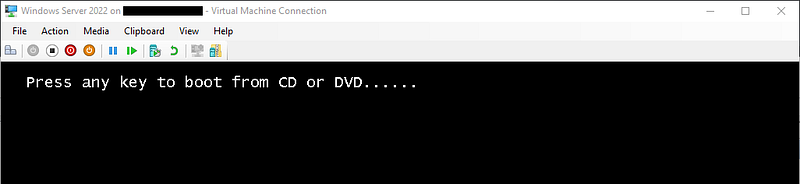
Step 11 — Boot from Your ISO File
The screen below should appear next. As soon as you see “Press any key to boot from CD or DVD…” press the spacebar. If you miss the timing or it doesn’t work for any reason, click Action at the top, then Turn Off or Shut Down. Then start steps 9 and 10 again.
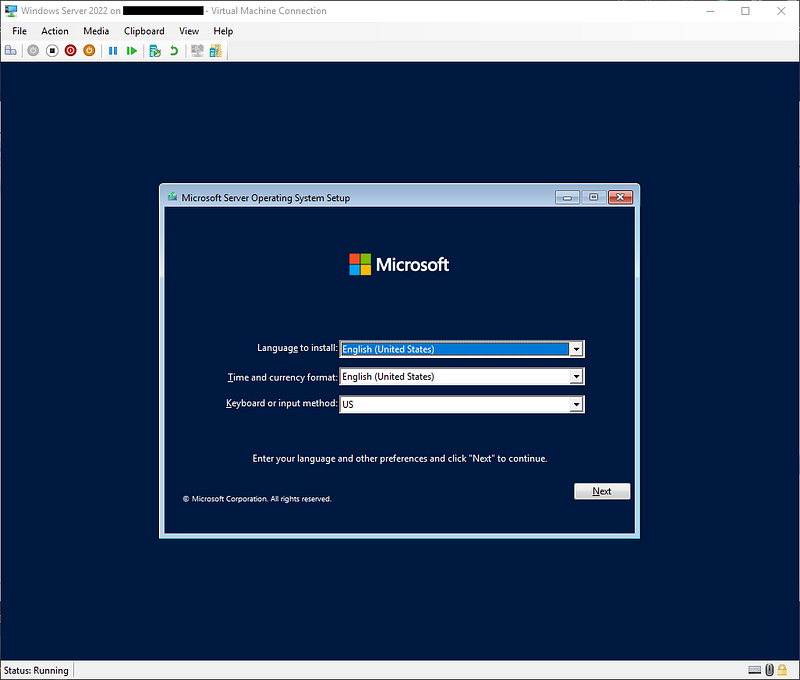
Step 12 — Operating System Setup
You should be greeted with the screen below. Select your language, time and currency format, and keyboard/input method, and then click Next to continue.
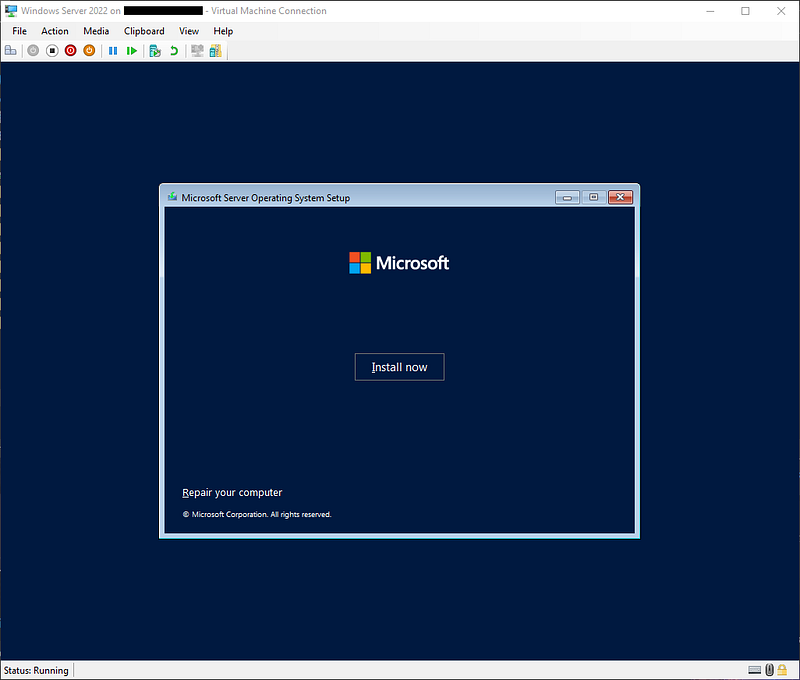
Step 13 — Installing the OS
Click install to start the installation process.
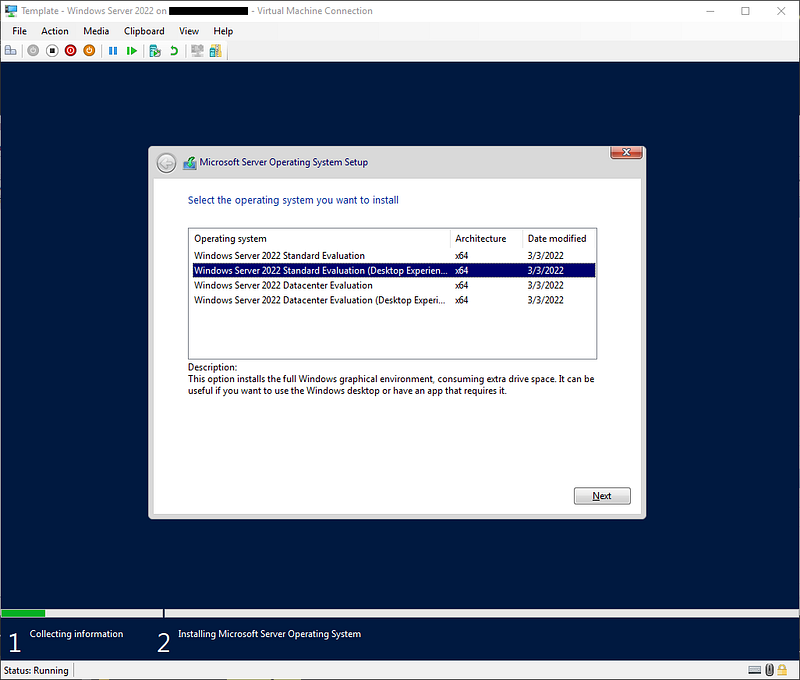
Step 14 — OS Selection
Select Windows Server 2022 Datacenter Evaluation (Desktop Experience). Then select Next to continue.
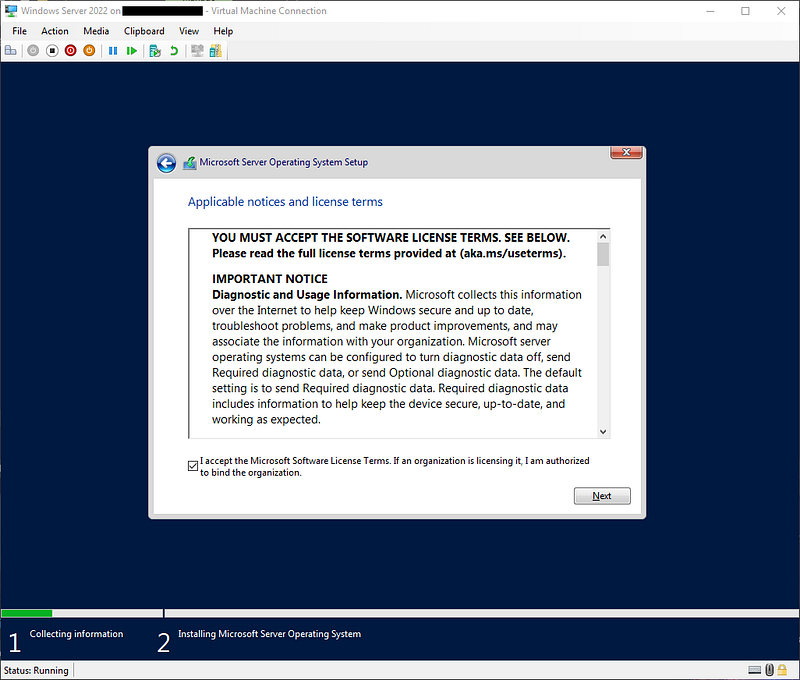
Step 15 — Applicable Notices and License Terms
Read through and accept the license agreement.
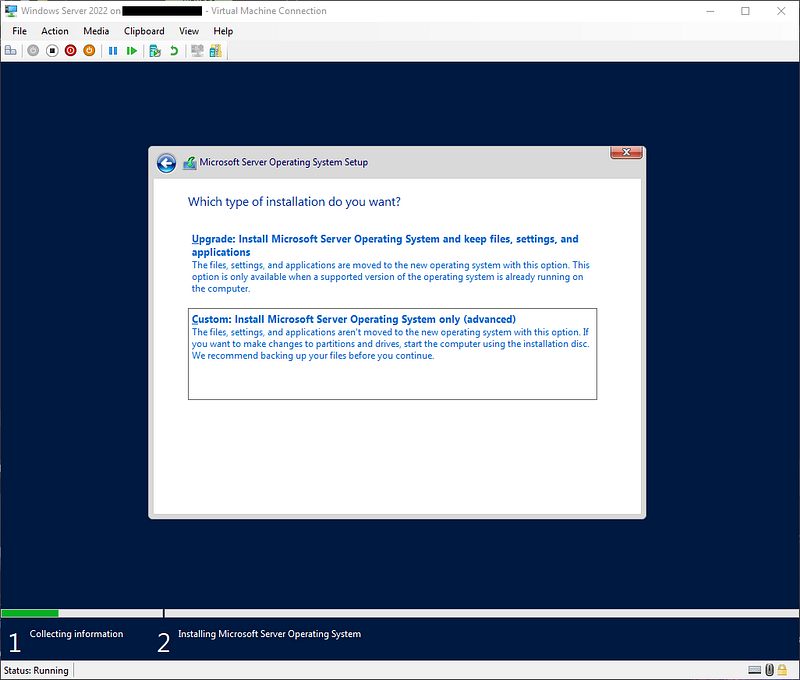
Step 16 — Installation Type
Select Custom: Install Microsoft Server Operating System only (advanced).
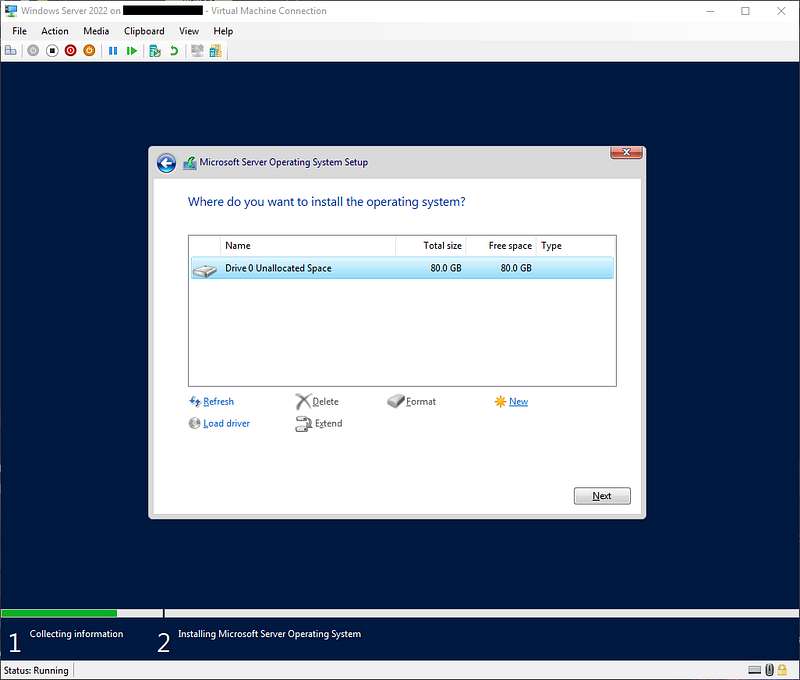
Step 17 — Format the Hard Drive
In this step, make sure Drive 0 is selected and click New.
Then click Apply.

You should see a pop-up like the one below. Click OK.
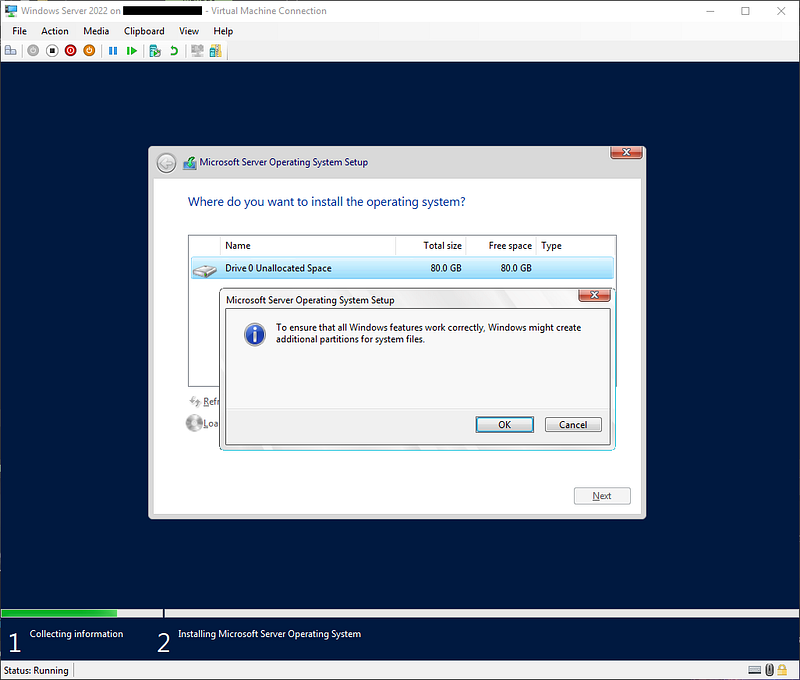
This will create a few partitions Windows needs to function properly. Make sure Drive 0 Partition 3 is selected and click Next to continue.

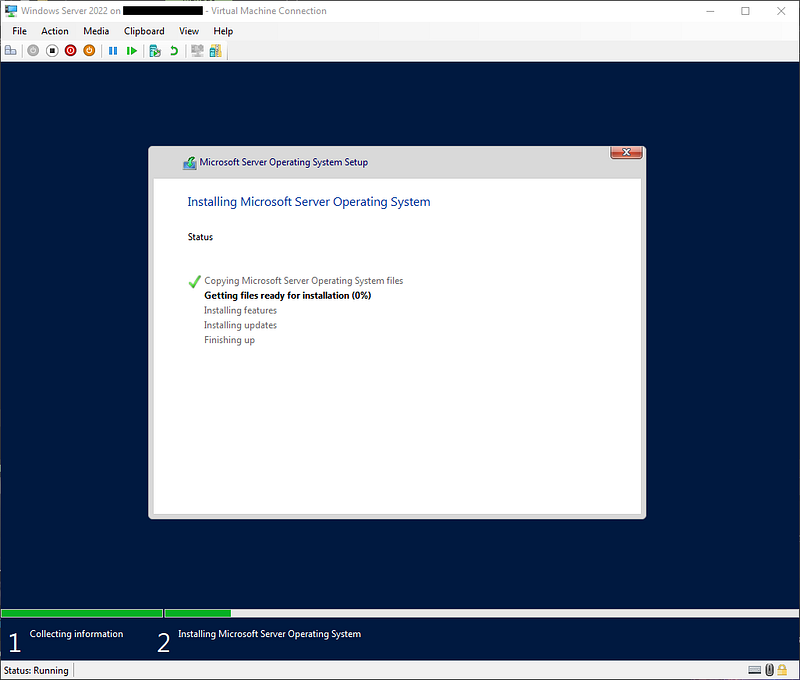
Windows will begin installing the operating system.
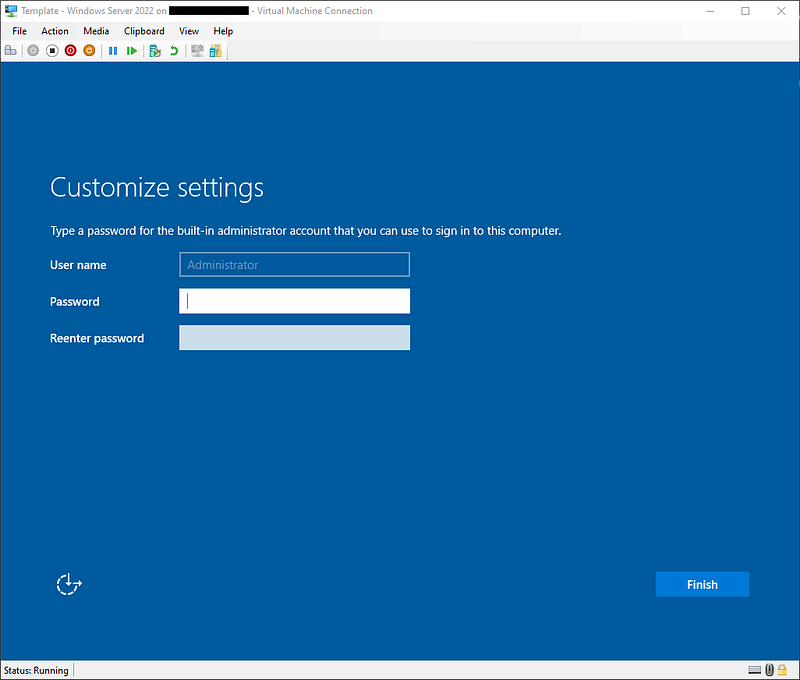
Step 18 — Customize Settings
When the OS is finished installing, you will be asked to set a local Administrator password. Create a password and click Finish. We’re almost done!
When the OS logs you in, you will see several pop-ups. On the Networks pane on the right, click Yes to make your VM discoverable on the Default Network we selected earlier. Close the Server Manager pop-up and the Server Manager Dashboard. We’ll go over those later.
Go ahead and check for any updates.

Once all the updates are installed and you’ve taken care of any reboots, let’s prep this machine to be a template. We will do that by using a built-in tool called Sys Prep.
This will help us remove any computer-specific information like the computer security identifier (SID).
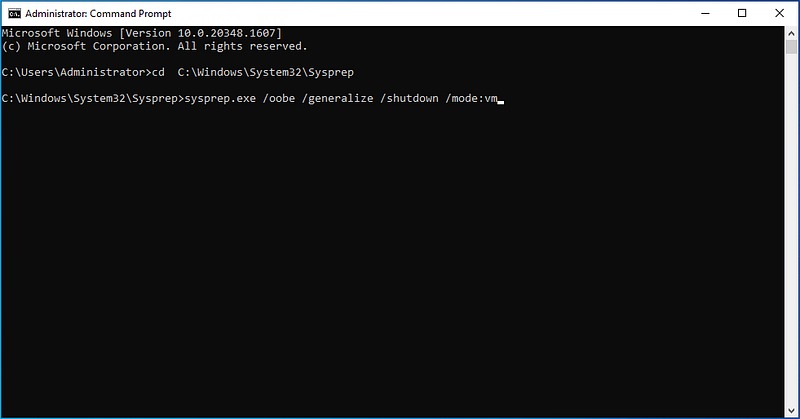
Open a command prompt as an administrator and run the following commands.
Command 1: cd C:\Windows\System32\Sysprep (press enter to run command)
Command 2: sysprep.exe /oobe /generalize /shutdown /mode:vm (press enter to run command)
Let’s break down what those command switches are doing.
/oobe
Restarts the computer into OOBE mode. OOBE enables end users to customize their Windows operating system, create user accounts, name the computer, and perform other tasks.
/generalize
Prepares the Windows installation to be imaged. Sysprep removes all unique system information from the Windows installation. Sysprep resets the security ID (SID), clears any system restore points, and deletes event logs.
/mode:vm
Generalizes a Virtual Hard Disk (VHD) so that you can deploy the VHD as a VHD on the same Virtual Machine (VM) or hypervisor.
/shutdown
Shuts down the computer after the Sysprep command finishes running.
You should see the screen below after you run the command.

When the command has completed running, your VM will shut down and you will be brought back to your Hyper-V Manager screen. Notice your VM is now in the Off state.

There you have it! Now we have a VM ready to be used as a template. In the next article, we’ll write a PowerShell script to deploy new servers in our lab.


