
Create a Delta Table in S3 from your local Windows machine using PySpark

If you are using a local Python development environment and want to access S3 storage, and create a Delta table, this post will show you how.
NOTE: For help setting up a local Python development environment, check out my blog post here. Also if you don’t already have an AWS account, you can check out my other blog post here on how to create a free account and secure it.
These are the steps that we will be following:
- Create a S3 bucket
- Create an IAM user
- Store the access keys
- Connect to S3 using PySpark and create a Delta Lake table
Create a S3 bucket
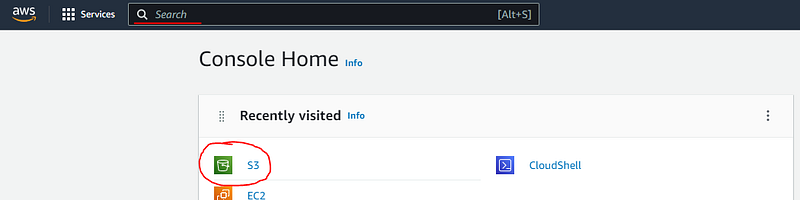
The first step is to log into your AWS account. The from the main console screen select “S3” or, if it doesn’t appear there, you can type “S3” in the search bar at the top of the screen:
On the S3 screen, click the the “Create bucket” button:

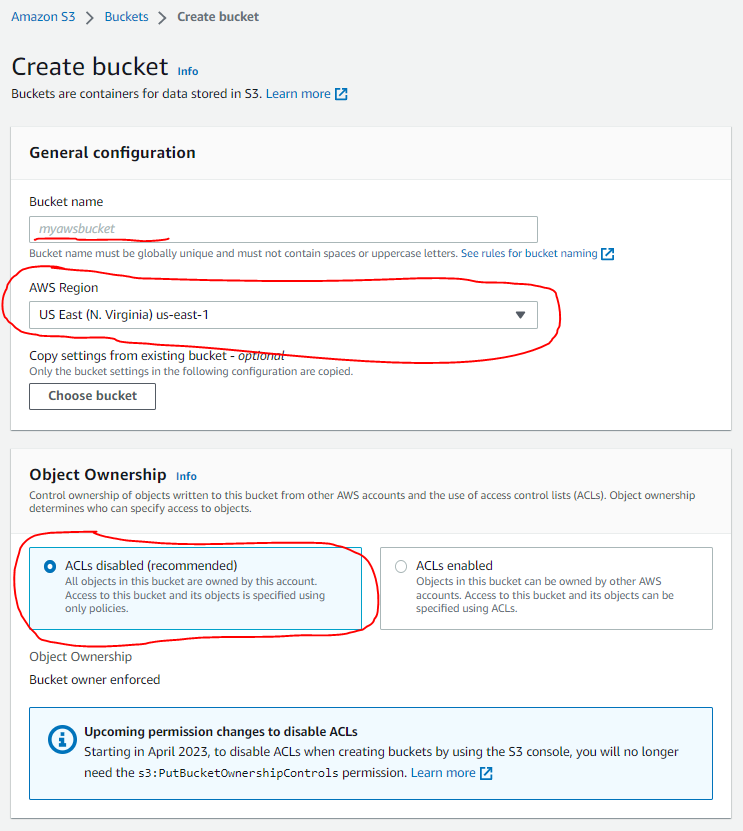
On the new bucket screen, choose a globally unique name for your bucket, and the region in which you want it created:
- Choose a globally unique bucket name
- Choose the region in which you want to create your bucket (Take note of the region as you’ll need it later when connecting)
- Select the “ACLs disabled” option
Scroll down and make sure that all public access is blocked. You can leave the other settings as the defaults, and click the “Create bucket” button at the bottom:

NOTE: All you really need is the globally unique name of your bucket and the region in which it was created, in order to connect to it later.
Create an IAM user
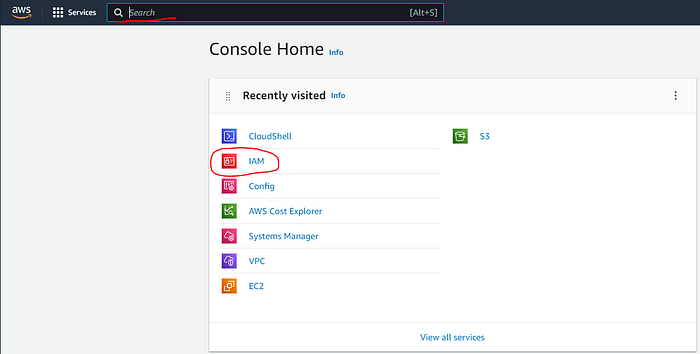
From the main console screen select “IAM” or, if it doesn’t appear there, you can type “IAM” in the search bar at the top of the screen:
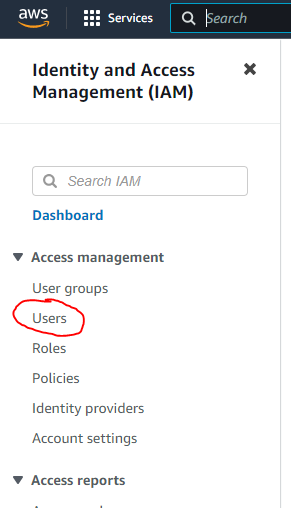
On the IAM screen, click on the “Users” link on the left hand side:
On the Users screen, click on the “Add users” button:

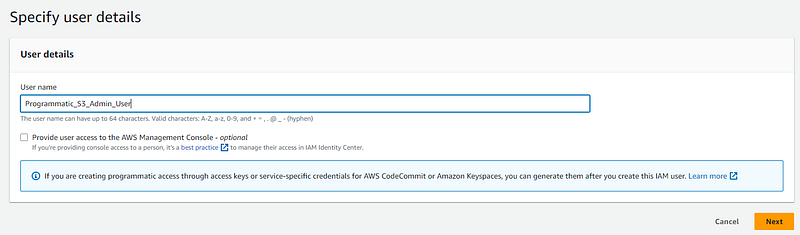
On the Create User screen, provide a user name and click the “Next” button. No need to give the user console access as this user will only be used in your code to access S3:
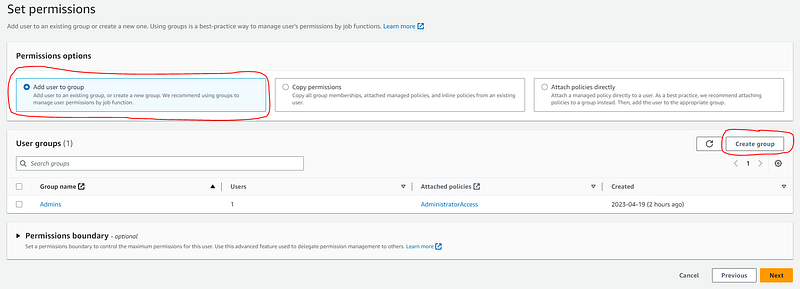
Next select the “Add user to group” option, and then click the “Create group” button:
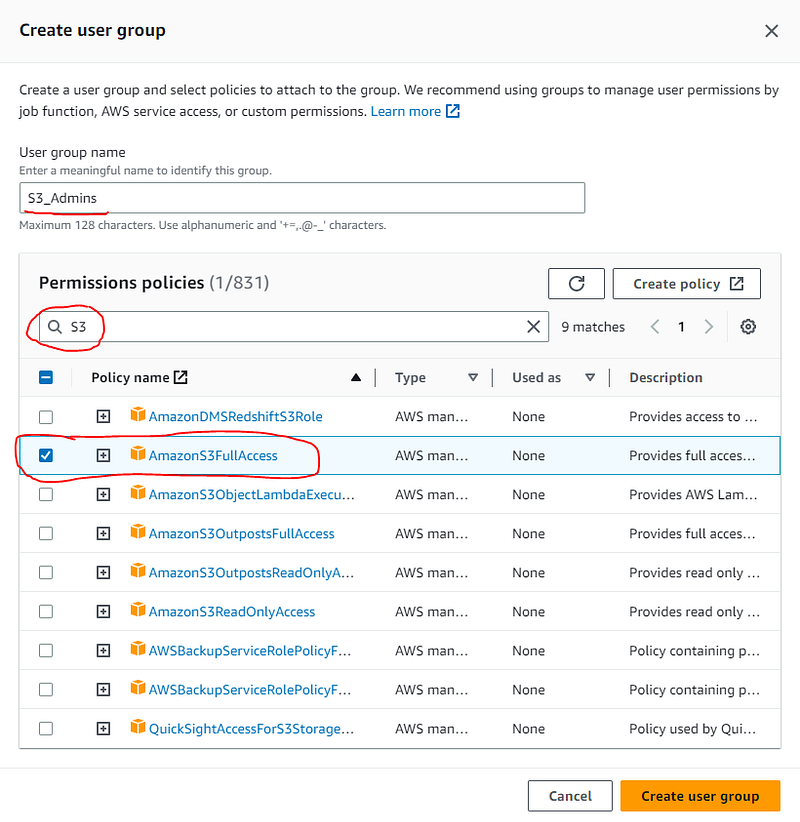
On the Create user group screen:
- Give the user group a name
- Type “S3” in the permissions policies search box to narrow the policies down
- Select the “AmazonS3FullAccess” policy
- Click the “Create user group” button
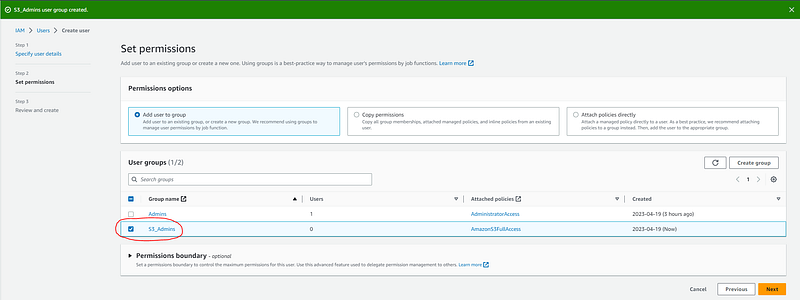
You should then see a message along the top saying that the user group was successfully created. Select the new user group and click the “Next” button:
Next click the “Create user” button:
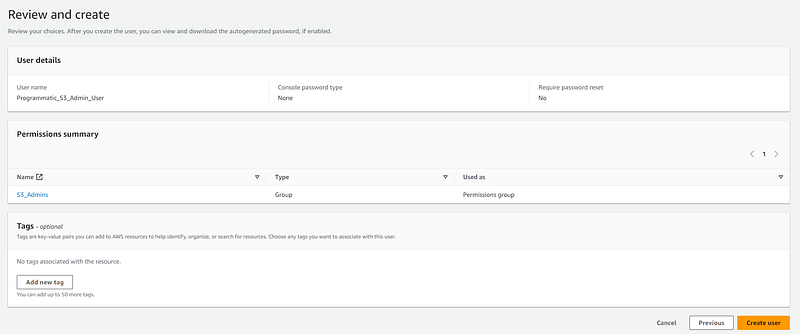
You should see a message along the top of the screen saying that the user was successfully created. Click on the “View user” button:

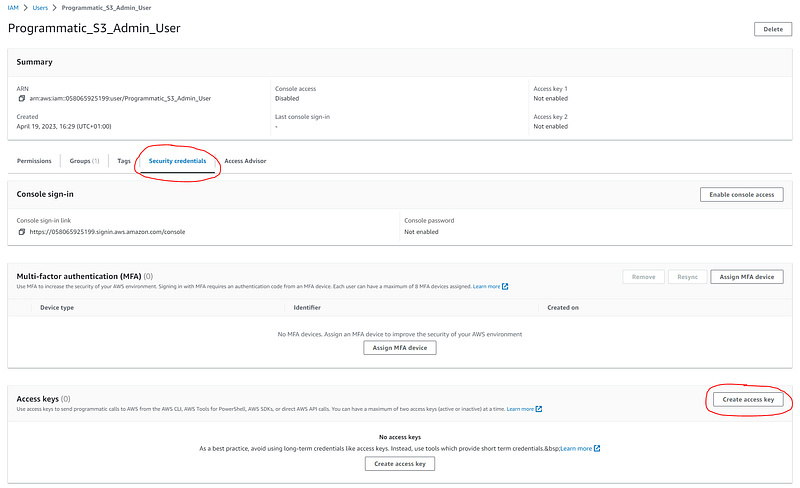
On the user details screen, select the “Security credentials” tab, and then click on the “Create access key” button:
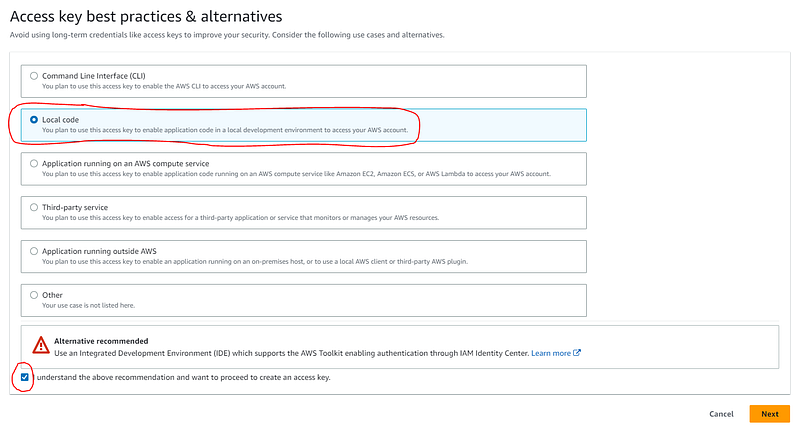
Next, select the “Local code” option. If you are using your own free AWS account, the likelihood is that you don’t have AWS IAM Identity Center set up, and will therefore need to generate access keys. So go ahead and check the box, below the warning, to say that you understand you are not choosing the recommended option. Then click the “Next” button:
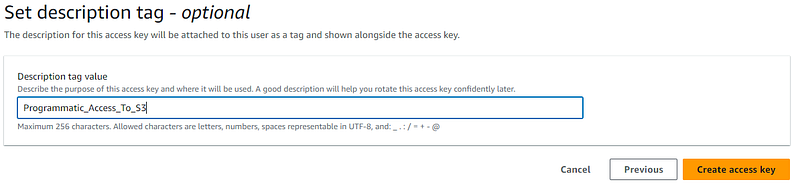
Provide an optional descriptive tag for access key, and click the “Create access key” button:
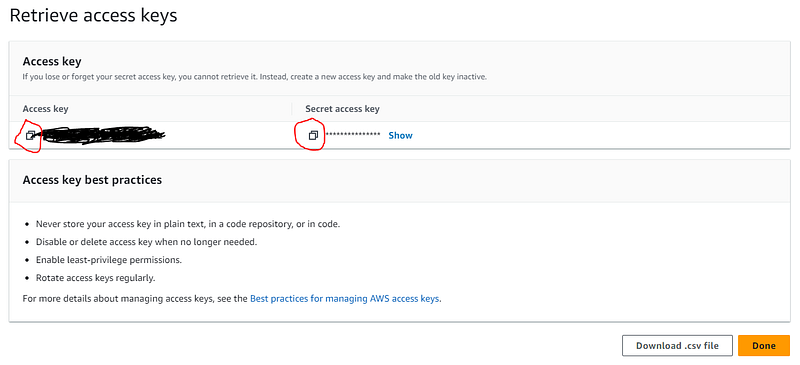
Copy and paste the “access key” and “secret access key” into Notepad temporarily. These will not be available again once you leave this screen, so make sure that you get a copy of them now. Once you have copied them, click on the “Done” button:
Store the access keys
Next, we’ll add the keys as environment variables. This is to avoid hardcoding any of these values in your code. To do this go to System Properties and select the Environment Variables button:

Under System variables click the New button and add a new variable called AWS_ACCESS_KEY with a value of the access key that you copied into Notepad:

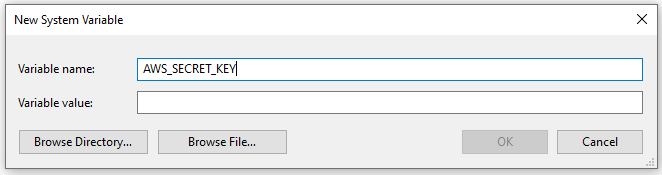
Again, under System variables click the New button and add a new variable called AWS_SECRET_KEY with a value of the secret access key that you copied into Notepad:
NOTE: Once you have created the two system variables, you can delete the values out of Notepad.
Connect to S3 using PySpark and Delta Lake
Before connecting to S3 you need to make sure that you have two additional jar files copied. First locate your “/site-packages/pyspark/jars” folder in your python installation.
My folder was found here:
C:\Users\DeJesusP\AppData\Local\Programs\Python\Python310\Lib\site-packages\pyspark\jars
NOTE: You need to check which file versions are compatible with your environment. For details on how to install PySpark check out my other blog post here which also shows the versions of each component that I’m using.
If the following two files don’t already exist in your “/site-packages/pyspark/jars” folder, then copy them in:
Once those files are in place, you can start connecting to S3. The following Python code configures PySpark with the required settings for S3 and Delta Lake, and creates a sample Delta table in the S3 bucket you created earlier:
import os
from pyspark.sql import SparkSession
from delta import *

builder = SparkSession.builder.appName("MyDeltaLakeApp") \
    .config("spark.hadoop.fs.s3a.access.key", os.environ.get("AWS_ACCESS_KEY")) \
    .config("spark.hadoop.fs.s3a.secret.key", os.environ.get("AWS_SECRET_KEY")) \
    .config("spark.hadoop.fs.s3a.aws.credentials.provider", "org.apache.hadoop.fs.s3a.SimpleAWSCredentialsProvider") \
    .config("spark.hadoop.fs.s3a.endpoint", "s3.eu-west-1.amazonaws.com") \
    .config("spark.jars.packages", "org.apache.hadoop:hadoop-aws:3.2.2") \
    .config("spark.hadoop.fs.s3a.impl", "org.apache.hadoop.fs.s3a.S3AFileSystem") \
    .config("spark.delta.logStore.class", "org.apache.spark.sql.delta.storage.S3SingleDriverLogStore") \
    .config("spark.sql.extensions", "io.delta.sql.DeltaSparkSessionExtension") \
    .config("spark.sql.catalog.spark_catalog", "org.apache.spark.sql.delta.catalog.DeltaCatalog")

spark = configure_spark_with_delta_pip(builder).getOrCreate()

rootPath = "s3a://" + "my-bucket-name"

data = [(10103, "X", 234.324), (14231, "F", 7435.72), (10352, "T", 37.734)]

schema = StructType([
    StructField("deviceId", IntegerType(), True),
    StructField("type", StringType(), True),
    StructField("value", DecimalType(), True),
])

deviceData = spark.createDataFrame(data=data, schema=schema)
deviceData.write.format("delta").save(rootPath + "/deviceData")

spark.read.format("delta").load(rootPath + "/deviceData").show()
Here is a breakdown of the code above:
The following lines read the AWS access keys from the environment variables you created earlier:

Notice that the “endpoint” config line references the region in which your S3 bucket is to be found. You’ll need to update that to whatever region you are using:

On the “rootPath” variable line, you need to replace “my-bucket-name” with the globally unique bucket name that you created:

The following lines create some sample data and write it to a delta table on S3:
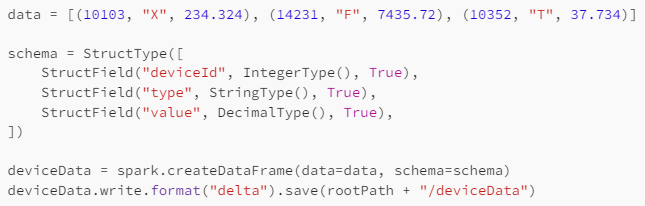
The last line reads the data from the S3 delta table.


