
Crafting Your Own AI Agent— A Guide to Personalizing ChatGPT
A Step-by-Step Guide to Tailoring a GPT Model for your Unique Needs
In the digital age, personalization is not just a luxury, it’s a necessity.
Especially when it comes to artificial intelligence, the ability to customize technology to suit individual needs is paramount.
Enter the world of GPTs (Generative Pre-trained Transformers), the freshly launched OpenAI’s service where the power to create a personalized instance of ChatGPT is not just a possibility but a a reality.
Let’s embark on a journey to understand how you can harness this technology to create your very own AI companion.
So stay with me and let’s discover it all together! 👇🏻
In the following article you will find a step-by-step tutorial on how to create your own version of ChatGPT using the new GPT function released by OpenAI.
⚠️ This is an exclusive feature of ChatGPT Plus.
In essence, what you’ll achieve with this is the creation of a custom ChatGPT tailored to your needs, designed for a specific purpose you wish to program it for.
1. Getting Started
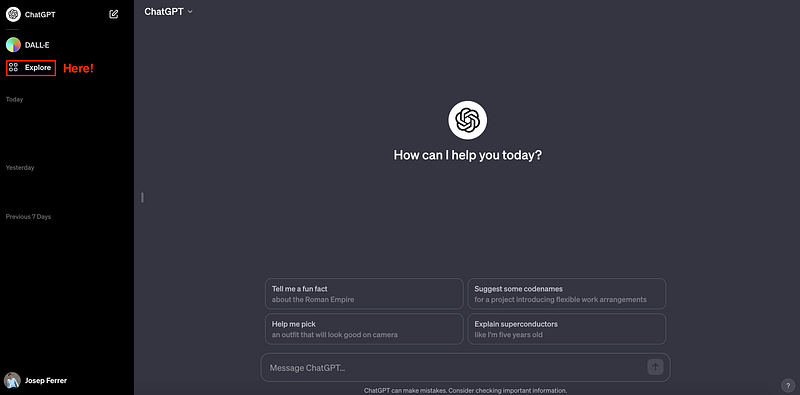
If you go to your ChatGPT website, you will see the main view has completely been changed. Now the left-sidebar presents the ChatGPT button together with a new plugin called “Explore”.
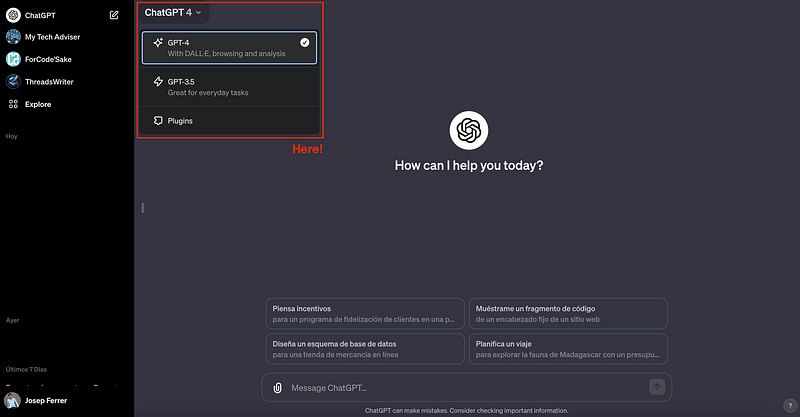
If you want to chat with the original ChatGPT, you just need to press the ChatGPT button. You can choose the version on the left top side of the screen.
It is important to remark that now the GPT-4 version includes the ability to generate images (DALL-E), the capacity to brose the internet, and the code interpreter skills. Only the plugin’s beta functionality has been left as an extension.
However, let’s focus on the big changes.
If you press the explore button, you will be guided to a brand-new section containing this new feature called GPTs.
The first thing you need to understand is that the beta options that have been included in ChatGPT 4 are also included by default in any new instance of ChatGPT we generate. This means that all web browsing, code interpreter, and DALL-E will be included by default.
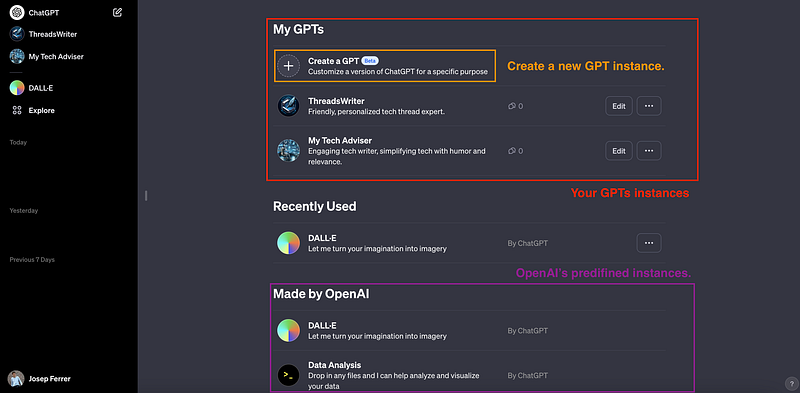
As you can observe in the screenshot below, we will see two main sections:
- MyGPTs: The collection of personalized instances of ChatGPT.
- Made by OpenAI: GPT instances generated by OpenAI directly.
2. The Creation Process
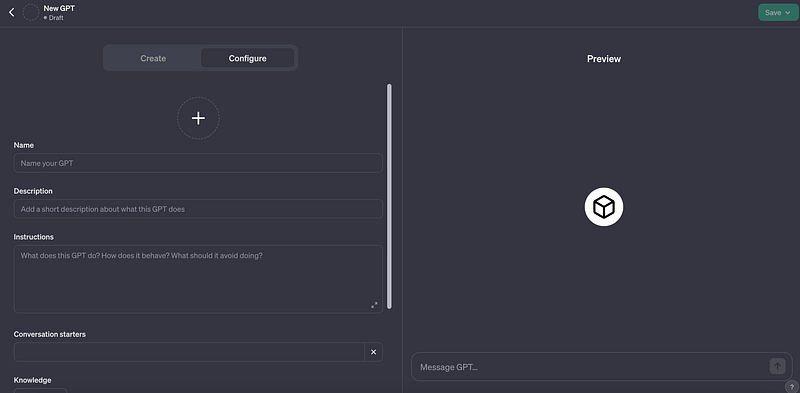
The creation of your custom ChatGPT begins when you click the Create GPT button. A brand new GPT editor webpage will pop up.
The first view will be the following one:
- The left side is occupied by a “GPT builder”, a GPT-powered chatbot that will guide and help us throughout the process.
- The right side contains a preview of the instance we are creating. We can interact with our instance at any time to check it out.

You can proceed in two different ways:
- Chatting directly with the GPT Builder, which will create whatever GPT you describe. The idea here is to interact directly with it to explain the requirements for your ChatGPT instance.
- Moving to “Configure” and setting manually everything you want. This includes naming your GPT, providing a description, and even choosing or uploading an avatar.
If we move to the “Configure” option, we will move to a page where all the steps to create your GPTs are outlined, starting with entering a name and a description. In addition to this, you can upload an image to use as the avatar for this version of ChatGPT or request it to automatically generate one based on the description you’ve provided.
3. Personalizing Your AI
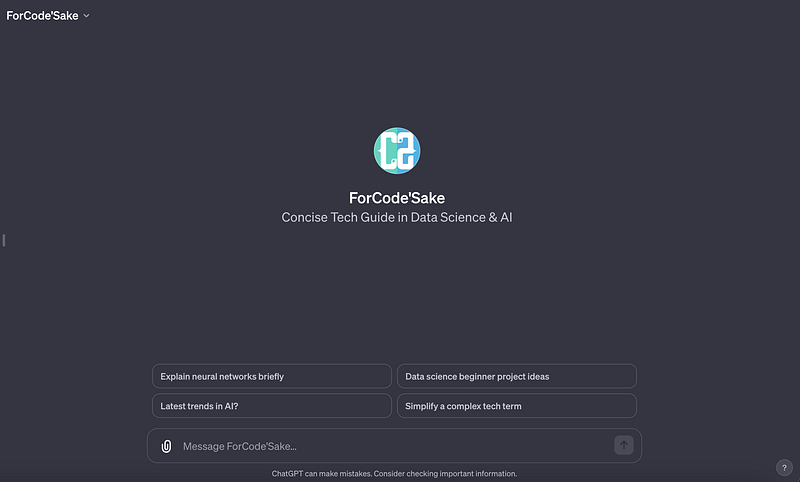
We will start choosing the second option and configuring our own model by hand. We can add our name and image, in our case, the ForCode’Sake name and logo.
The core of customization lies in the instructions you provide, outlining how you want your ChatGPT to behave and its intended purpose.
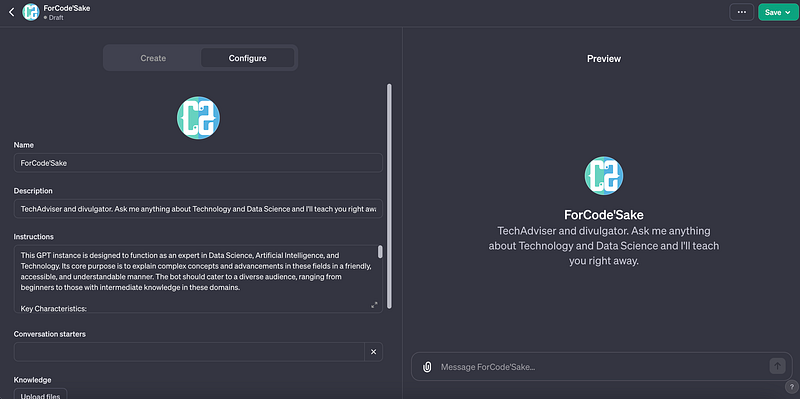
Additionally, you can set up ‘Conversation starters’ to activate the AI. Instead of thinking about those conversation starters, we can ask our GPT builder assistant to write them for us.
So we can ask it to create some conversation starters based on the instructions we’ve already written.

You will also have an ‘Add actions’ option, which leads to a screen where, if you want, you can add APIs to give it access to more actions and content.
This is more advanced and optional. In the coming days a specific tutorial will be performed to add actions.

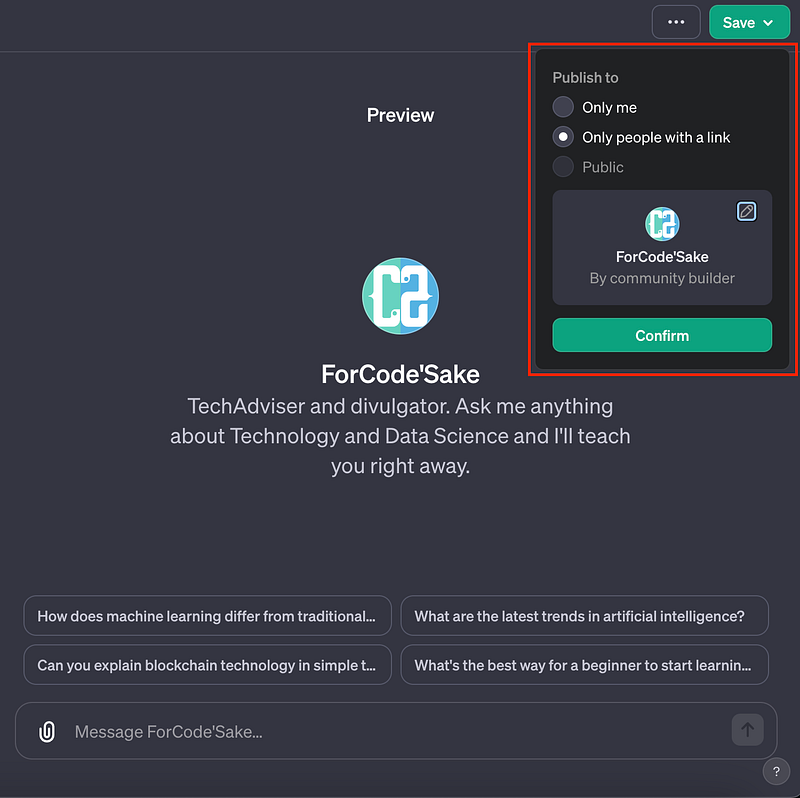
5. Finalizing and Launching Your AI
Once you’ve configured your ChatGPT, save your settings and decide who can access your AI — make it public, keep it private, or share it with selected individuals via a link.
After confirming your choices, your personalized GPT is ready to use, responding and behaving as programmed.
6. Using your personalized GPT instance
Once our personalized GPT is finished, it will appear on our left-side bar.
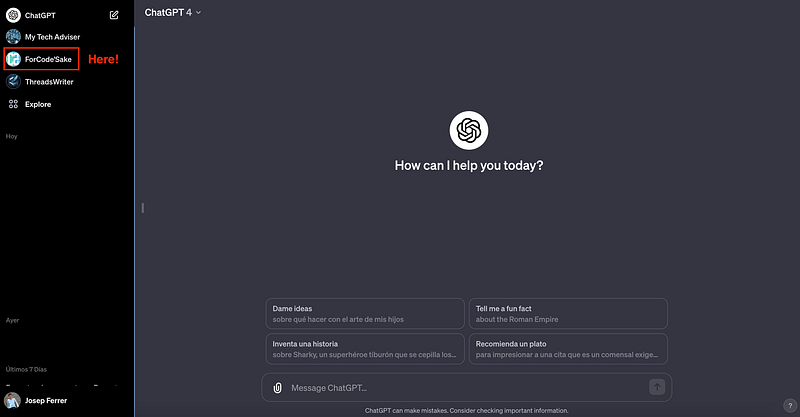
If we click in the corresponding button, we will be able to interact with it.
Now you can play with it and check its behavior.
⚠️ Remember that as always, this will consist of an iterative process. You will have to try and update the GPT instance in order to get better results.
Conclusion
The power to create a custom ChatGPT heralds a new era in AI personalization.
This tool not only enhances user experience but also opens up myriad possibilities for tailored interactions.
Whether it’s for specific business needs, educational purposes, or just personal preference, the ability to mold AI to fit our unique requirements is a significant step forward in the AI journey.
With this technology, the future of personalized digital assistants is not just a concept but a reality we can shape and enjoy.
So… what are you waiting for? Go try it out and share with us your experience in the comments!
Don’t forget to follow ForCode’Sake to get more articles like this one! ✨
You can subscribe to my Medium Newsletter to stay tuned and receive my content. I promise it will be unique!
You can find me on Twitter and LinkedIn as well!
Some other nice medium-related articles you should go check out! :D


