
Consistent Cinematography with Midjourney: Cinematic Prompt Cheatsheet
A Guide To Creating Cinematic Images With Midjourney
Cinematic Prompt Anatomy
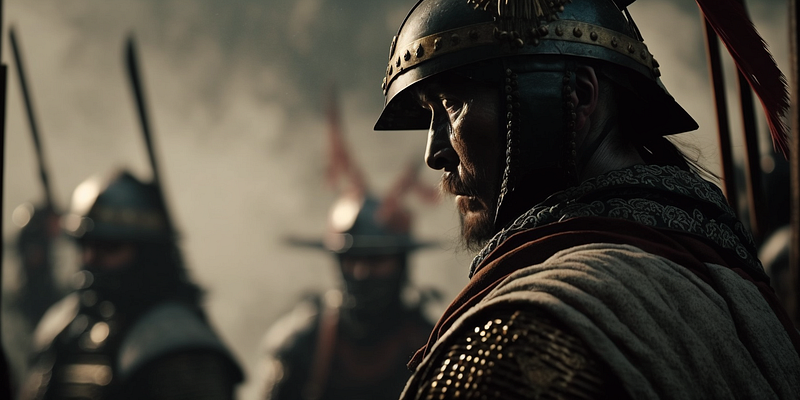
There are many ways to create images that have a “cinematic” look. Generally, we perceive images as “cinematic” if they contain artifacts of real-world filmmaking, such as certain camera angles and shot types, cinematic scene composition, lighting effects or character placement, etc.
This may sound trivial at first, but this general observation has some interesting implications when it comes to developing “cinematic prompts” with Midjourney. Basically, in order to make our images “cinematic” we want to show as many artifacts of traditional filmmaking as possible.
Here is a schematic drawing showing how a single prompt can contain all the necessary cinematic artifacts and how they relate to the corresponding filmmaking crafts.
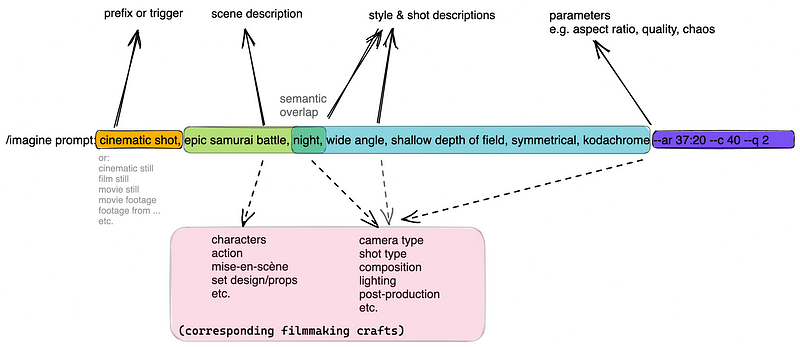
- A Prefix or Trigger is used to add context to Midjourney’s holistic prompt interpretations
- A scene description includes (explicitly or implicitly) character placement, action, composition, mise-en-scène/set design, props, etc.
- Style & shot descriptions include (explicitly or implicitly) camera & shot type, lighting, post-production, film material/quality, etc
- By using parameters, aspect ratio, quality, and chaos can be defined.
It’s important to remember that these categories can’t be sharply differentiated, since they semantically overlap. For example, when using the same prompt (i.e. same prefix + same scene description), the usage of the word
- “night” in the scene description implies specific lighting effects (e.g. “Backlighting”),
- replacing it with “having a conversation” implies specific shot types (e.g. “Two Shot”, “Over-the-shoulder shot”), and
- changing it to “futuristic room” implies specific set designs and color grading (“sterile” or “clinical” indoor set design, resemblance to genre reference works, e.g. “Space Odyssey”):

Something to keep in mind when crafting scenes with Midjourney:
- scene and style descriptions always overlap (we have to deal with interference when designing prompts)
- the shorter the prompt, the more control; long prompts tend to entail redundant expressions or unindented overlaps
- the longer the prompt, the less control but the more explorative potential
- redundancy is necessary in some cases, e.g. “enforcement” (see: style/shot descriptions)
Based on my personal experience as a screenwriter using visual storytelling to create scenes based on a given narrative, there’s this rule of thumb: The more accurately you can describe a scene, the shorter the prompt gets — the shorter the prompt, the easier you can control it and make changes.
Let’s take a look at the individual elements of this cheat sheet for prompt design:
Prefixes or Triggers
These are pretty self-explanatory. We use them to give Midjourney a context for which medium we expect the rendering to be appropriate (in our case a cinema screen instead of canvas for a renaissance painting). The following expressions work well as prefixes/triggers to tell Midjourney to render in a cinematic context:
film still
cinematic still
cinematic shot
movie shot
footage from movie
movie footage
movie scene
cinematic movie scene
footage from [INSERT genre description] movie

etc.
They are interchangeable most of the time, as we can see here (same prompt, iterating prefixes):

If we modify Prefixes/Triggers further with …
black and white movie scene
sci-fi movie footage
etc.
… we can achieve explicit (“black and white”) or implicit (“sci-fi” changes the color grading, not the costumes or setting) prompt effects.
Scene Descriptions
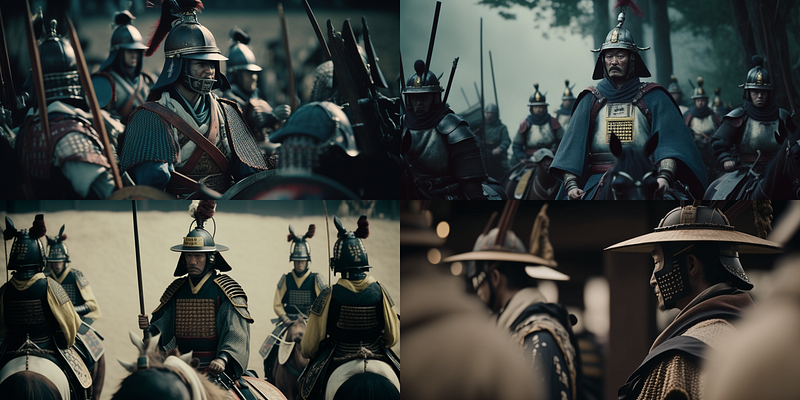
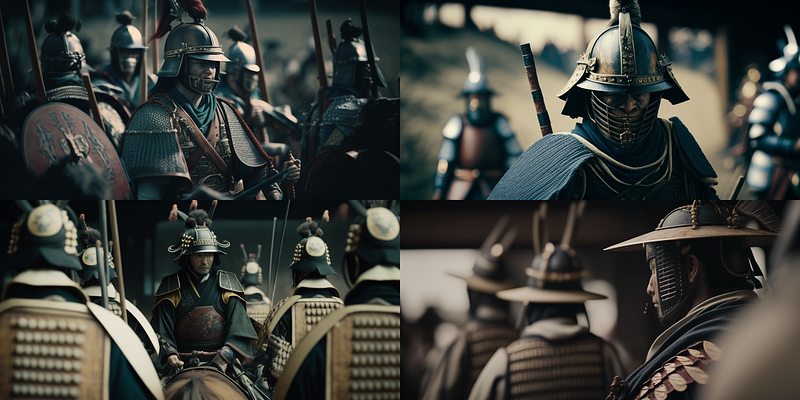
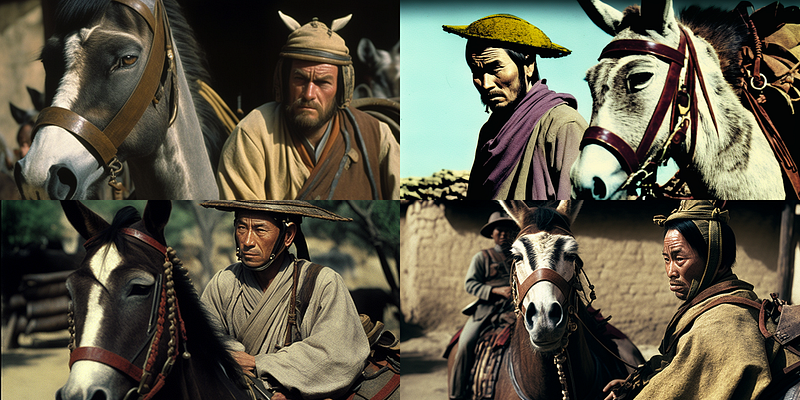
The effect of explicit/implicit expressions greatly influences scene descriptions. For example, compare these two pictures:
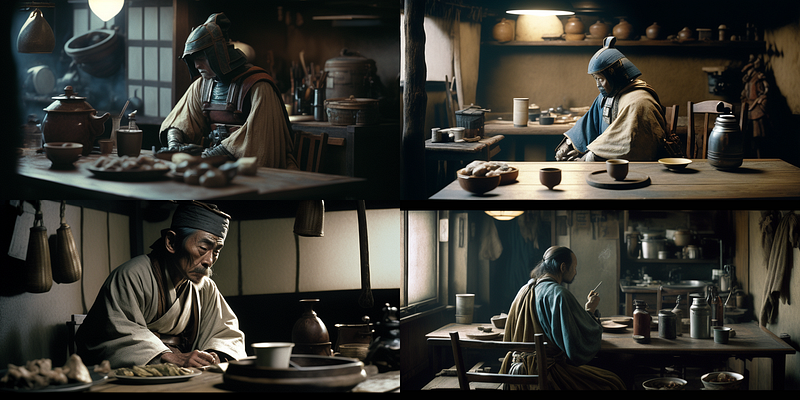
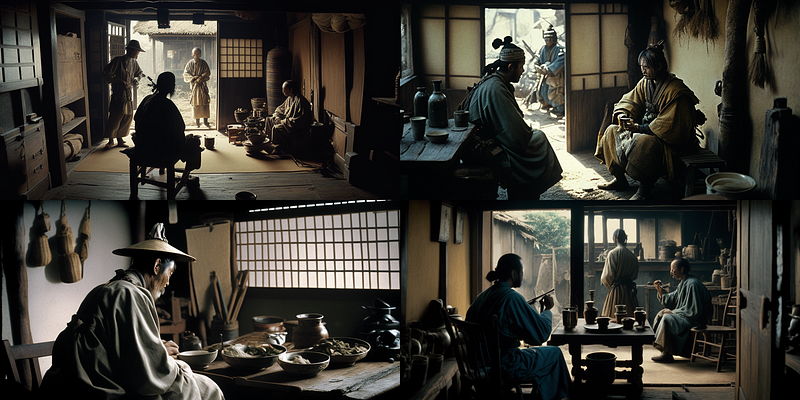
In the images above, the same prompt is used and the only change is the description of the scene (one explicitly uses “samurai sitting at a table in a kitchen”, and the other produces similar content implicitly with “domestic scene of a samurai”). Note also that “samurai” has cultural and historic implications for the depiction of the set, characters, and props.
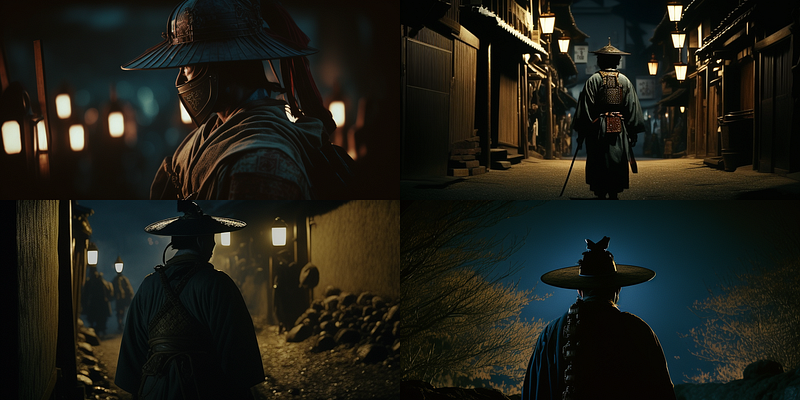
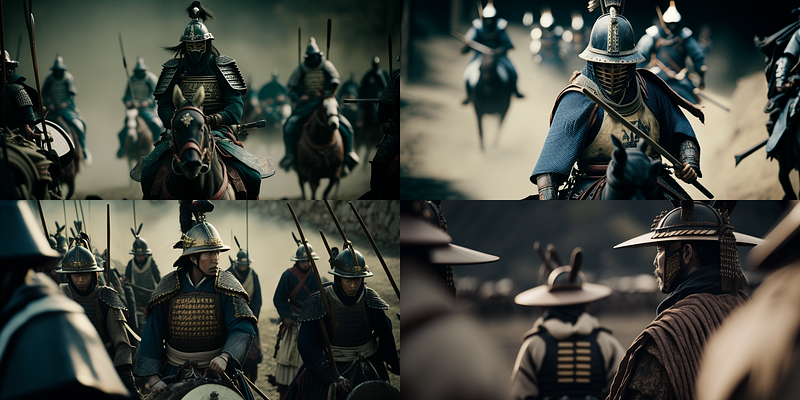
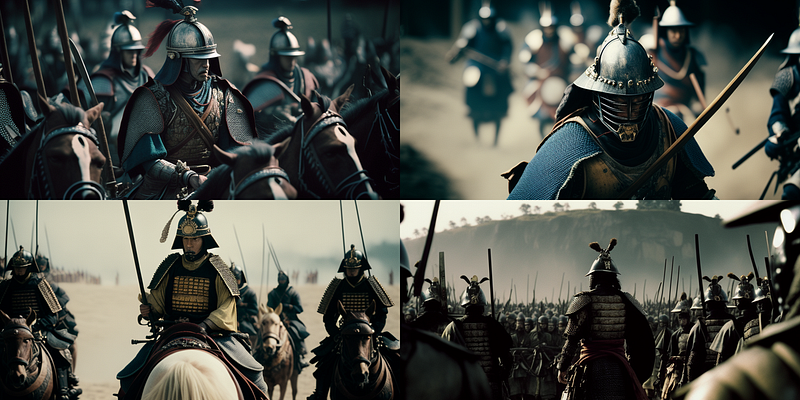
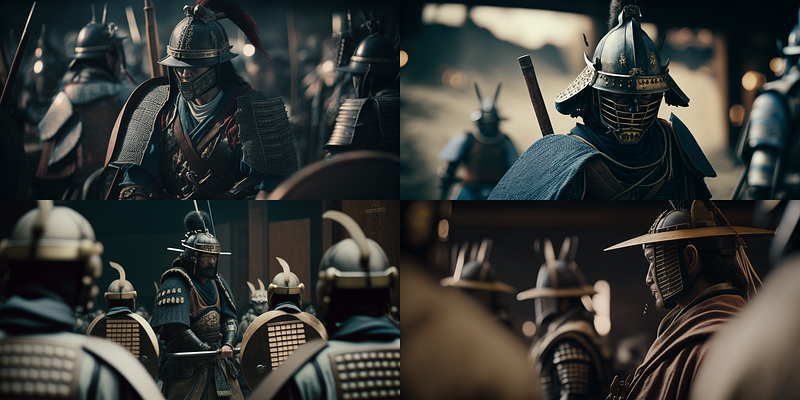
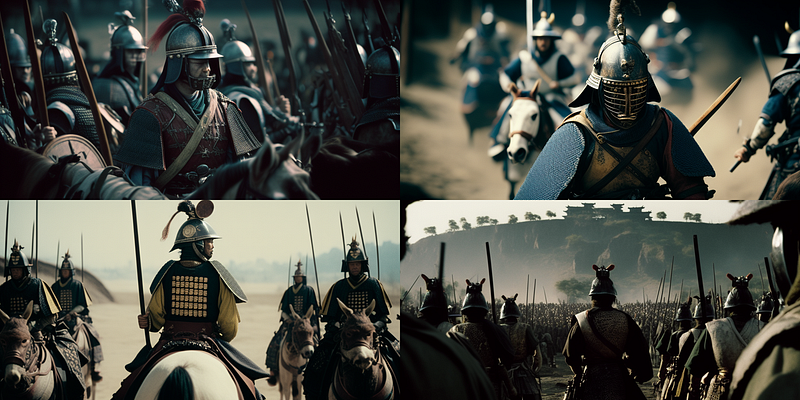
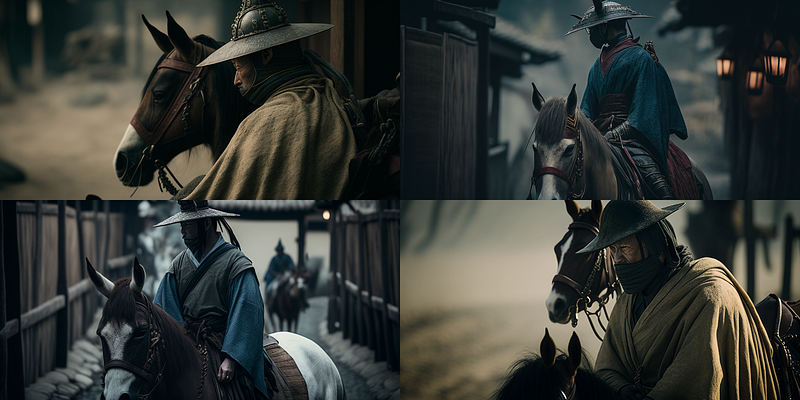
Here’s another example: the same prompt (“film still” as prefix, “samurai” as scene description) but with a single word added to the scene descriptions causes overlapping with shot types, mise-en-scène, and lighting:
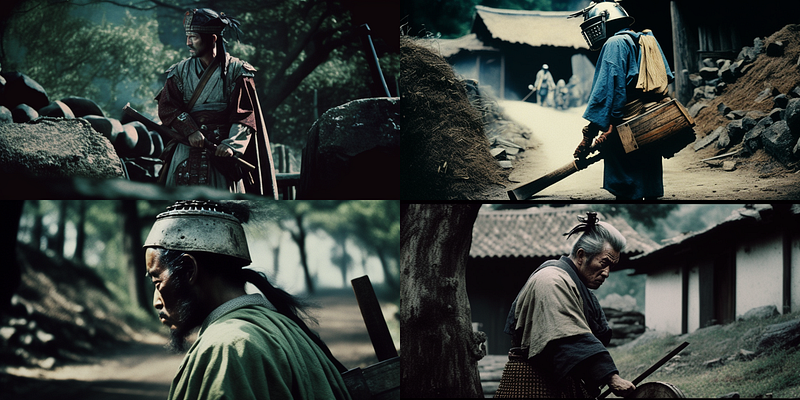

So, there are two things to be aware of:
- The following elements are always included in a scene description (either explicitly or implicitly):
- character description
- description of action
- set description/set design
- scene composition
- props
2. The scene descriptions elements generally overlap/interfer with the following shot/style elements:
- lighting
- location (interior/exterior)
- color grading
- shot type (camera angle, lens & shot size)
Are you a content creator, AI artist, or storyteller? Sign up here for my FREE WEEKLY newsletter “Tales Of Tomorrow” and learn everything about the latest tools & workflows for AI-powered content creation.
Style descriptions
In addition to scene descriptions, style descriptions are used to
- enforce scene description (e.g. using “wide-angle” in addition to “mountains in the background” or using “volumetric lighting” in addition to a “nightly park scene” or using “over-the-shoulder shot” in addition to “having a conversation”, etc.),
- alter scene description (e.g. using “style by sci-fi movie” to change lighting and color-grading, or using “atmosphere”, “vibe” or “symmetrical” to alter scene composition)
- set color-grading, lighting, composition, shot type, camera angle, lens & shot size (I wrote about this here, here and here)
All of these can be prompted
- directly, e.g. “8k, wide angle, black and white film”,
- by reference, e.g. “style by 80s sci-fi movie”, “directed by stanley kubrick”
- or as a mixture of both “style by 70s thriller movie directed by stanley kubrick, close-up, shallow depth of field”.
Examples
Here are some examples of how to use the above cheatsheet to create scenes and keep track of interferences from explicit/implicit scene/style descriptions (again: if you are exploring, you would probably not even want to be that precise with a prompt, but it can be very useful when fine-tuning scenes or working on the accurate depiction of elements from a given story).
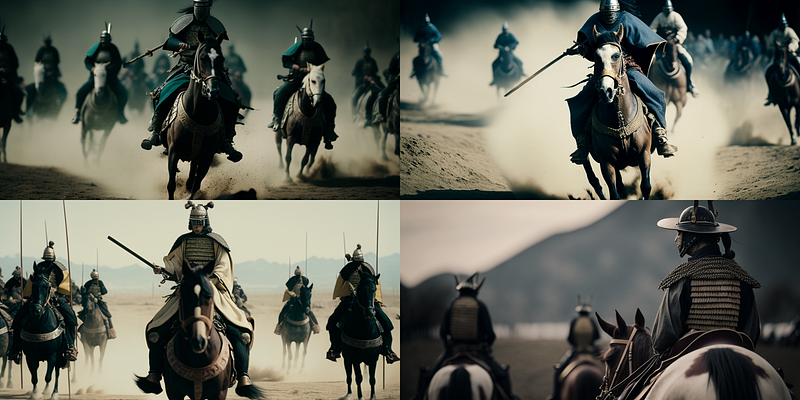
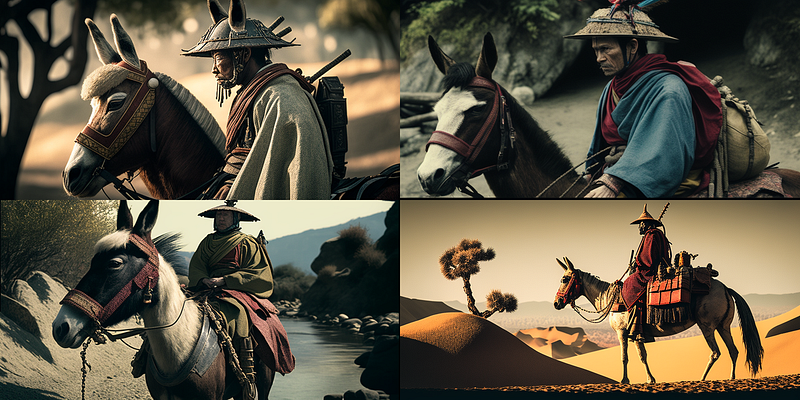
Example 1: Switching shot types via style description
This rendering uses “samurai on a donkey” as scene description and “depth of field, style by 60s adventure movies, technicolor” as style description.
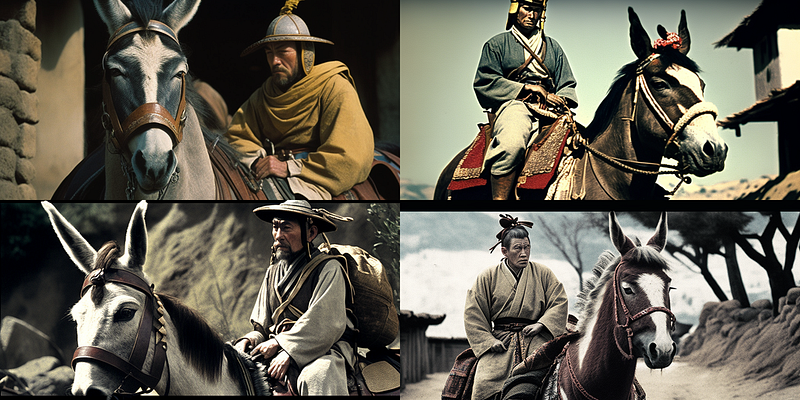
Adding “close-up” to the style description changes the shot size as intended since we have no interference from the scene description.
Example 2: Style (in)consistency
Generally, results are better, when style consistency is preserved. For example, adding the expression “8k” to the above example would not make sense since it destroys the 60s lighting and color-grading interference.
Instead, you would use “8k” in those style descriptions that prompt for a different visual style, for example as an addition to “depth of field, cinematic color grading, atmosphere” which already triggers a more modern, mainstream cinematography (e.g. “teal and orange” color-grading, etc.). In that case, “8k” fits the overall style description very well.

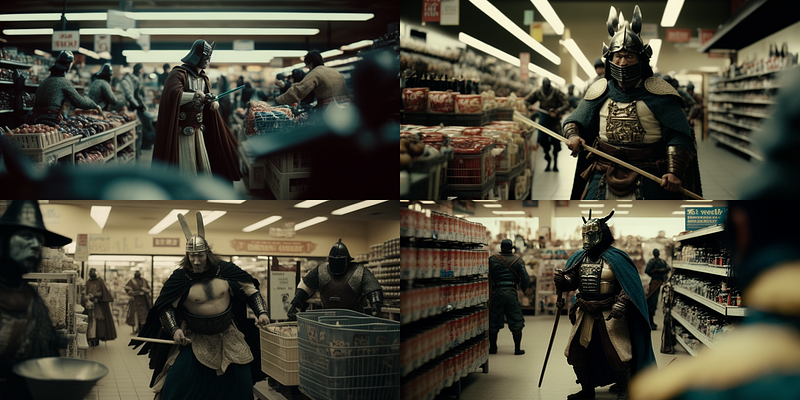
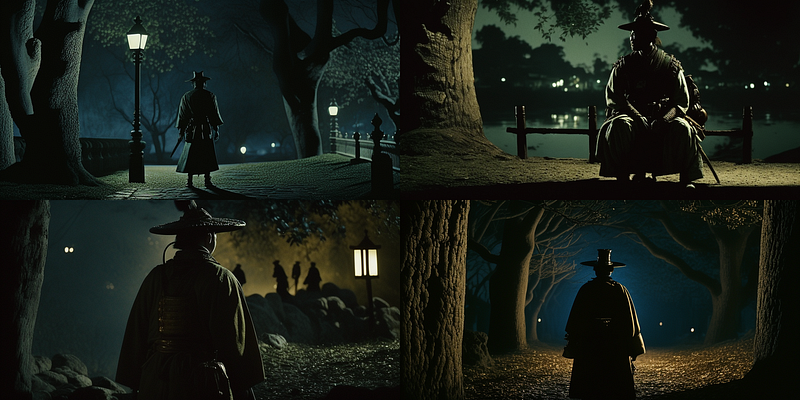
Example 3: Switching shot size via scene description & positioning
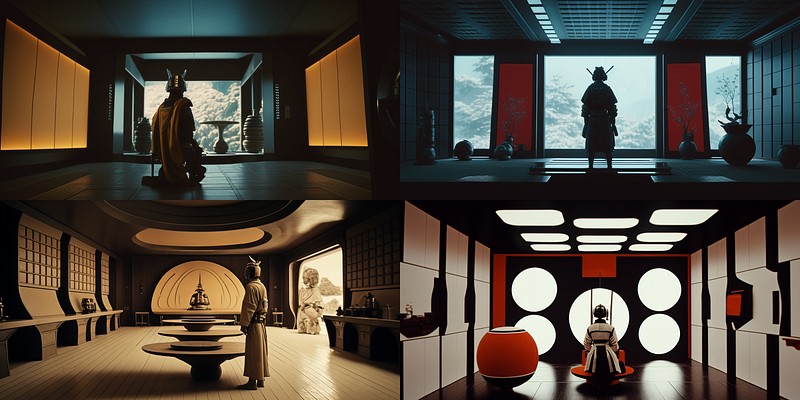
In the following example, the same prompt is used for all three images:
- Prefix is “movie still”,
- style description is “style by 2010 sci-fi, dramatic lighting”,
- scene description: “samurai with a sword on a spaceship”)
We now want to imply shot size via scene description & positioning without any additional shot reference in the style description:

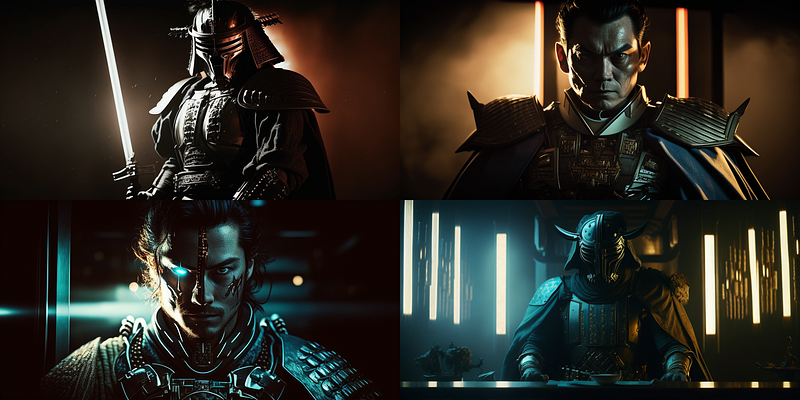
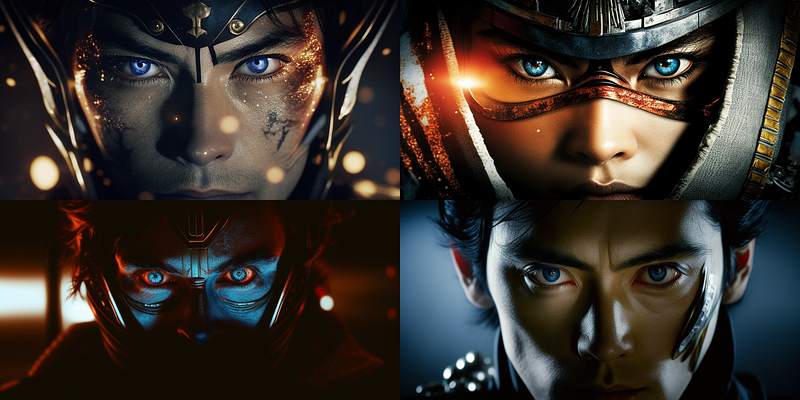
- The first image has no additions, resulting in some wide-angle shots and a medium shot.
- Image number two has “eyes” added at the end of the scene description, resulting in two medium shots and two close-ups.
- Image number three has “eyes” added at the very beginning of the prompt (before the prefix), resulting in extreme close-ups.
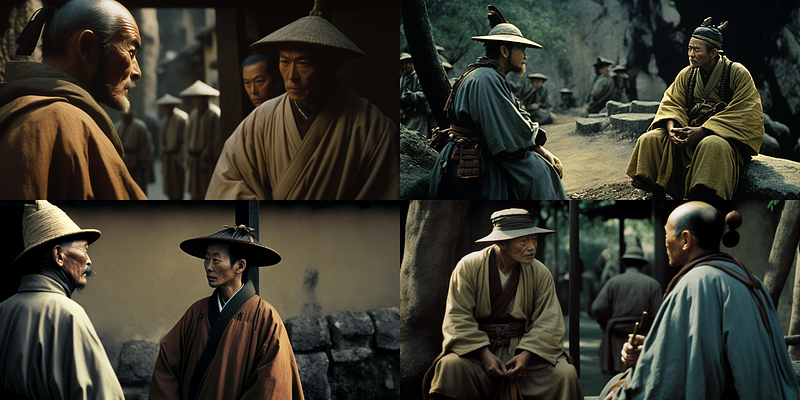
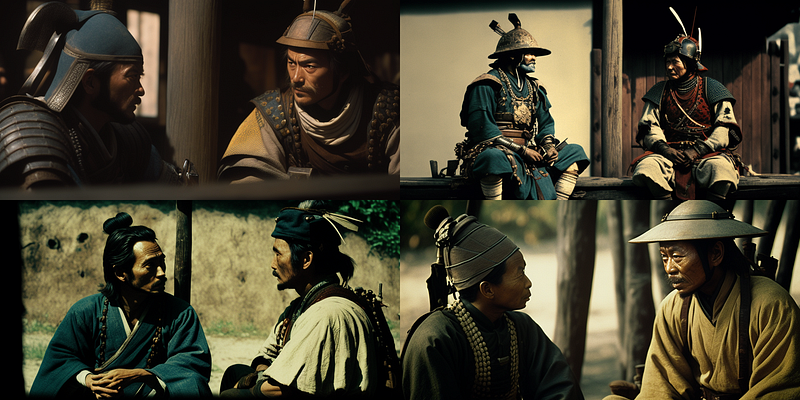
Example 4: Enforcement by combining style & scene description
Here we use “samurai having a conversation” as scene description, which gives us the expected “two shot” / “over the shoulder” tendency.
If we want to change it to a wide angle shot, adding “wide angle” in the style description doesn’t really help:
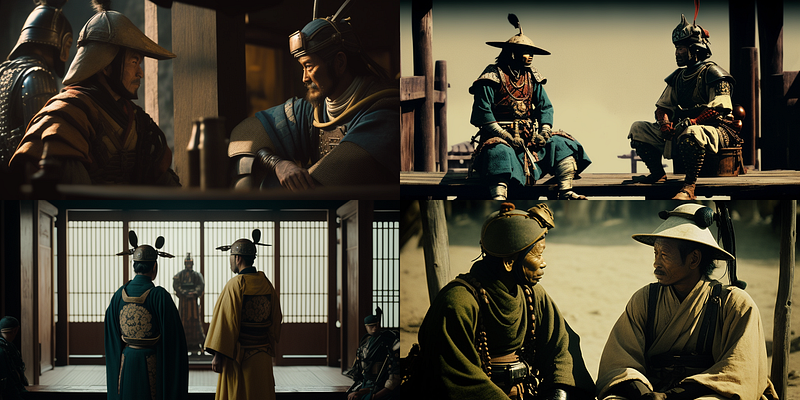
Also, enforcing “wide angle” with repetition in both scene and style description only causes minor changes in shot size, because the expression “having a conversation” still maintains the “two shot” interference.

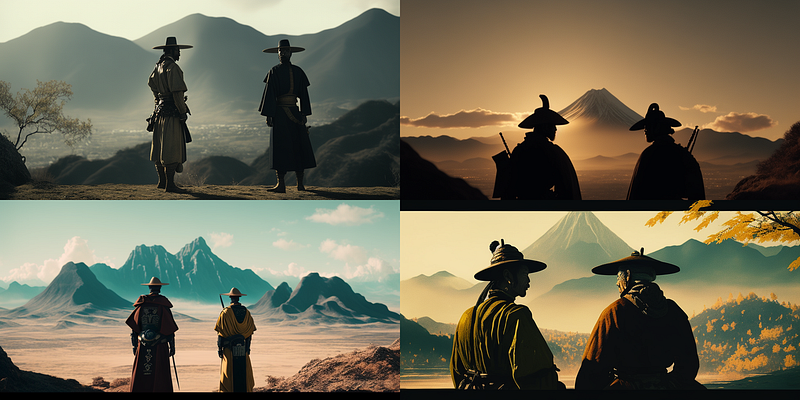
But we can enforce “wide angle” by adding an explicit background description (“mountains in the background”) in the scene description:
For more information about cinematography with Midjourney, follow me on Twitter or Medium (use my referral link to get full access to all my articles and those of thousands of other writers).
If you like my content, why not leave a “clap” at the end of this article, so more people can see it?
Also, feel free to check out the aforementioned three-part tutorial “Cinematography with Midjourney”:


