
ComfyUI Made Easy — First Steps for Beginners
ComfyUI is a powerful tool for running AI models designed for image and video generation. While it offers extensive customization options, it may seem daunting at first, but don’t get discouraged. Here’s a simple tutorial to help you become familiar with this amazing node-based UI!

After reading this tutorial, you will understand the main components of ComfyUI and common use cases for image generation. ComfyUI is a powerful node-based user interface for generative models like Stable Diffusion, offering a modular environment for image generation and giving you full control for your creations.
- Introduction: ComfyUI is a node-based user interface for Stable Diffusion, offering a modular and powerful environment for image generation.
- Background: Created in January 2023 by Comfyanonymous, ComfyUI is used internally by StabilityAI, the creators of Stable Diffusion. This use reflects its robustness and reliability.
To effectively generate images with Stable Diffusion, an interface that allows interaction with the model is essential. This interaction involves adjusting parameters to precisely generate our best images.
Stable Diffusion operates based on instructions, the most important of which is the prompt. A prompt is a set of instructions written in natural language. For example, to generate a picture of a flying cat, you simply ask for a “flying cat.” However, prompts alone are not sufficient; adjusting various parameters (such as numerical values, models, etc.) is necessary for greater control.
Several interfaces are available for both local and remote executions. Among the most popular have been automatic1111 (stable-diffusion-webui) and InvokeAI. A more recent addition is ComfyUI, a node-based interface. In essence, it utilizes nodes and links to process instructions, from the initial prompt to the final image generation.
Workflows
In ComfyUI, a workflow is a set of nodes and links. Essentially, it is a JSON file that stores the workflow’s structure. You have the option to download these workflows and load them into ComfyUI, where they are ready to use. Alternatively, you can create your own workflows tailored to your specific needs.
Nodes
As I said, a workflow is comprised of nodes, each performing different functions. These functions include loading the model, choosing image sizes, and inputting instructions. ComfyUI provides a variety of powerful nodes upon installation. However, there may be situations where you require custom nodes. These can be either self-created or obtained from other sources, offering additional functionality and flexibility.
Installation
This section guides you through installing ComfyUI on a Windows machine. Note that ComfyUI is compatible with Windows, Linux, and Mac. A significant point to remember is that generating images generally requires a decent GPU. This is generally not recommended unless you opt for the latest LCM models, but that is beyond the scope of this tutorial.
To download ComfyUI, you have two options: either download a zip file directly or clone the git repository. For simplicity, this tutorial uses the zip file method.
Simply download the file and extract the content in a folder.
In addition to ComfyUI, you will need to download a Stable Diffusion model. ComfyUI supports both Stable Diffusion 1.5 and Stable Diffusion XL. For the purposes of this tutorial, we will use Stable Diffusion XL, but the fundamentals to get started are the same.
I will be using Stable Diffusion XL for this tutorial, you can find it here: just download the sd_xl_base_1.0.safetensors file. If you want to download the base Stable Diffusion v1.5 model, check this repository and again download the safetensor file. However, it is generally better to use a finetuned model to obtain better results easier, you can discover them on civit.ai.
Now that you have the ComfyUI zip file and the model, we can proceed by extracting the zip file. You will see a folder named ComfyUI_windows_portable. Go to \ComfyUI_windows_portable\ComfyUI\models\checkpoints and put in this folder the Stable Diffusion XL safetensor file that you downloaded previosuly.
After that, simply double click on run_nvidia_gpu and the installation will start by opening the Terminal. You will see also a run_cpu file, that you can use if you don’t have a powerful GPU, but it will be slower.
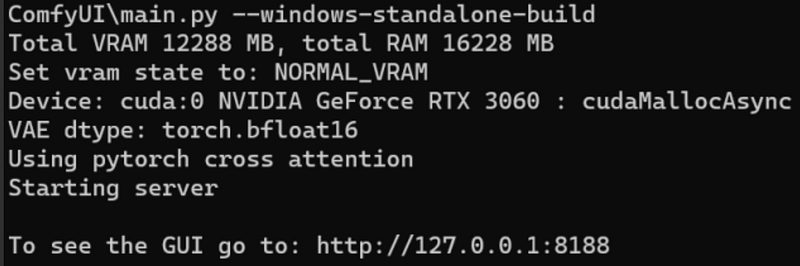
Always keep an eye on the terminal, as it provides useful information about errors or the status of the generations. Sometimes, you might need to close it and run ComfyUI again, particularly when you need to restart the tool due to some changes you have made. After the installation is completed, the browser will open, and you should see something like this:
This is the main ComfyUI screen with the default workflow: you can see the nodes, the links and a small control panel.
Using ComfyUI
You can move the nodes around, zoom in and out according to your preferences. Double click to search for nodes or use the right click to navigate. If you click on Queue Prompt, the workflow will probably fail because you might not have the stable diffusion model in the right folder.
I will go into more details about the nodes and their capabilities to generate our first image.
Model Selection
The first node of this workflow is dedicated to the selection of the model, the large file that you previously downloaded. This node will recognize all the files located in the \ComfyUI_windows_portable\ComfyUI\models\checkpoints folder. You can use the arrows in the node to select additional models if you have more than one file.
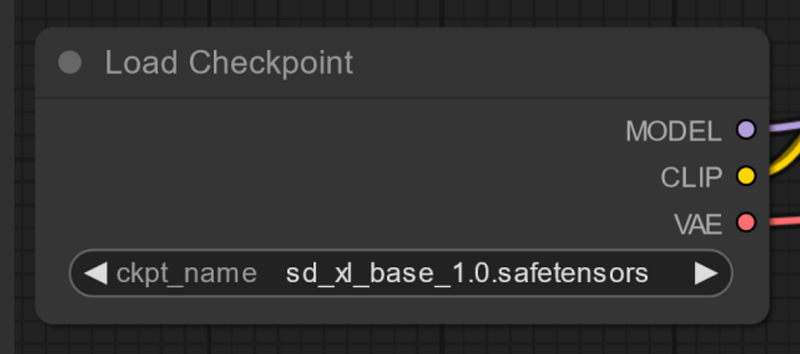
In this case, I loaded the model with the specified name. It can vary, and you may have several different models. If you added the file in the folder but the workflow still dosen’t work, click Refresh from the control panel and try again.
Then, you have a set of nodes where you can input instructions, named CLIP Text Encode. These include a node for a Positive Prompt (instructions on what you want to generate), a Negative Prompt (what you want to exclude), and a box named ‘Latent Image’, where you can select the size of your final image. For Stable Diffusion XL, it’s better to use a size of 1024×1024.
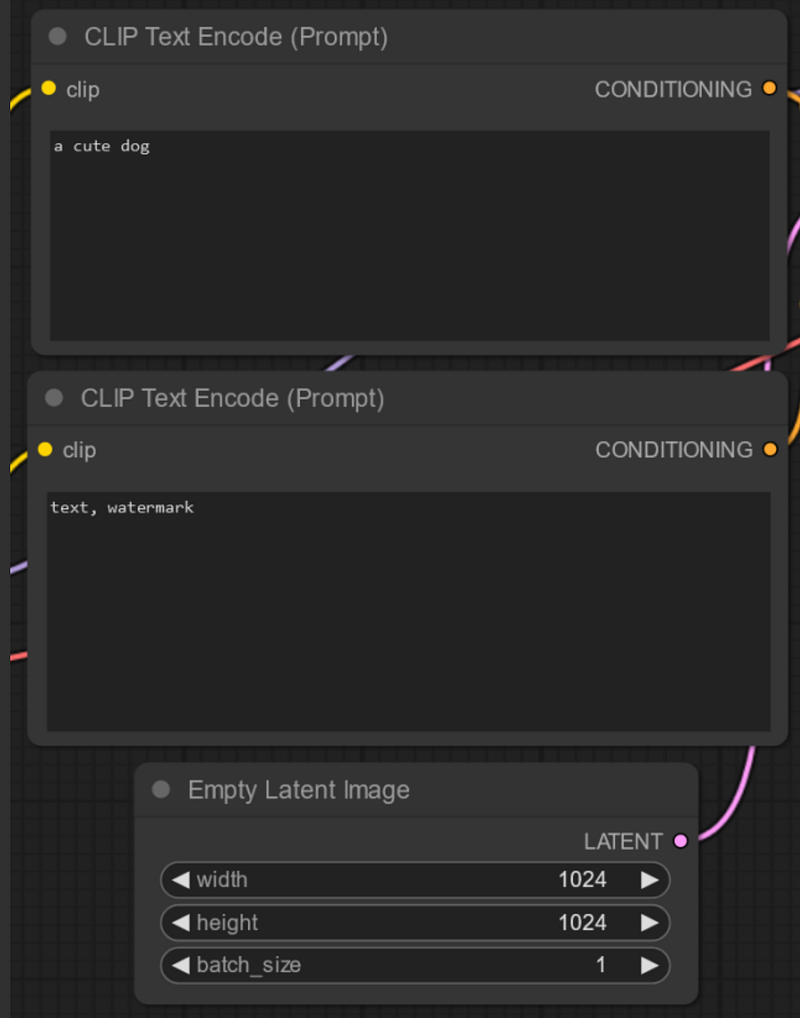
Here I am asking for “a cute dog” and I’m trying to avoid text and watermarks to be displayed. Moreover, I want 1 image (batch_size) of 1024×1024 in resolution.
Then we have the last part of our workflow:
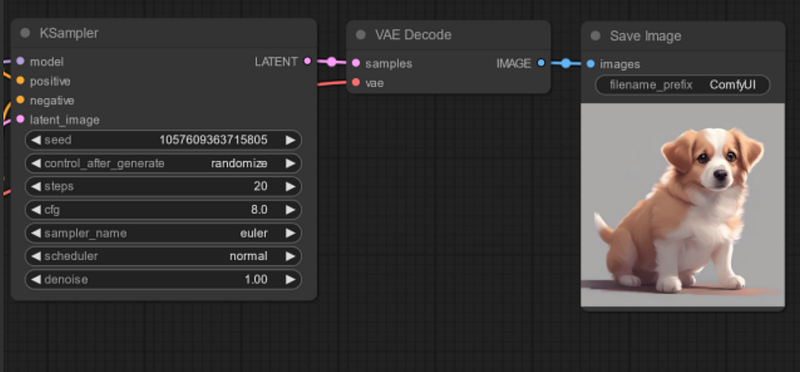
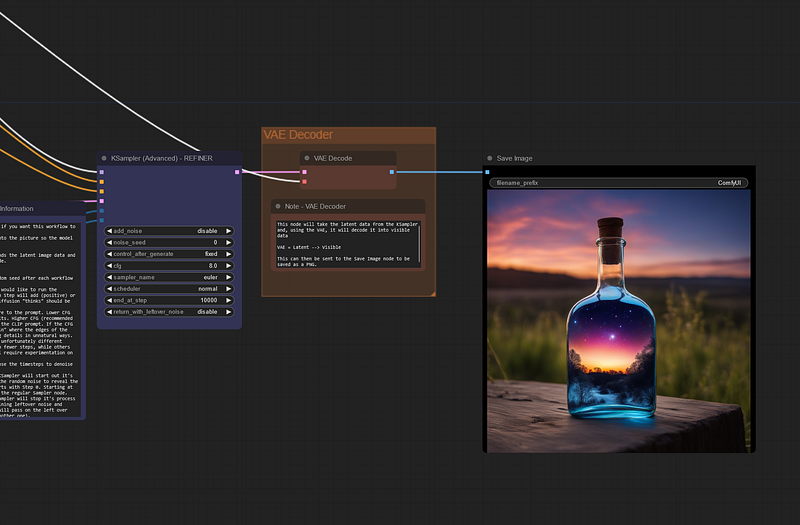
The KSampler node is used to adjust parameters like seeds, number of steps, the CFG scale, and the sampler name. These parameters are all adjustable to your preference and the techniques you will use.
The final two steps concern the output. In this stage, you can visualize the generated images and specify a prefix for their names. The generated images will be stored in the ComfyUI_windows_portable\ComfyUI\output directory.
Use existing workflows
So far, the process hasn’t been too complex, I believe. But what if you want more control or wish to accomplish more tasks? In that case, you have two options: create your own workflow or, more commonly, download workflows created by others and load them directly into ComfyUI. I will now show how to easily load a workflow. If you’re interested in creating your own, check the next paragraph.
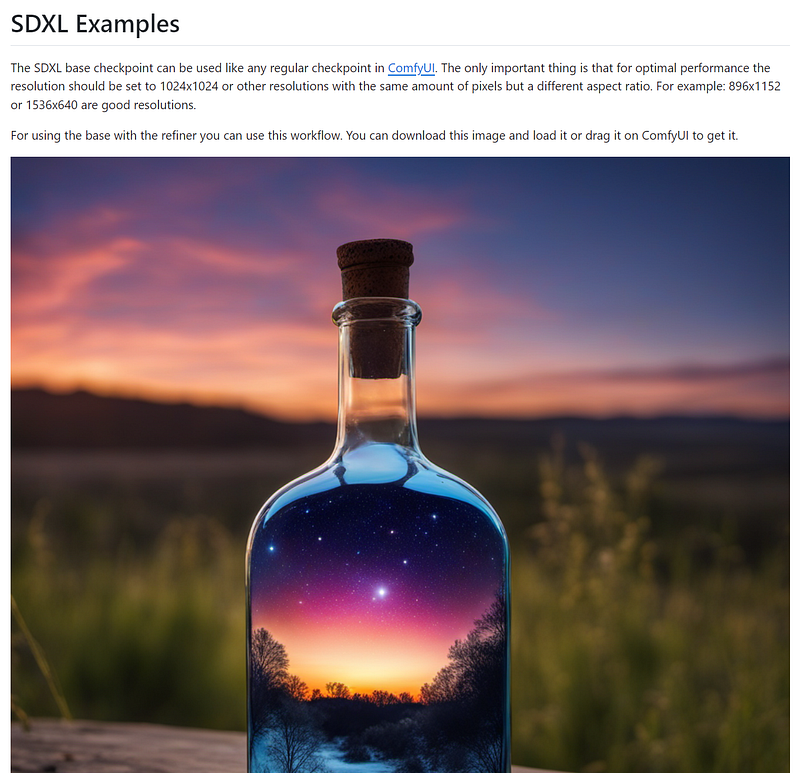
I will load a different workflow from the default one, specifically designed for Stable Diffusion XL, which includes more nodes and expanded capabilities. You can find it here. Previously, I mentioned that workflows are typically JSON files, but they can also be shared as images! Simply download the first image you see on the page, and you have your workflow.
Now you can load this “image” by going back to ComfyUI and choosing Load from the control panel. Then your workflow should look like this:
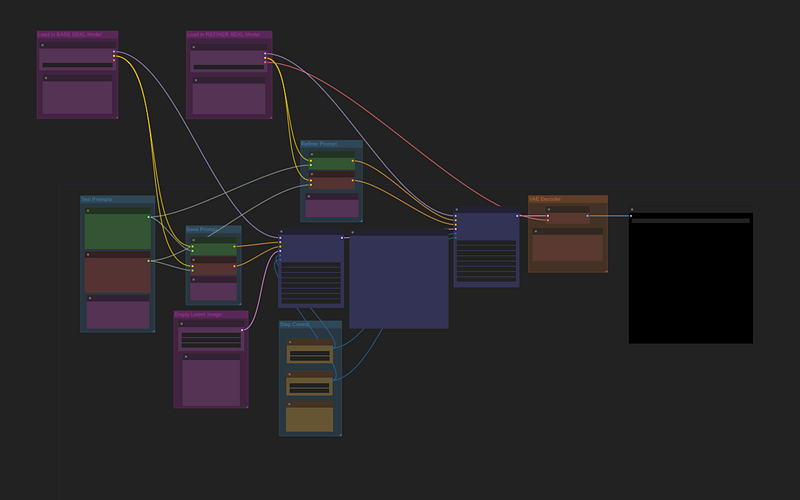
It might look different from the previous one, but the core functionalities of many nodes are the same. For example now you will see that we have two nodes to load the model.
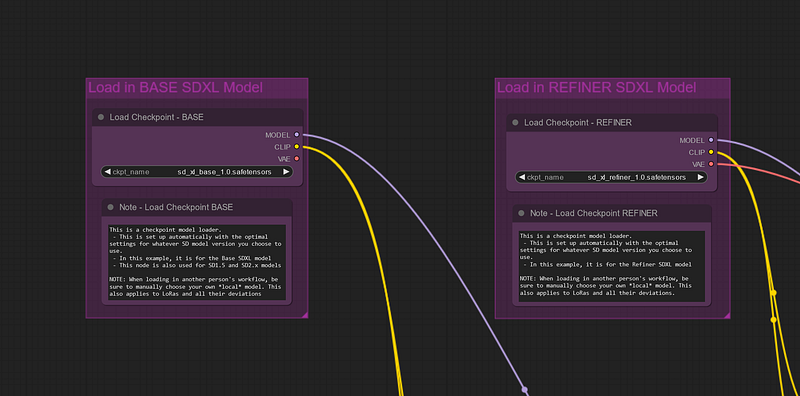
Why do we need two? Well, with stable diffusion xl we can use a refiner to get better results. You can download it the same way you did for the base model. Find the sd_xl_refiner_1.0.safetensors this repository and put it in the same checkpoints folder.

Note that you might need to hit Refresh if you add files in ComfyUI folders while it is open; after that, you can select the models that you just added, otherwise you might get an ugly error.
If everything is fine and you hit Queue Prompt again, you should be able to generate this exact same image at the end of your workflow:
There are many resources online where you can discover thousands of good workflows, such us openart.ai, civitai or flowt.ai.
Create a basic workflow
Most of the use cases are covered by already existing workflows that you can simply import, but you might want to know how to create a workflow by yourself, node by node. So I removed all the nodes in my UI to start with an empty screen. Then you can do right click to open a menu, with several functionalities.
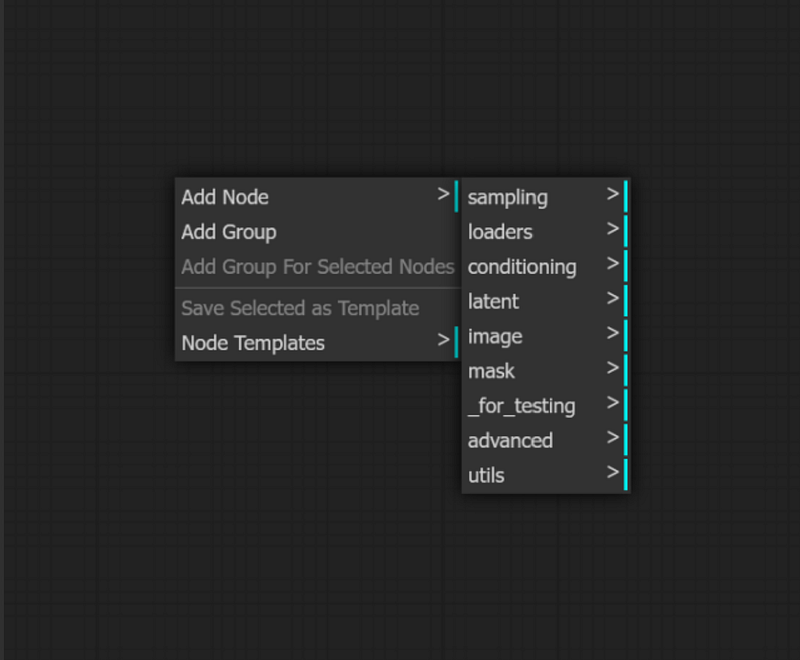
Let’s load a node to select a model in our checkpoints folder. You will find it in Add Node > loaders > load checkpoint:

And it will appear in the UI.
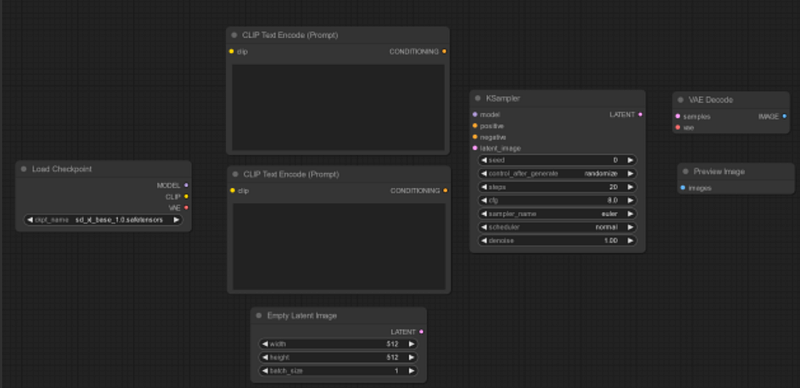
Other nodes that you can look for with a simple double clicking are: Empty Latent Image, CLIP Text Encode (two, one for positive and one for negative prompt), K Sampler, VAE Decode and Preview images. Then you will see them all in your UI.
Now, we need to add the links! Observe the small colored circles on the nodes; these will guide you in understanding how to properly establish links between them.
Notice that the ‘Load Checkpoint’ node has three outputs: MODEL, CLIP, and VAE. These are outputs because they are located on the right side of the node. Conversely, the inputs are located on the left side and need to be connected to corresponding outputs. Simply drag the CLIP outputs from the ‘Load Checkpoint’ node and connect them to each ‘CLIP Text Encode’ (Prompt) input.
Repeat the process for the remaining nodes until they are all connected. Note that you might not always need to have every single input or output linked (but you do with the nodes of this example).
Here is the completed workflow — I moved the nodes around so you can see each link.
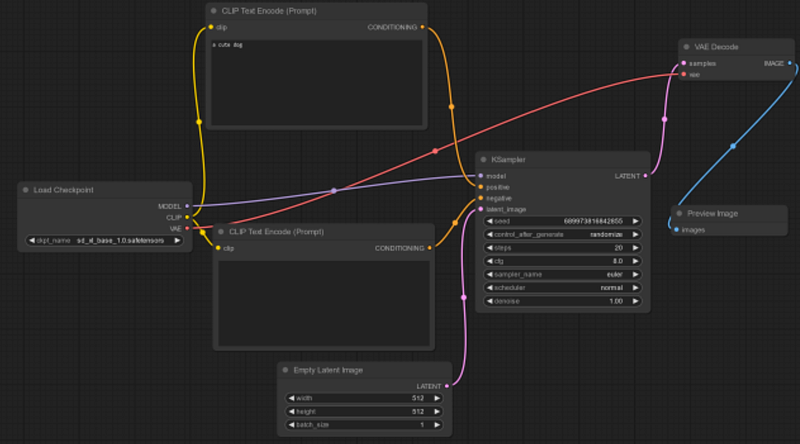
That’s it! Now you can add your prompts, adjust the parameters and run your model. There are many nodes available to create powerful workflows, feel free to explore them.
There is much more to learn about ComfyUI, but do not get overwhelmed! After the basic concepts are clear, it will be much easier to use more complex workflows and techniques such as image to image, controlnet, LORAs, AnimateDiff and so on.


