
Code Review: Character Level LSTM in PyTorch

I have been studying PyTorch for the past several weeks and in the penultimate lesson have been studying recurrent neural networks, or RNNs. The RNN in this post is goint ti focus on character level long short term memory, or LSTM.
I have worked om several datasets concerning sentiment analysis usIng sklearn, but this type of text based work is quite different. A text document is loaded into the program, tokenised, trained, and the words in the text document are predicted on. The text for the exercise I was working on was the Leo Tolstoy’s tome, Anna Karenina. Having read the book and watched the movie, I can say the text was a good choice indeed.
Because I did not have a text copy of Anna Karenina and I did not want to download a copy off the internet, I created a small document of a few paragraphs in Google docs and then downloaded the document into a text file, which I copied into my personal Google drive for testing purposes.I have been advised that the way to improve accuracy is to use more data, so mperhaps the small text document I created was not enough to make an accurate prediction. Perhahs a larger document would have yielded better results. Nevertheless, I will endeavour to carry out a code review for this program and any people wanting to experiment with this program can use another text file of their choosing to see if the program yields better results.
I wrote the program in Google Colab, which is a free online Jupyter notebook with the necessary libraries already installed. I therefore only needed to import numpy and torch to begin with.
I then loaded the sample text that I had created and saved in my Google drive. This was a very small text of only a few paragraphs that I had drafted, as opposed to an entire novel, which had originally been used:-
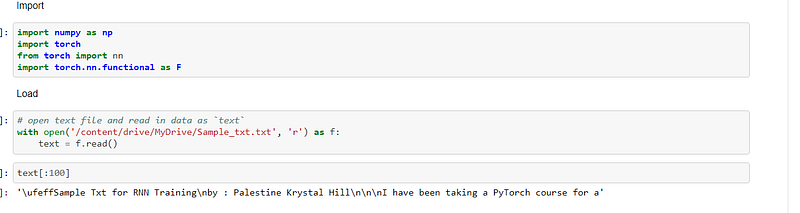
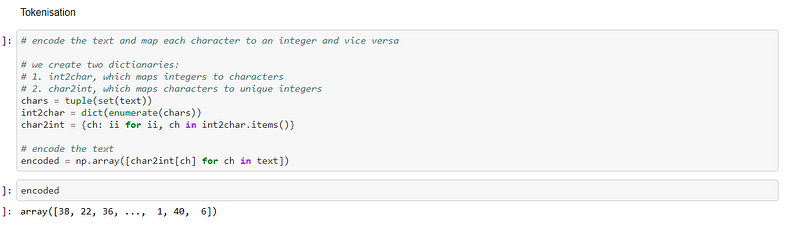
I then tokenised the text of the document that had been loaded into the program. These characters were converted to integers because the computer wants to see numerical data when it is carrying out computations:-
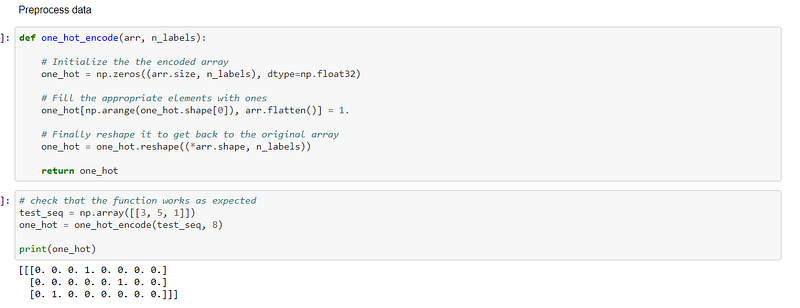
The characters in the text are then one hot encoded. Each character is converted to an integer and then converted to a column vector where only its corresponded integer index is one and the rest of the places in the vector are zero:-
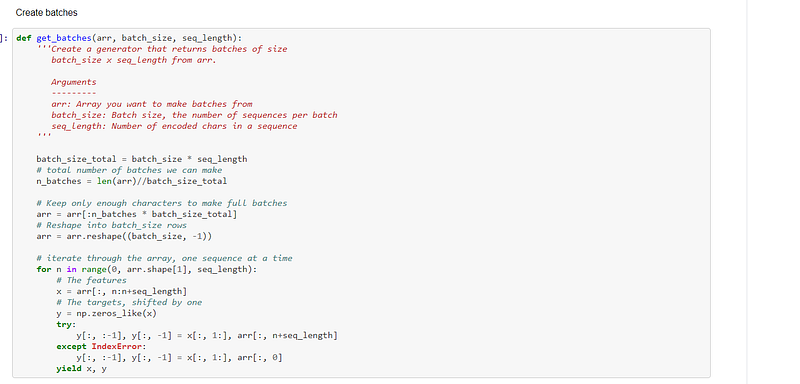
The function, get_batches, is created to create and train mimi-batches:-
The implementation is then tested for accuracy:-

The device is then defined. If the graphical processing unit, or GPU, is available then the program should use this accelerator to speed it up:-

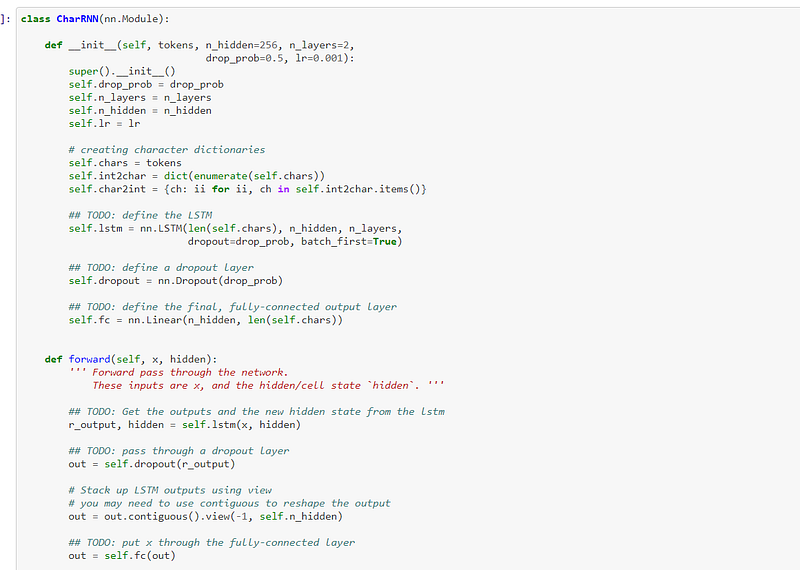
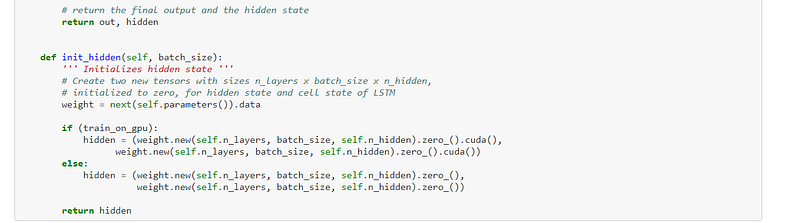
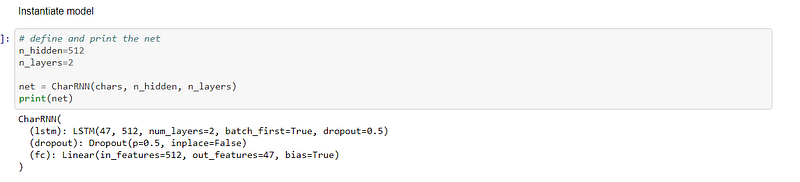
The recurrent neural network, or RNN, is defined, which is the meat of the program:-
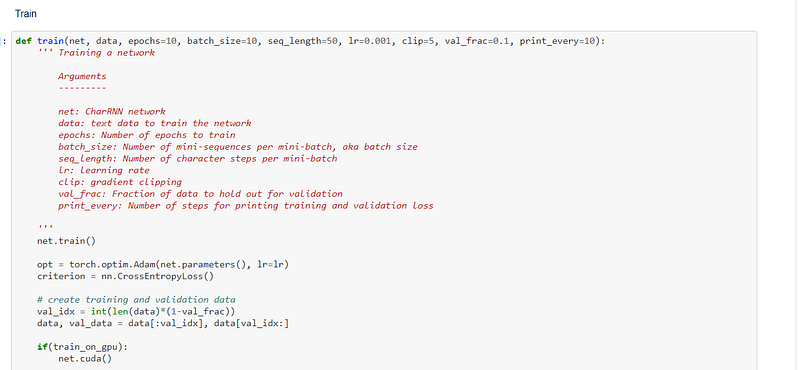
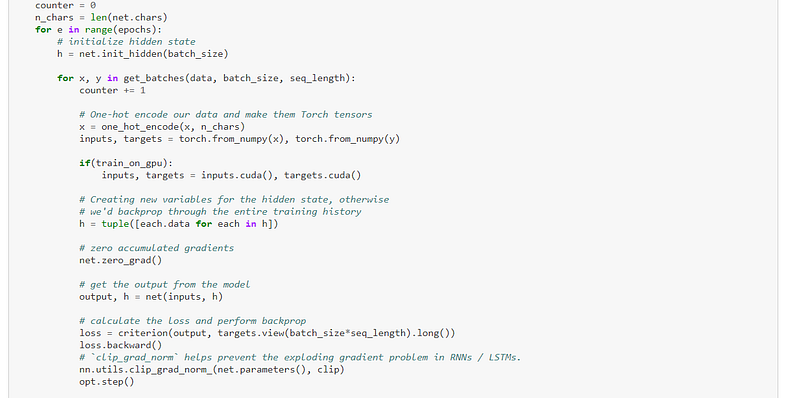
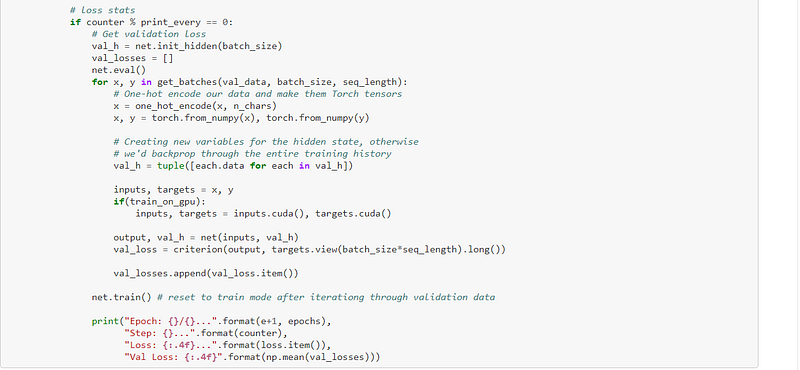
The train function was then defined:-
After the data had been loaded and tokenised, and the functions were defined, the model was then trained:-
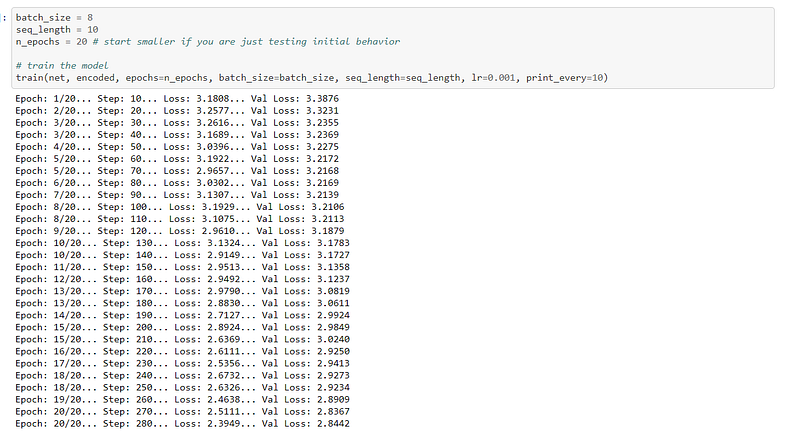
The parameters were set, which told the computer the batch size, sequence length, and number of epochs. Once the parameters were set then it was possible to train the model:-
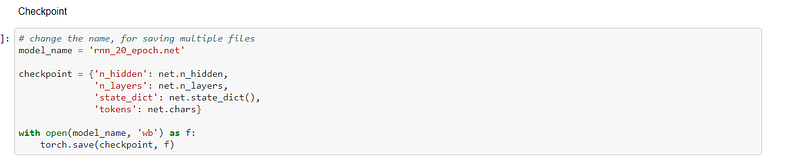
Once the model has been trained, it can be saved, to be loaded again later if necessary:-
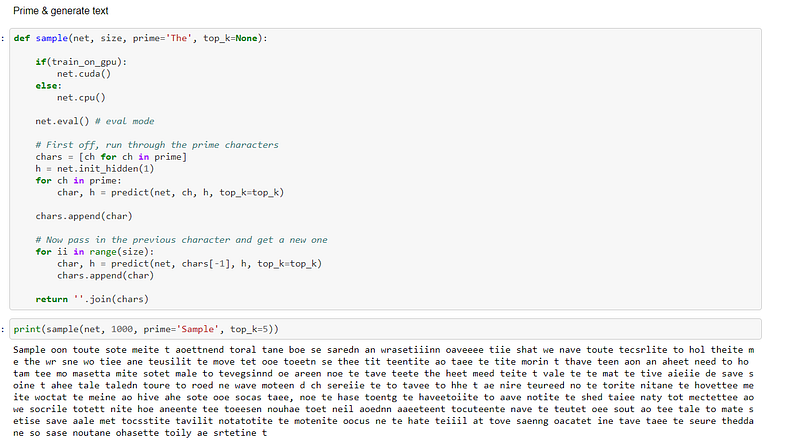
Once the model has been trained and saved, the input data can be predicted on:-
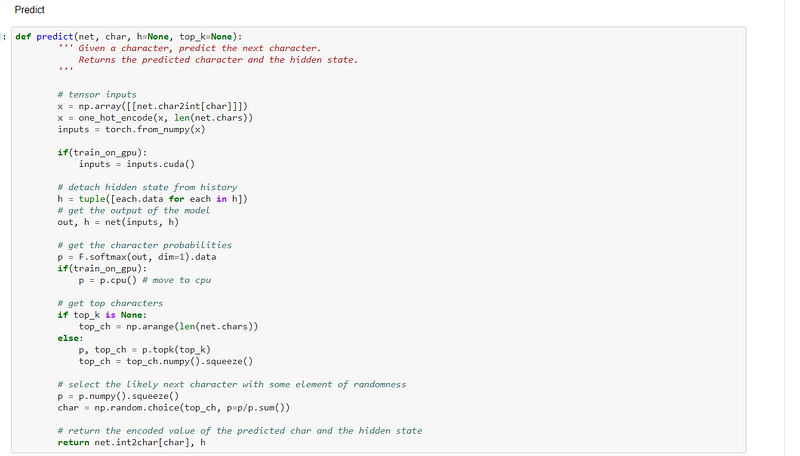
The network is then primed to build up a hidden state:-
The checkpoint is then loaded:-
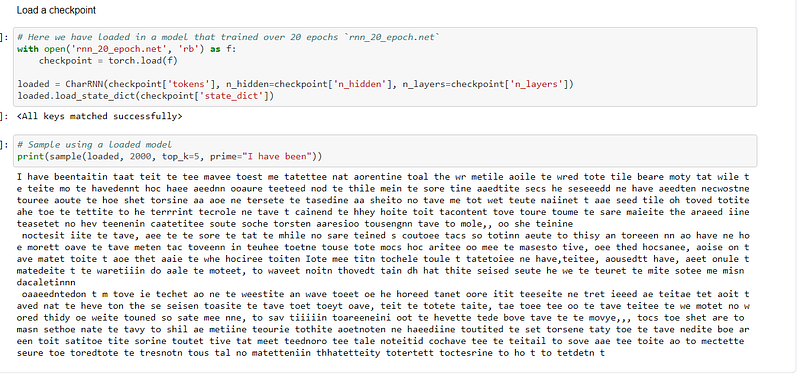
As can be seen from the predictions above, the model did not yield a high degree of accuracy. This could have been caused by the fact I had a very small text to work with. If a larger text had been used then the accuracy could very well have been higher. Clearly this model needs some more work so the accuracy can be improved upon,
The code for this program can be found in its entirety in my personal GitHub account, the link being here:- Udacity-Course/Character_Level_LSTM_PyTorch.ipynb at main · TracyRenee61/Udacity-Course (github.com)